
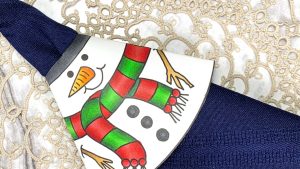

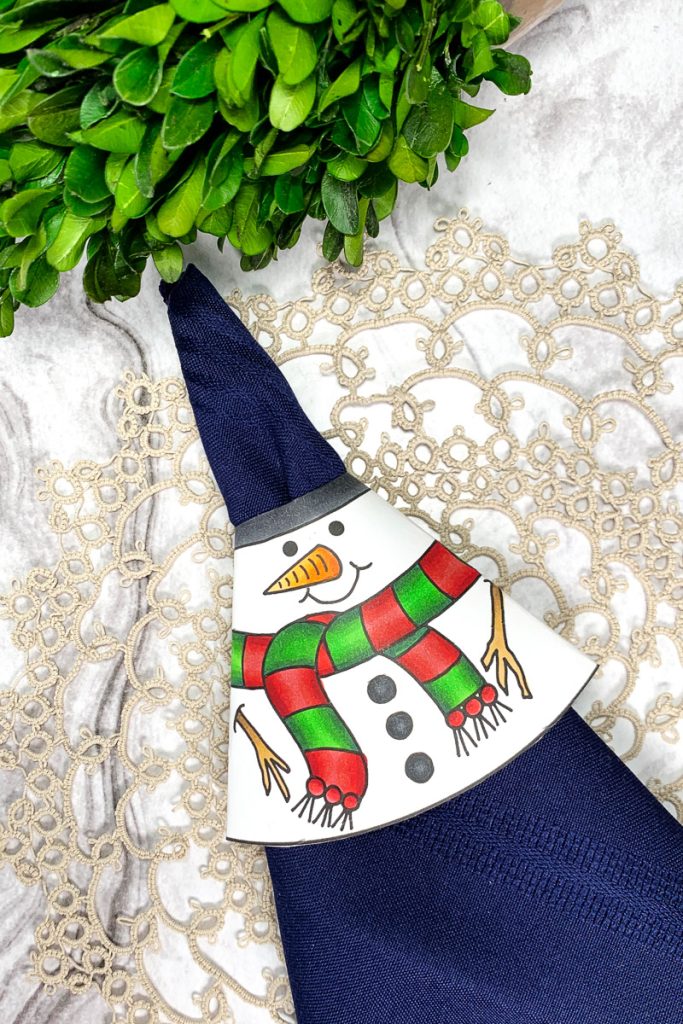
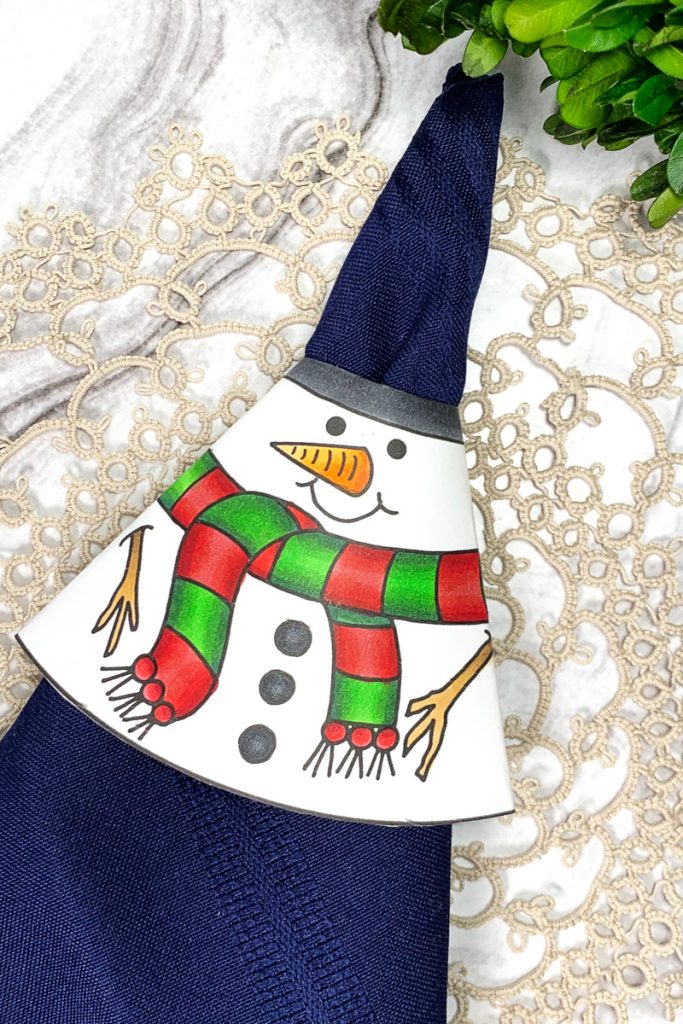
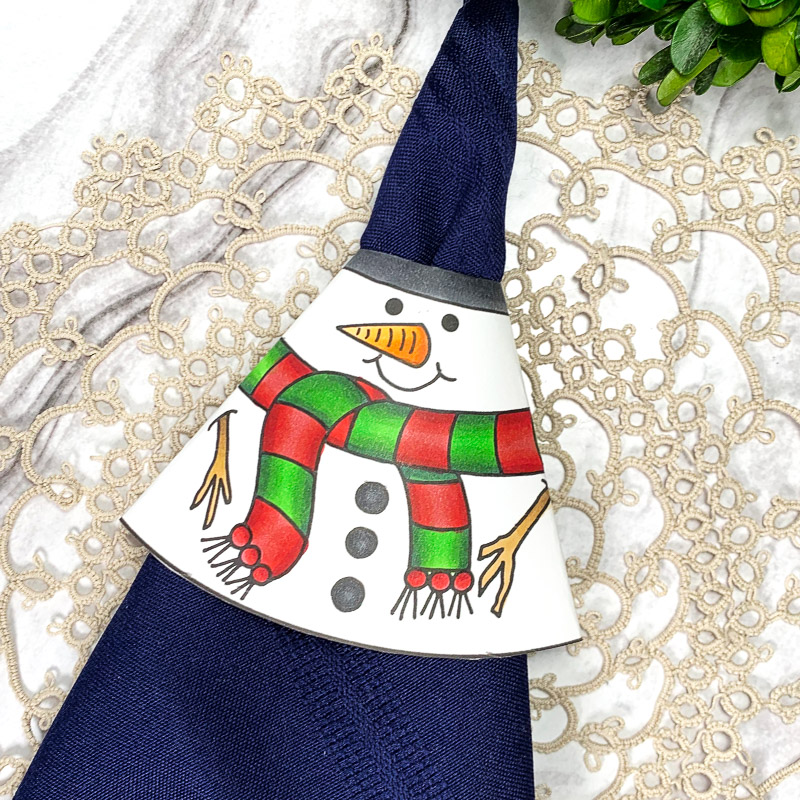
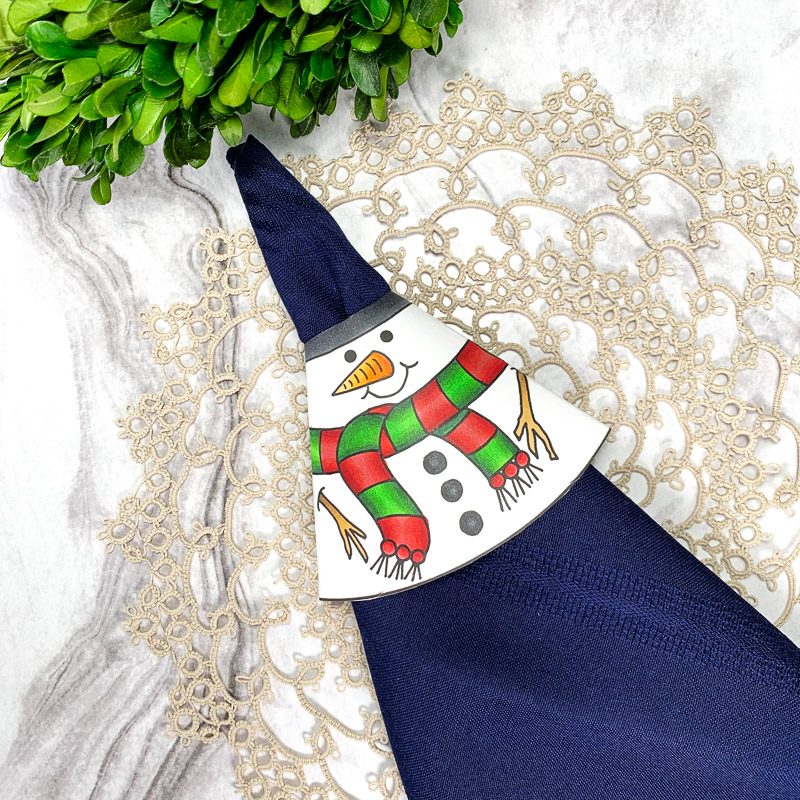
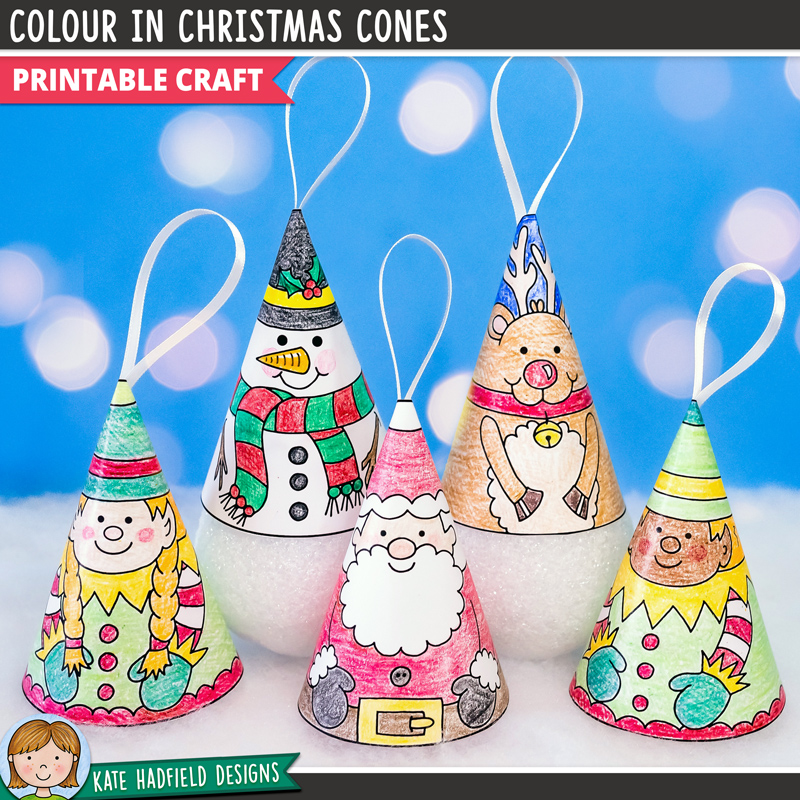
Hello everyone! Sasha here. Today, I’m sharing how I turned the Colour In Christmas Cones into festive decorative napkin rings! They are easy to make and are another fun craft to create using the Colour In Christmas Cones this holiday season!

I started by printing the Christmas cone. To do this, I used the ready-to-print PDF and printed the cone onto an alcohol marker-friendly cardstock. I decided to do the snowman cone!
Once printed, I used the following Ohuhu alcohol markers to colour the cone:
- Red: R8, R2, R3, R1
- Orange: YR180, YR3, Y10, Y4
- Green: G7, G470, G190, G170
- Brown: E310, E370, E240, E220
- Black: NGO7, NG06, CG070
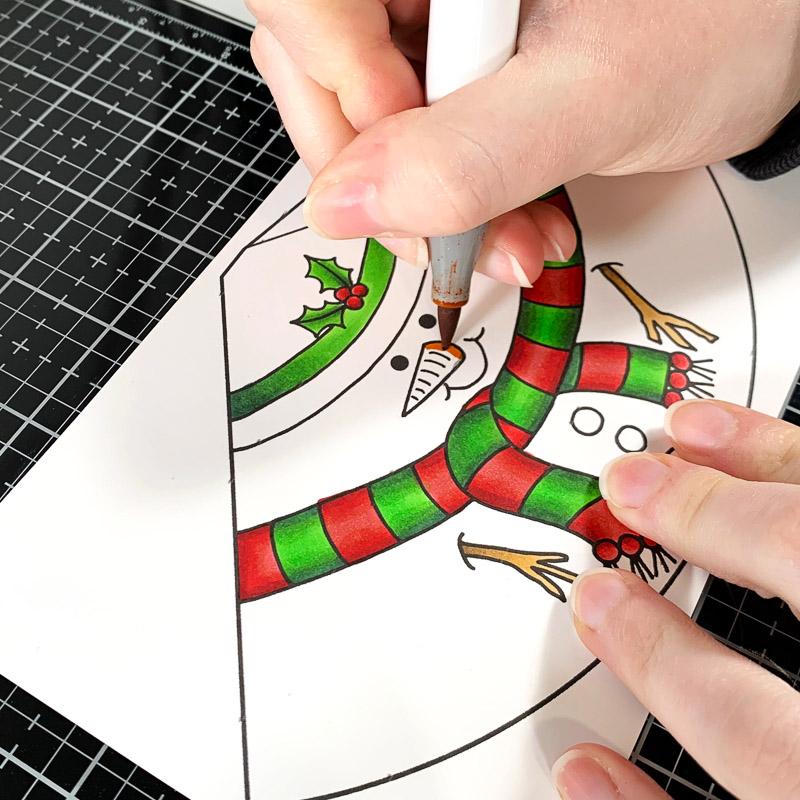
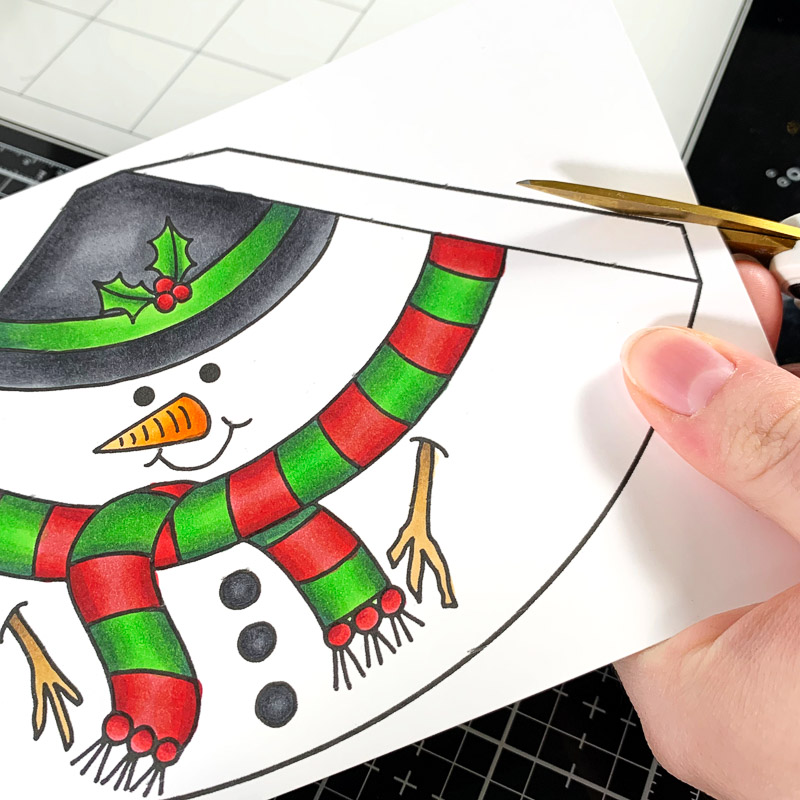
After colouring the cone, I cut it out with scissors.
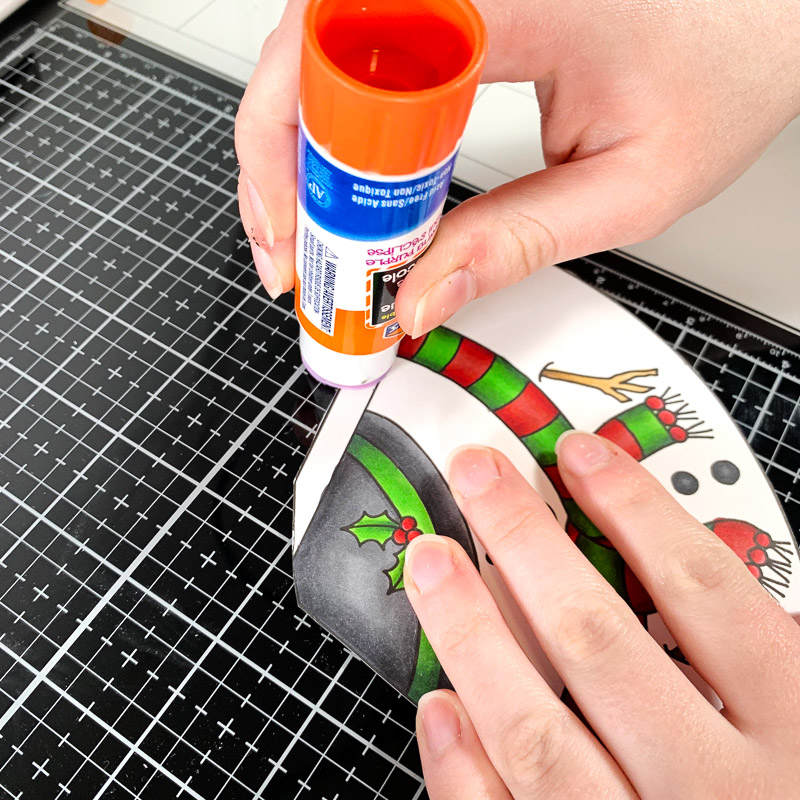
I assembled the cone as usual, adding glue to the tab with a glue stick, rolling the cone around, and gluing the tab to the inside of the cone.
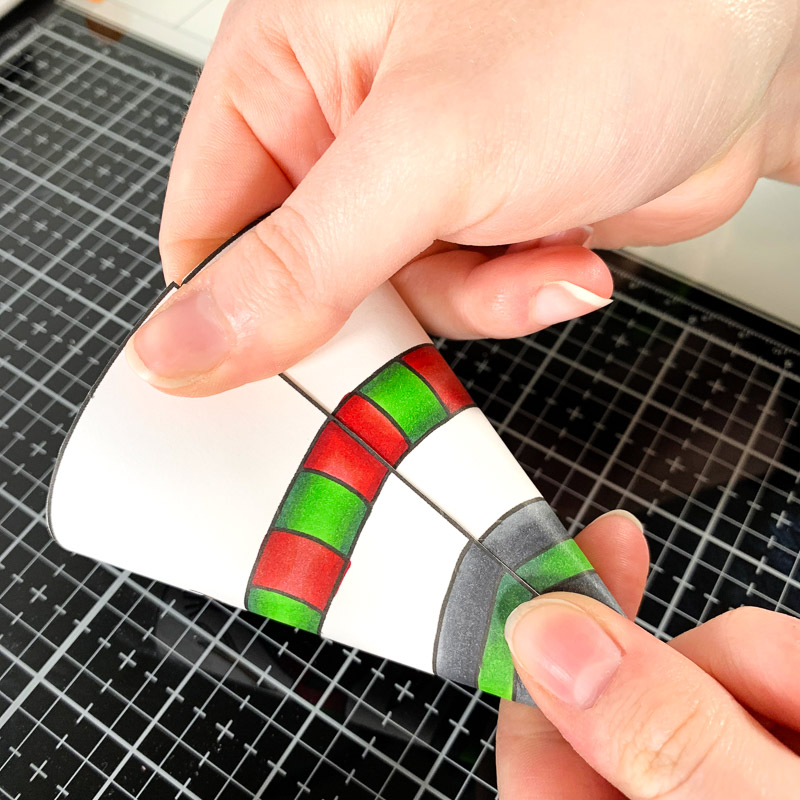
From here, since I am making a decorative napkin ring, I flattened the cone and trimmed off the top.
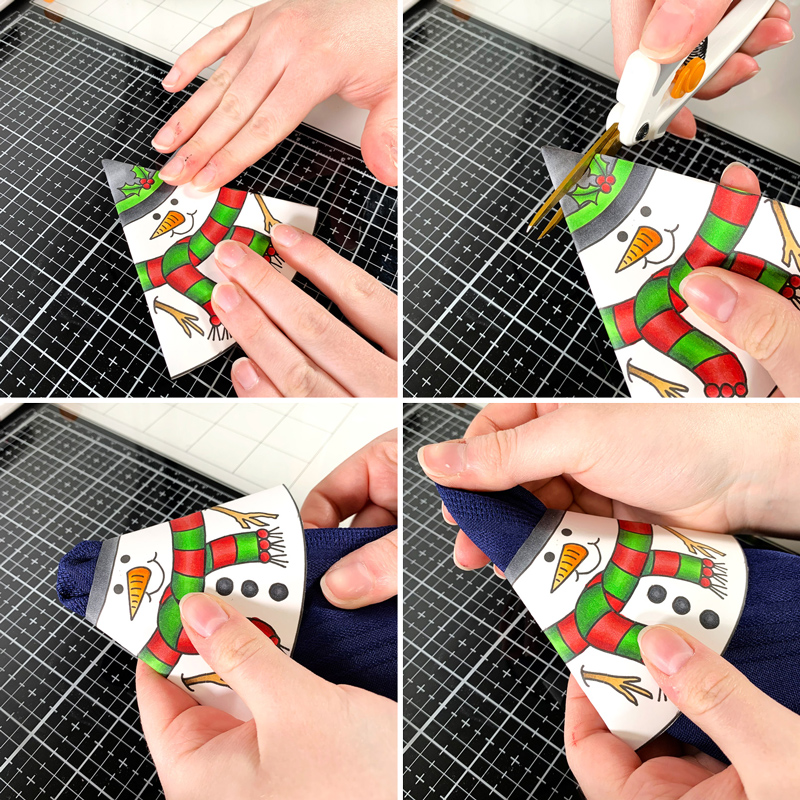
Now all that is left to do is put it onto a napkin! After folding your napkin, place it in the cone and pull it through the top.
And there you have it! Some easy and fun decorative paper napkin rings that are perfect for adding a personalized touch to the dinner table this holiday season!
Thanks for reading. See you next time!
Sasha
Materials Used:
- Colour In Christmas Cones
- Ohuhu alcohol markers
- Glue stick and tape
- Printer
- Scissors

 Free Digital Scrapbooking Template: Winter Trees
Leave a Reply