
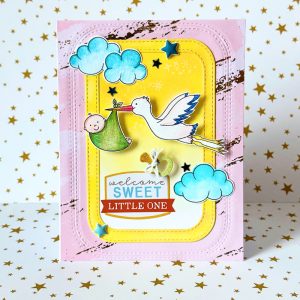


Hello all! I am here sharing a card from the very new release from Kate Hadfield. It’s these super sweet and adorable digital stamps of babies and toddlers. If you haven’t looked at them, please stop by the store to check them out!

Here is a little inspiration for you. I must be honest; I saw the design of this card on Pinterest and wanted to recreate it. We all love our fellow card makers and feel we can always learn and get inspired by our amazing designs. Hope you guys like it.
Step 1: Printing digital stamps
After downloading the stamp set, I usually like to work on the sizes and dimensions on PowerPoint. This helps me plan my designs and the sizes I want them to be printed. Also, I never let a page go to waste, so I always add some extra images (plus it helps me have another design ready, just in case). I printed it using the Neenah white cardstock 80 lb.

Step 2: Coloring the images
I colored the clouds and the stork carrying the baby. The cloud images are from Springity Spring and Signs of Spring digital stamp sets. The Stork and Baby image is from the new collection Bouncing Baby. I used a mix of markers from Arteza and colored pencils from Faber Castell. After coloring, I fussy cut all the images and am now ready to assemble the card.


Step 3: Getting the card base ready
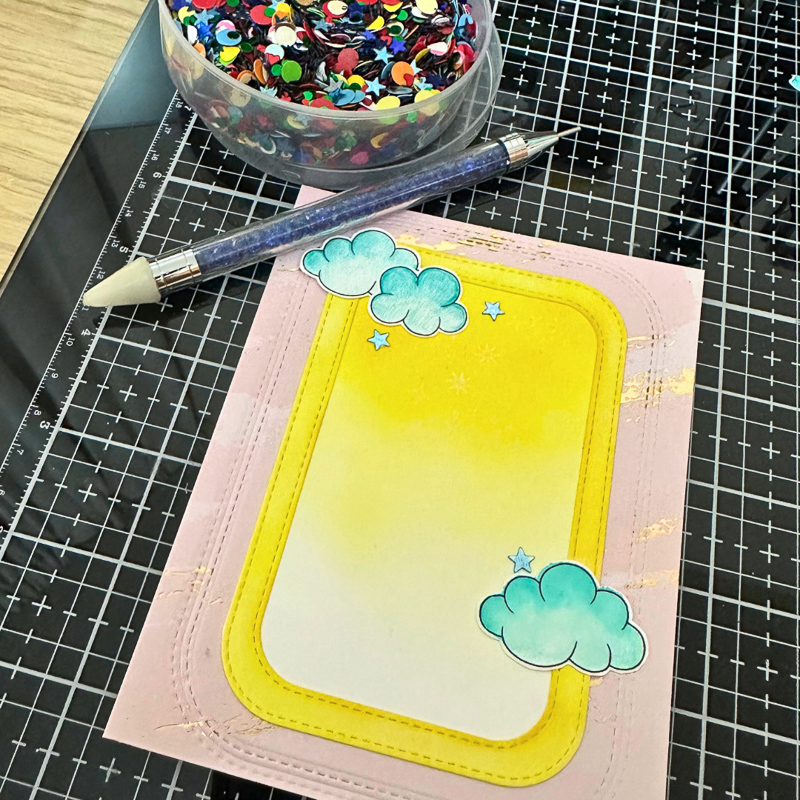
I had these rounded rectangle stitched dies from Heffy Doodle. I used two sizes to die-cut a border. Taking a plain white cardstock, and using distress inks in yellows, I colored in the gradient yellow sky. I also colored the border, but instead of a gradient, I inked the entire panel with yellow. I glued the border over the gradient yellow panel and cut down the paper to match the border. I stamped little white stars using white pigment ink and let it sit aside to dry.


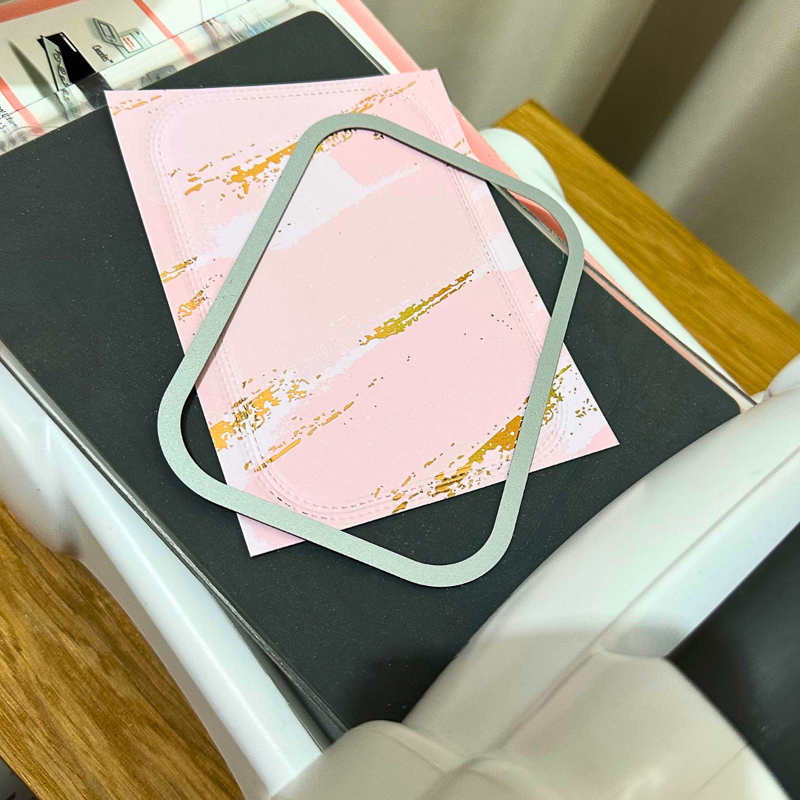
Next, I used this printed pink background from Paper House Productions and cut the panel down to an A2 front base. Using the larger die from the Heffy Doodle dies and using an embossing mat from Sizzix, I dry embossed the stitching onto the printed cardstock for some dimension. I adhered this panel onto a front fold card base.
Step 4: Assembly
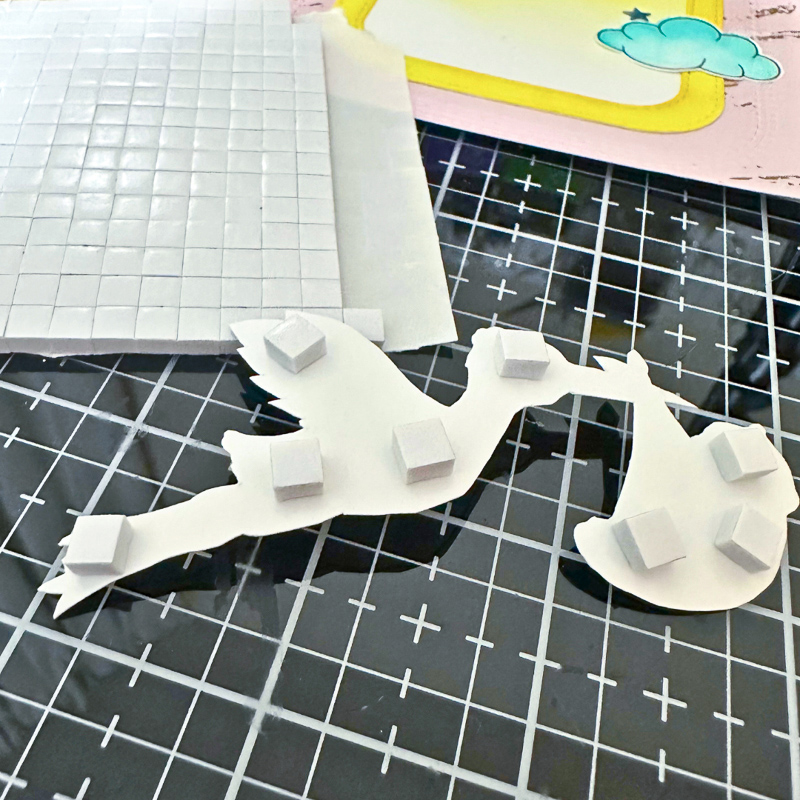
I adhered the yellow panel in the center of the card. Next, I added the clouds some sequence blue stars, and puffy star stickers as well. I added double-sided foam tape to the stork and baby image and stuck it in the center as well. The sentiment is a sticker from Paper House productions, along with the pacifier sticker.
I really liked recreating this card and I kept the colors neutral in case you don’t the sex of the baby. I absolutely loved it and hope this inspired you as well.


Thank you for stopping by!
Kinjal
Supplies Needed:
- Digital stamp sets: Bouncing Baby Stamps, Springity Spring Stamps and Signs of Spring Stamps
- Printer
- Coloring pens/marker/pencils
- Scissors
- Glue/tape
- Foam tape/stickers
- Die machine
- Border dies
- Ink pads and foams/brush
- Stickers
- White card stock


 New Baby swinging card tutorial
Leave a Reply