
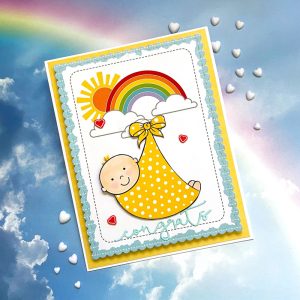


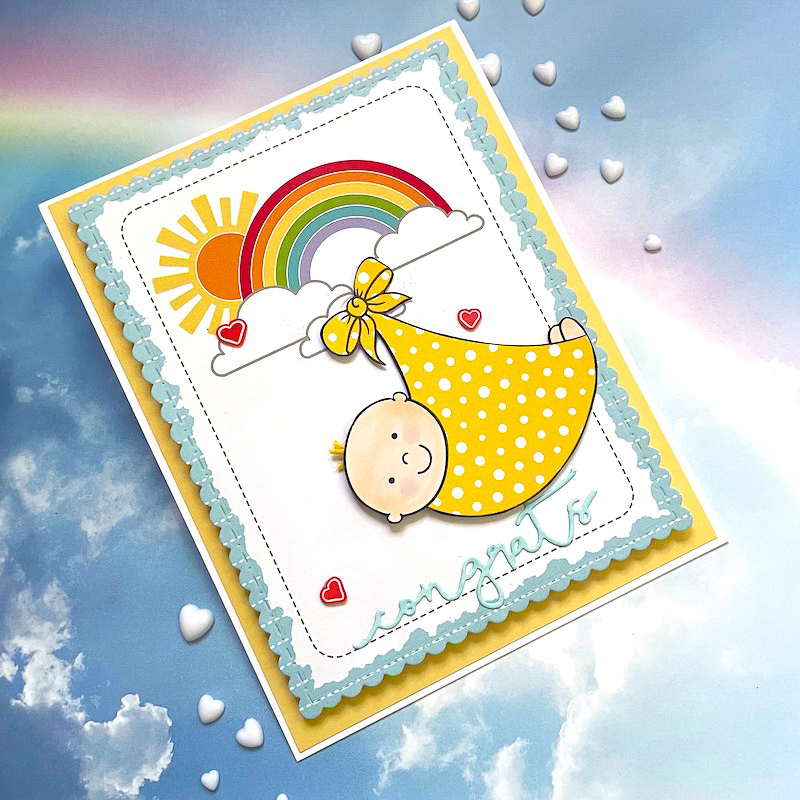
This new release of Babies and Toddlers is so adorable! Today I’ll be showing you how to create a swinging baby card using the Bouncing Baby Stamp Set! This was simply so cute I knew right away what kind of a card I wanted to make! Let’s get started.

I sized and printed out on my computer the same image twice on white card stock.
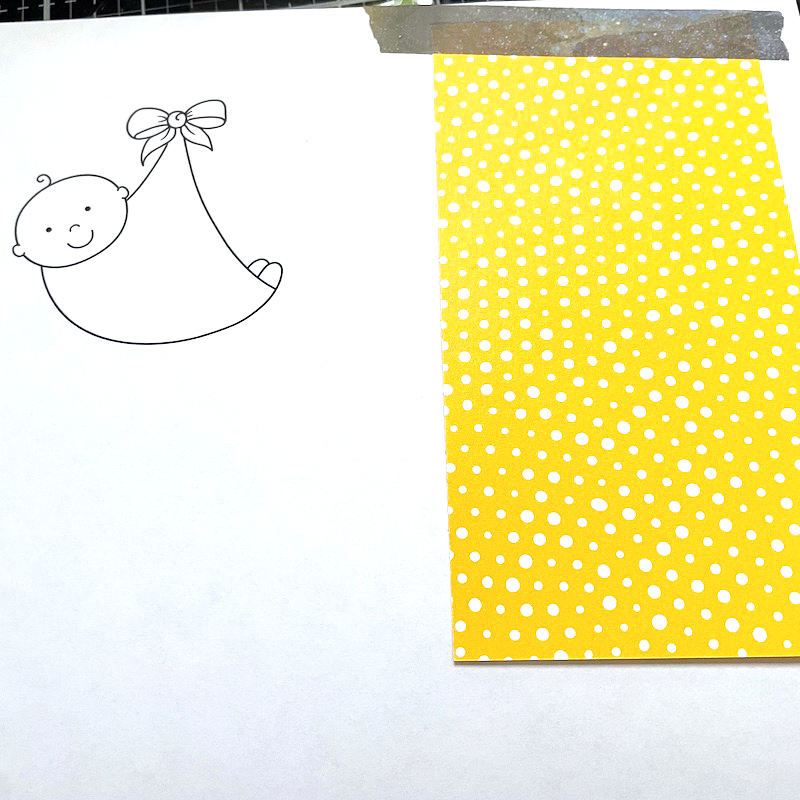
Over one of the images I taped a piece of my patterned paper over the image and taped it down with washi tape making sure it went all the way across the top of the piece.
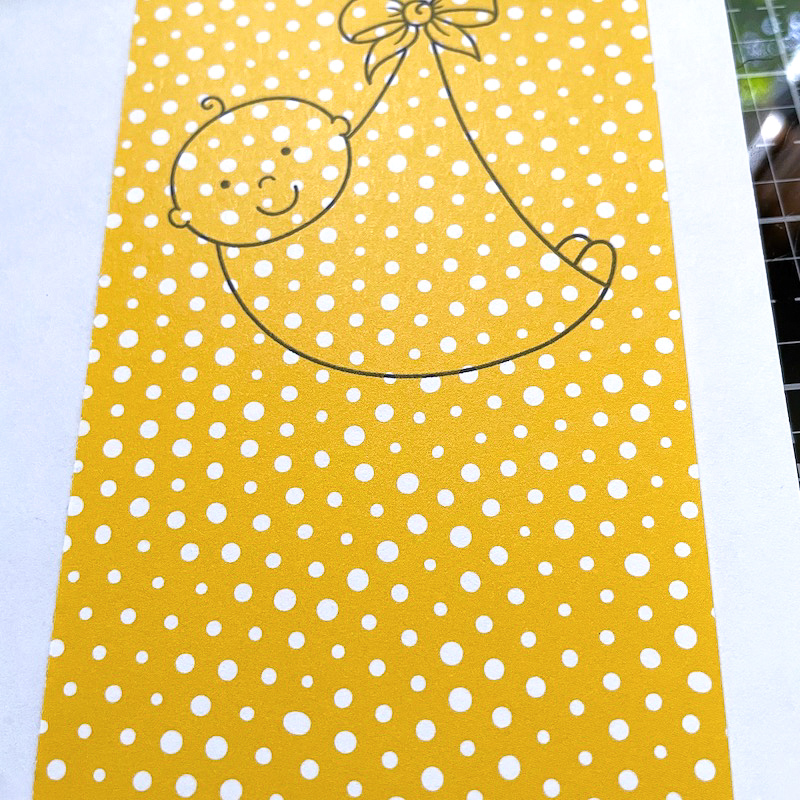
I sent it through my printer again so it would print out onto the patterned paper.
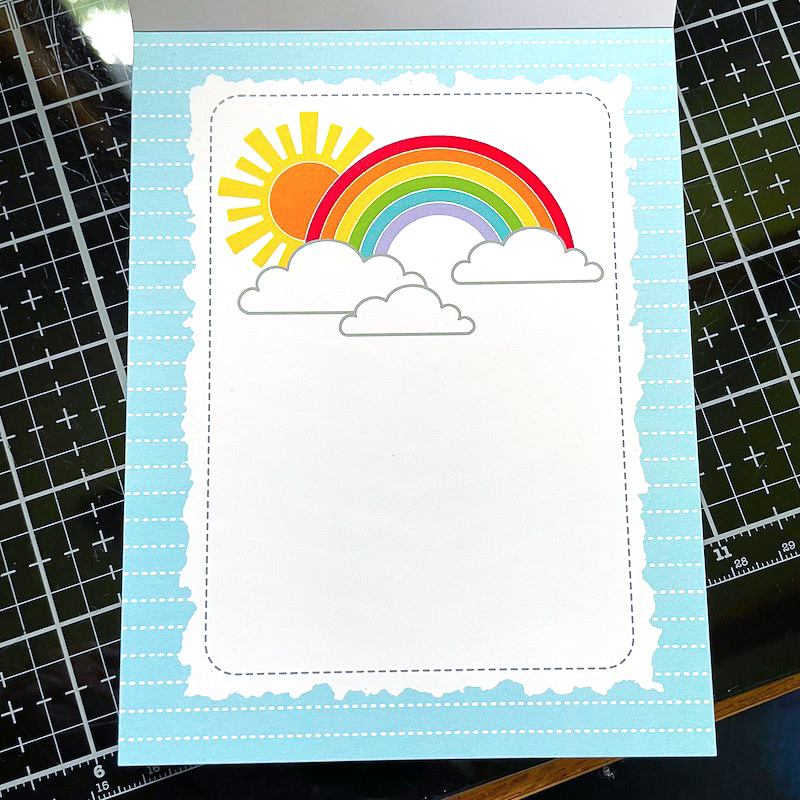
This was my background panel. It was patterned paper, but this could easily be replicated using stamps, dies or stencils.

The baby elements were now printed and ready to be cut.
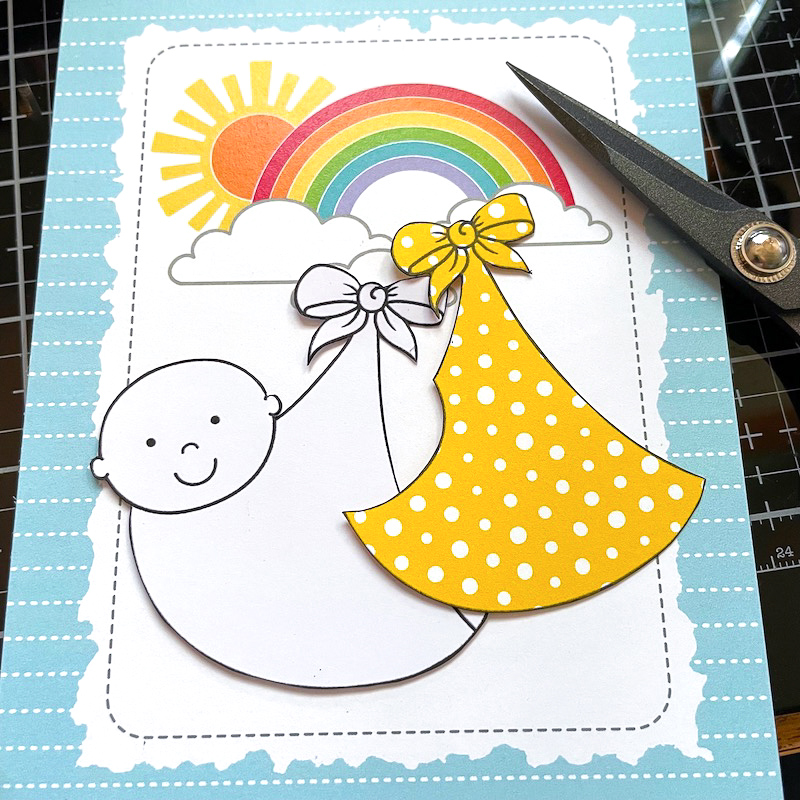
I fussy cut the white baby image and cut off the hair curl. With the patterned paper, I only cut out the blanket portion. I went around the edges of both with a black waterbased marker.

Next I colored the head and feet of the baby printed on the white card stock. I just used a flesh colored alcohol pen for the head and feet and a pale pink for the cheeks.
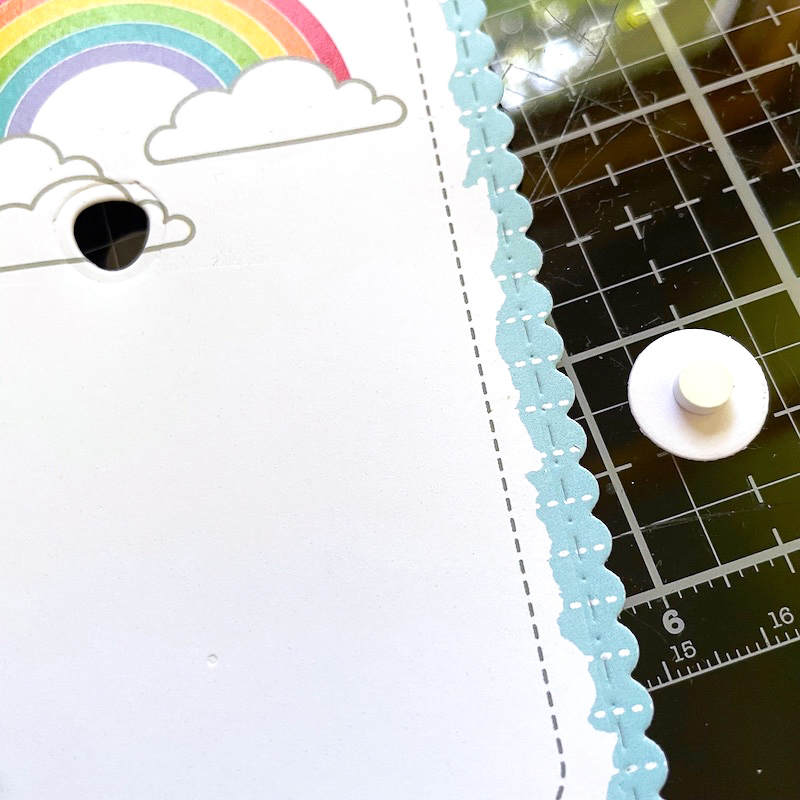
Using a small sort of round die I die cut a hole in my background paper. I took my small round spacer and glued it to a bigger die cut circle and glued it on top. A small round button could be used for the spacer – it just needs to be small ¼” and round. The die cut hole has to be big enough for the spacer to fit in it loosely, but small enough so it can be covered by the bow in the blanket.

This is how the swing piece should look – it’s not glued to the back of the panel.

I put a tiny dot of strong liquid glue (a glue dot would work as well) on top of the little spacer and adhered the baby piece to it. I also used little pieces of yellow twine for hair on the baby, gluing the twine to the back of the baby’s head.
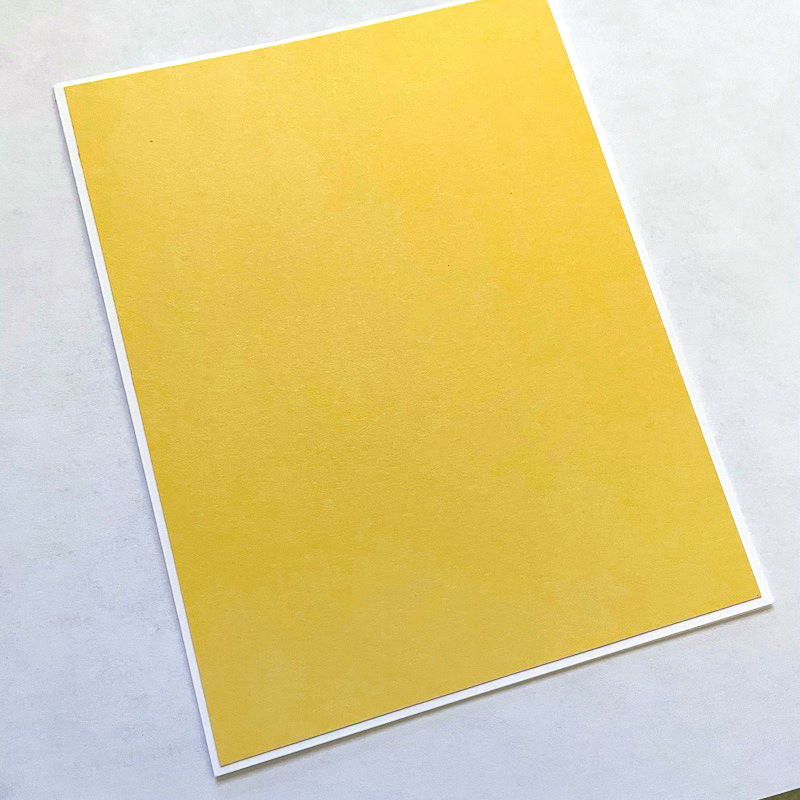
I made a white top folding A2 size card base and adhered a piece of coordinating yellow card stock measuring 4 1/8” x 5 3/8” on top.

I die cut a small sentiment from a scrap of white card stock and colored it with a coordinating aqua alcohol marker.
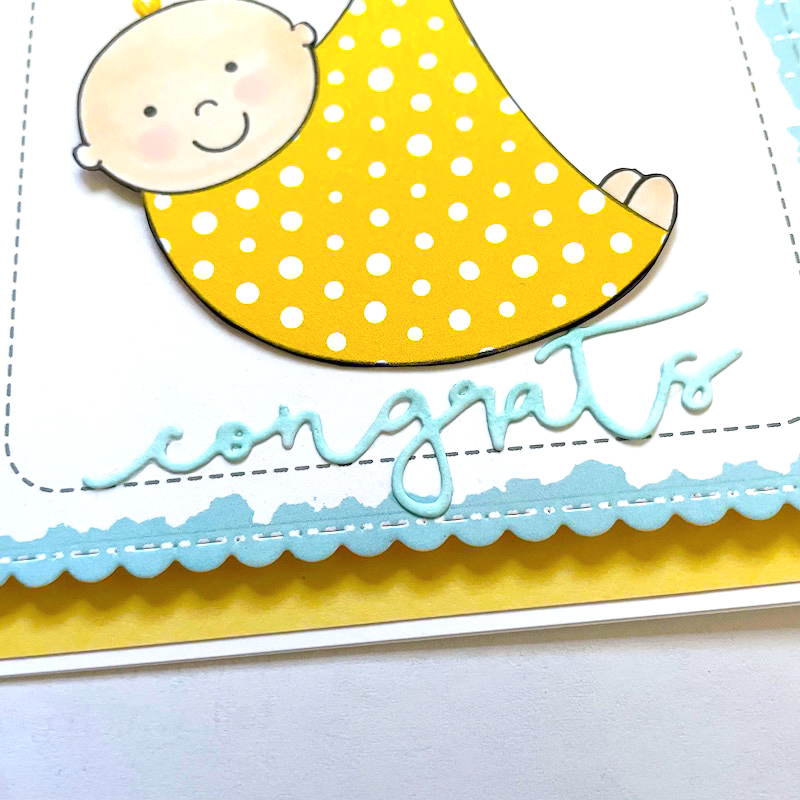
I glued this along the bottom of the top panel. In order for the mechanism to swing freely, I needed to put foam tape on the back, avoiding the swing mechanism. I added some red clay hearts and that finished my card!

Thanks for reading, I hope you enjoyed learning how to make this fun swinging card!
Betsy
You can find me on Instagram: @betsybirgeart
Supplies used:
- Bouncing Baby digital stamp set
- White card stock
- Yellow patterned paper
- Background paper
- Yellow card stock
- Alcohol markers for baby head, feet and sentiment
- Tiny Round Die
- Small ¼” spacer or button
- Foam tape
- A2 size top folding white card base
- Clay hearts
- Waterbased black marker


 All The Family collection part 1
Leave a Reply