
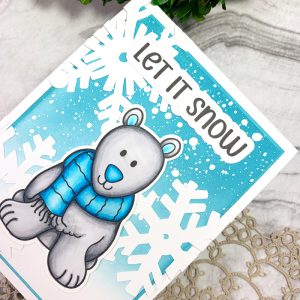


Hello everyone! With the busyness of the holiday season over, what better way to keep in touch with friends and family than with a winter-themed greeting card?

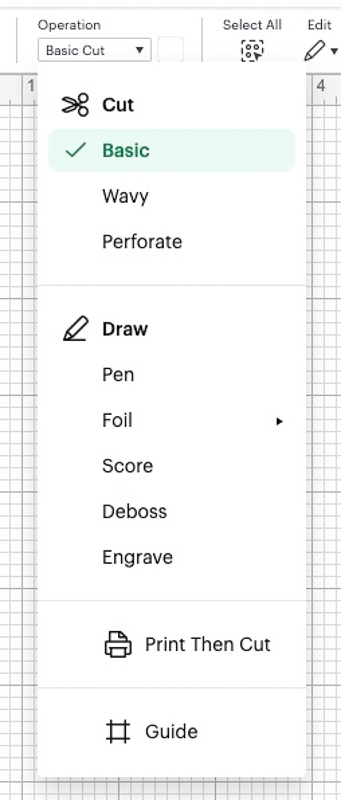
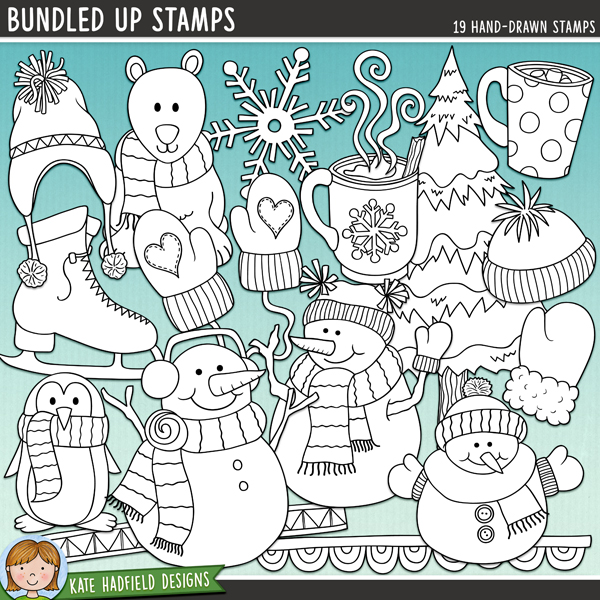
Using the “Bundled Up” digital stamp set, I first uploaded the images I wanted to use for this project into Cricut Design Space. For this card, I used the polar bear image and snowflakes 1, 2, and 3. For the snowflake images, I changed the operation of the images from “print then cut” to “basic cut” using the Edit Bar in Cricut Design Space. This way, I could cut the snowflakes from plain, white cardstock.
Once uploaded, I planned my card design by sizing and arranging the elements in Design Space. This helps me visualize the card’s layout better and start my project with a plan in mind. I am making a US A2-sized card measuring 5.5” x 4.25”.

Also, to compliment the planned winter theme of my card, I chose a sentiment to match.
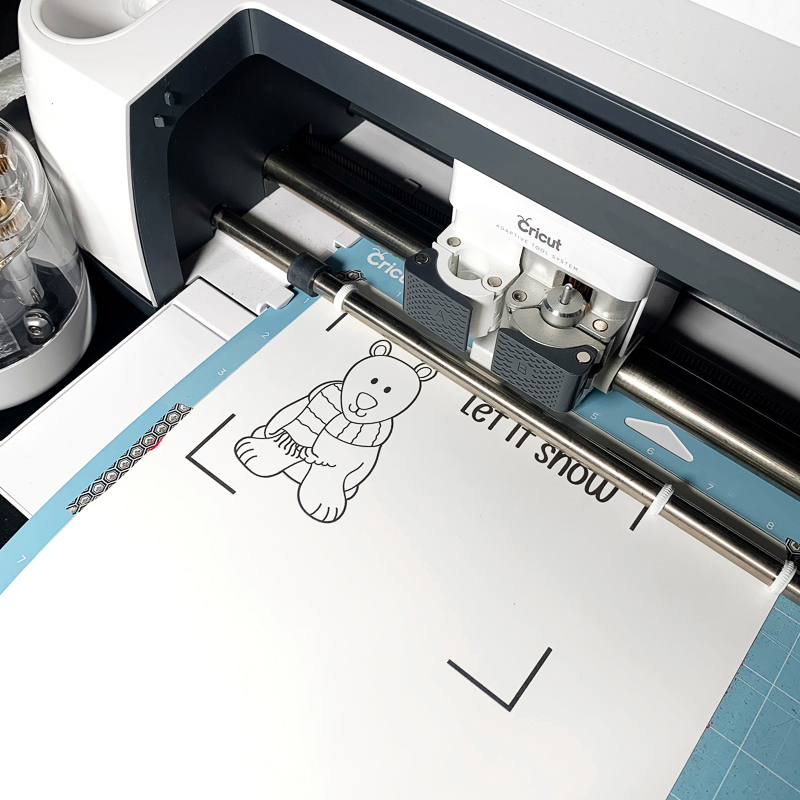
After planning and now that all the elements are ready, I used the “print then cut” feature for the polar bear image and sentiment and the “basic cut” feature for the snowflakes. I printed the polar bear image on 100lb Hammermill Cardstock – a smooth cardstock perfect for blending with alcohol markers!
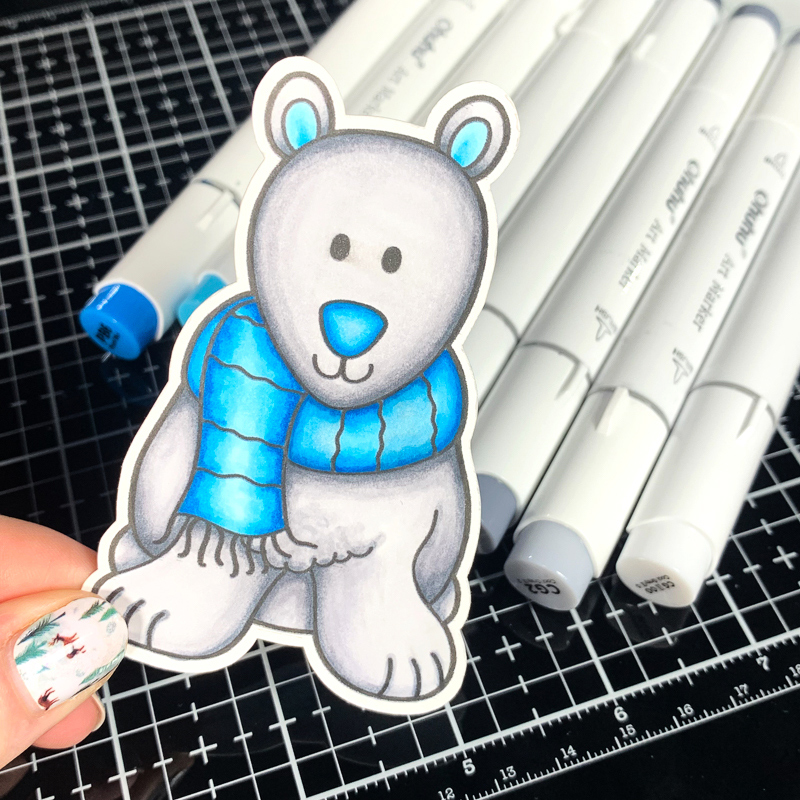
Now, on to the colouring! I used the following Ohuhu Alcohol Markers to colour the image:
Bear: CG II 00, CG2, CG5, CG II 07
Scarf, nose, and ears: B030, B050, B070, PB6
To create the card’s background, I trimmed a piece of white cardstock to be smaller than the size of my card. This card panel measures 5” x 3.75”.
I then used Broken China Distress Oxide to ink-blend a background with a subtle fade to white. Since I had my ink out, I also ink-blended a matching mat for the card. A matching piece of cardstock would also work great for this.

To create a snowy effect, I splattered the ink-blended background panel using white paint. It’s important to allow the paint time to dry, or a heat gun can also be used to speed up the drying process.
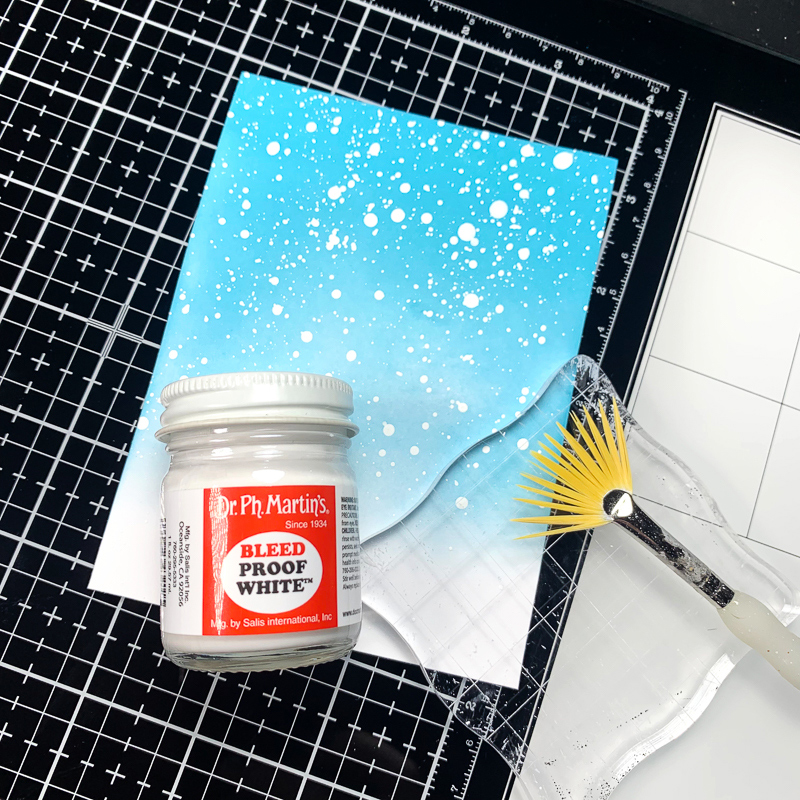
Now, it’s time to glue everything together! Using liquid adhesive, I first started by gluing the card panel to the matching mat and then the mat to the card base. From here, I could then easily glue the snowflakes before gluing the sentiment and image on top.

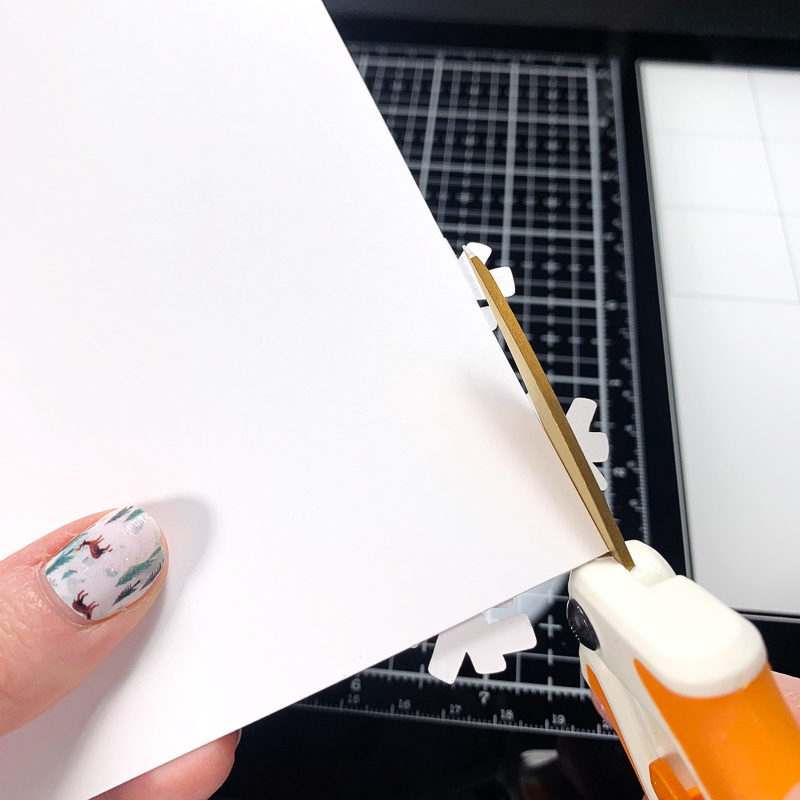
To finish the card, I trimmed the excess snowflakes overhanging it.
Ta-da! That’s the finished card project!


Thank you all for reading. I’m incredibly excited to join Kate’s creative team – I look forward to sharing my projects and crafty tutorials with all of you!
Make sure you bundle up this winter! See you next time!
Sasha
Materials Used
- Bundled Up digital stamp set
- Hammermill 100lb cardstock
- Basic white cardstock
- Ohuhu alcohol markers
- Broken China Distress Oxide
- White Paint
- Liquid adhesive

 Floral Winter Wishes card tutorial
Leave a Reply