

Part sketch, part template
As I mentioned earlier, you can create your own template in Craft Artist by using Craft Artist’s own tools and the template preview as a guide. Here’s how to do it:

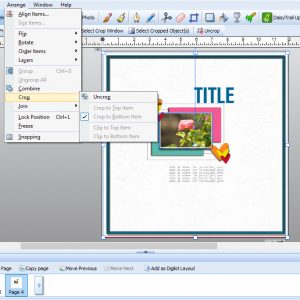
As you can see, I have put the preview on the work space and will work from that. I have clicked on the shape menu and chosen a photo I want to use and used a Quick Shapes as my photograph guide. Next I add a background paper and use one of the PNGs for an effective border.


I also really like the fine lines from the PNGs and add them to my page. Now loosely just following the sketch (the preview) I will build up the page using my elements and papers and adding them to match the preview design. Here is my finished layout:

I looked at the preview and placed the elements and papers in the same places as in the preview, then I used the Craft Artist shadow tool to give my page shadows. The border is actually one of the border PNGs from the template (and what a great effect that has!) as are the fine lines around the photo area. So, if you do not have the patience to use all the PNGs from a template, you can still use the template as a basis for your page design and add any decorative PNG layers you want to create your page.
I hope this helps you understand a few ways of using templates in Craft Artist. Have fun!

 Fantabulous Fall
Leave a Reply