
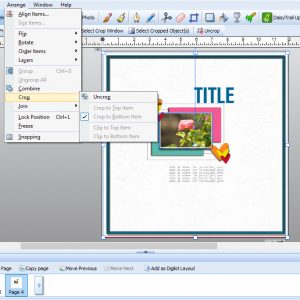

Now the next part is a bit time consuming, but only until you get the hang of it! Place each PNG inside your box one at the time, using your red lines as a guide to make sure they line up. It is important that all corners match when placing the PNGs.
Use the preview as a guide to the finished look as it can get confusing, especially if the template has a lot of layers! Be aware that because of the nature of computers and unzipping, the PNGs might not be in your photo tab in the right order. Start from the top and work your way down. Kate’s templates come with numbered PNG files so it’s easier to add them in the right order, start with the lowest number (usually the background paper) and add them in numerical order. You can always refer back to the folder of PNG files to help you with the order if you get stuck.
If you find that a layer in not in the right place in the stack (like the paper background in the example) use the Arrange tools to reorder them. You can call the arrange tools up two ways: either by having selected the item then right click > order items, then send to back or back one etc, or from the Arrange option on your right, close to the layers tab.

It can be really fiddly to see exactly where the lines are after a while, so I made the screen picture larger by using the bottom slider.

Note: Craft Artist has such a good shadow tool that I would prefer to use that instead of the PNG shadows but since this is a tutorial I have included the shadow layers here. Normally I would not add those layers and instead I would add the shadows last using the shadow tool from the top bar menu.

Now for the fun bit!
Select all the PNGs using the select all tool in the edit menu. First clear the workspace of any clutter, because it really will select ALL! Now drag your selected elements to the full size of your page, don’t forget you can use the undo button if it does not work the first time.


Now you have finished creating the template and can start to add your own papers, photos and elements to create your scrapbook page.

 Fantabulous Fall
Leave a Reply