
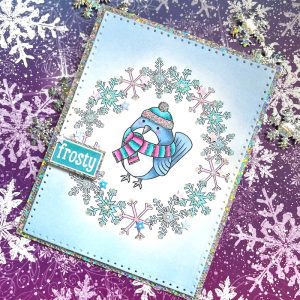


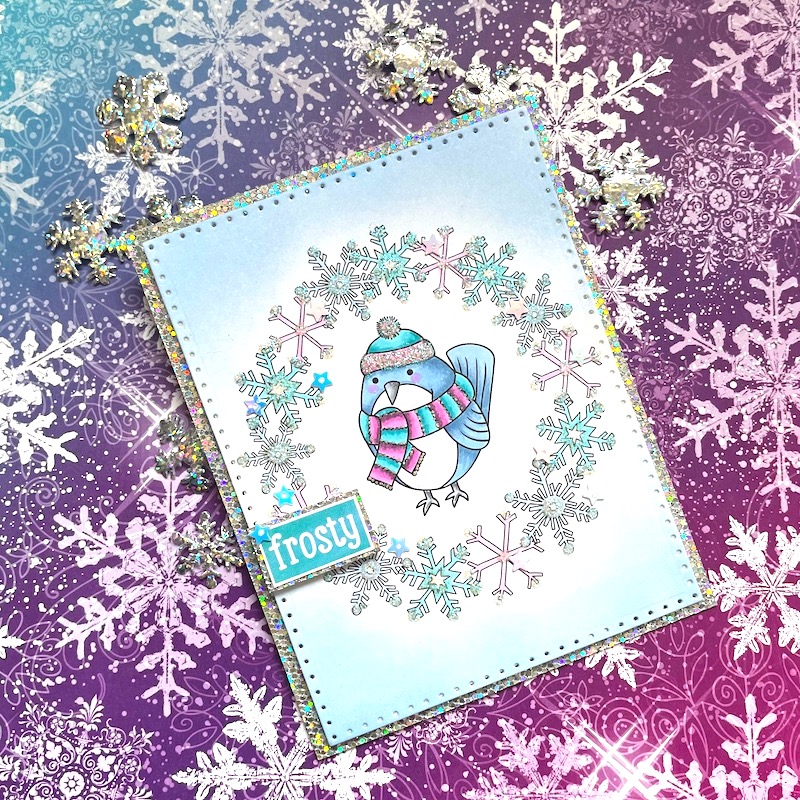
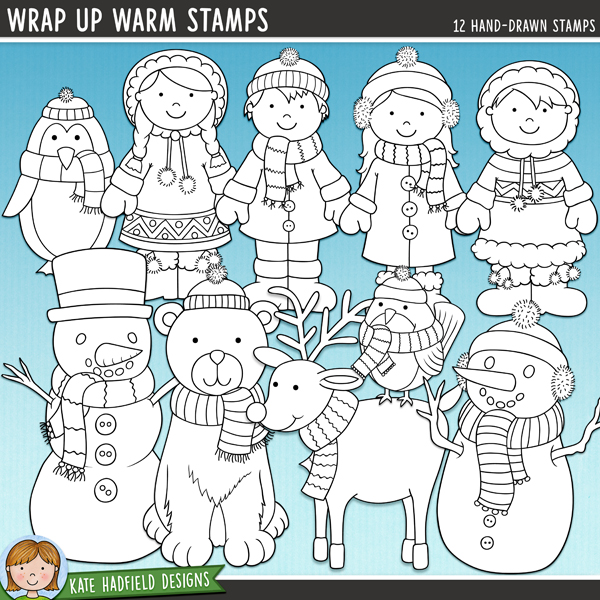
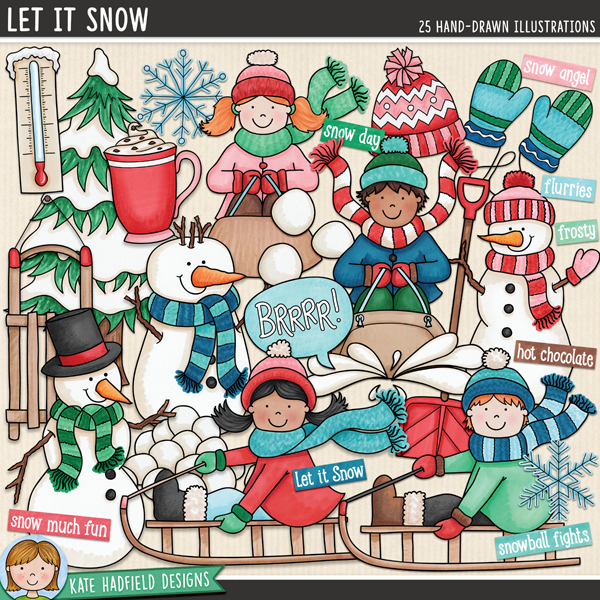
Hello everyone! Hope you are staying warm as we head into another month of winter! While I don’t love the freezing temperatures, I do enjoy making winter cards and for today’s project I’ll be working with the following collections: Wrap Up Warm stamp set, Bundled Up stamp set, and Let It Snow clip art set!
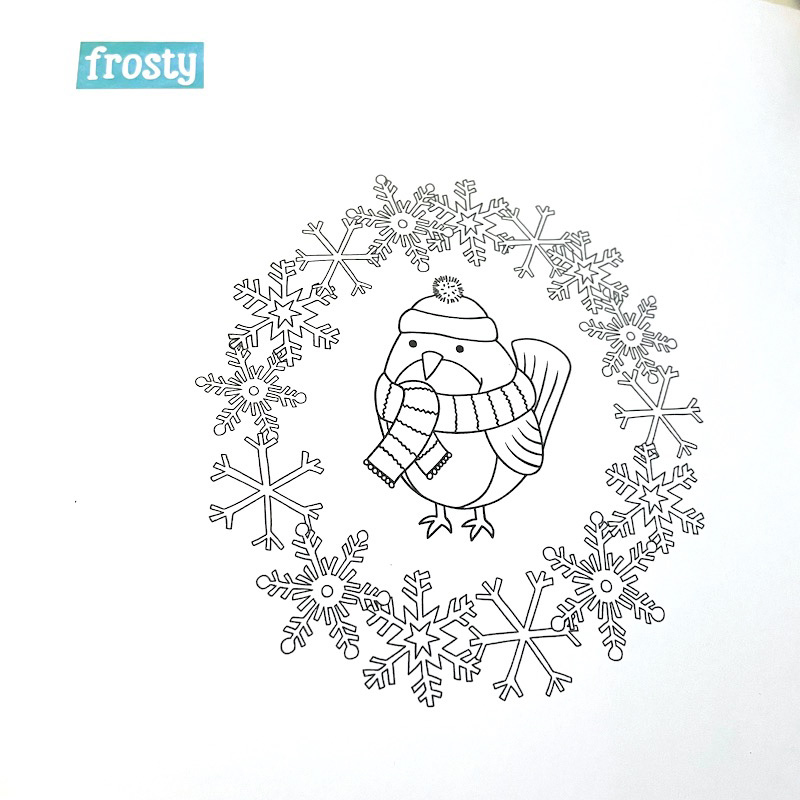
To begin I composed and printed out my image for the card front along with the “Frosty” sentiment that already was colored onto white card stock.
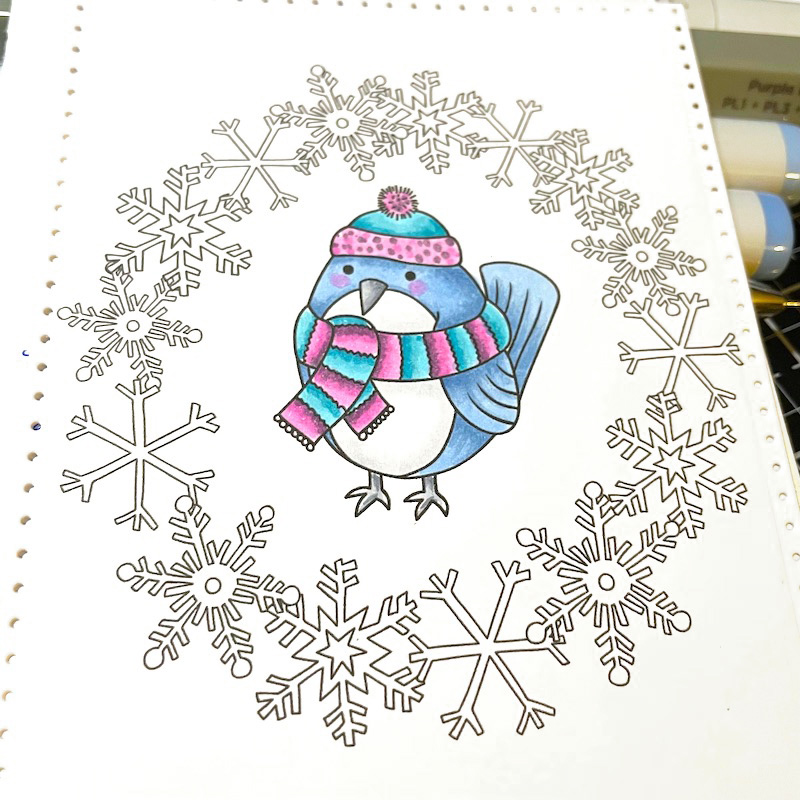
I decided to die cut the front panel before coloring. I used a die from my stash to do this.
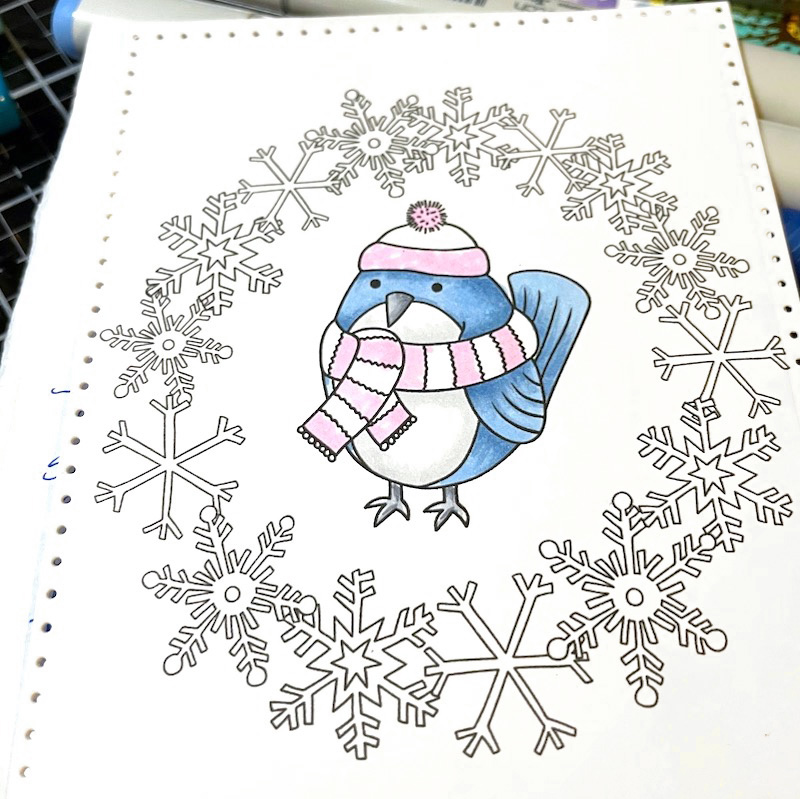
Since the “Frosty” already had color, I went to Google images and found a winter color palette that included the teal of the “Frosty” and colored the image with my Copic Markers. I basically chose 3 color families and a gray. Copic Colors used: BG01, BG53, BG07, B21, B34, B45, C0, C2, C3, C5 and a Spectrum Noir Brush Pen in the Purple Blend.
I wasn’t sure how far I would go with sparkly bits at this point, but I started with a silver glitter gel pen on the scarf and the rim and pom-pom of the hat.

I felt the card really needed something on the top and bottom rather than just white card stock. So I ink blended with a brush a soft blue matching ink. I love the effect of that inking. I decided I needed to add some glitter glue at this point, so I put it on the hat rim and pom-pom and in the centers and on the ends of the snowflakes.
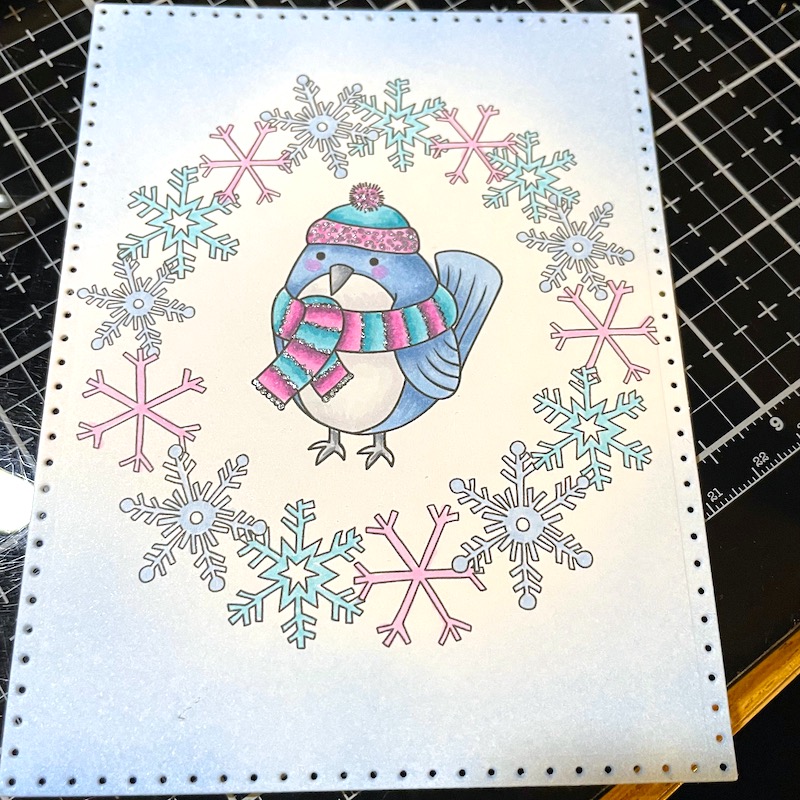
While that was drying, I covered an A2 size panel with some extra-sparkly glitter paper. I also backed the sentiment. When everything was dry I adhered my main panel onto the card front with adhesive backed foam. I adhered the “Frosty” on the left side of the wreath of snowflakes with a few foam squares. My last touch of sparkle was adding some iridescent stars amongst the snowflakes.
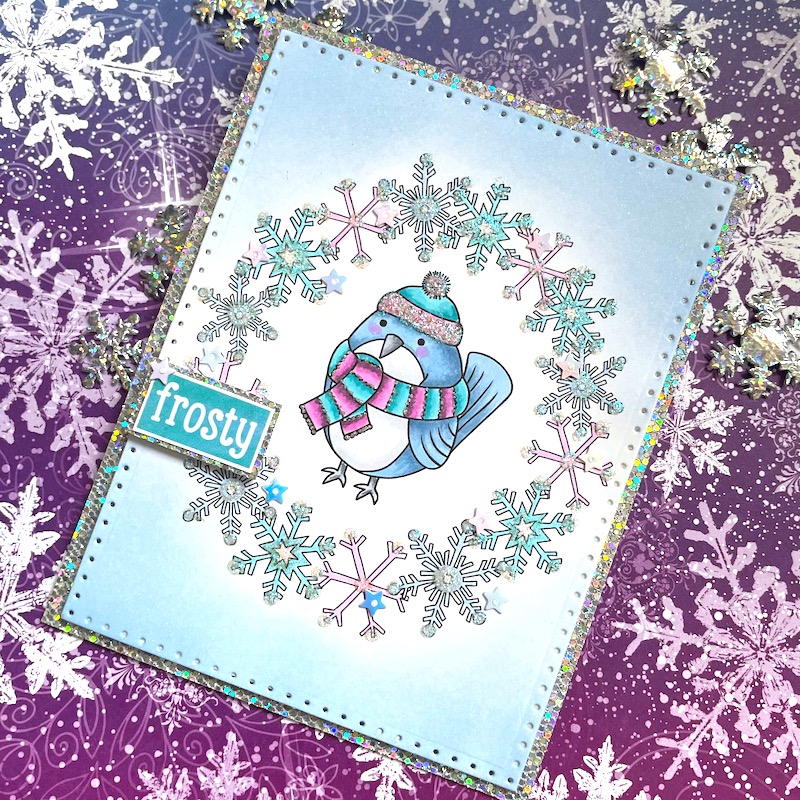
I hope I’ve inspired you to being a little sparkle to otherwise grey, snow-filled days!
Betsy
You can find me on Instagram: @betsybirgeart
Materials Used:
- Wrap Up Warm Digital Stamps
- Bundled Up Digital Stamps
- Let It Snow
- White cardstock
- Copic markers
- Silver glitter gel pen
- Blue ink
- Silver glitter glue
- Glitter paper
- Adhesive backed foam
- Iridescent star sequins

 Lovey Dovey Gift Tags
Leave a Reply