
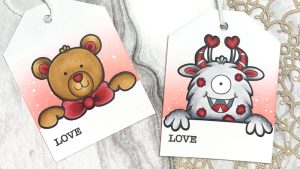

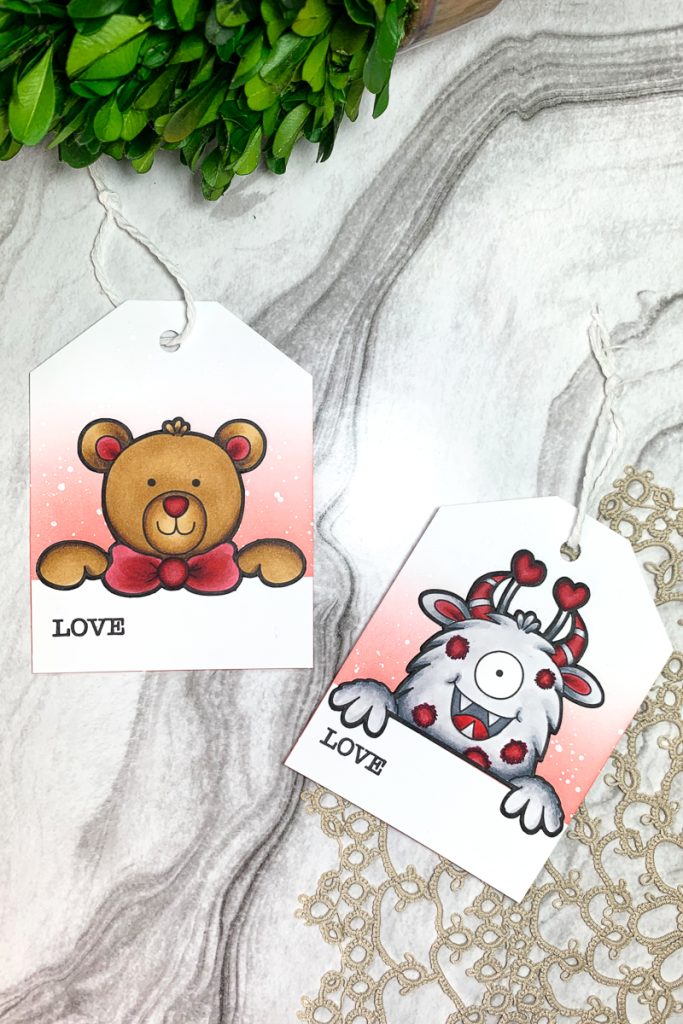
Making handmade gift tags is the perfect way to add a unique and personal touch to any gift you give this Valentine’s Day – and they’re so easy to make!

Using the Lovey Dovey Toppers Digital Stamps, I first uploaded a few of the images I planned to use for this project into Cricut Design Space. The Lovey Dovey Toppers Hand Drawn Illustrations Set featuring pre-coloured images is also a great option for those short on time.
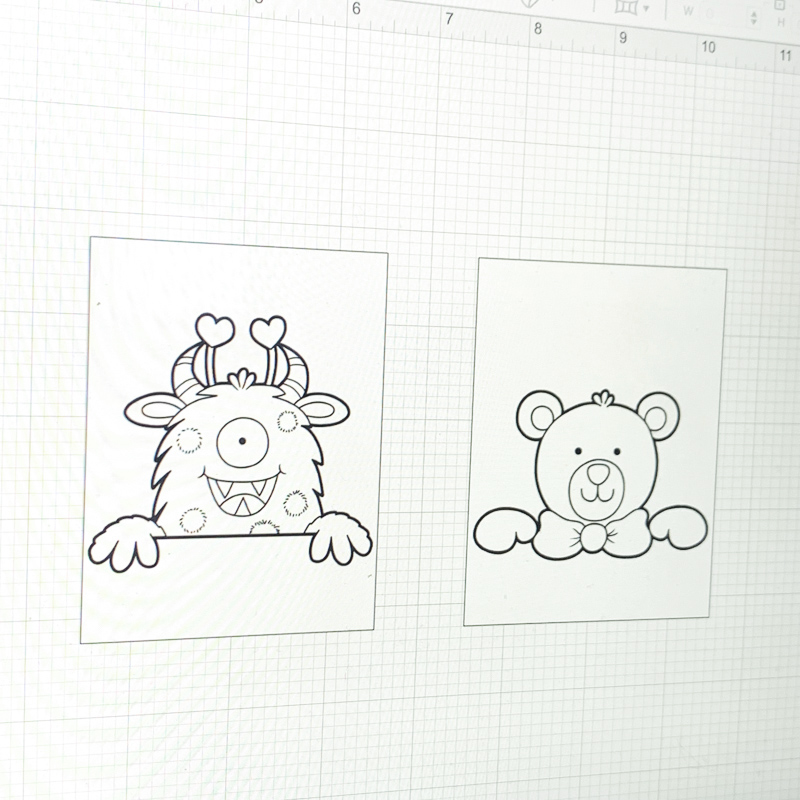
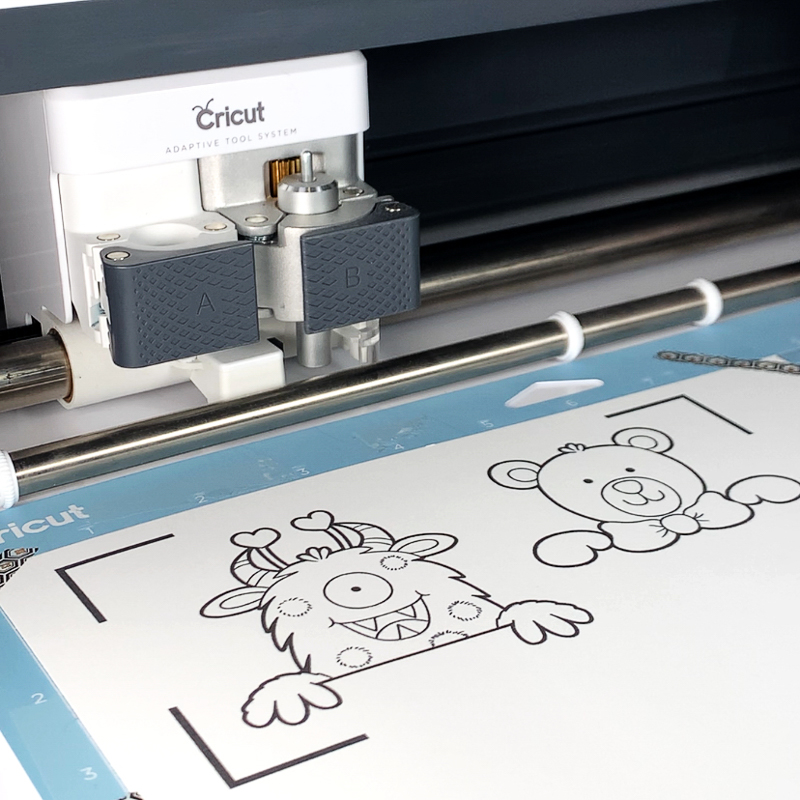
Once uploaded, I resized the images to be the appropriate size to fit a 3″ x 4″ gift tag. To ensure the images were sized correctly, I used a rectangle image of the same size in Cricut Design Space to act as my guideline. When I was happy with the sizing of the images, I used the Print then Cut feature on my Cricut machine to cut out the images. I printed the images on 100lb Hammermill – my go-to cardstock when working with alcohol markers!
To colour the images, I used the following Ohuhu Alcohol Markers:
- Brown bear: E220, E240, E260, E310, E430
- Grey Monster: CGII00, CG2, CGII04, CGII07
- Red for both: R1, R2, R7, R8
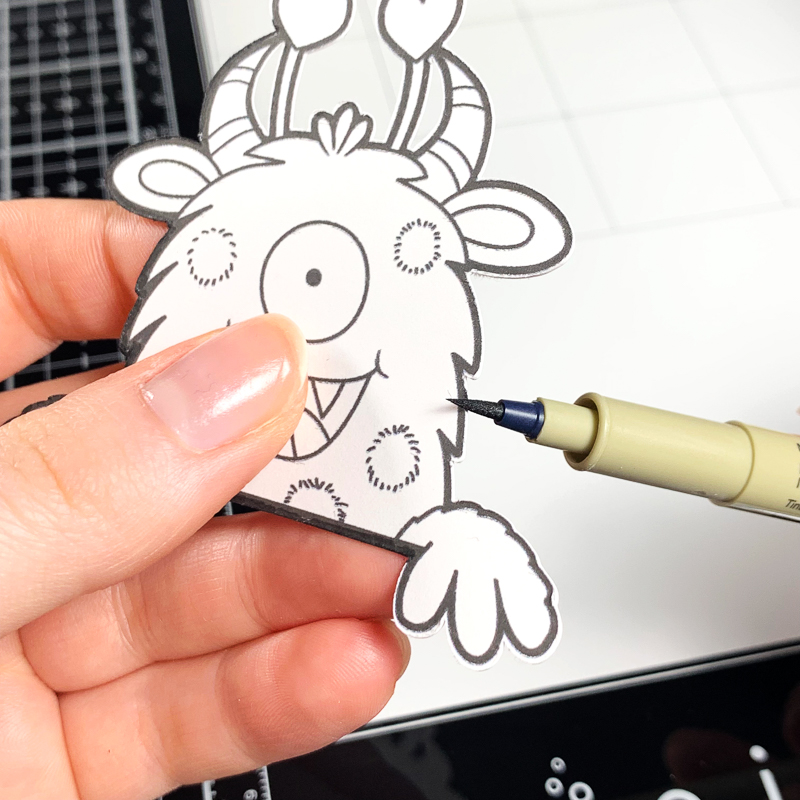
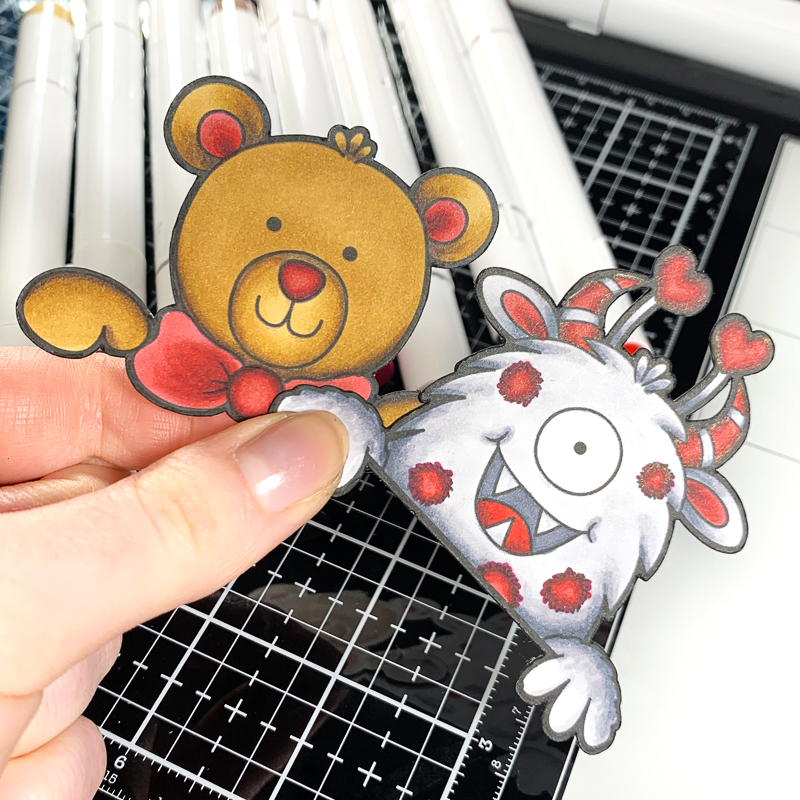
Now that the images are coloured and ready to go, we need to make the gift tags. I started by trimming my cardstock to measure 3″ x 4″. Then, using a pencil, I added small guidelines to help cut the edges of the tag. I achieved this by first marking a line at the top of the tag in the middle (1.5″) and then marking an even distance on either side of the middle line (at 1″ and 2″). I then added a marking on both sides of the tag (at 0.5″) and trimmed the tags following these guidelines. I also hole-punched the tags.
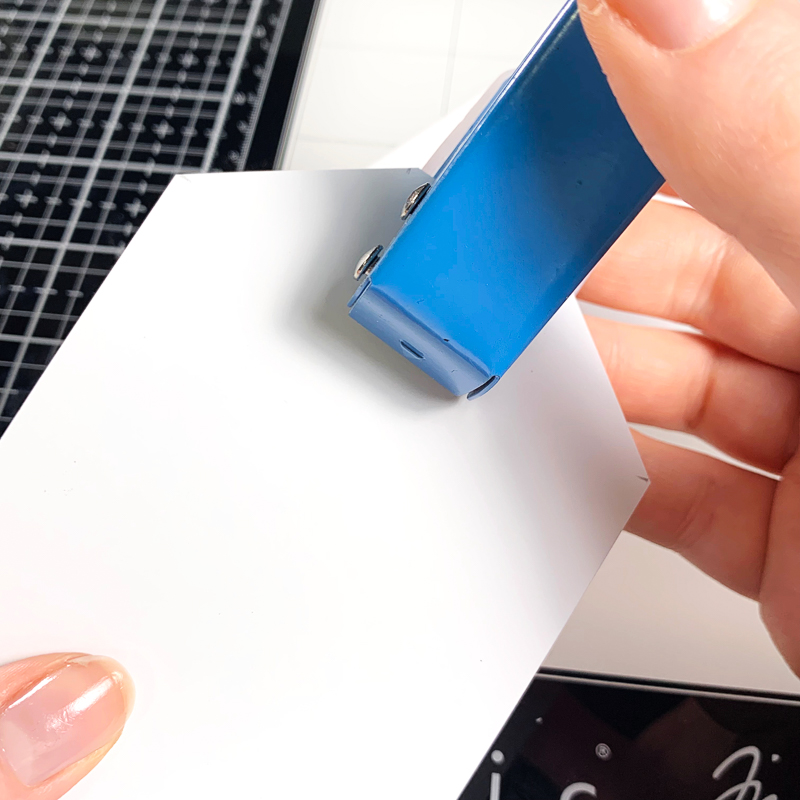
In addition to the tags, I also trimmed small rectangles of white cardstock measuring 1″ x 3″ so that the toppers have something to hang onto – this is also where we will put our sentiment!
To create the tag’s background, I ink-blended Candied Apple Distress Oxide to add some subtle colour blend and splattered it with white paint.
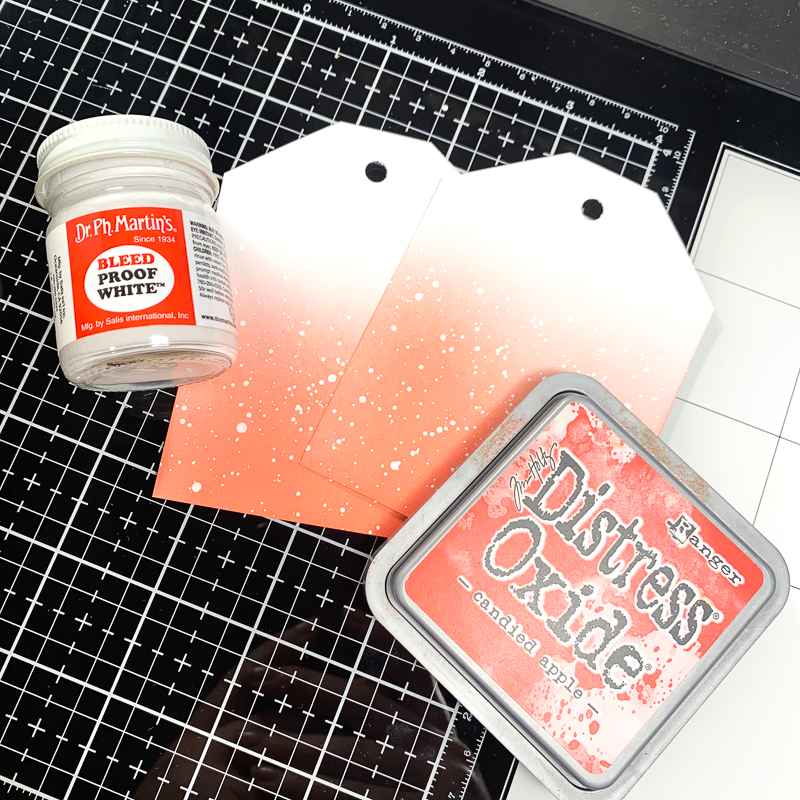
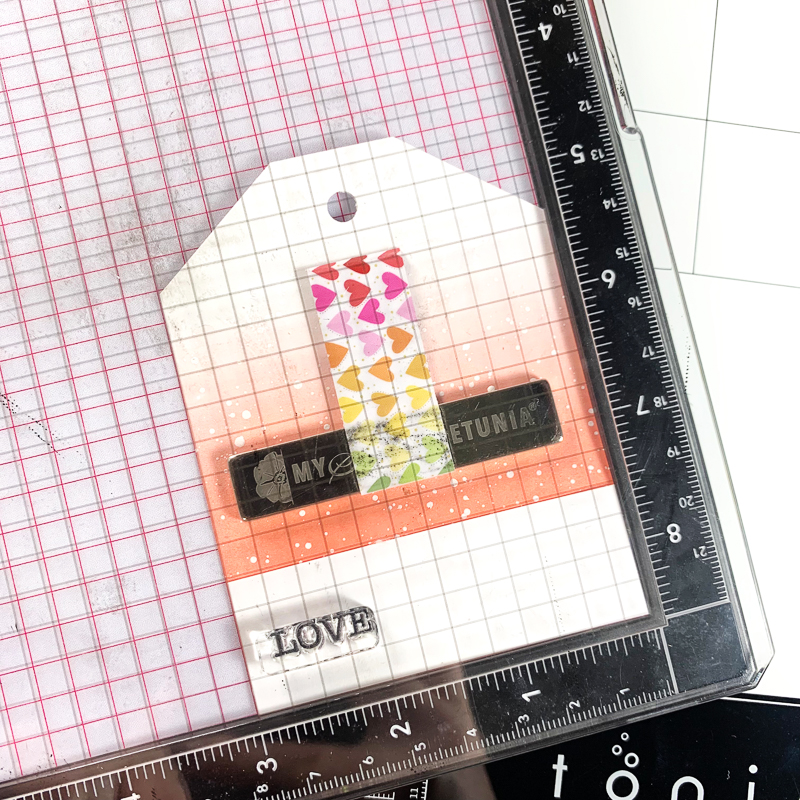
With the backgrounds of the complete, I adhered the topper images and white cardstock strip to the tag using adhesive glue and stamped a “Love” sentiment at the bottom of the tags.
Lastly, to complete the tags, add whatever ribbon, twine, string, etc. you would like. For my tags, I went with white twine.
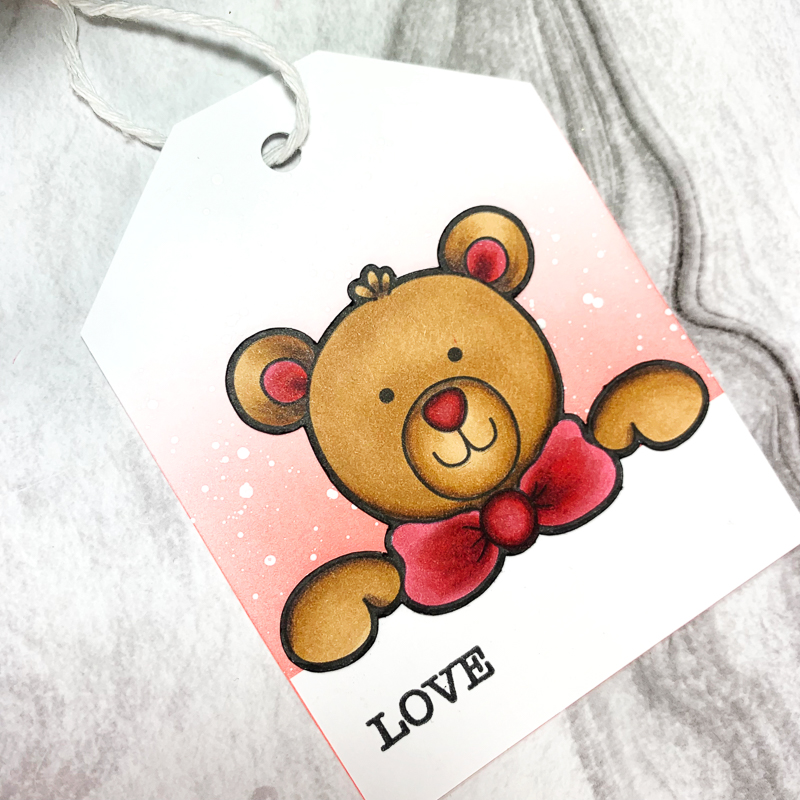
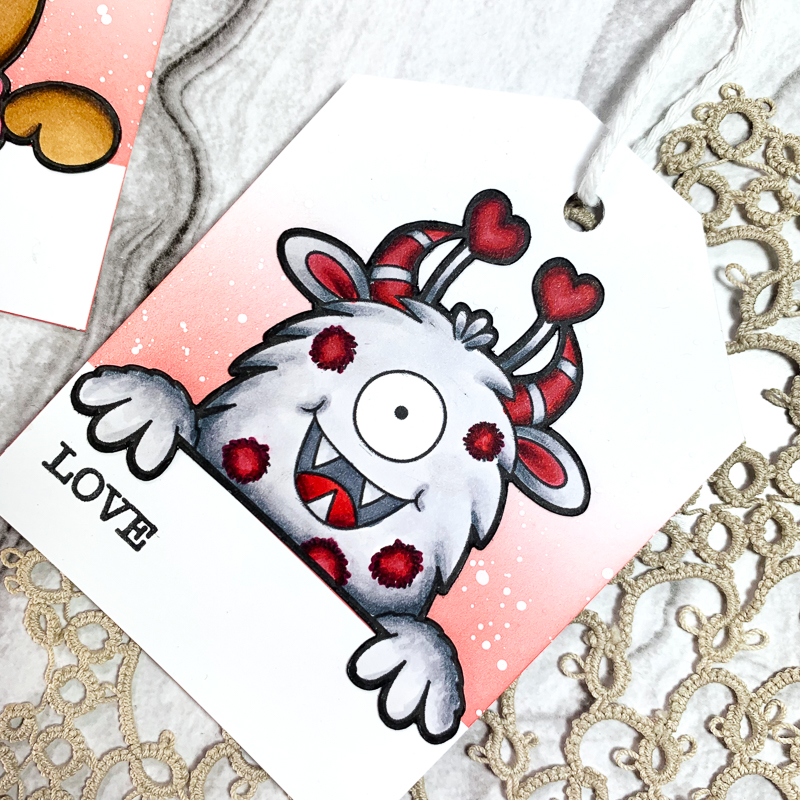
Ta-da! That’s the finished project!

Thank you all for reading! See you next time!
Sasha
Materials Used
- Lovey Dovey Toppers Digital Stamps
- Hammermill 100lb Cardstock
- Basic white cardstock
- Ohuhu alcohol markers
- Candied Apple Distress Oxide
- White paint
- Liquid adhesive
- “Love” Stamp
- Stamping platform
- Black ink


 Free Digital Scrapbooking Template: Hearts Galore
Leave a Reply