
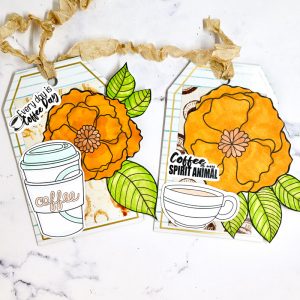

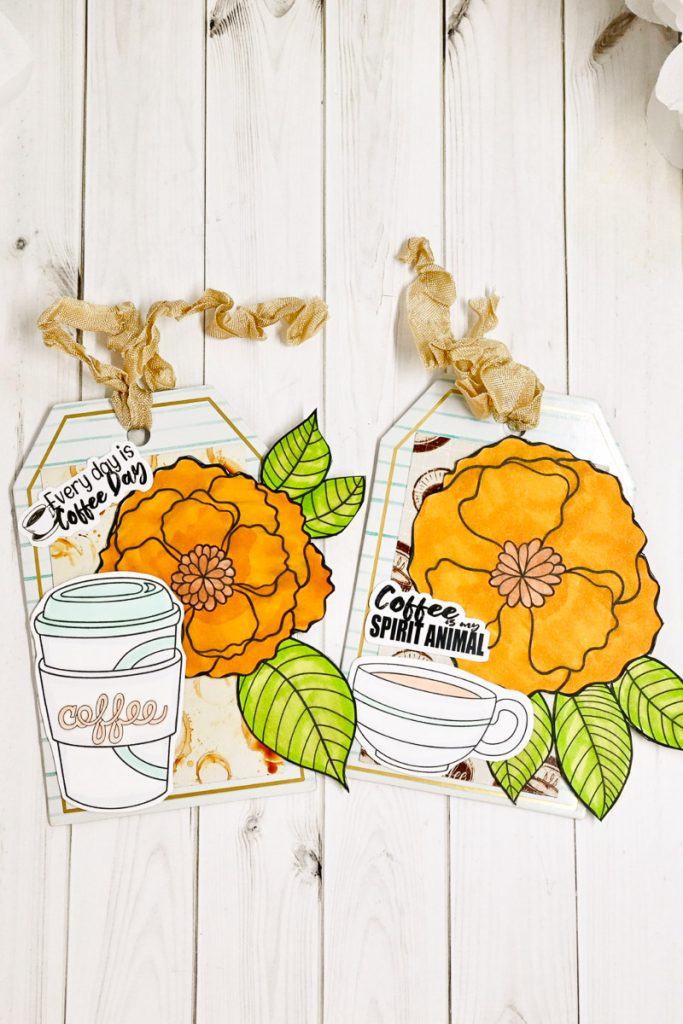
Hello everyone. Von Marie here with some fun tags. Perfect for Coffee or Tea. I love to give coffee and tea and it’s nice to put a fun package together with a homemade tag. Let me show you how I made these tags.
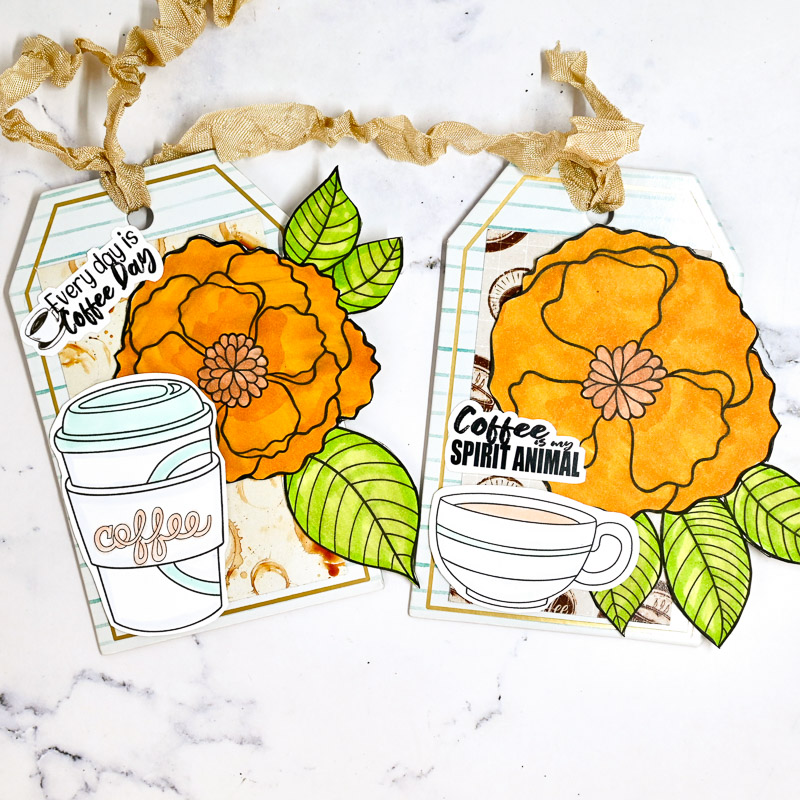
How to make these coffee gift tags:
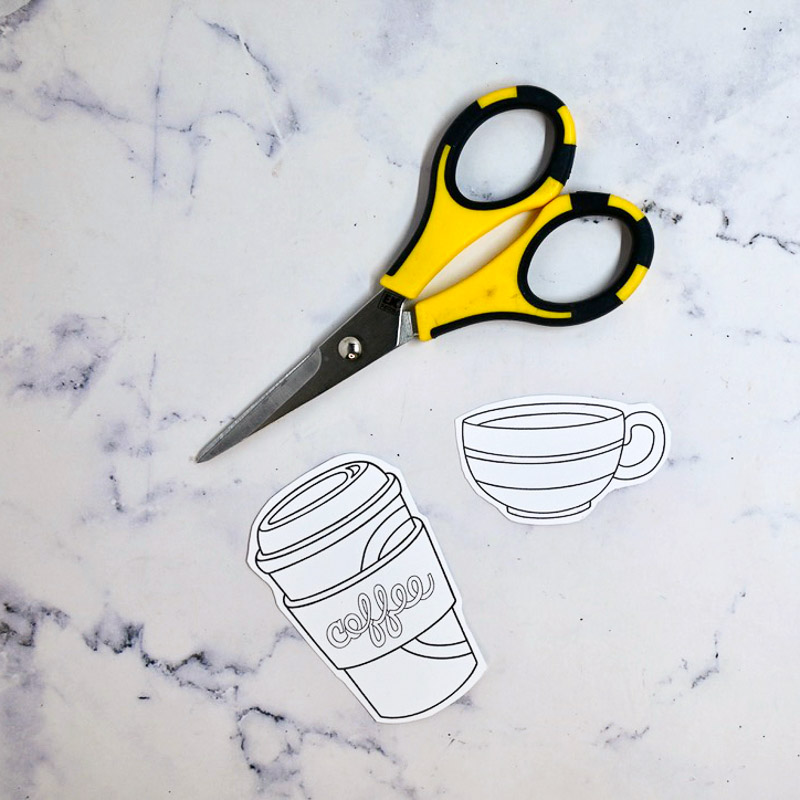
I started out with picking 2 different coffee cups or they could be Tea if you are making Tea tags. I picked a to-go cup and a mug style cup and these cups come from the Coffee and Cupcakes Stamps file. I printed a few out as I like to have extra on hand.
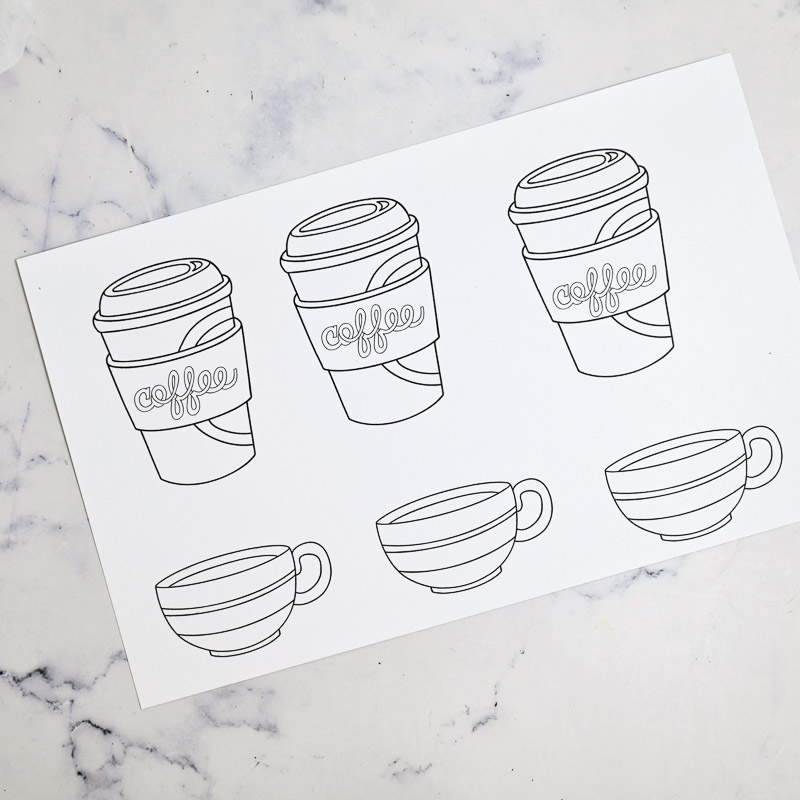
I then fussy cut the images with my scissors before coloring them. Sometimes I like to see the size of the image in my hand before, to get an idea if this size of image will work for my project before spending time coloring. You can also use an electronic cutting machine to cut the images for you.
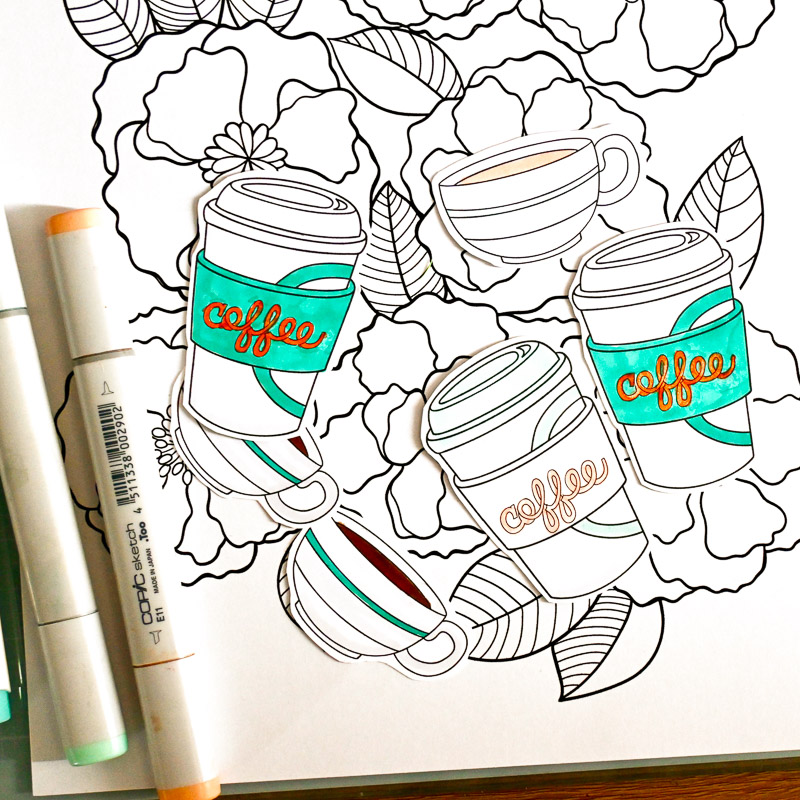
Next, I colored my images with some alcohol markers. I also printed the Artsy Floral Coloring Page. I really like these florals and I knew they would help out in my project. So I printed a page out of these pretty florals.
I fussy cut 2 florals out on the black line, colored them in, and then used a black marker to clean up my edges a bit. I also picked out some chipboard finished tags from my stash. You can easily use a paper trimmer or paper punch to make tags. Or even a craft die if you have one.
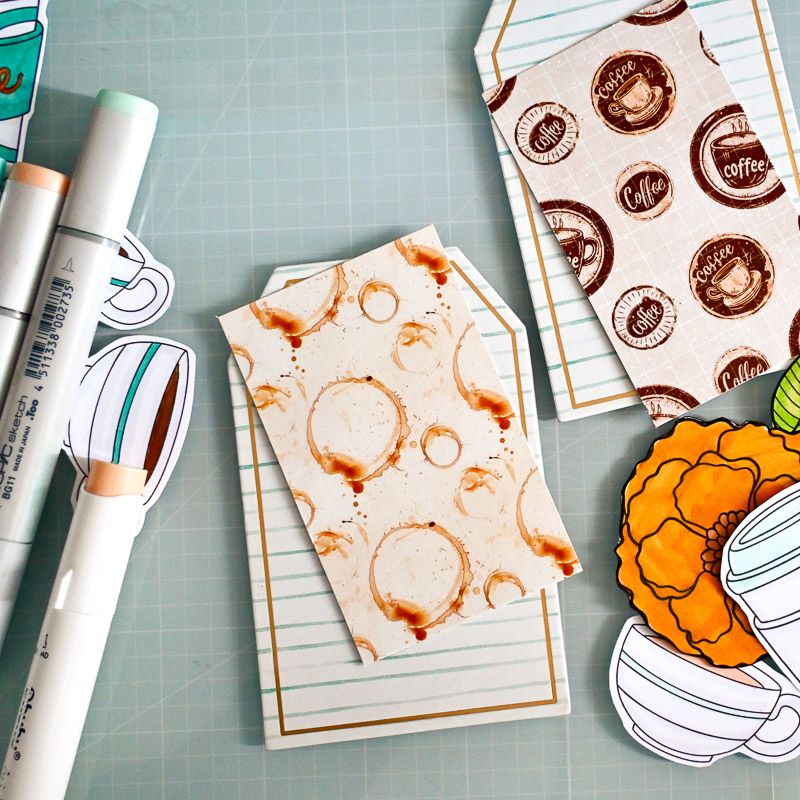
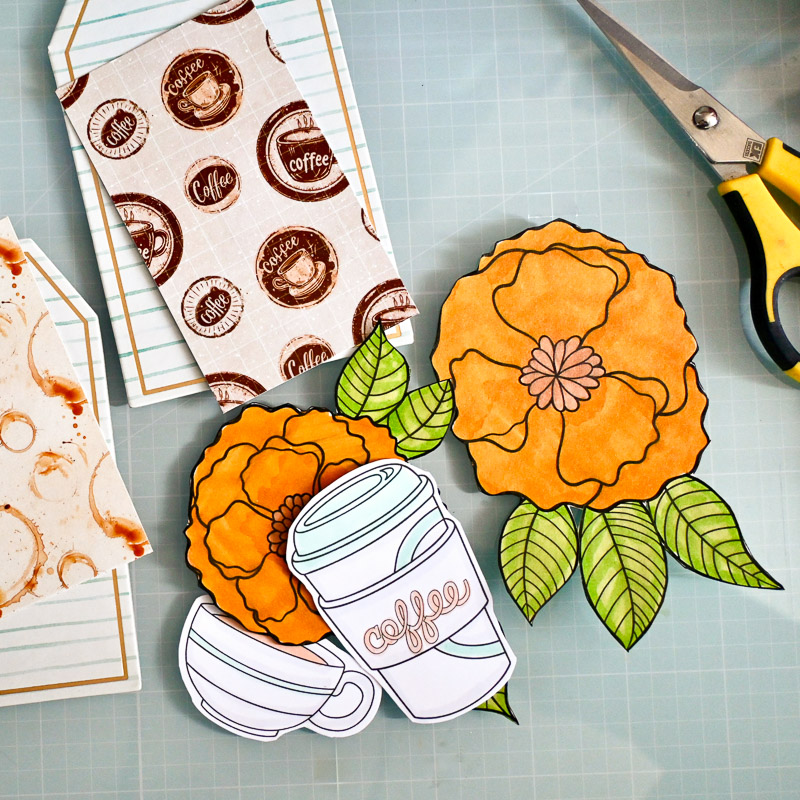
Now it was time to put these tags together. I chose the coffee images that I colored, I preferred these lighter colored images better as I like having my florals dark and my coffee images lighter for contrast. I found some coffee printed pattern paper from my stash, plain paper would work great too.
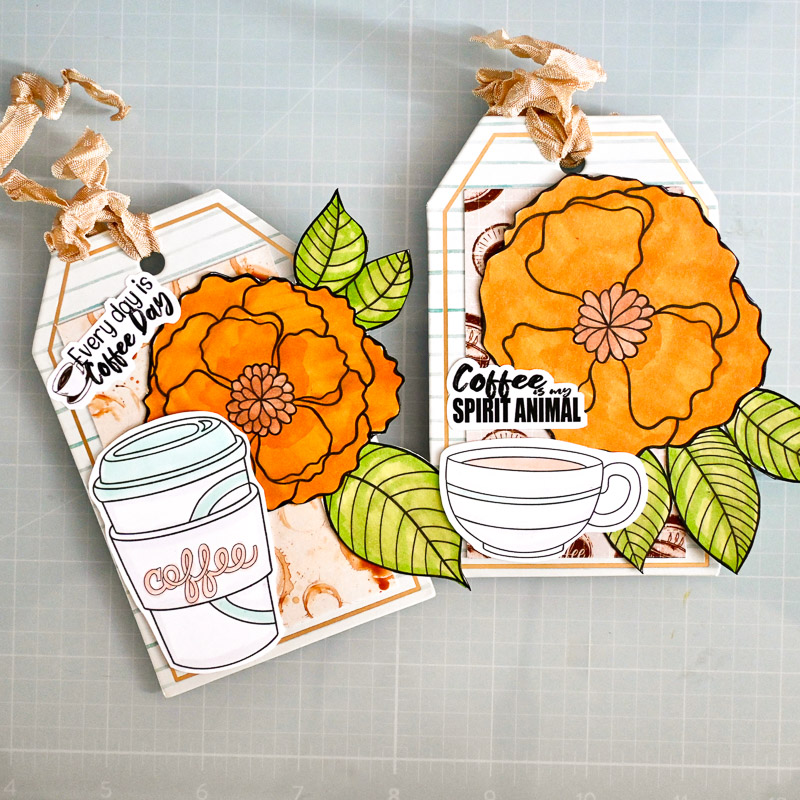
I chose to glue with liquid glue and a tape runner. My florals are hanging off my tags a little but I don’t mind, you can trim off the excess if you would like. I finished my tags off with some matching seam binding ribbon and sticker coffee sentiments.
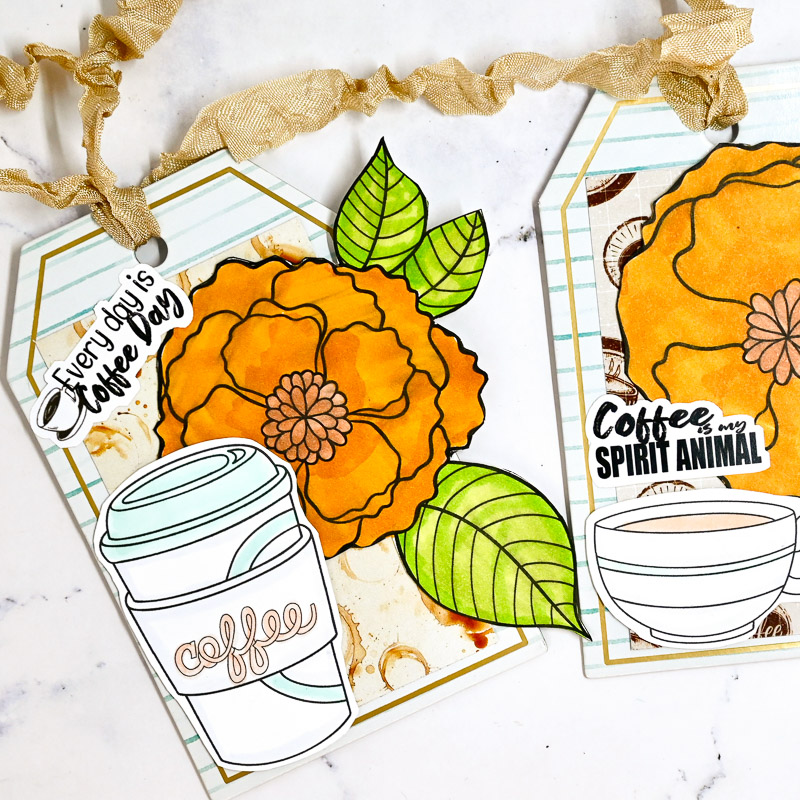
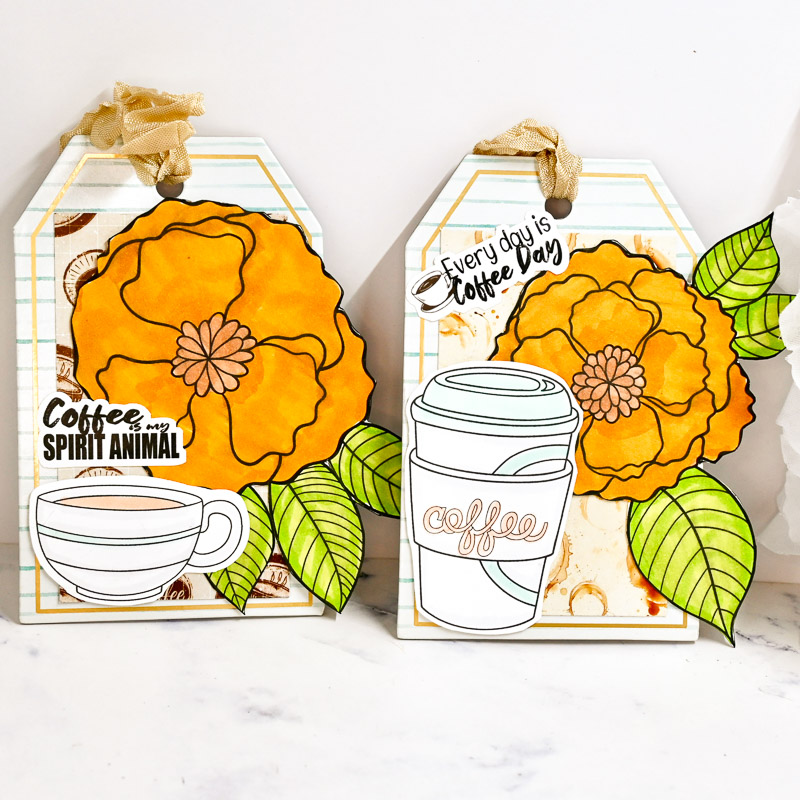
I had so much fun putting these tags together that I would love to make more. It’s so easy to print the amount you want using these digital files. You can print the colored ones for even faster projects. I also love that a coloring page helped add more to my coffee cups.
Until Next Time!

Materials Used:
- Coffee and Cupcakes Stamps
- Artsy Floral colouring page
- Alcohol Markers Copic Markers: BG11, 100
- Ohuhu Markers: BR1, BR3, YR5, YR2, GY3, GY4, CGII
- Pattern Paper
- Tags
- Glue
- Scissors
- Sentiments
- Ribbon


 Sasha’s Monkeying Around card
Leave a Reply