
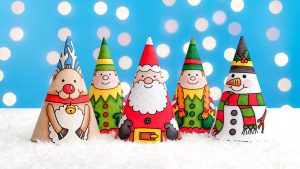

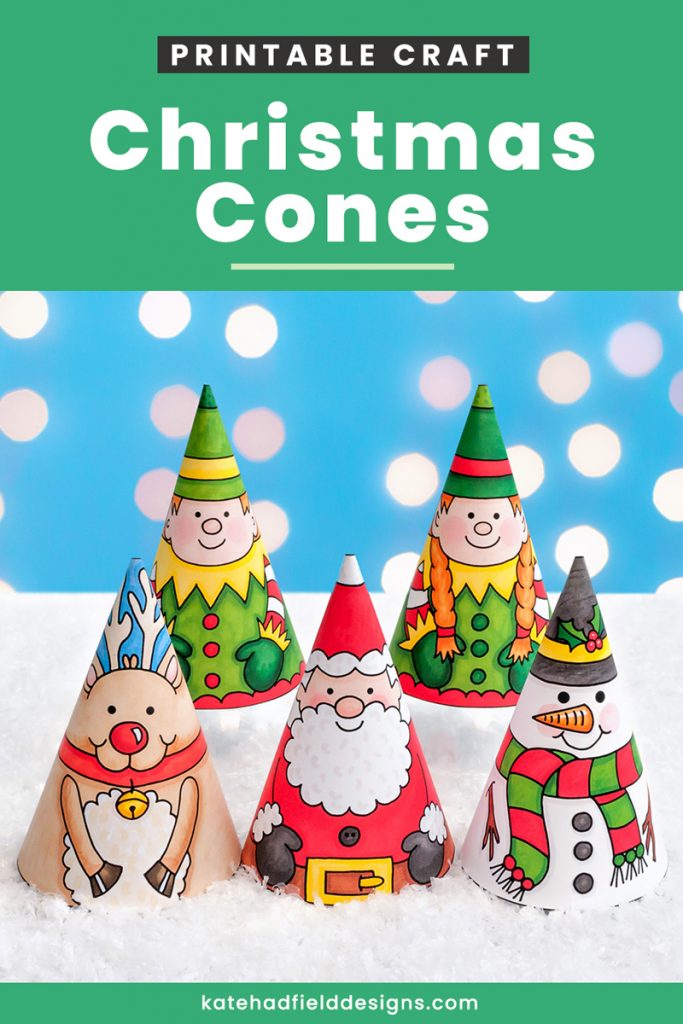


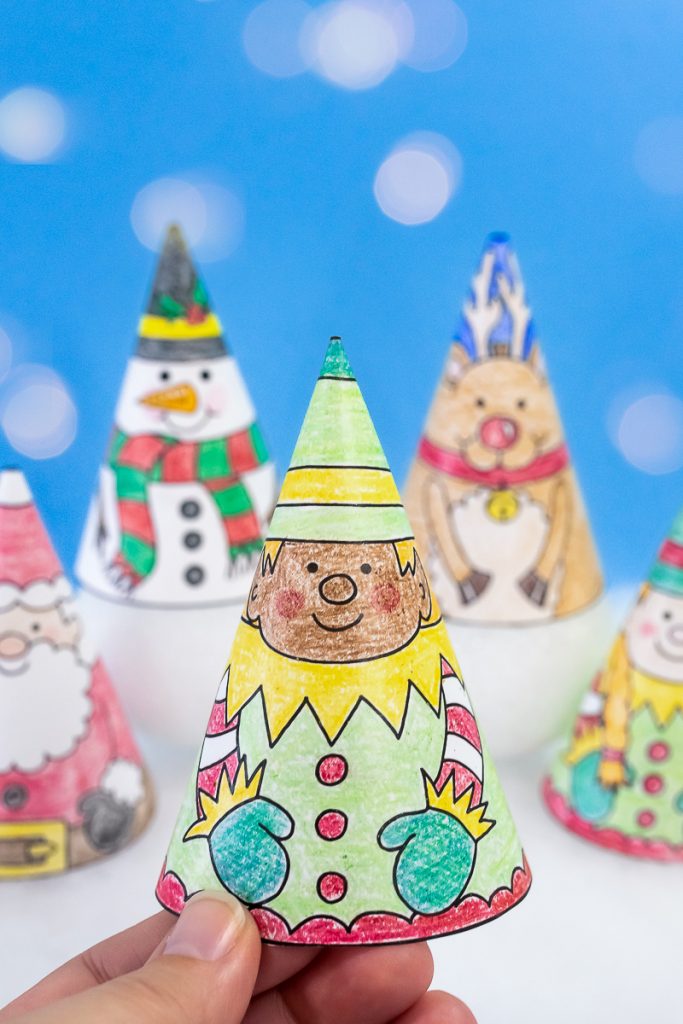
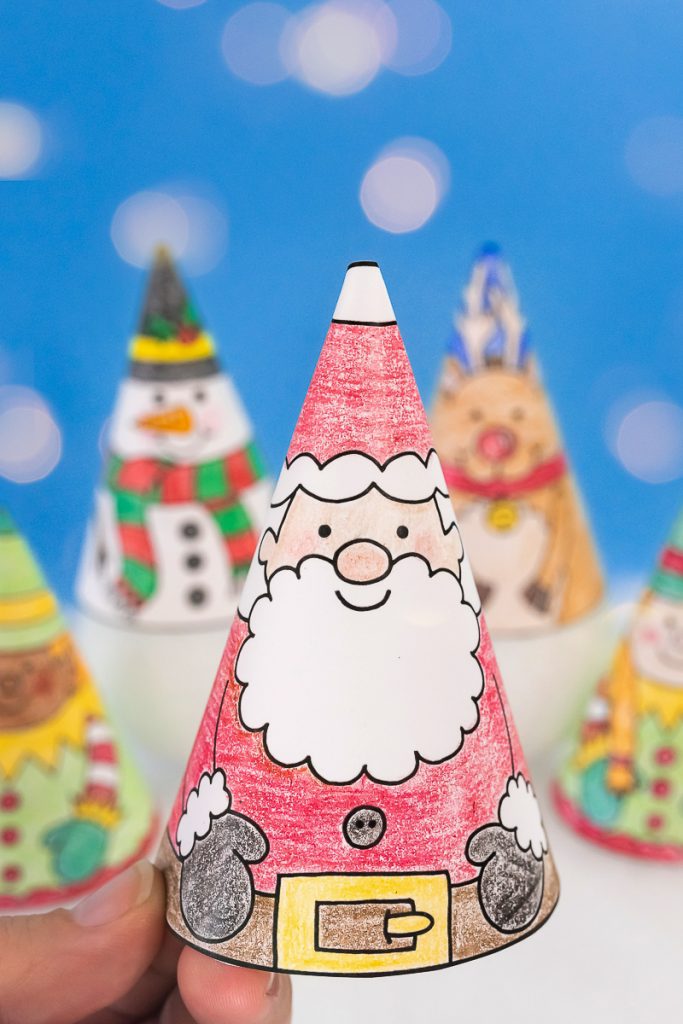
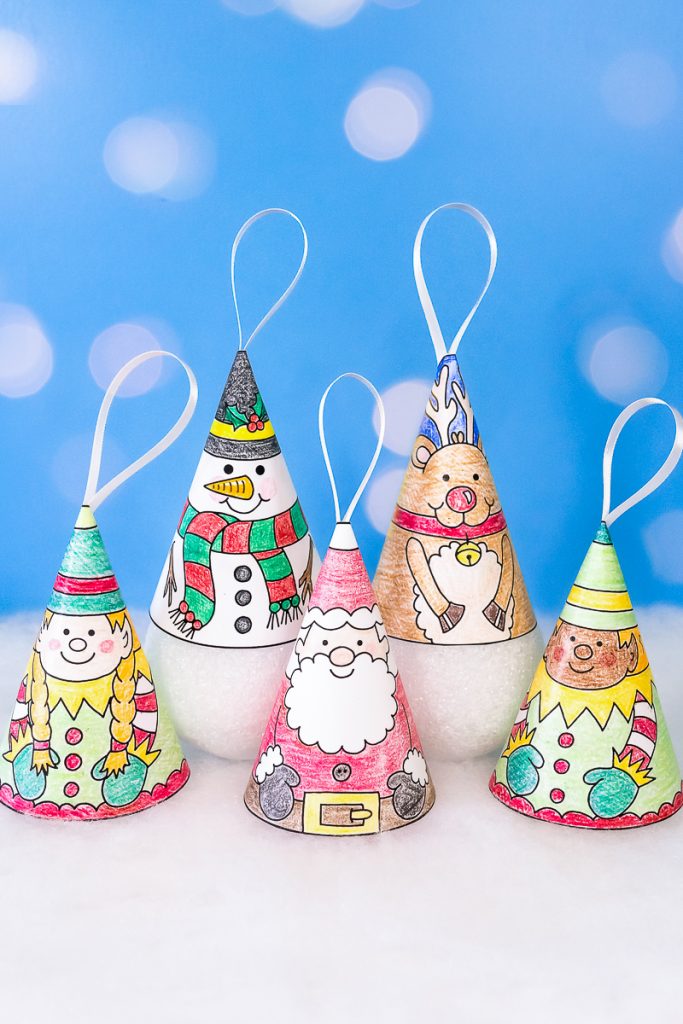
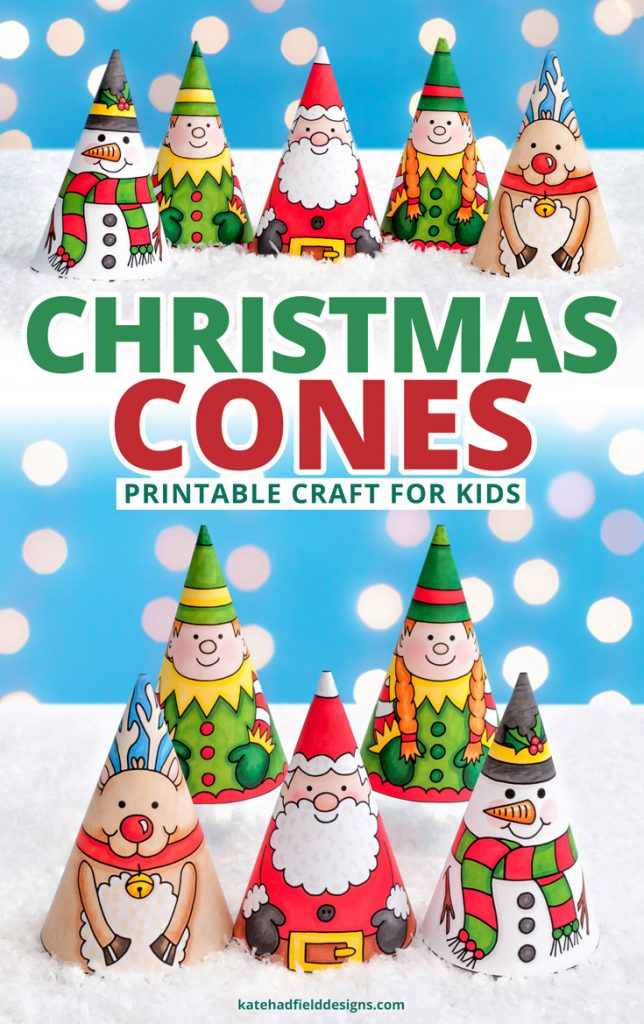
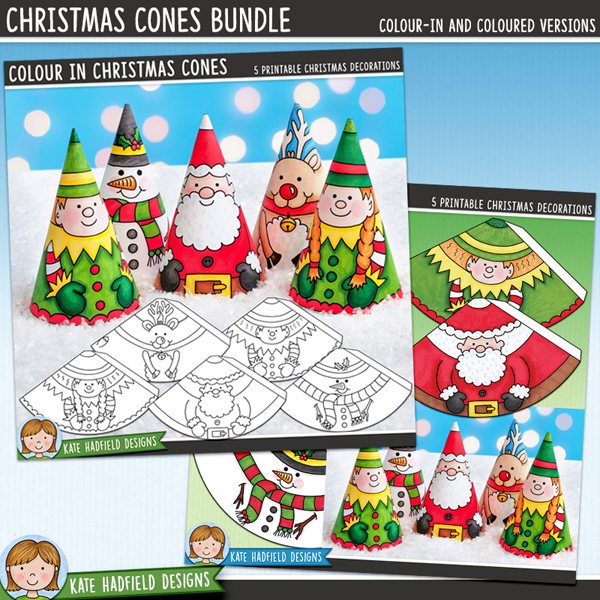
I dusted off my scissors and glue stick this week to create these new printable ornaments! Inspired by a request from a special customer, I doodled up five cute Christmas characters for you to print, decorate and assemble. There’s an outline version for the kids (big kids or little ones!) to get crafty with and colour in themselves, along with a pre-coloured version to help you quickly whip up a whole batch of decorations.

This is such a quick and easy Christmas craft for kids to make, my own children have really been enjoying creating their own cone decorations, we now have quite a collection of kid-made Christmas ornaments around the house! Bonus: they’re also handy for teaching 3D shapes! Here are some quick instructions for making your own Christmas Cone Ornaments:
What you’ll need:
- Christmas Cones / Colour-In Christmas Cones PDF (available in the shop)
- cardstock or matte photo paper and access to a printer
- scissors and glue stick or double sided tape
- your choice of colouring materials (coloured pencils, crayons, paints – whatever you or your kids enjoy using the most!)
- Optional extras: ribbon, glitter, cotton wool, pom-poms etc
How to make the Christmas Cones:
- Print the PDF file on light to medium weight cardstock. You want the card to be stiff enough to hold a good shape, but not too thick that it’s difficult for little ones to roll.
- Get colouring! Use your favourite art materials, we used crayons and coloured pencils for these examples. You could use realistic colours or go wild and wacky for a truly personal ornament!

3. When your characters are all coloured in, cut them out with scissors. (My kids found it easier to colour their cones on a full sheet of paper and cut out once they had finished).

4. Add glue or double sided tape to the tab on the side of the cones (we used a glue stick to make it easier for little hands to roll up the cones and align the sides) and then roll the cone around with the tab on the inside of the cone to stick together.
And that’s it, your Christmas Cone character is complete!

Optional Extras: you can add some ribbon to hang the ornament on your Christmas tree, either attach the ribbon loop to the inside of the cones before rolling, or you can push the ribbon or twine through the hole at the top of the completed cone to create the hanging loop.

You could also go to town with some extra embellishment – add a cotton wool beard for Father Christmas, a pom-pom hat bobble to the elves or some extra sparkle to the snowman with some glitter glue!


Ready-Coloured Christmas Cones
For an even quicker and easier make, you might like to try the pre-coloured version of this printable Christmas cones craft! This is a great option if time is limited or if you need to whip up a lot of decorations as I’ve already done all the colouring for you! All you need to do is print, cut out and glue together to create your Christmas Cone ornaments.


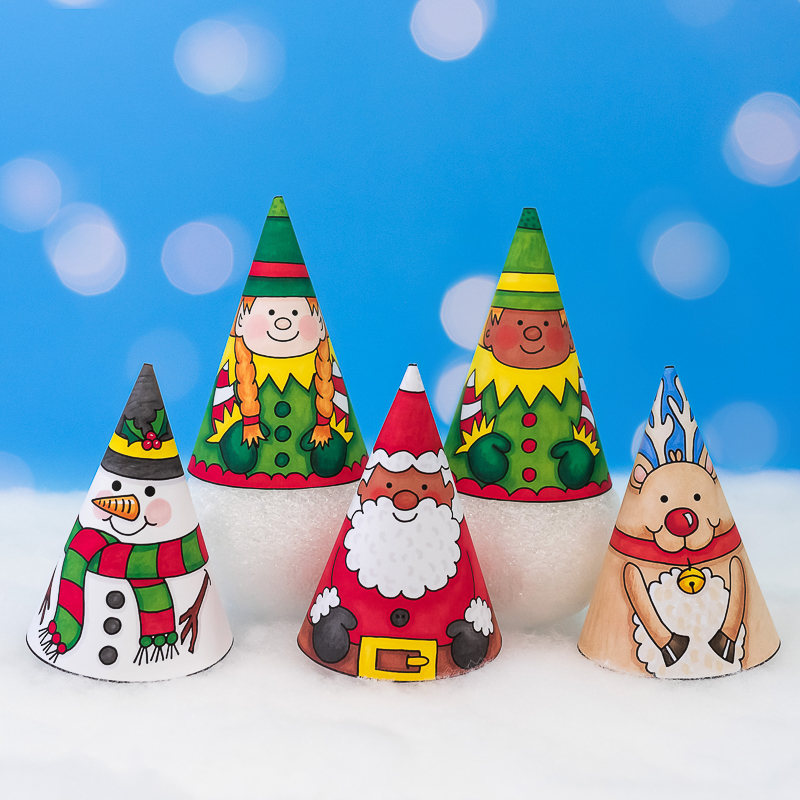
However you use these printables, I hope that you and your kids have lots of fun creating your own collection of Christmas cone characters! Merry Christmas and happy crafting!
Created with:

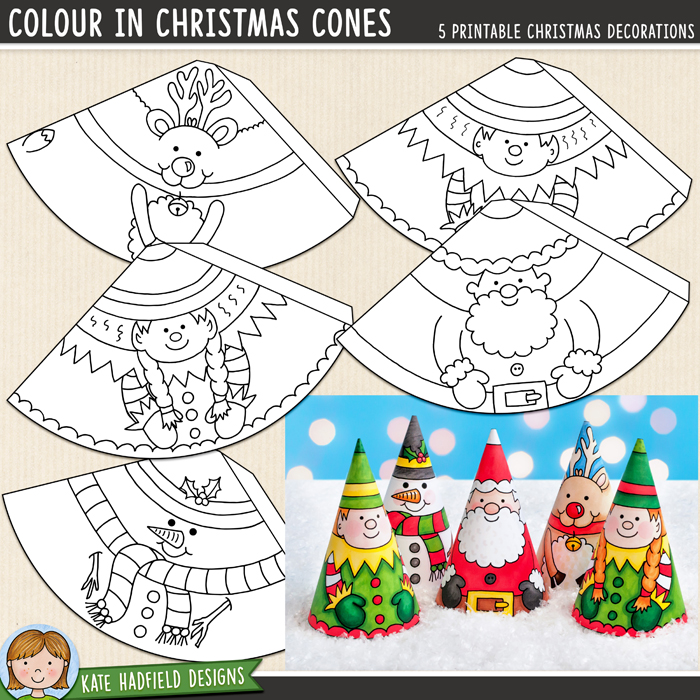

 Very Very Merry
Thank you
The perfect activity for early finishers! My kiddos loved these!
LOVE these! Cutest cones ever!
These are SO cute! I used them to teach 3D shapes and my kiddos loved them!