
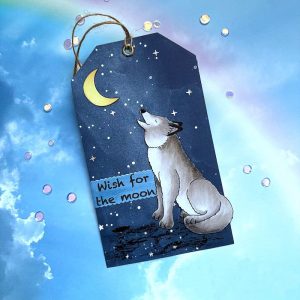


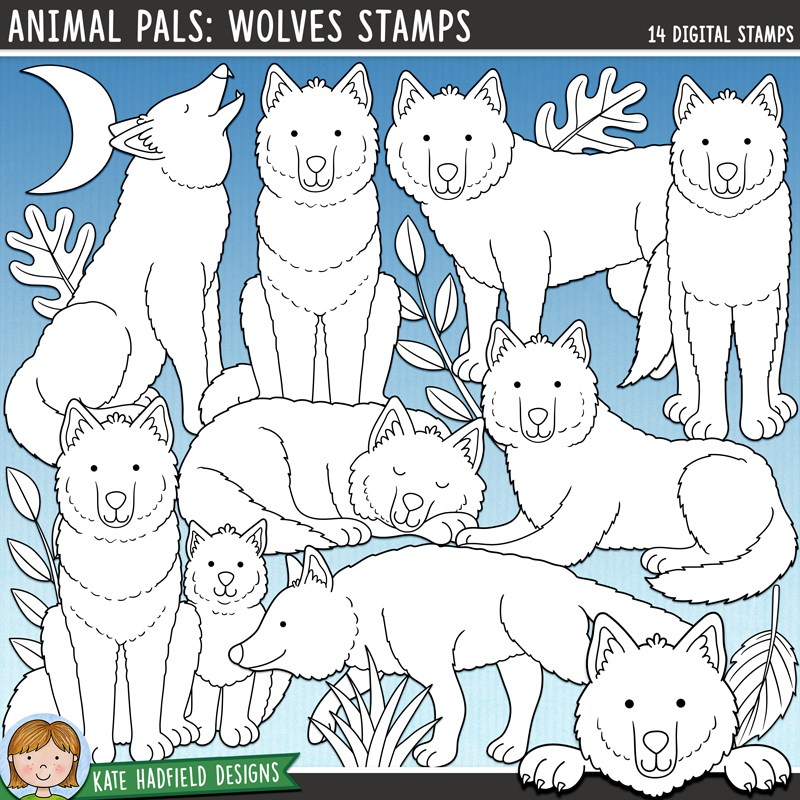
Tag or bookmark…or both! Hello everyone. Hope everyone is well and looking forward to springtime! Today I’m bringing you a bookmark that can also double for a tag! I’ve used Animal Pals-Wolf digital stamp set. Let me show you how I made it!

I printed out my images onto white card stock and I also created a sentiment. I colored the moon very simply using a 2 color blend. Also I knew that I was going to fussy cutting the wolf and moon right along the outline, so it didn’t matter that I went outside the lines with my coloring.
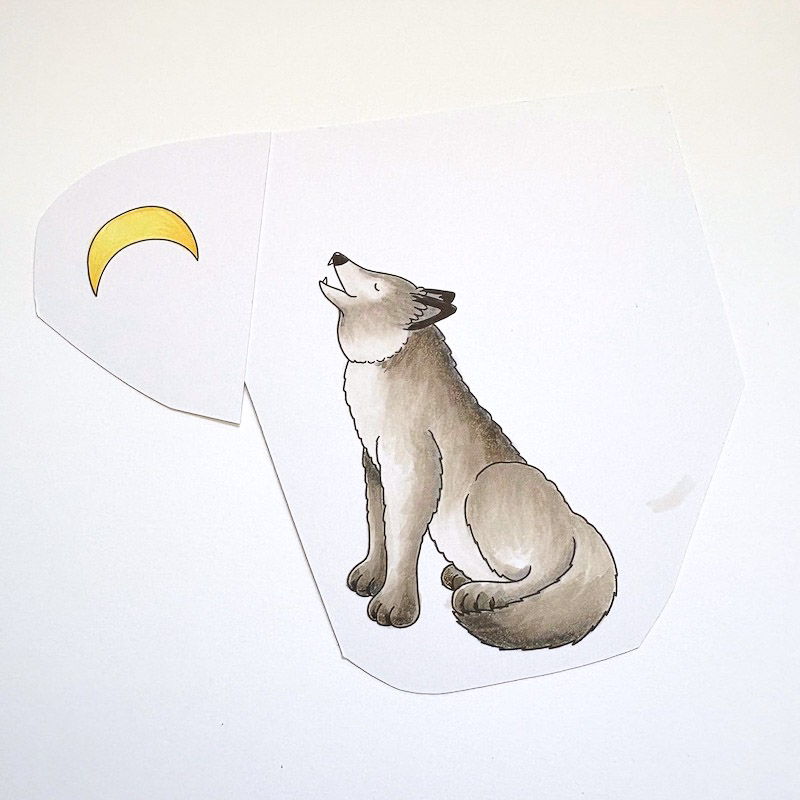
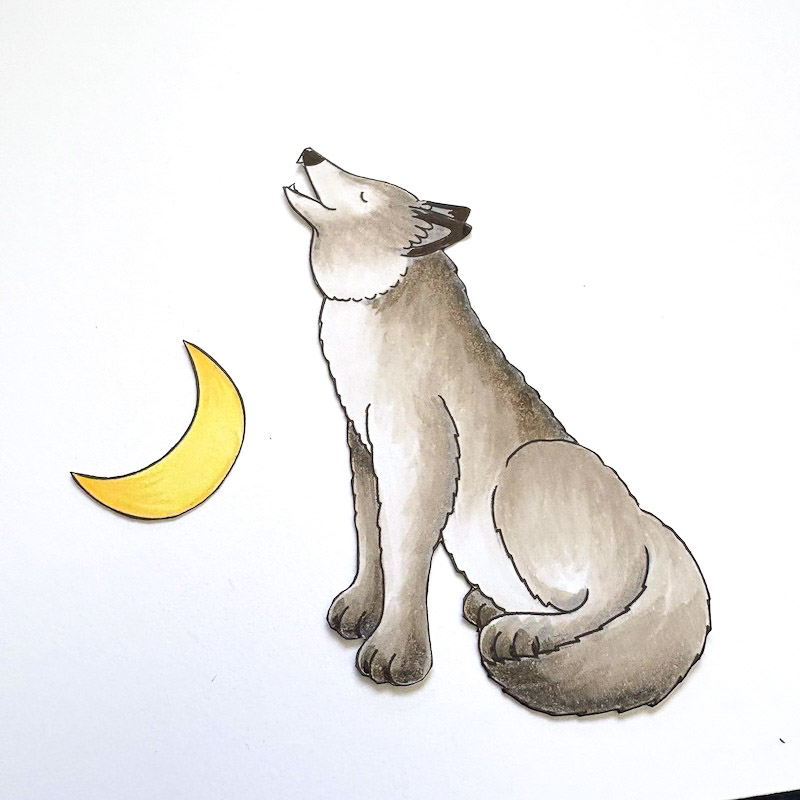
I worked at coloring the wolf and kept adding layers until I was happy with the blends. Copic markers used: Y11, Y21, W0, W1, W2, W3, W5, C3, C5, 100. I then fussy cut the 2 images out and edged them with a black marker.
This was one of those projects where I did not pick out my background paper until last. But I found a piece of 12” x 12” paper with a night sky on it. I used a tag die to cut it out. You could cut another tag out of white paper to back it with. My paper was double-sided so I didn’t bother. I applied an eyelet and threaded some jute twine through it. I inked the edges with a dark blue Copic marker. Along the bottom I used a Q-tip to add some sticky glue. I didn’t do this to cover it. I swiped it back and forth so nothing is really solid. When it was almost dry, I laid some back foil over it. This worked out quite well and I liked the effect.

As I was laying out my project I realized I could cut one end of the tag off. I did this after I colored the tag with a Copic marker. I adhered the tag first, then the wolf, then the moon. For embellishments I used some twinkle sequins and then I added some diamond Stickles to the sky for stars. And that finished my tag/bookmark!

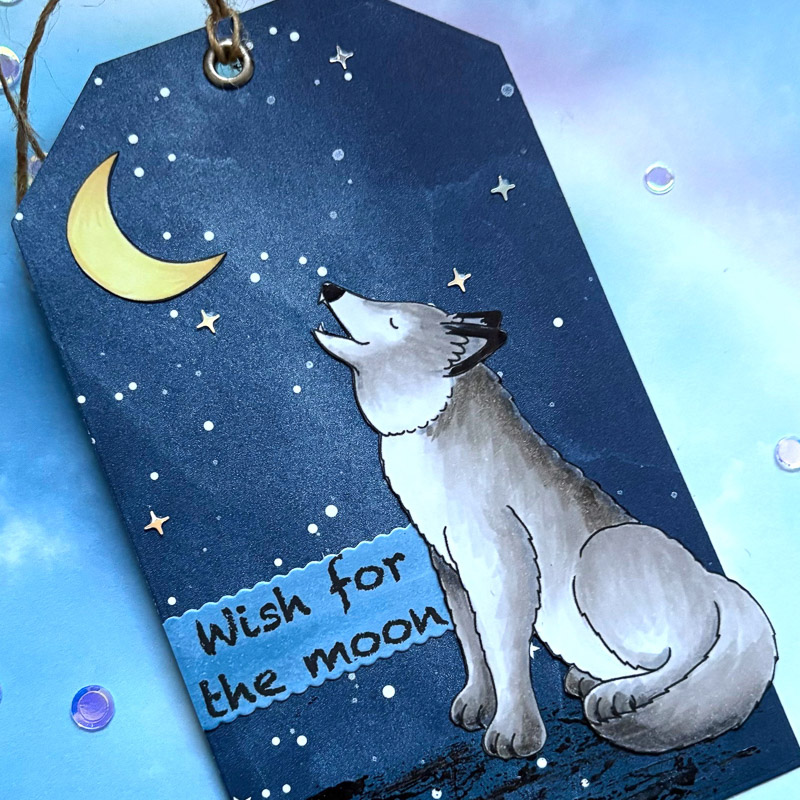
How fun would it be to gift a book and use this tag / bookmark…first as the tag, then it could be kept as a book mark! I hope I’ve inspired you today to create a project with a double use!
Til next time…
Betsy
You can find me on Instagram: @betsybirgeart
Materials Used:
- Animal Pals: Wolves digital stamp set
- White cardstock and printer
- Copic markers
- Patterned paper
- Eyelet and jute twine
- Sticky Glue and black foil
- Twinkle sequins and Diamond Stickles

 Sasha’s Lucky St Patrick’s Day card
Leave a Reply