
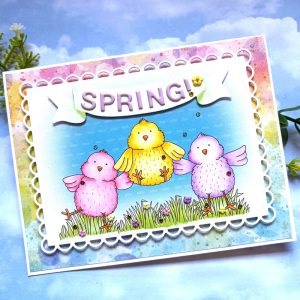

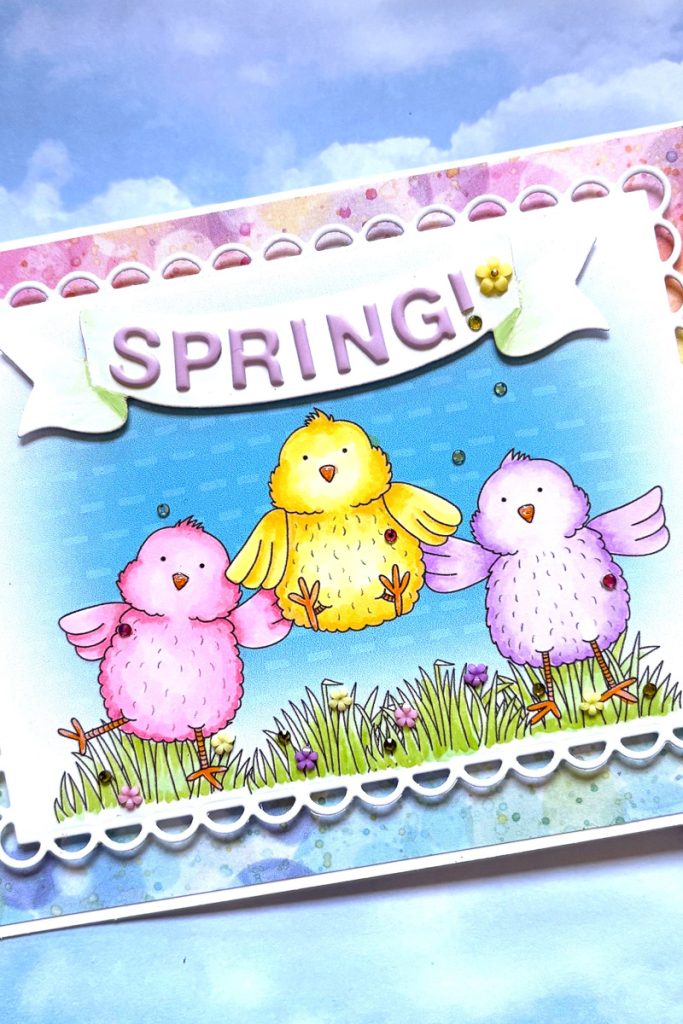
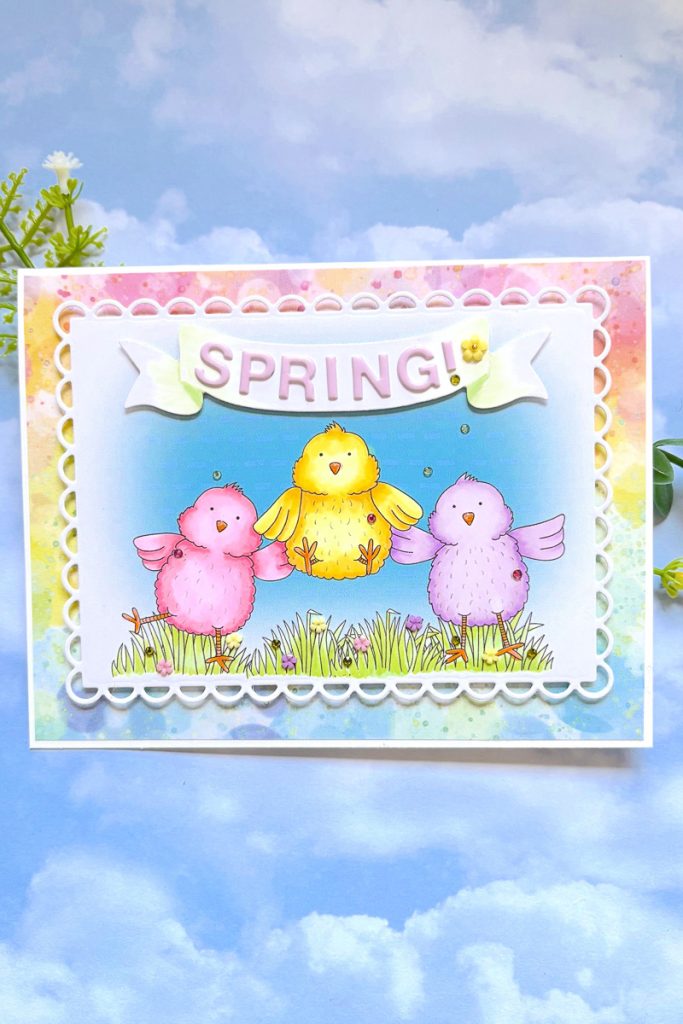
Hello everyone! Betsy here today sharing a bit of spring with the Hoppy Easter Digital Stamp Set! These little chicks were just too cute to ignore!

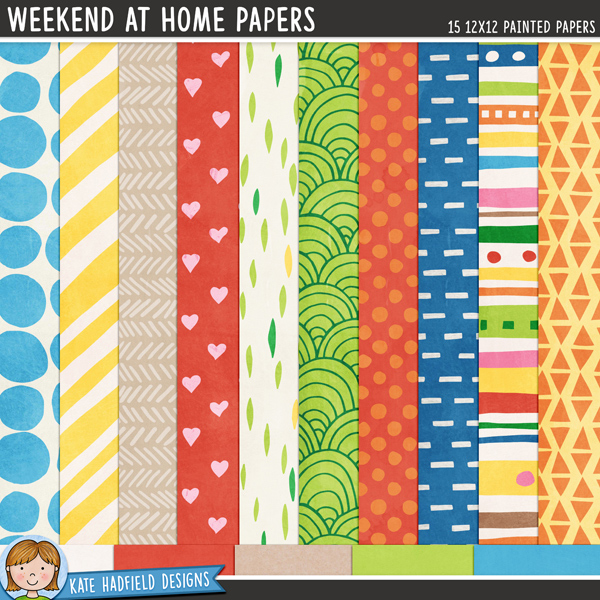
Let me show you how I made my card. I composed my image and used a paper from the Weekend At Home paper pack. I blurred the edges and slightly change the color. After printing I die cut the image with a fancy rectangle die from my stash.
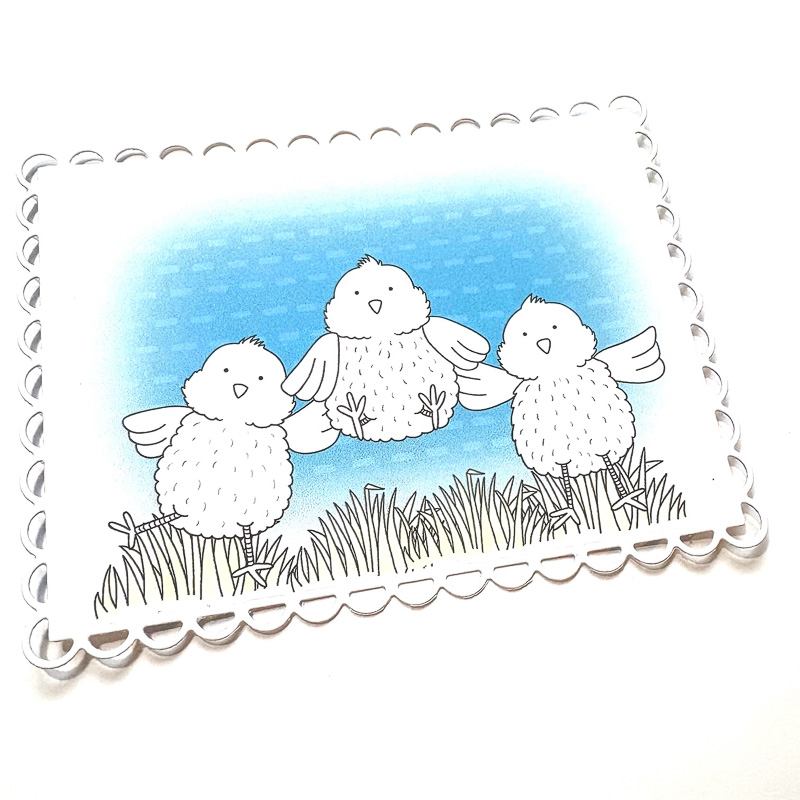
I moved on to coloring my image. This was not difficult and I centered most of the detail around the chicks. I also die cut a banner for the top of the card out of white card stock.

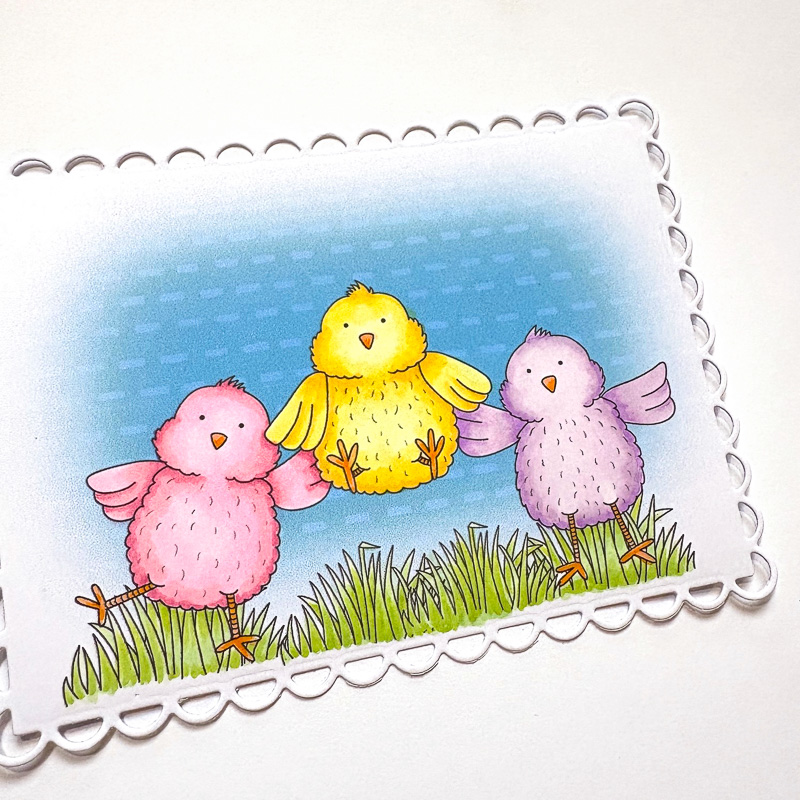
I colored the banner with the lightest green I was using – just hitting where it would be shaded. I finished up with the coloring and then chose my background paper.
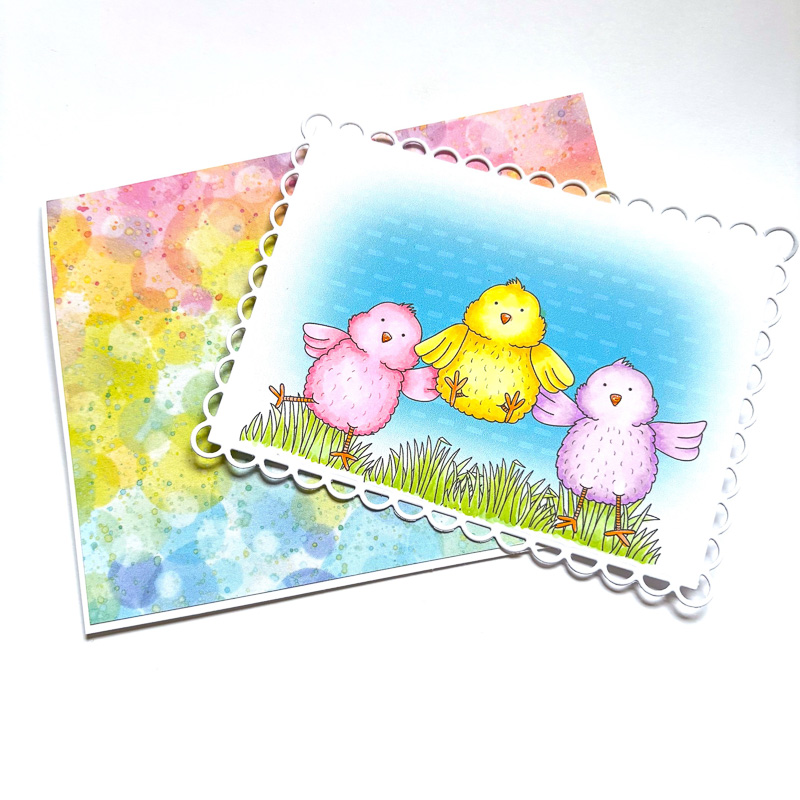
I cut a panel to fit an A2 size which card base and adhered the rainbow paper to it. I added the panel that was colored with a low loft foam tape. I added lettering to the banner with small stick-on letters in a pastel lavender color and foam taped that to the top of the card. I added little gems and tiny flowers to the grass at the bottom and a bigger flower on my banner. I also used Glossy Accents on the beaks and my card was finished!
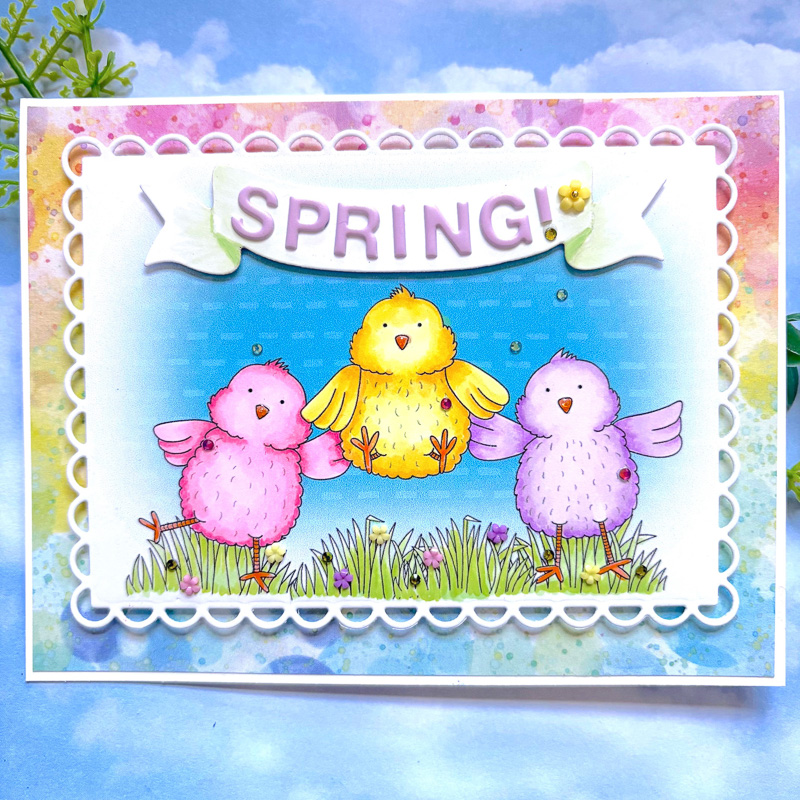

I hope you give this cute digital stamp set a try. With so many images it’s easy to put little scenes together!
Til next time…
Betsy
You can find me on Instagram: @betsybirgeart
Materials Used:
- Hoppy Easter Digital Stamps
- Weekend At Home Digital Papers
- A2 white card base
- A2 white panel
- Background paper
- Fancy Rectangle Die
- Banner Die
- Self-Adhesive Letters
- Tiny Gems and Flowers
- Copic colors: YG11, YG03, G20, YR02, YR04, V000, V01, V04, RV10, RV23, RV14, Y00, Y02, Y15, Y35


 Sasha’s quick and easy Easter Basket craft
Leave a Reply