
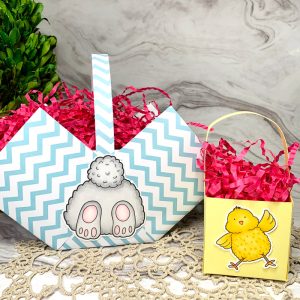


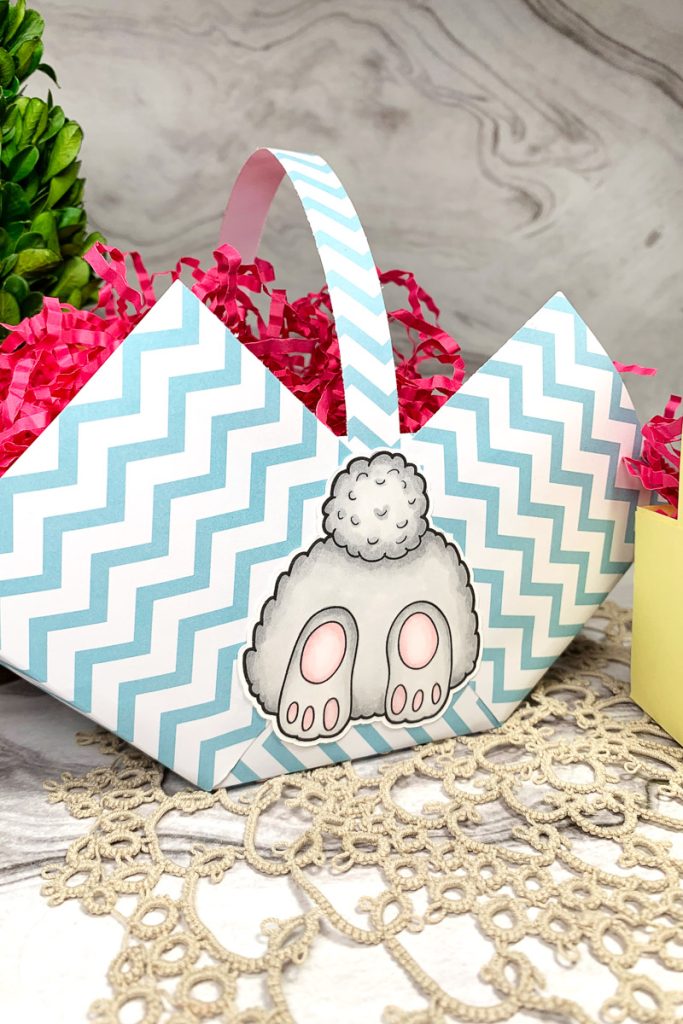

Hello everyone! Easter is almost here, which means it’s time for some fun and festive crafting! If you’re looking for a creative way to package treats or add a handmade touch to your Easter décor, these DIY paper baskets are the perfect project. They’re simple to make, customizable, and the perfect Easter craft for anyone of any age! I am using a couple of images from the Hoppy Easter Digital Stamp Set to decorate my baskets.

To start, I uploaded my chosen images into Cricut Design Space and resized them to fit the baskets I am making appropriately. Once ready, I printed the images onto 100lb Hammermill Cardstock, an alcohol marker-friendly paper and cut them using my Cricut cutting machine. You can also use any word-processing software, such as Microsoft Office or Google Docs, to size and print your images.
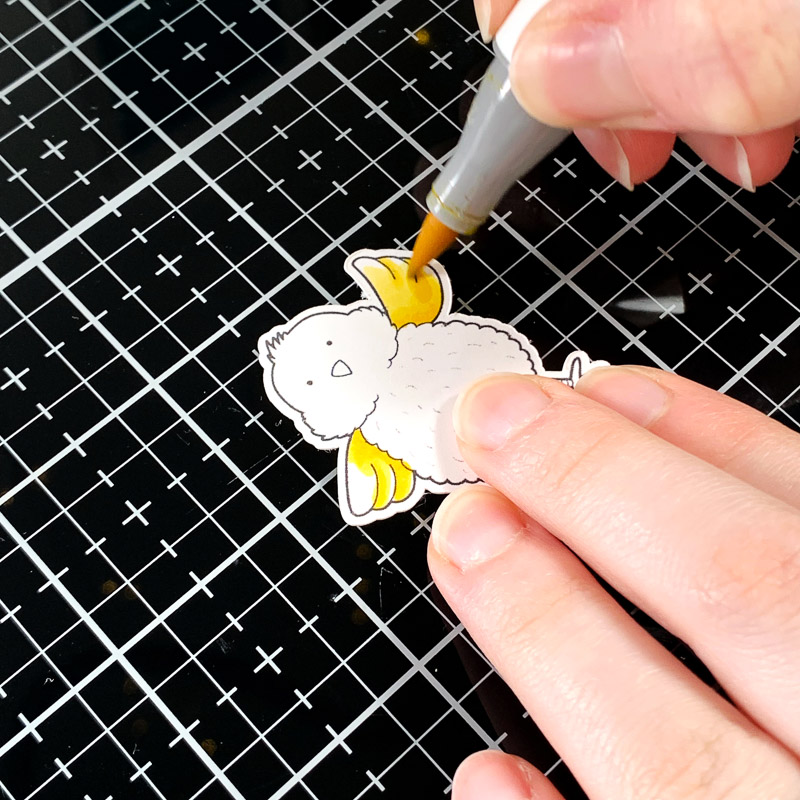
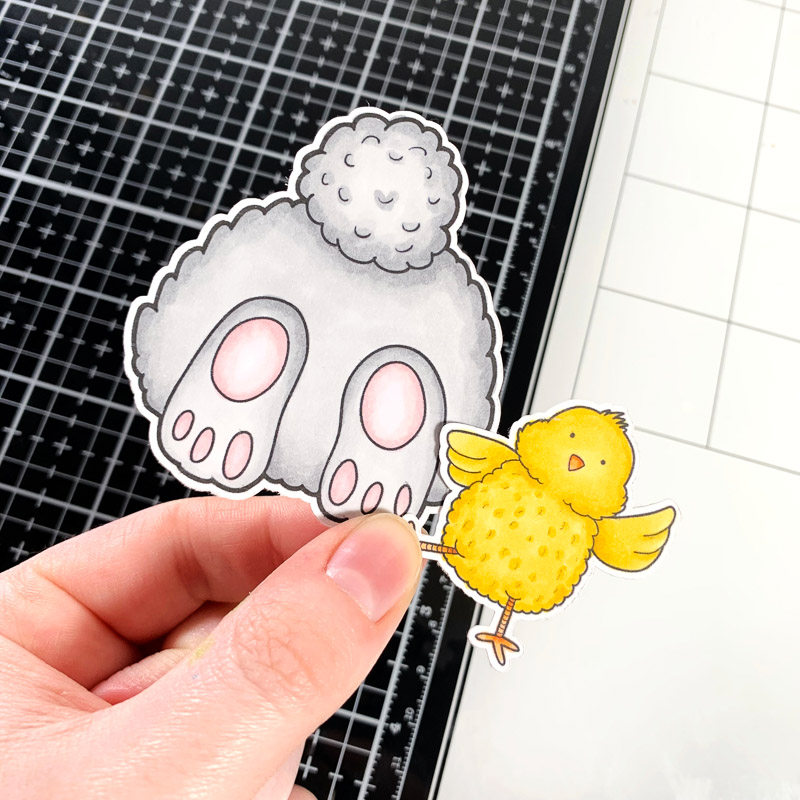
To colour the images, I used Ohuhu alcohol markers. I used the following colours:
- Yellows: Y2, Y1, Y3
- Oranges: YR180, Y10, YR4
- Greys: CG050, CG030, CG020
Now, let’s make the baskets! Since I will be making two different sizes of baskets, I trimmed two pieces of cardstock to measure 6 inches by 6 inches and 9 inches by 9 inches. For the handles, I trimmed the handle of the smaller basket to measure 0.5 inches by 6 inches and the handle of the larger basket to measure 0.5 inches by 9 inches.
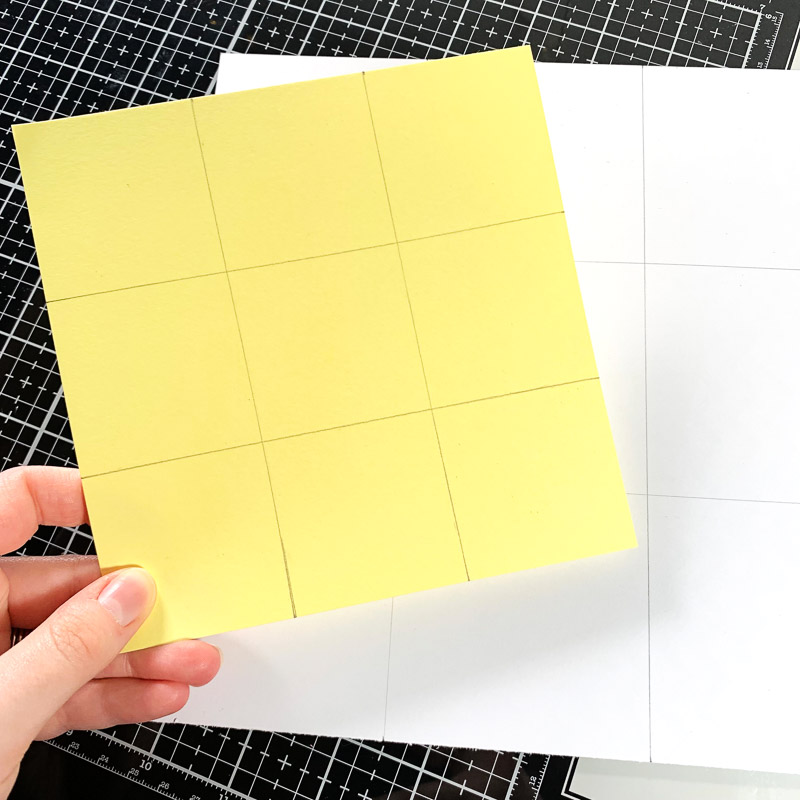
Using a ruler and pencil, I created a three-by-three grid on each square of cardstock. I spaced the lines 2 inches apart for the smaller basket, and for the larger basket, I spaced them 3 inches apart. Next, I scored and folded along each line. Then, I made cuts along the lines in each corner of the cardstock, stopping at the first fold line. This step allows the cardstock to be folded into a basket shape.
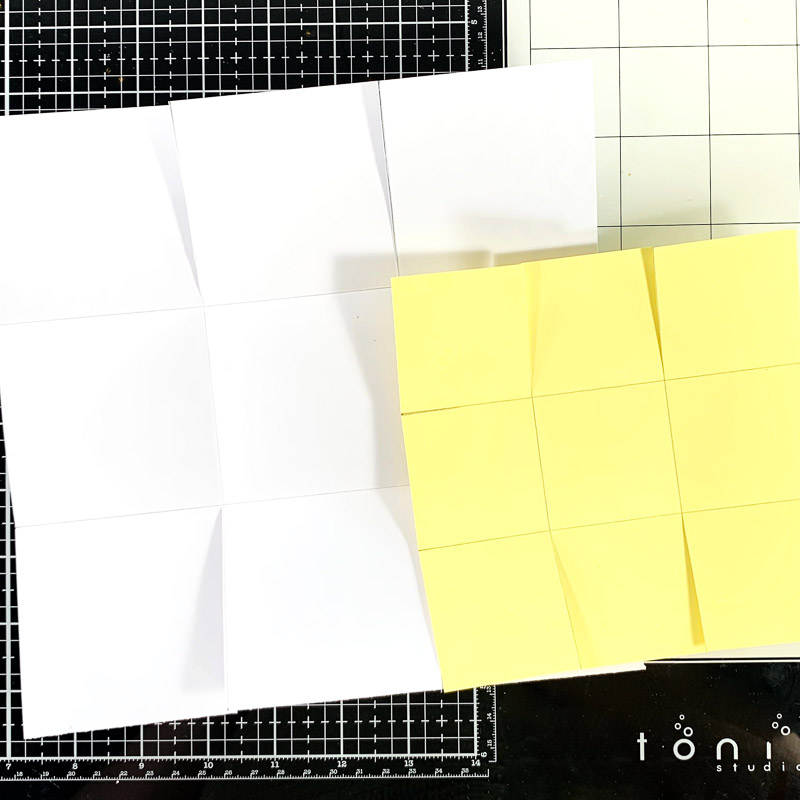
Now, let’s glue the baskets together! For this step, there are a couple of styles that can be used, the first being a classic square basket. To start, apply glue to the backside of one of the corner flaps. Then, fold each corner of the paper toward the center and press them together to secure the shape. Repeat this step on the opposite side.
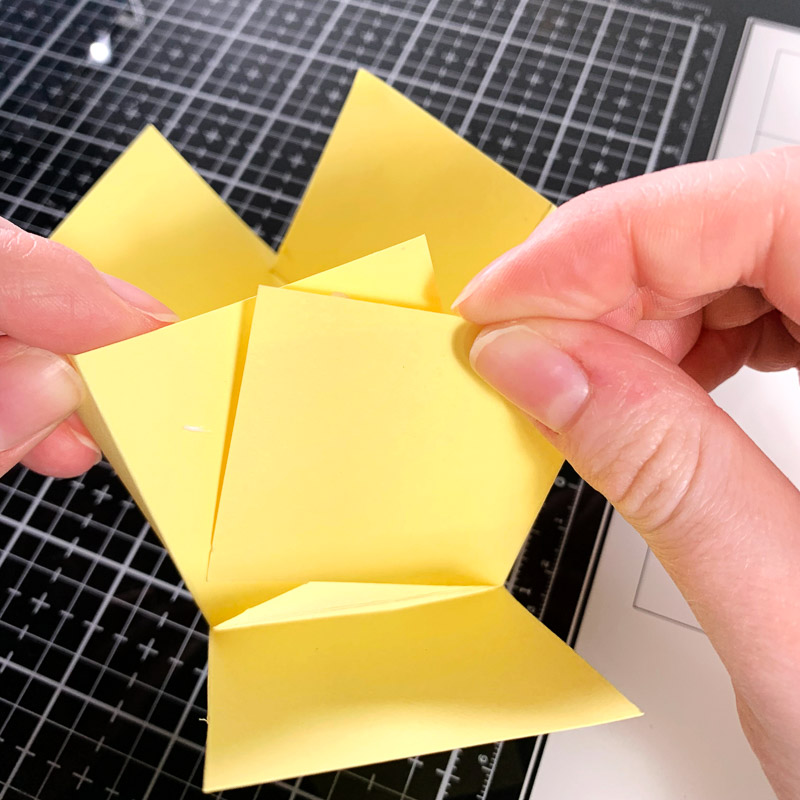
Now, glue the handle onto the middle section of the basket before gluing the last square flap to the centre. This ensures the handle is secure and gives the basket a clean and finished look.
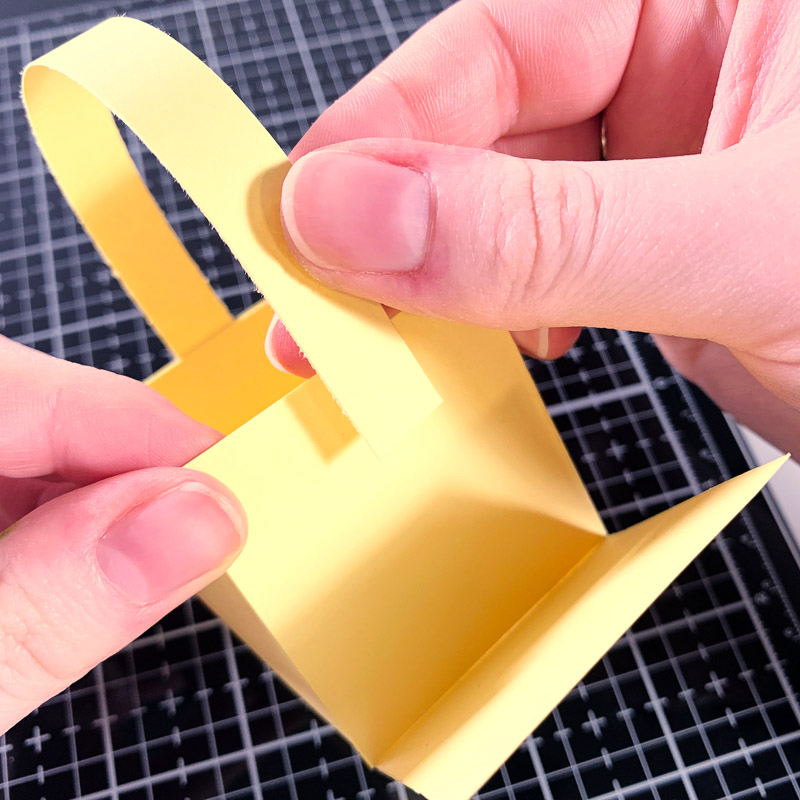
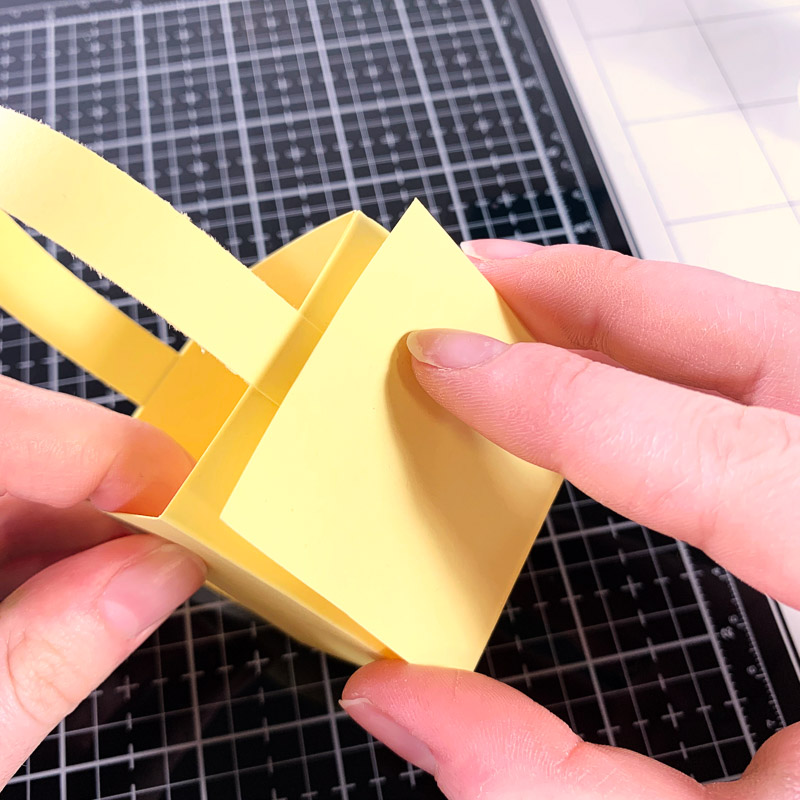
As for the second style of basket, the process is very similar. Start by gluing the handle of the basket onto the middle section of the paper. Then, instead of fully gluing the sides together, as in the first style, glue each corner flap of the basket at an angle to the middle section of the basket. Doing so will create a unique design that is perfect for changing things up a bit!
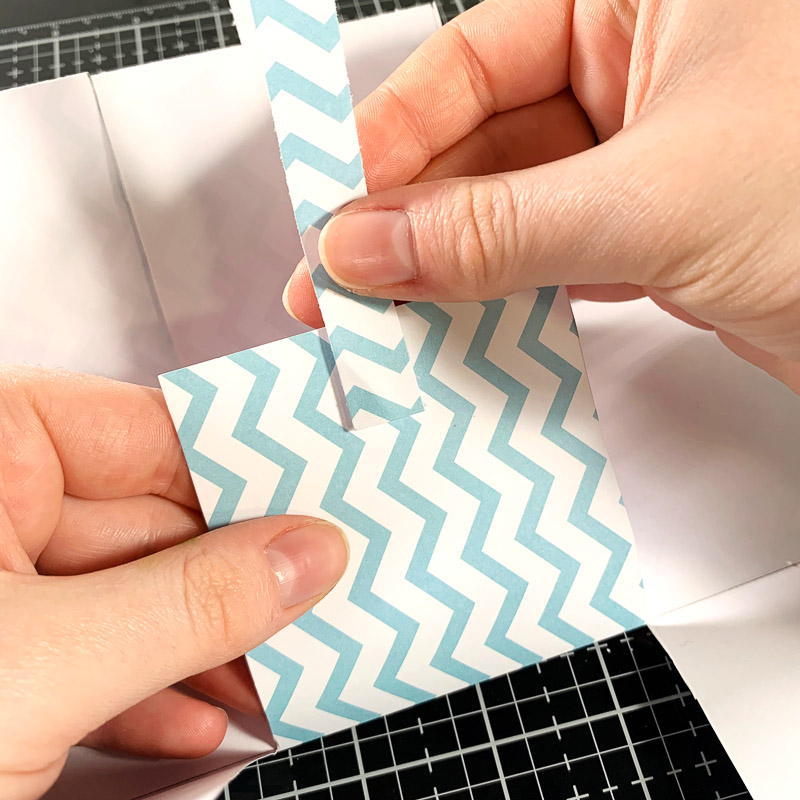
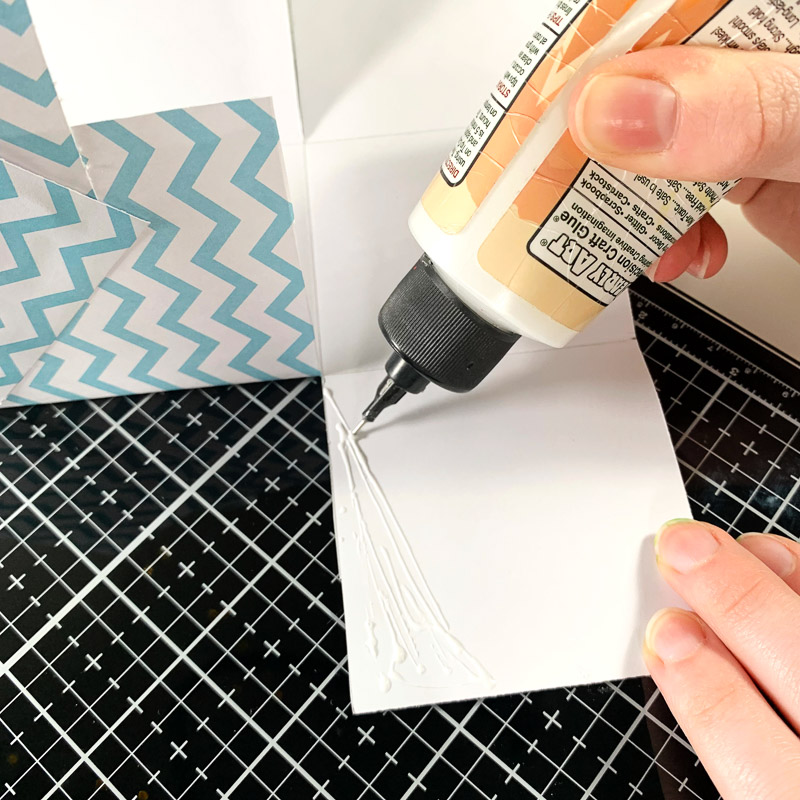
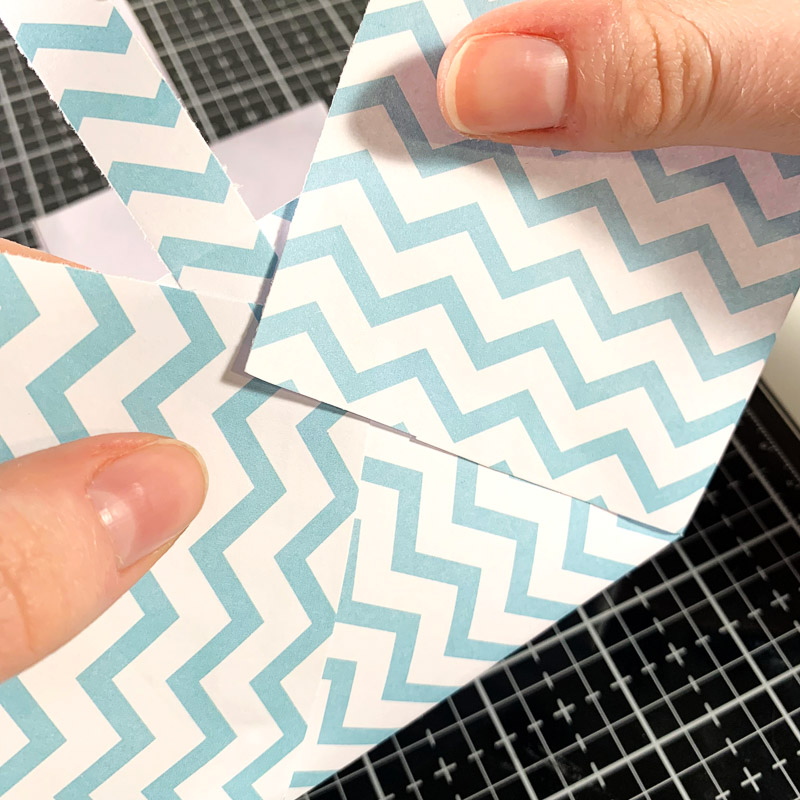
Now comes the decorating! The possibilities are endless when it comes to decorating your basket. You can print and colour multiple images, use glitter, buttons, sequins – anything goes when it comes to this step! I decided to keep my baskets simple by gluing one of the images I printed out and coloured earlier onto the front of each basket.
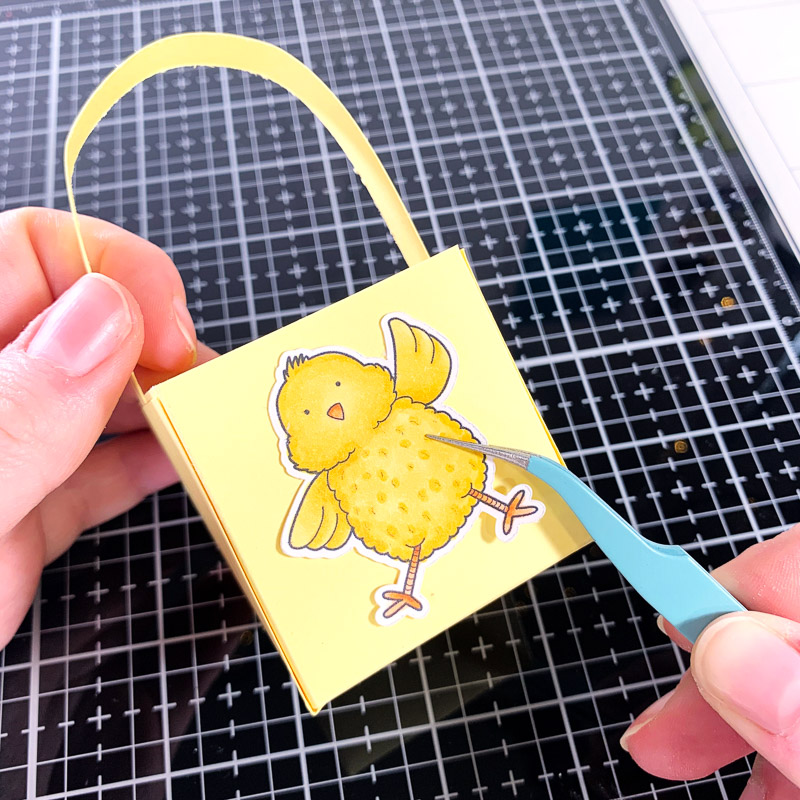
And there you have it—your very own handmade paper Easter basket, ready to be filled with goodies!
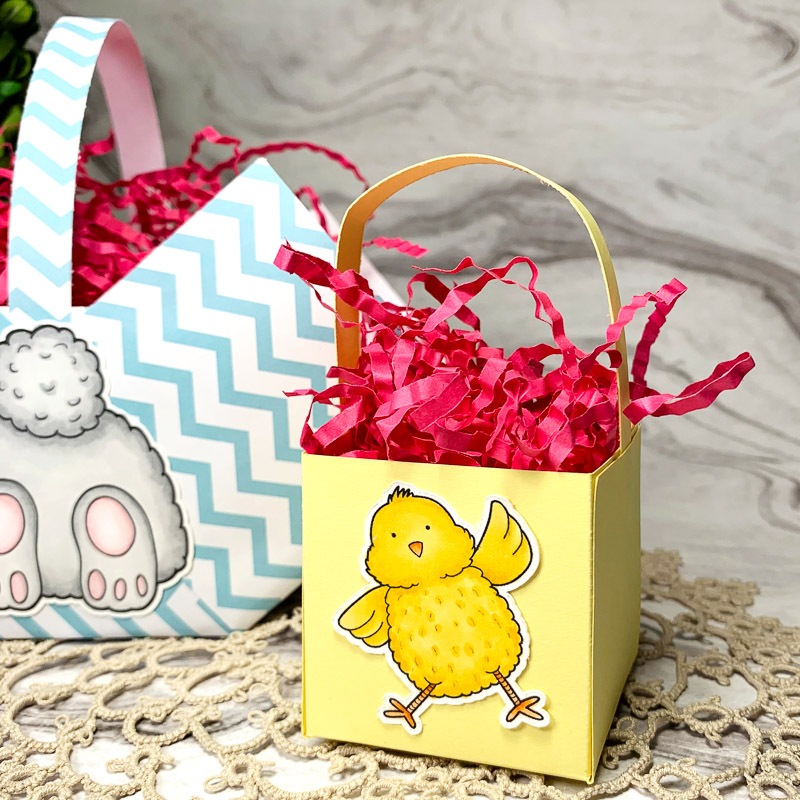
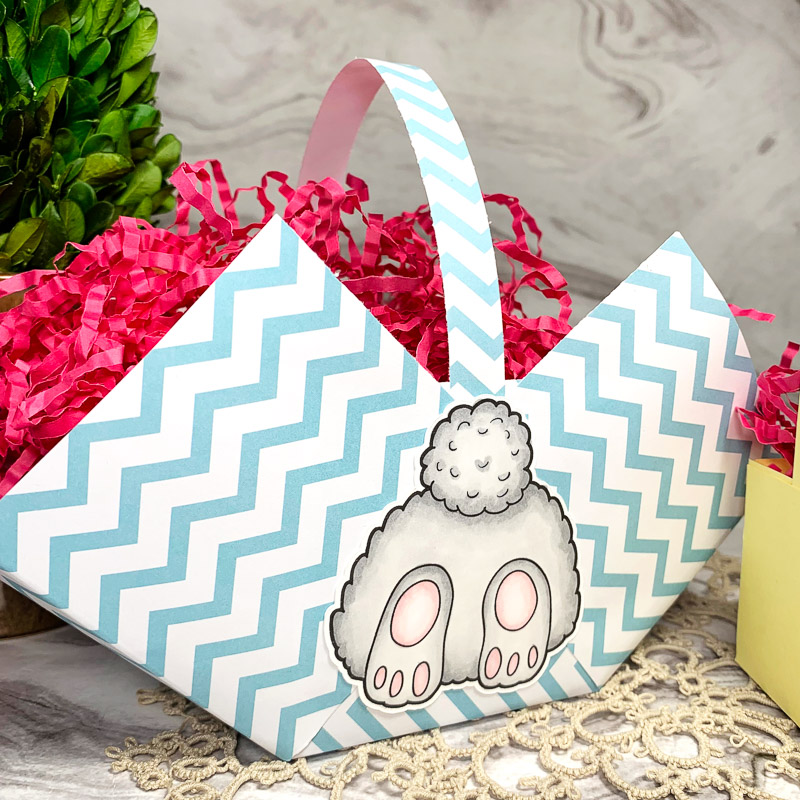
Thanks for reading! See you next time!
Sasha
Materials Used:
- Hoppy Easter Digital Stamp Set
- Ohuhu alcohol markers
- Ruler
- Pencil
- Cardstock
- Scissors
- Printer
- Cricut cutting machine


 Free Digital Scrapbooking Template: Spring Has Sprung!
Leave a Reply