• Skip to main content
  • Skip to header right navigation
  • Skip to after header navigation
  • Skip to site footer
Kate Hadfield Designs

Kate Hadfield Designs

Hand-drawn Digital Scrapbooking kits and Clip Art for teachers, scrapbookers and crafters!

  • Shop
  • Blog
  • Gallery
  • VIP Doodle Den
  • Freebies
  • About
  • Shop
  • Blog
  • Gallery
  • Doodle Den
  • Free Goodies
  • Colouring Pages
  • Digital Scrapbooking Templates
  • DIY & Craft Projects
  • Cardmaking Tutorials
  • About
  • Colouring Pages
  • Free Templates
  • Free Printables
  • DIY & Crafts
  • Bullet Journal
  • Tutorials
    • What is Digital Scrapbooking?
    • Digiscrap tutorials
    • Craft Tutorials
    • Cardmaking Tutorials

Tiny Valentine’s Gift Box

by Dani B

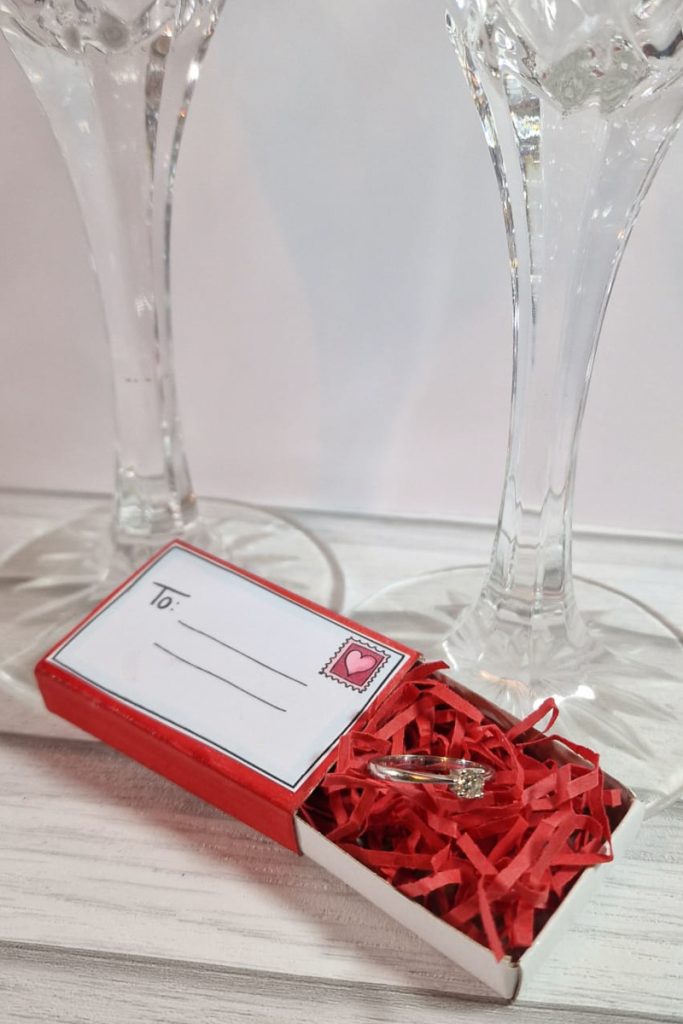
Hello crafters. How are you all? Today, I’m here with a little Valentines crafting for you. I made I teeny tiny little gift box for you. It could be used for so many things, despite its size. Perhaps pop a special sentiment or poem inside? Some little ‘what I love about you’ cards or even a ring! ????

I’ll talk you through how you can make one of these cute gift boxes for the special day in just a couple of steps…

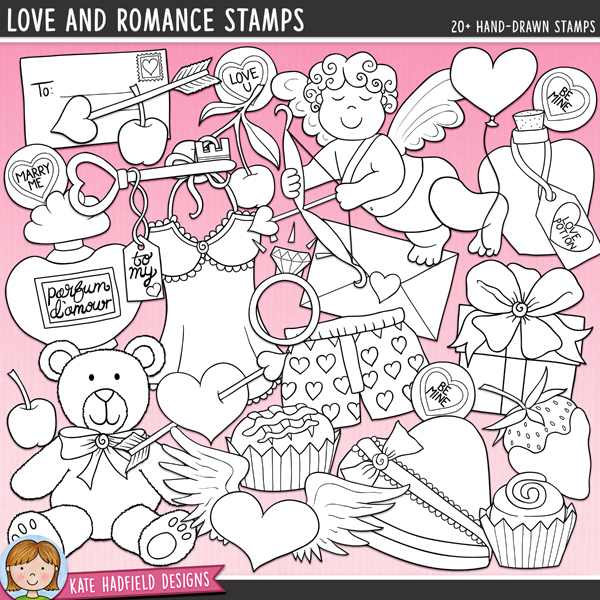
I had some Matchstick box ‘blanks’ in my stash so with the intention of working with one of these, I sized my images from the Love and Romance stamps with this in mind.

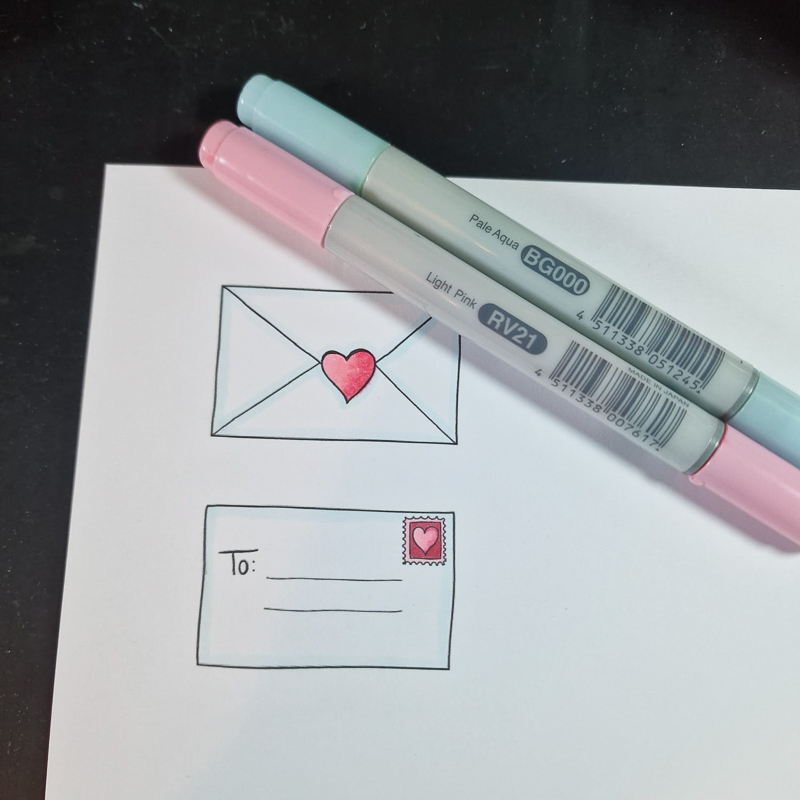
On my word document, I sized my envelopes to 5.1cm x 3.4cm. I printed these off and gave my image some soft colouring using my Copic Markers. I traced the lines for some gentle highlights / shadows using BG000 and coloured the hearts in RV21. The small heart was coloured using R27.

I fussy cut these out (I do love straight lines to fussy cut! I’m not a huge fan of fussy cutting so for me, it’s certainly a case of the straighter the better!) and then I popped these aside for now.
Next, I simply coloured my Matchbox. For the sides I covered the whole area using R27. The top and bottom, I merely coloured the edges. Covering the entirety of the surface would be futile as they would soon be covered.
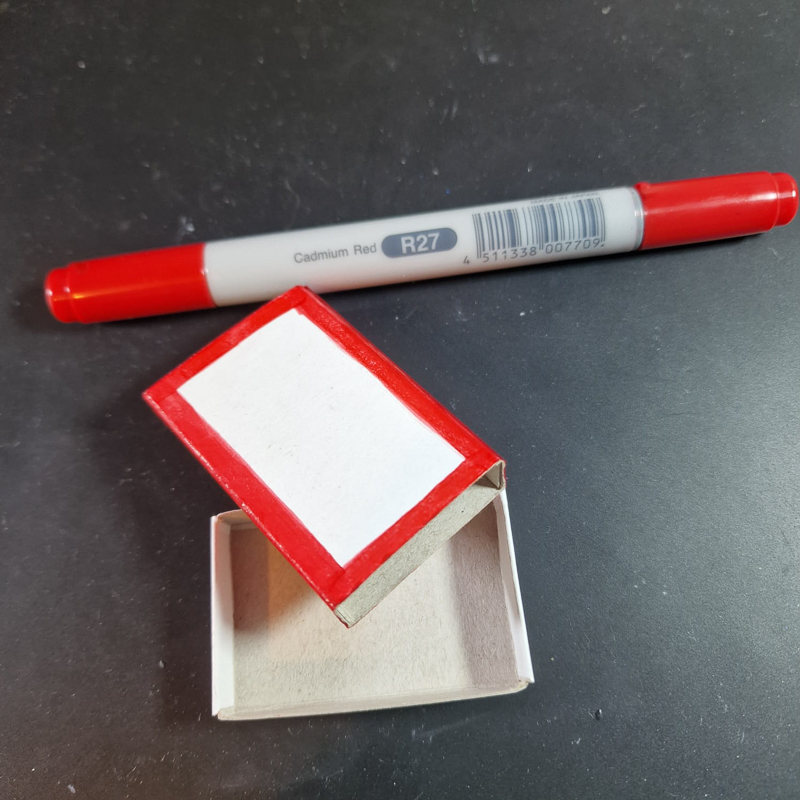
I brought back in my images and attached them to my Matchbox using wet adhesive, ensuring every mm of the images were firmly stuck down as its likely to be handled frequently.

That really is it!

I stuffed my finished matchbox gift box with a little shredded tissue.

What will you do with yours? Until next time, take care.

Lots of love, Dani xx

  • Instagram
  • Pinterest
  • YouTube

Shopping List

  • Love and Romance Digi Stamps
  • A Matchbox blank
  • Stamping card (Around 160gsm is ideal for this project)
  • Alcohol Markers
  • Wet Adhesive
  • A little gift to pop inside

You might also like:

SAVE FOR LATER:

  • Facebook
  • X
  • Email

About Dani B

Hello, I’m Dani (short for Danielle). I’m a stay at home mum due to many a health issue and been crafting to cure the boredom for around 15 years. I dare say I have a crafting style as my style is forever evolving but I LOVE clean and simple and struggle with (although very much admire) mixed media. My favourite technique is probably colouring with my alcohol markers!

Previous Post:I Love Books handmade Valentine’s card
Next Post:Free Digital Scrapbooking Template: Hearts Galore

Reader Interactions

Leave a Reply Cancel reply

Your email address will not be published. Required fields are marked *

ABOUT

High resolution, hand-drawn products for digital scrapbookers, hybrid crafters & teachers. Add a touch of hand-drawn whimsy to your scrapbook pages, craft projects and teaching resources with these fun illustrations!

MY ACCOUNT

My Account
Order History
Wish List
Downloads
Gift Certificates
Newsletter

INFORMATION

Contact
FAQ & Help
Terms of Use
Terms & Conditions
Privacy Policy
Cookie Policy

Copyright © 2026 · Kate Hadfield Designs

Back to top
  • Facebook
  • Instagram
  • Twitter
  • Pinterest
  • Mail