
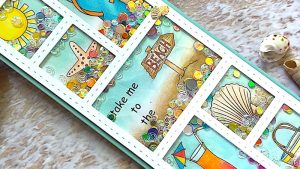


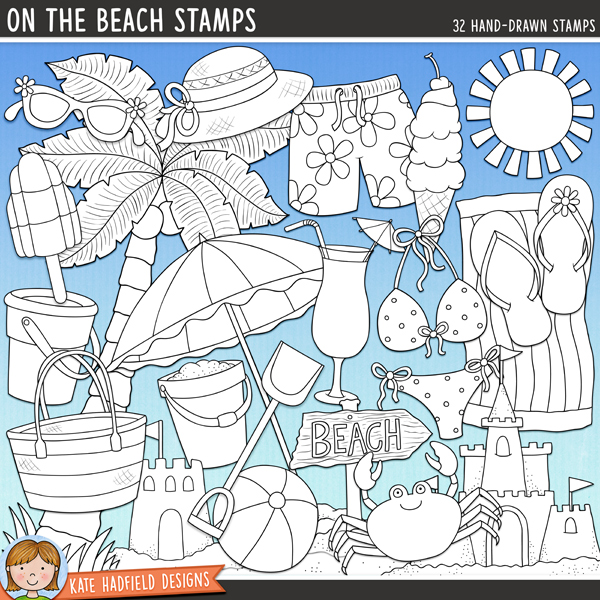
Temperatures are heating up and that means it’s time to head to the beach! Today I’ll be showing you how I made this cute slimline shaker card using the On the Beach Digital Stamps.

To start off, this time I die cut my shaker frame before composing my card in the computer. I needed to make sure my elements from the stamp set would fit into each opening.

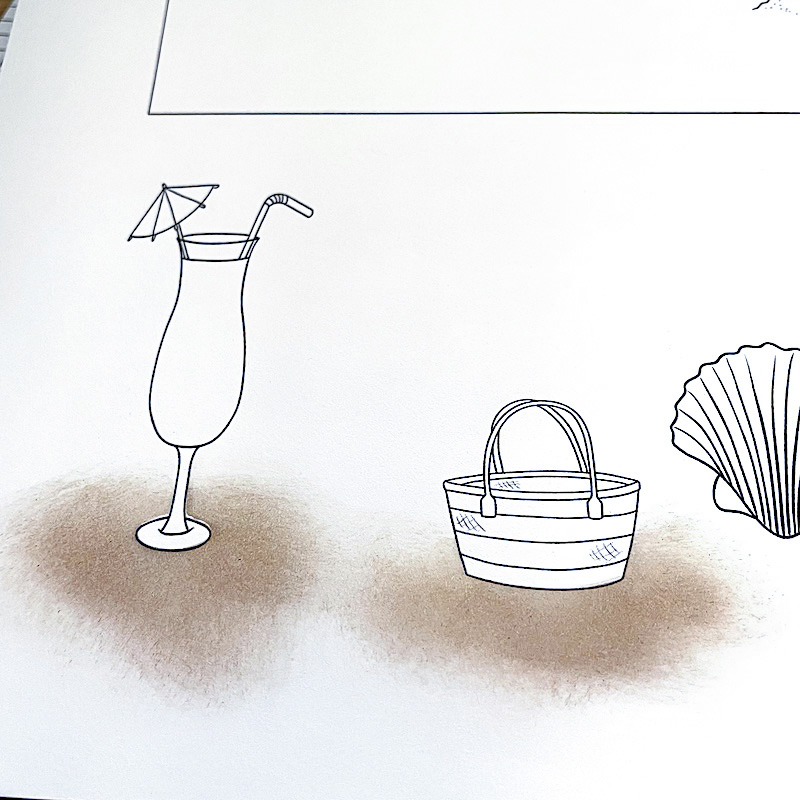
I wanted a soft look to background behind the images so I used a brush blender for the sand and some light brown ink. I cut masks for the actual images and since they were small I just held them in place while ink blending.
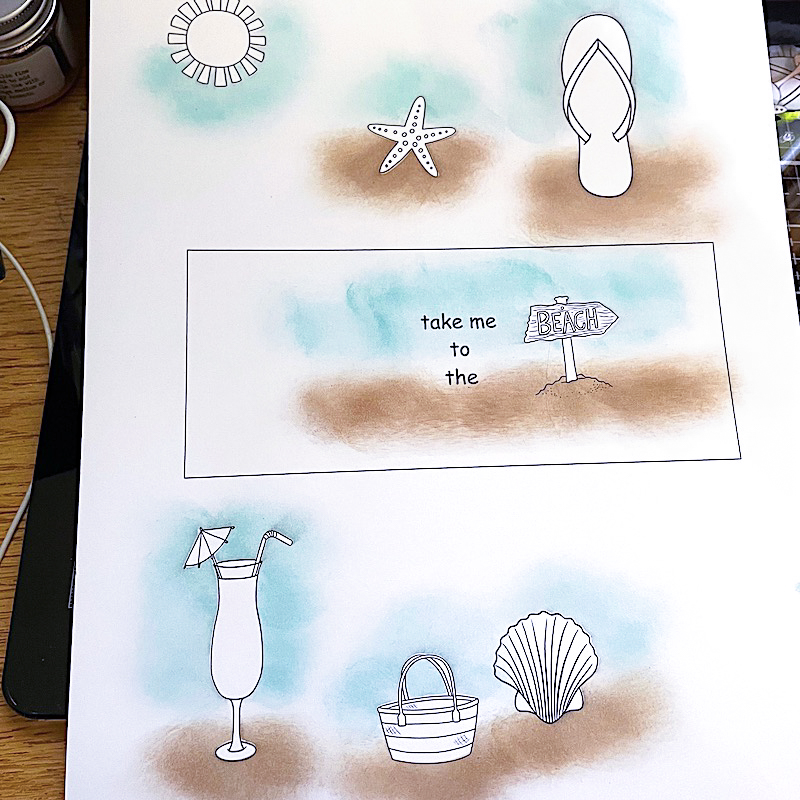
I used a blue/green ink for the sky and applied it in the same way.
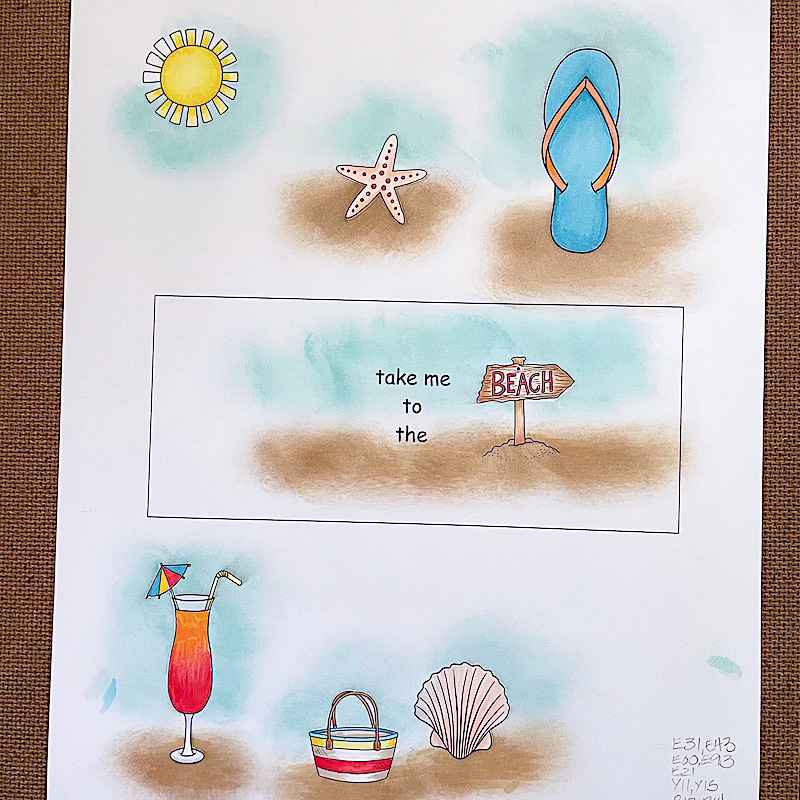
I used Copic markers for coloring. These are the colors I used: E31, E43, E00, E93, E21, E33, E35, E41, Y11, Y15, R17, R14, YR02, YR15, C1, C2, BG000, BG01, BG05
Next, I covered the back side of the frame with acetate. Then I applied foam tape around the entire frame and filled the squares with sparkly shaker bits.
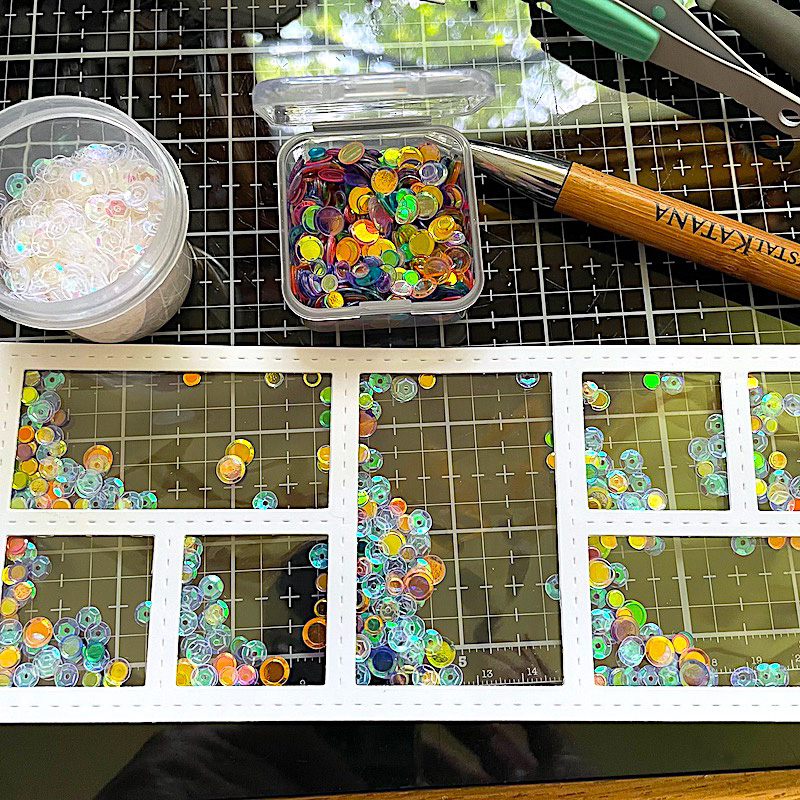
I covered the back with another layer of acetate and then applied my colored images that I had trimmed down to fit behind the acetate. Then I adhered the entire panel to a slimline card base that measures 3 ½” x 8 ½” and my card was finished!


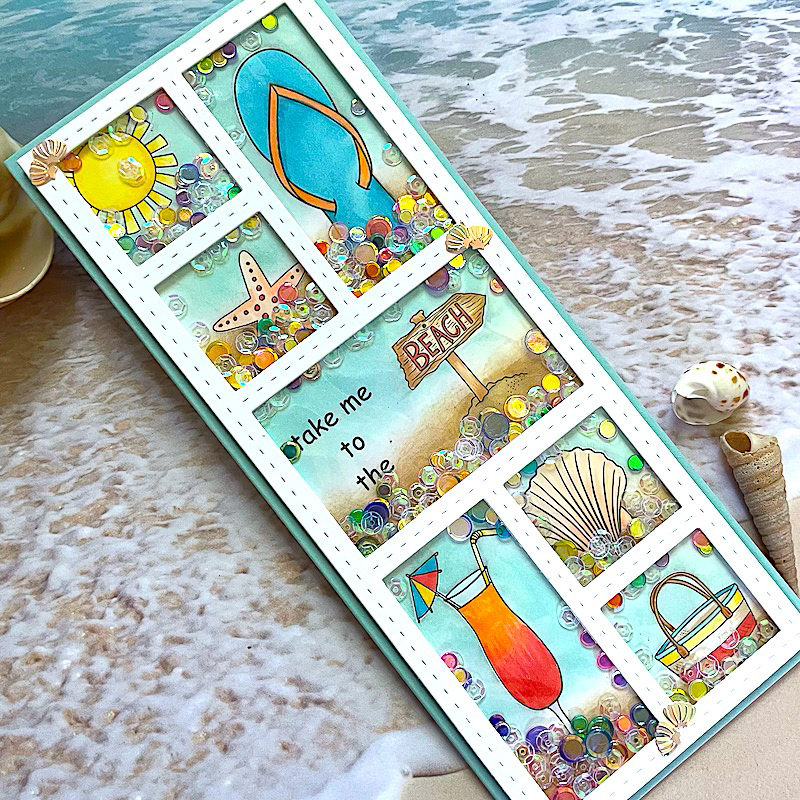
This card took a bit of work, but it was well worth it! It makes me want to hit the beach!
Thanks for reading!
Betsy
You can find me on Instagram: @betsybirgeart
Materials used:
- On the Beach digital stamps
- Shaker frame
- White cardstock, blue cardstock
- Light brown ink, blue / grey ink and brush blender
- Copic markers
- Acetate
- Foam tape
- Sequins

 Free Digital Scrapbooking Template: Shapely 2
Whimsy Stamps!
Hi Betsy
I really love this beach theme layout! The colours really pop! It really gives the feeling that I’m at the beach!!
Could you please tell me the name of the frame die that you used for this card? I am trying to find it online, but I am having a bit of trouble finding it…
Thanks for the lovely card!