
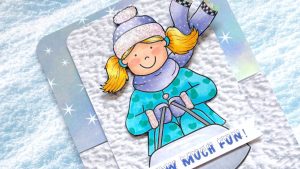

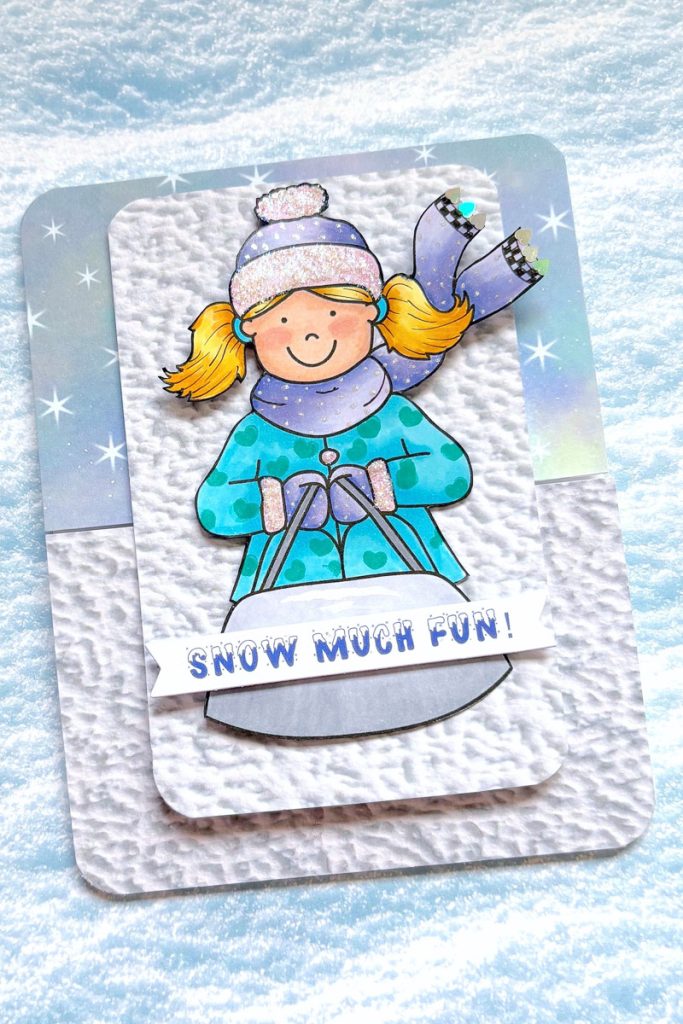
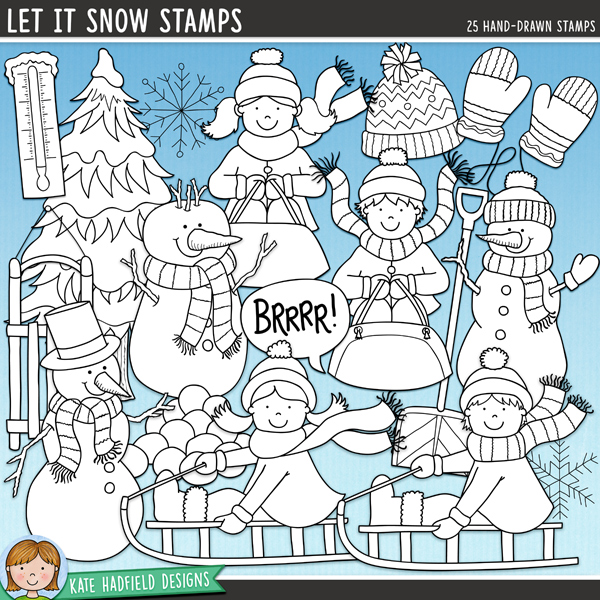
Hello everyone! Betsy here today sharing a cold weather fun card! It’s very, very cold where I am in the Northeastern US so an interactive winter card seems appropriate! Today I’ll be using the Let It Snow digital stamp set. This stamp set has lots of images providing endless ideas. For this particular card I’m only using one image. Let me show you how I made it!

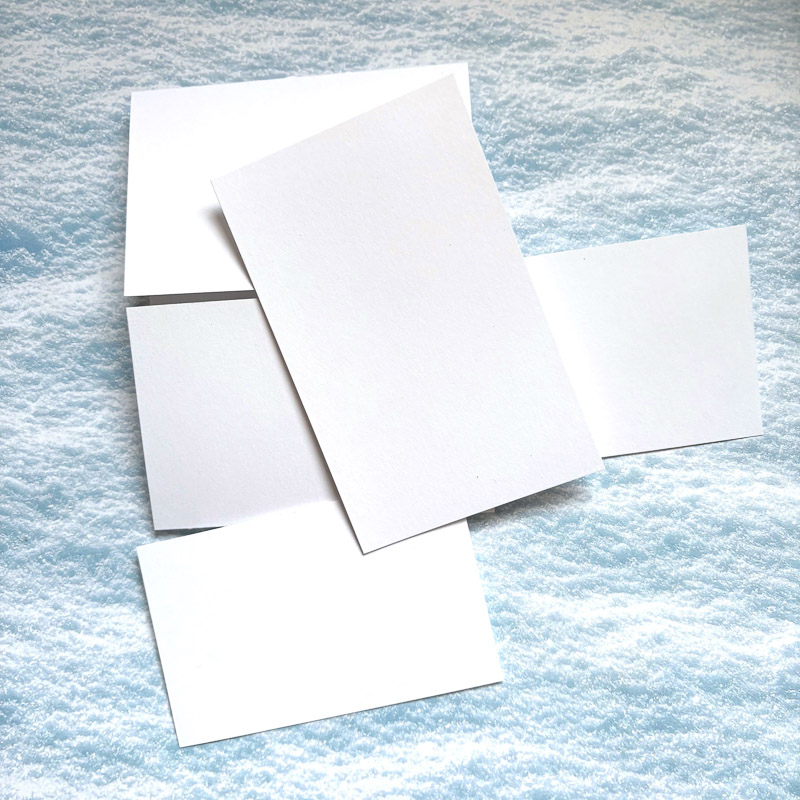
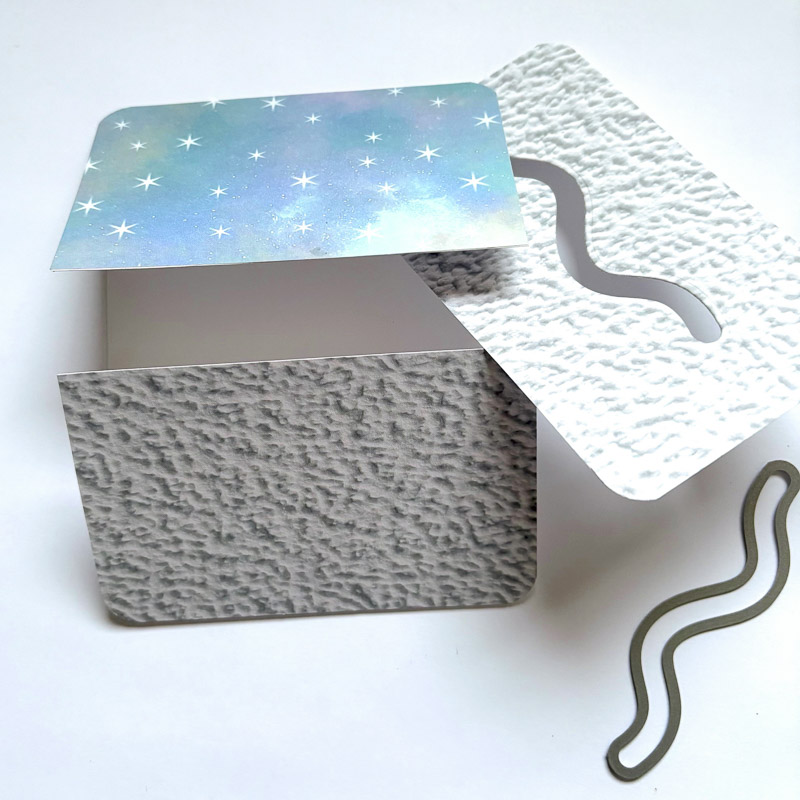
I started by cutting out my base pieces out of white card stock. I took a piece of 8.5” x 11” card and cut it lengthwise. Then I scored it at 2.75” and 8.25” and folded them both towards the center of the card. You can see a couple of smaller pieces, but I ended up not using them. The one on the very top of the pile will become the focal interactive panel.
I chose my papers at this point. I definitely needed one sheet for the snowy parts of the card. And I chose a pretty sky with stars for the top panel. I also finally found my slider dies (after looking forever!).

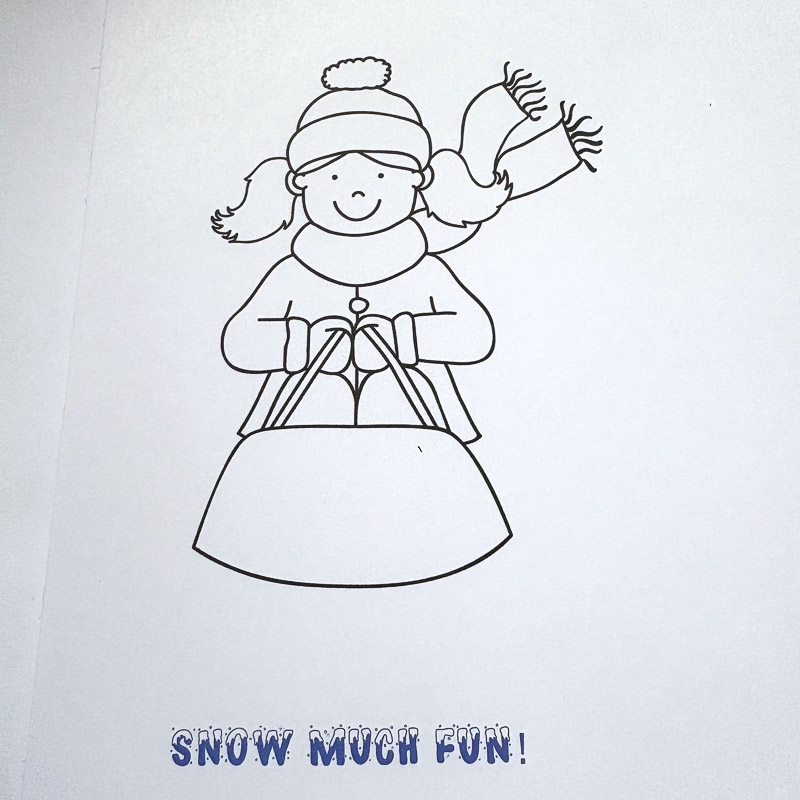
I printed out my focal and added a sentiment that I would trim down later on.
I covered my base pieces with the patterned papers…snow on the bottom and on the focal panel, and the pretty starry blue on the top. I rounded all of the corners. After the glue was dry I cut my slider channel in the middle of the focal panel.
I put in the slider mechanism into the slider channel. This was a round glider that does not require any adhesive to stay in. It’s like an empty spool, so the paper holds it in. The tiny spool part is also round. I later changed it out for a straight one, because my little girl was spinning around like a top!
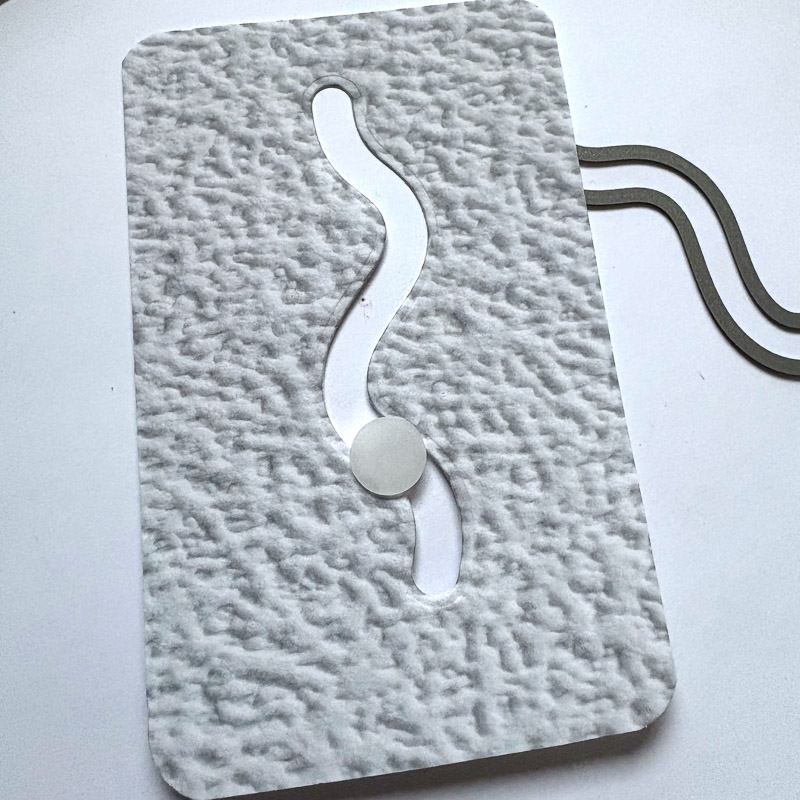
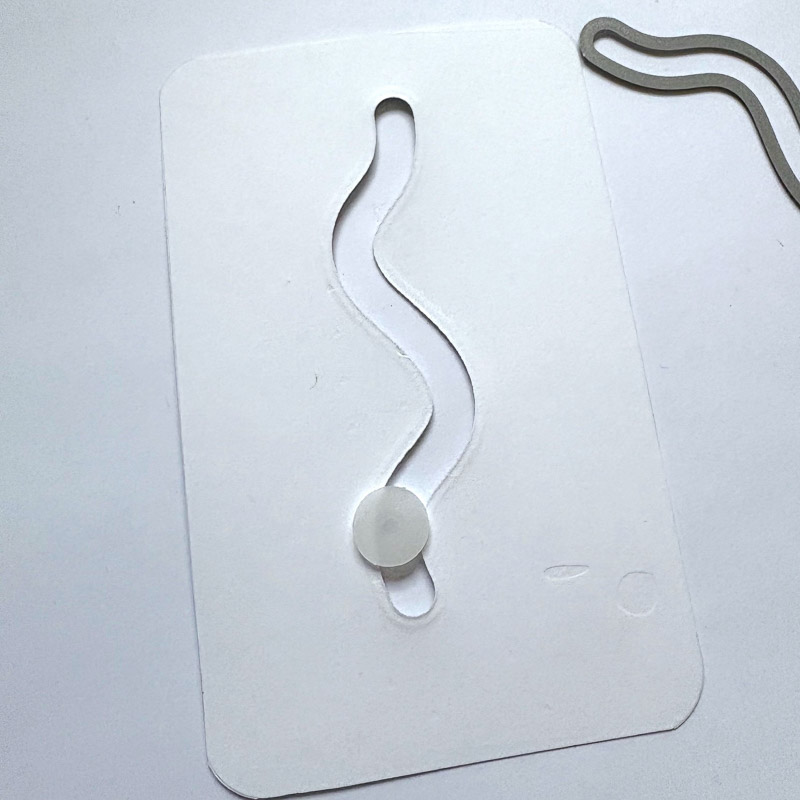
You’ll see that the front of the glider and the back of the glider look exactly the same.
Next it was time to color! Unfortunately I didn’t save my color list! I have provided a list below – sort of, but I was color-matching to my background paper.
The coloring is done and it was fairly basic. I went in after it was done and added details to the hair and scarf with a fine line black pen.
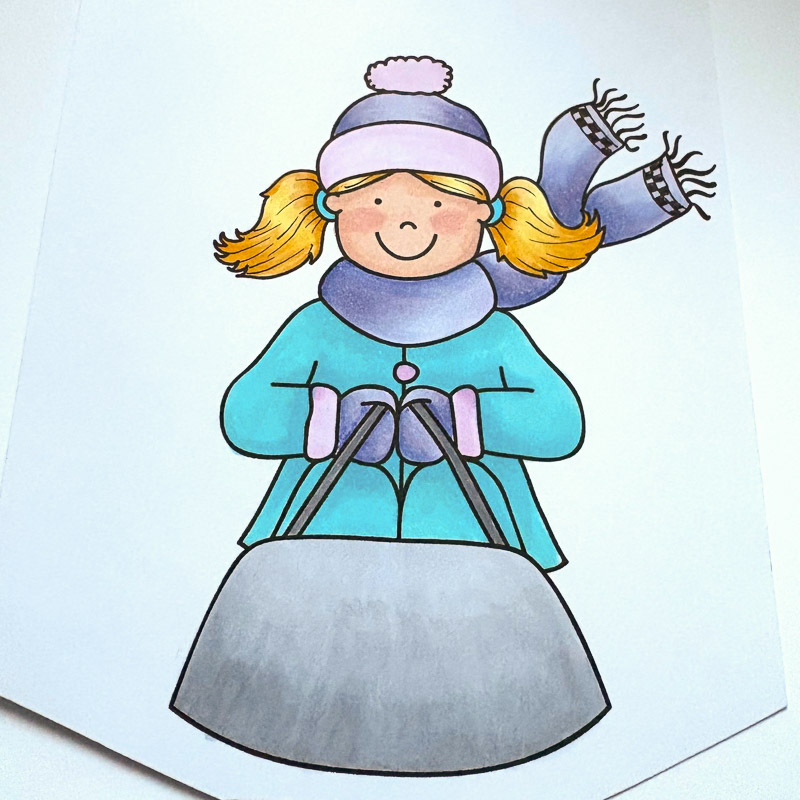
I fussy cut the colored image and went around the edges with a black marker. I used a tiny heart stamp on her snowsuit. I used Stardust Stickles on her hat pompom, hat band and mitten cuffs. I cut off the fringe of the scarf, choosing not to try to cut it out! I added tiny heart sequins to each end of the scarf. I added foam tape to the top portion of the focal panel only.
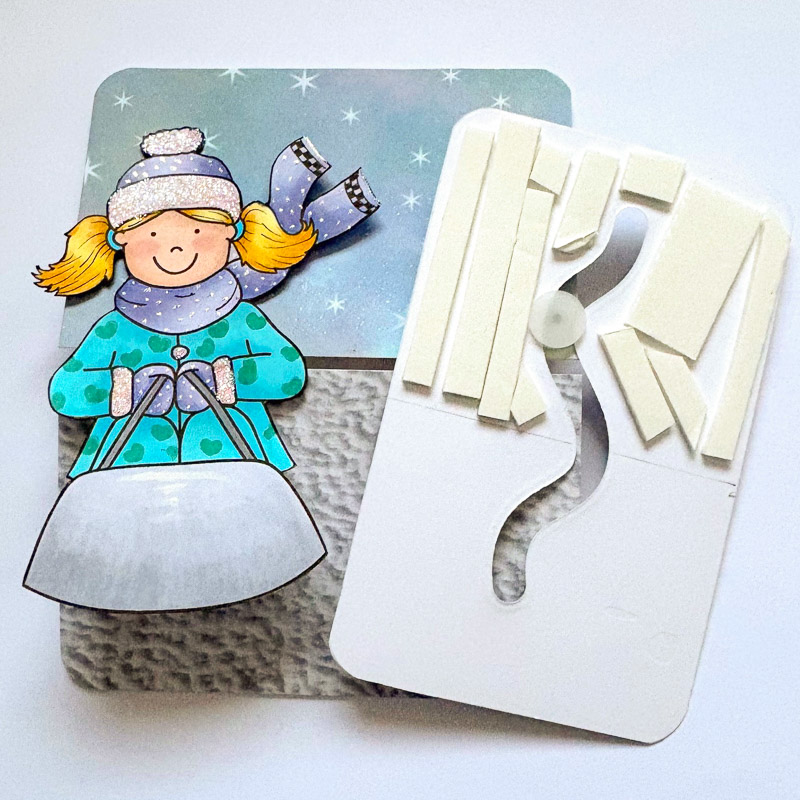
The base is done and I placed the glider in the middle of the channel and then used a glue dot to attach the sliding girl onto the glider making sure that she covered the channel completely and the glider was mostly in the middle of the piece.
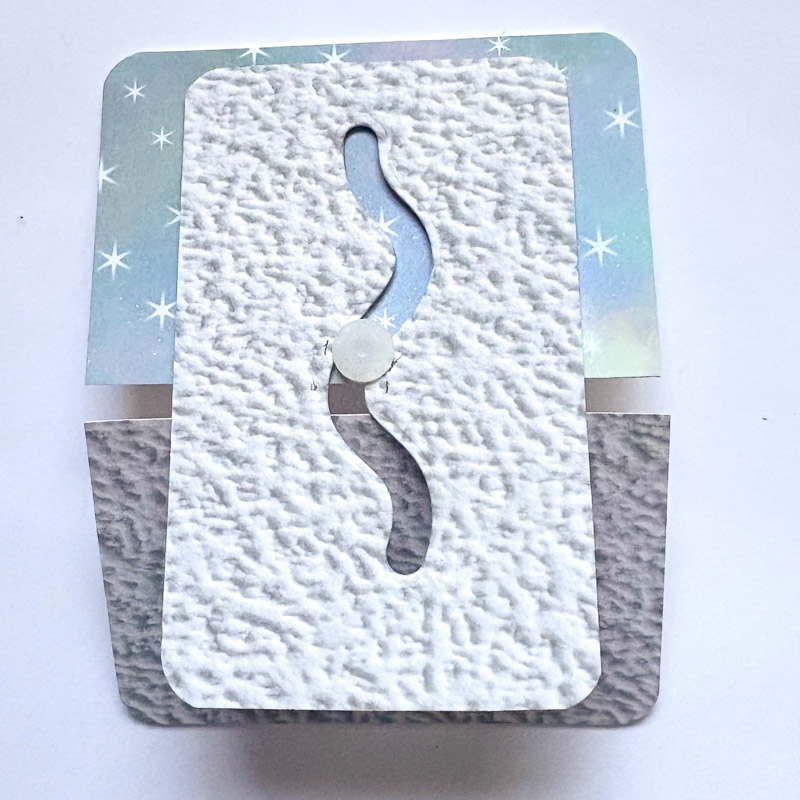
It was at this point that I wished I had used a straight channel die. She does move up and down, but it’s a bit of a hard way down! The straight one I have is too long for this project, but I had another that was the same length, just less curvy. But she does work and I think she’s adorable!
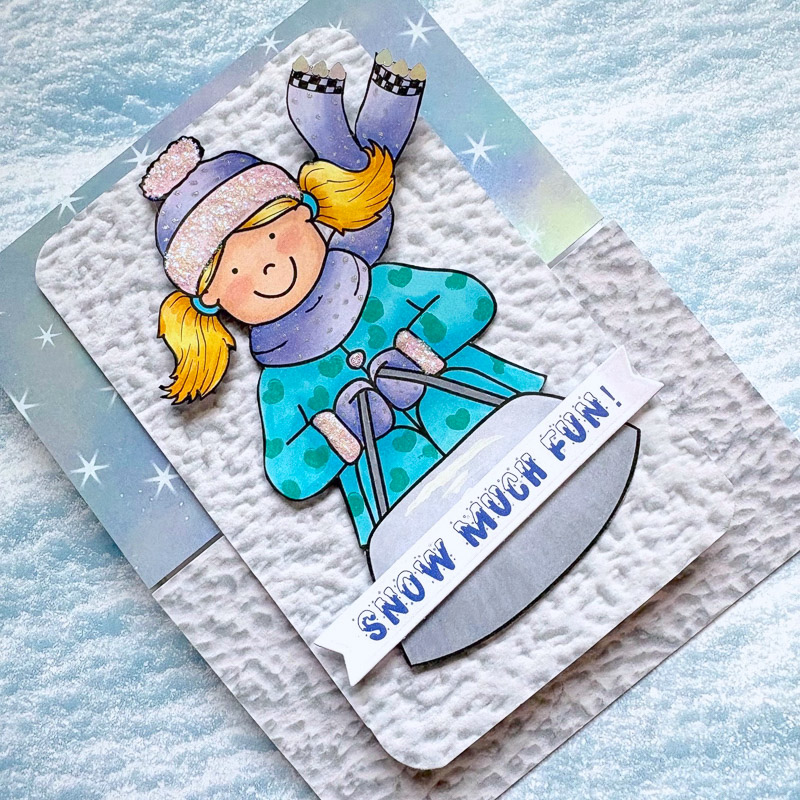
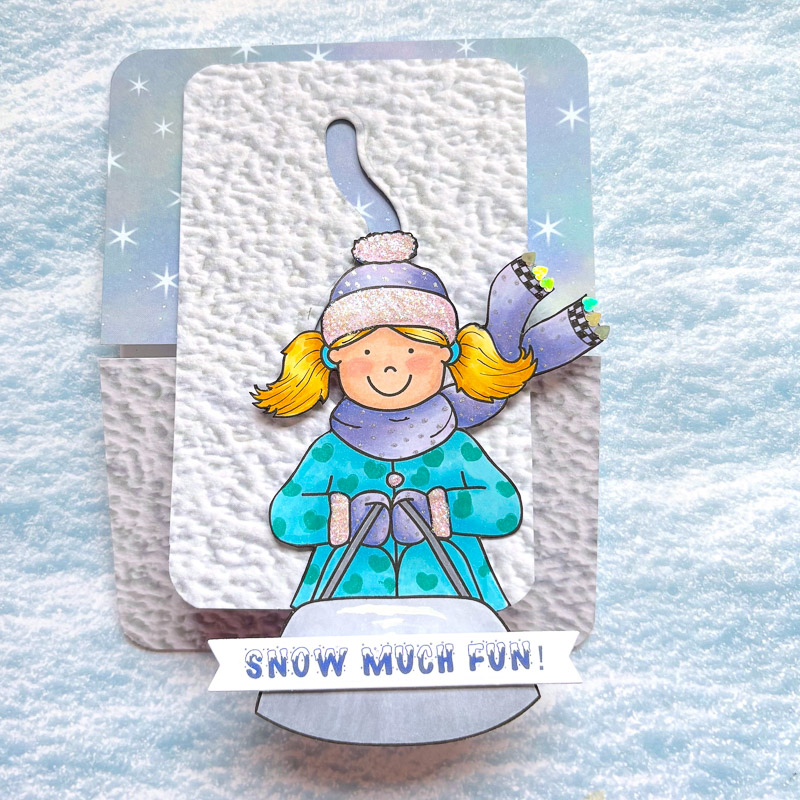
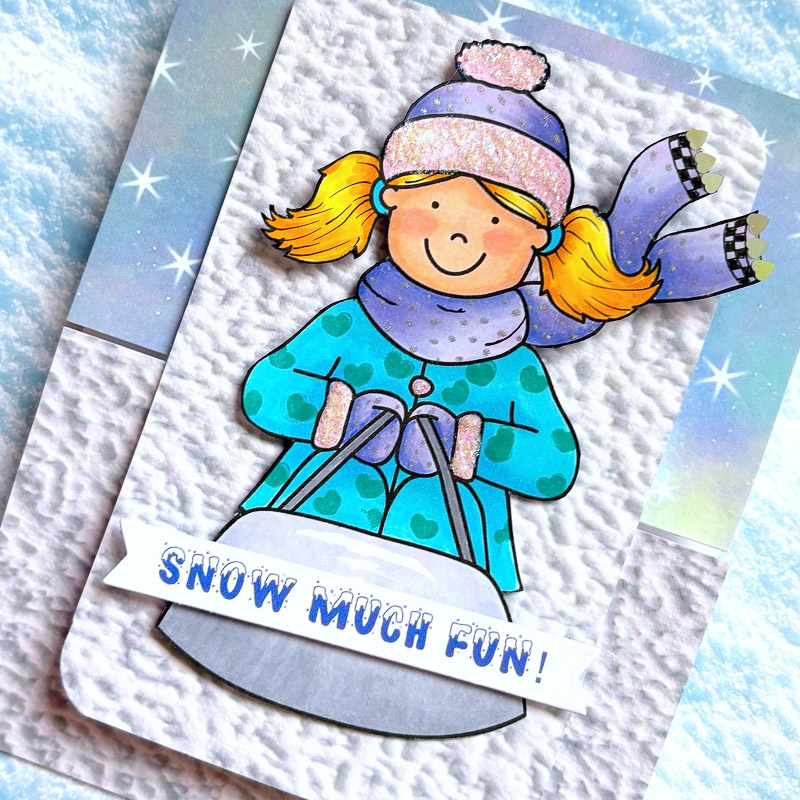
I hope you give this card project a try. There are so many ways you could make this card!
Til next time…
Betsy
You can find me on Instagram: @betsybirgeart
Materials used:
- Let It Snow digital stamp set
- White cardstock
- Patterned paper
- Slider die
- Black fine liner pen
- Black waterbased pen for the edging
- Stardust Stickles
- Glider mechanism
- Foam tape
- Tiny heart sequins
- Tiny heart stamp
- Ohuhu Markers: YR02, YR04, YR54
- Copic Markers: YR30, YR31, YR23, BV Mix and a pale V, BG mix, C0, C01, C02, C03

 Free Digital Scrapbook Template: Tagged Hearts
Leave a Reply