
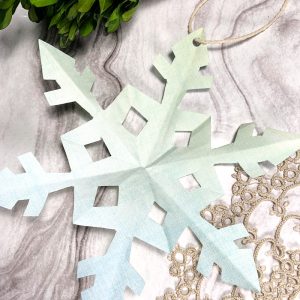

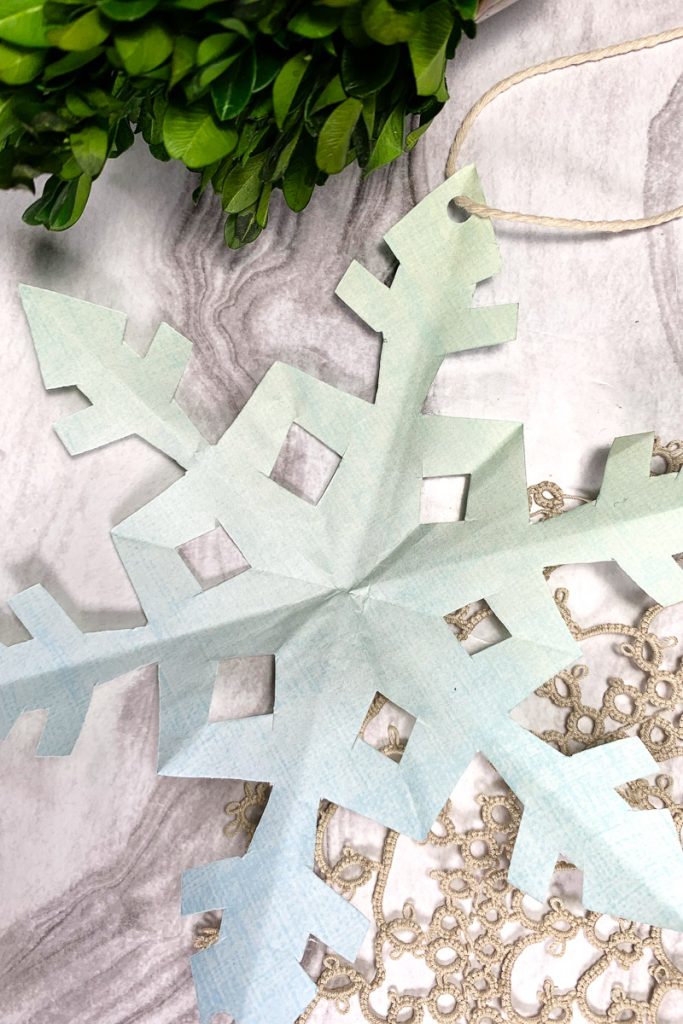
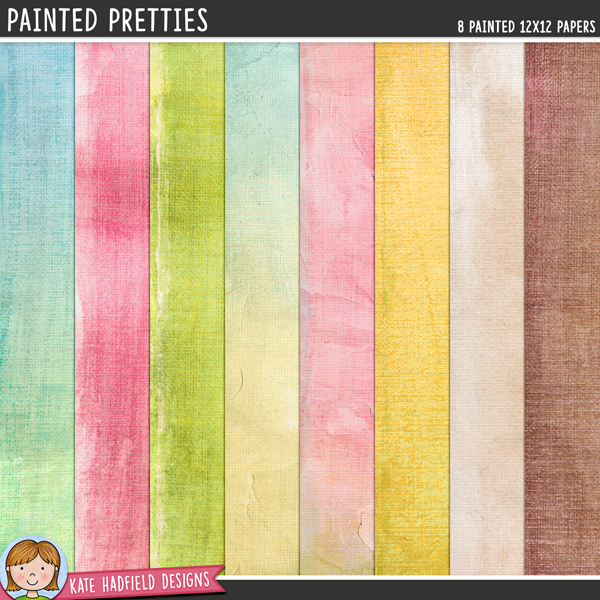
Hello everyone! Sasha here. Where I’m from, it’s been quite cold lately, and there’s been a ton of snow. Although I would prefer warmer weather without all the snow, it’s still very much winter. So, today I’m sharing how I created a paper snowflake using the Painted Pretties Digital Paper Set!
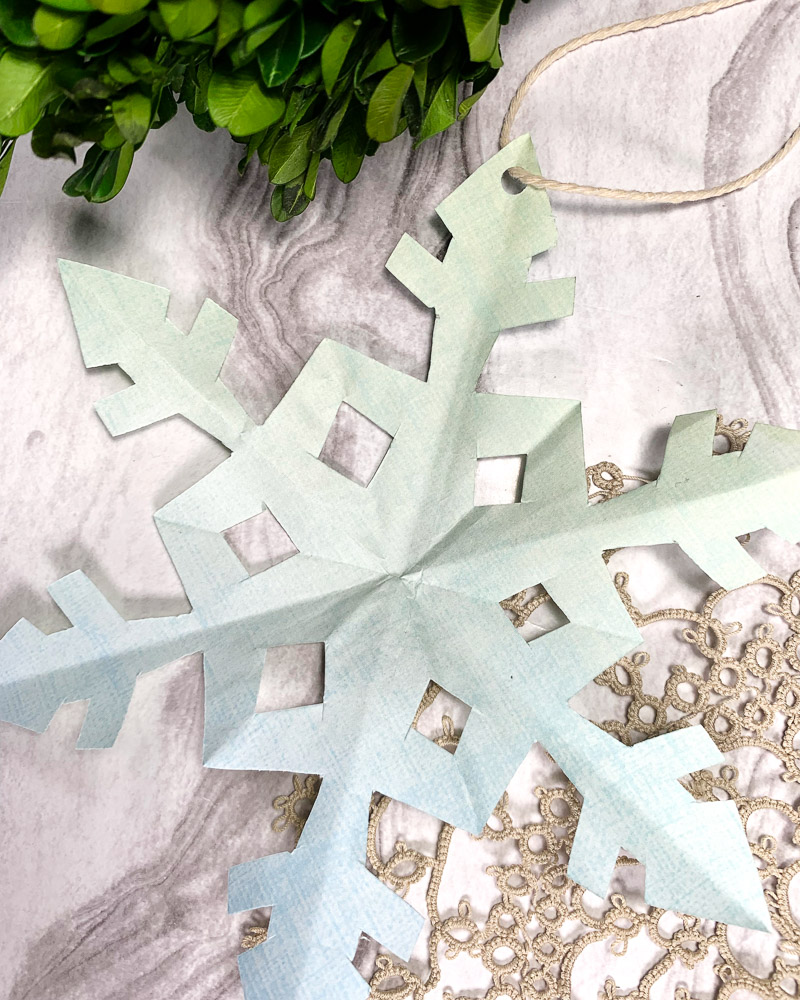
I started by uploading one of the papers from the Pretty Papers Digital Paper Set into a word processing software. I used Microsoft Word for this. Since I am planning to hang up my snowflake, I wanted to print it double-sided. I copied and pasted the image onto a second page to do this. However, you don’t have to make your snowflake double-sided.
Once the digital paper was formatted, I printed it out onto a sheet of white printer paper, making sure I selected the double-sided option in my printer settings. After printing, I also trimmed off any remaining strips of white paper.
From here, now it’s time to have fun and create your snowflake! I started by folding the corner of the paper down to meet the side, then trimming off the excess strip at the bottom.
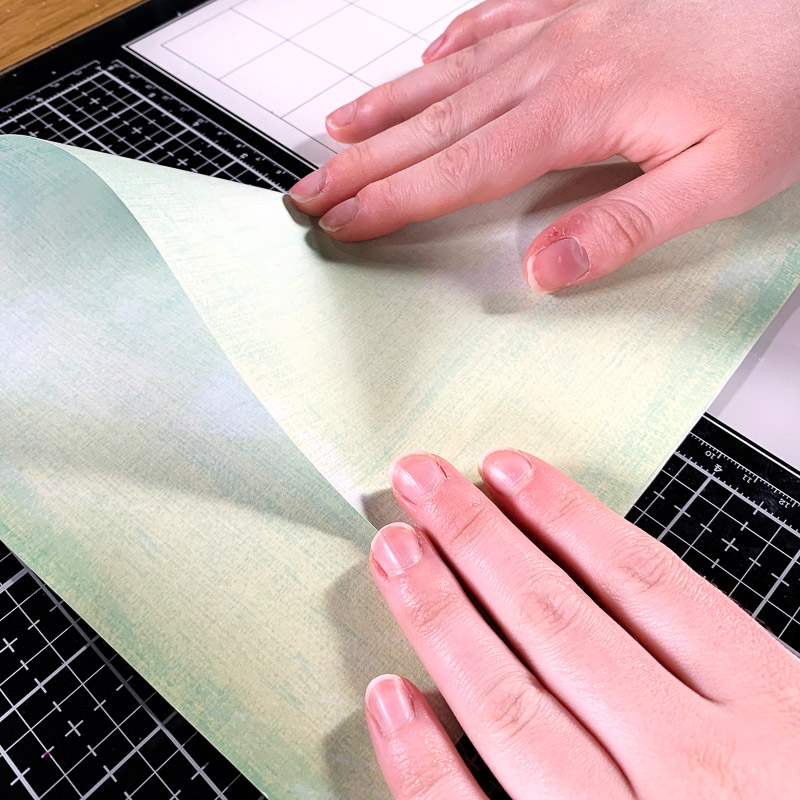

Next, bring one corner of the triangle to meet the opposite corner. This fold line will serve as a guideline for the next fold.
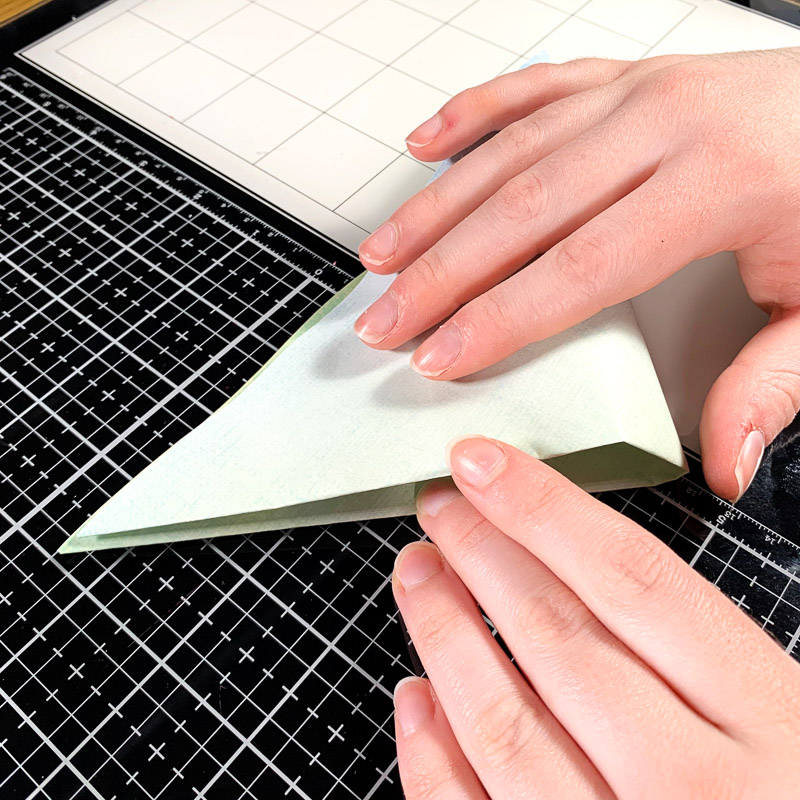
Now, unfold the previous fold and fold both triangle corners up on a diagonal so they overlap. Your paper should now resemble a cone.
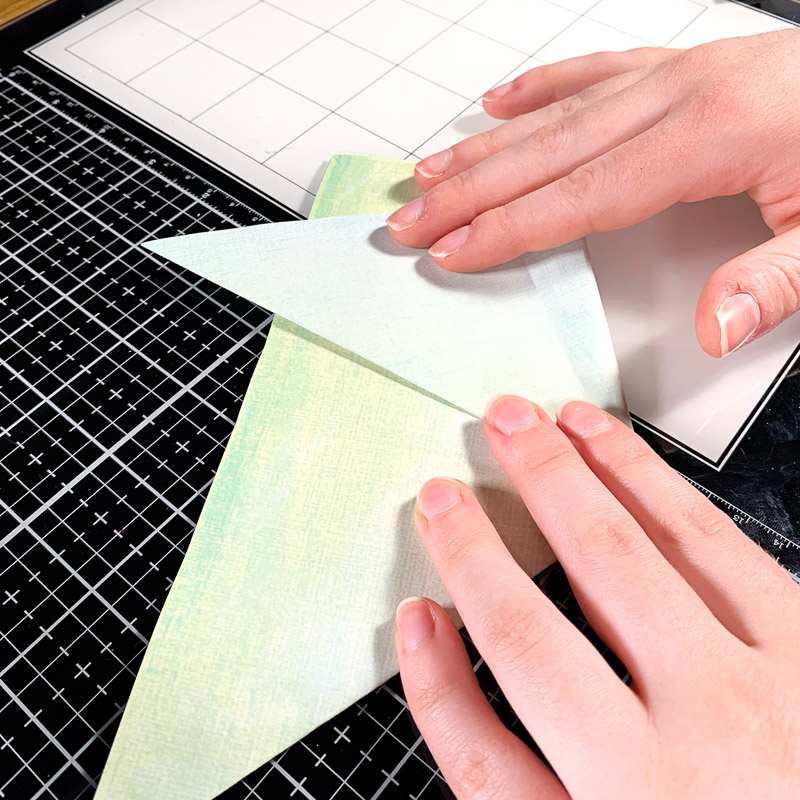
Lastly, fold the paper in half and trim off the top.
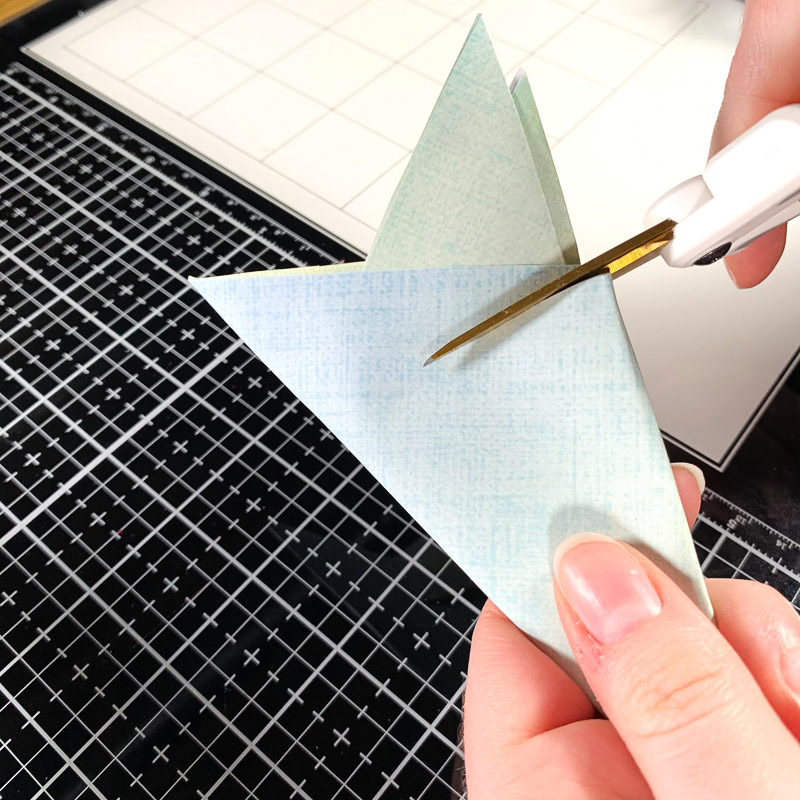
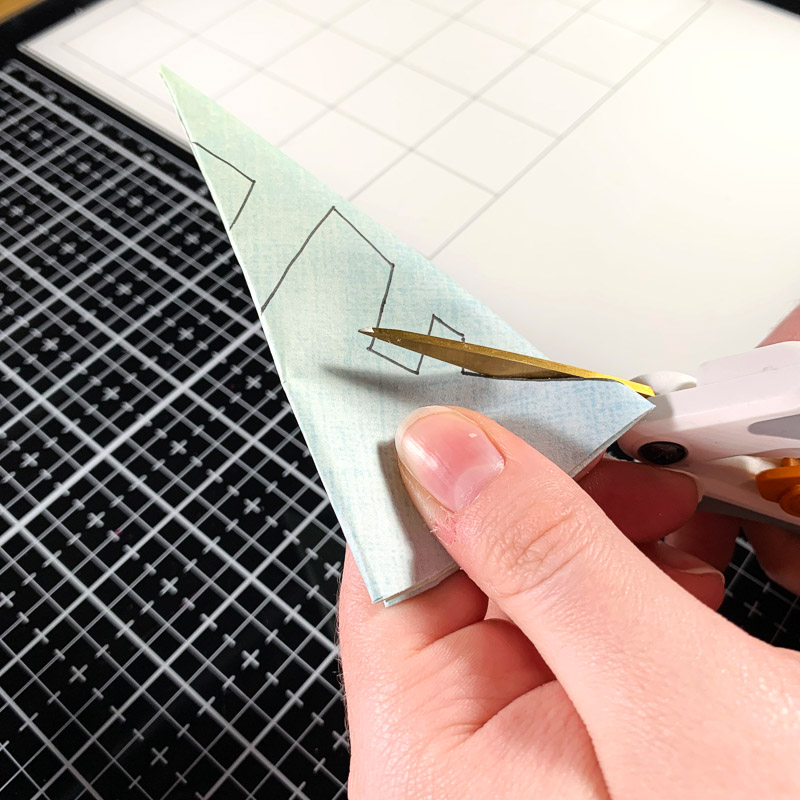
For the snowflake design, I used a pen to quickly sketch it. However, you can also just freehand the design!
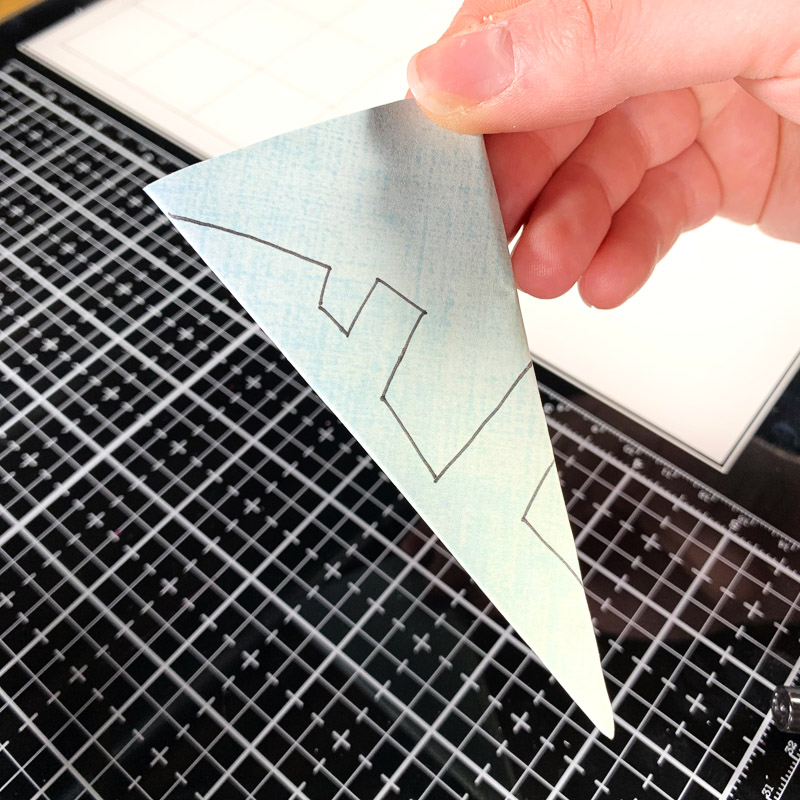
All that’s left is to cut out the snowflake! I used a pair of scissors and followed the design I sketched. After cutting, unfold your snowflake and enjoy!
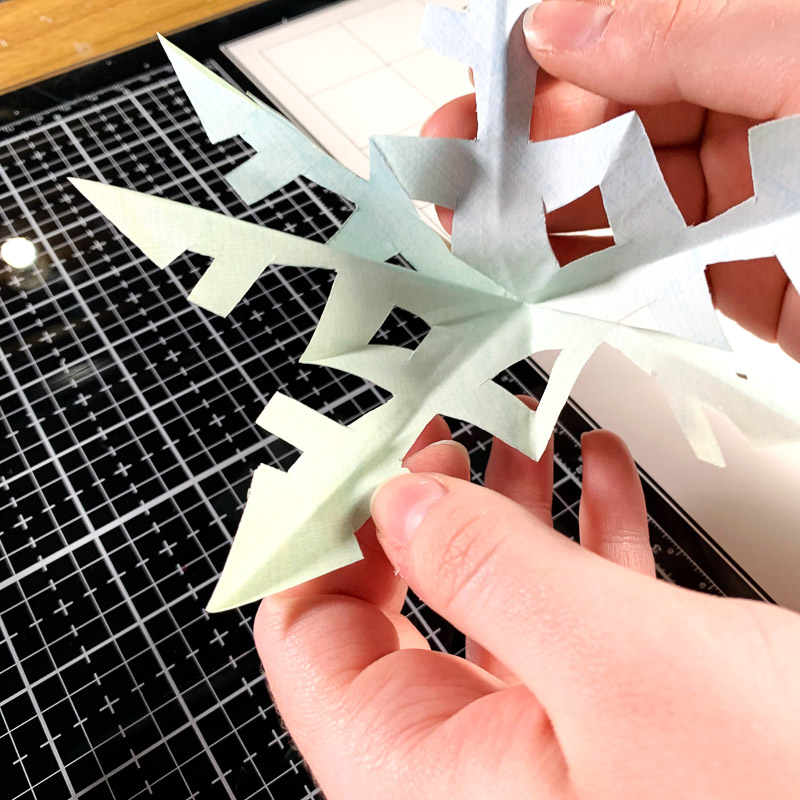
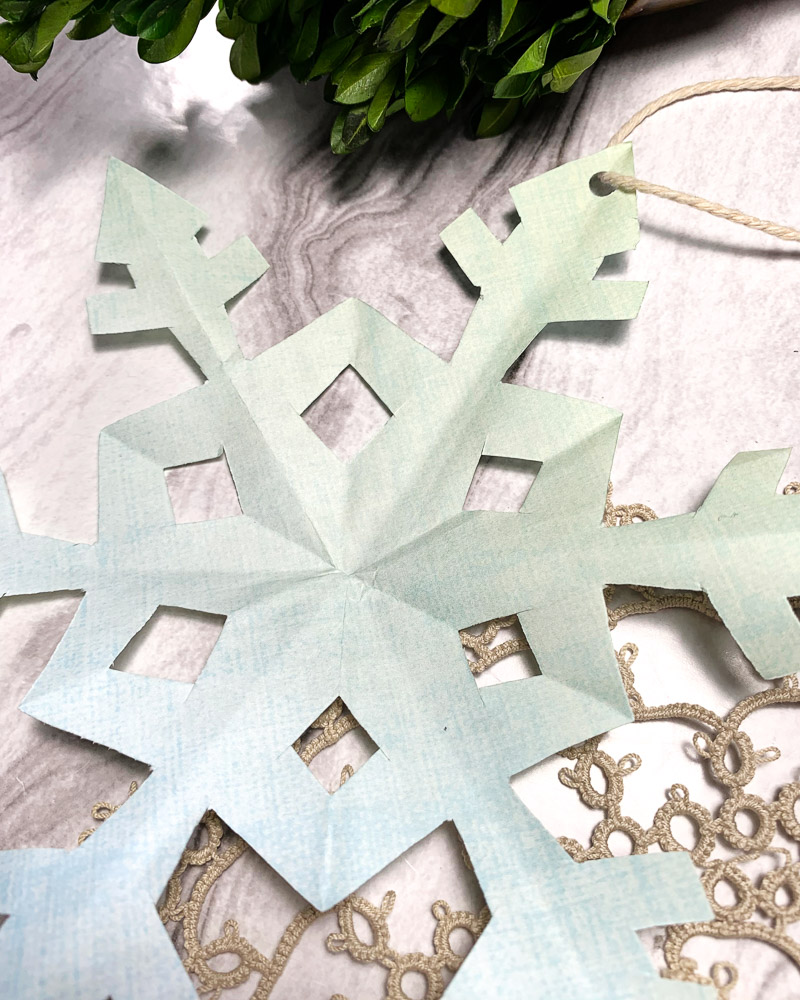
However, since I want to hang up my snowflake, I decided to use a hole punch to punch a hole at the top. This allowed me to attach a piece of baker’s twine to my snowflake, so that I can now hang it up anywhere!
And there you have it! An easy-to-make winter craft using the Painted Pretties Digital Paper Set!
Thanks for reading. See you next time!
Sasha
Products Used:
- Painted Pretties Digital Paper Set
- Word processing software (Microsoft Word)
- Printer
- Scissors
- Twine, string, yarn, etc.

 Betsy’s Snow Much Fun slider card
Leave a Reply