
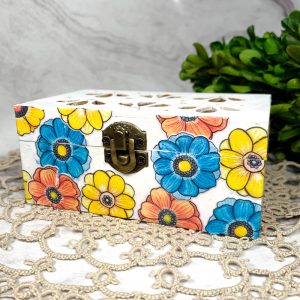

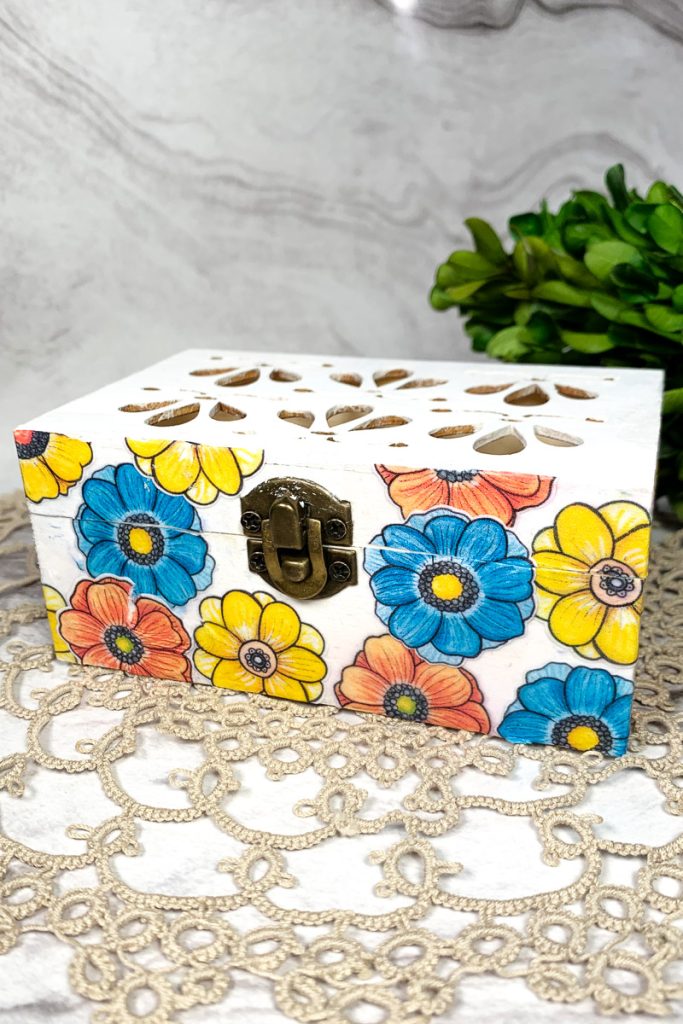
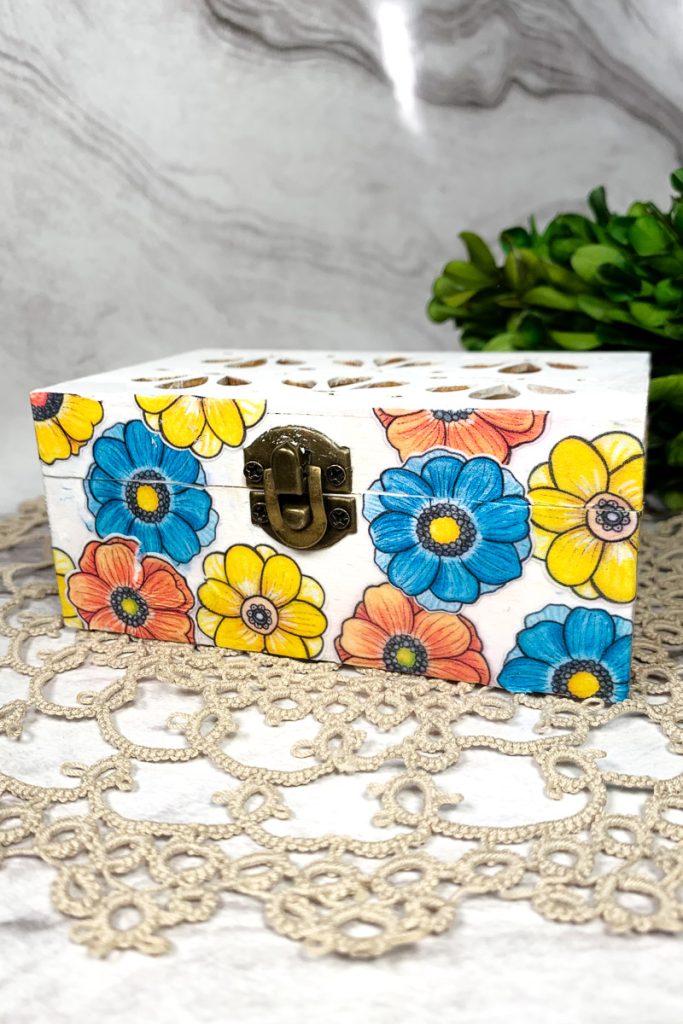
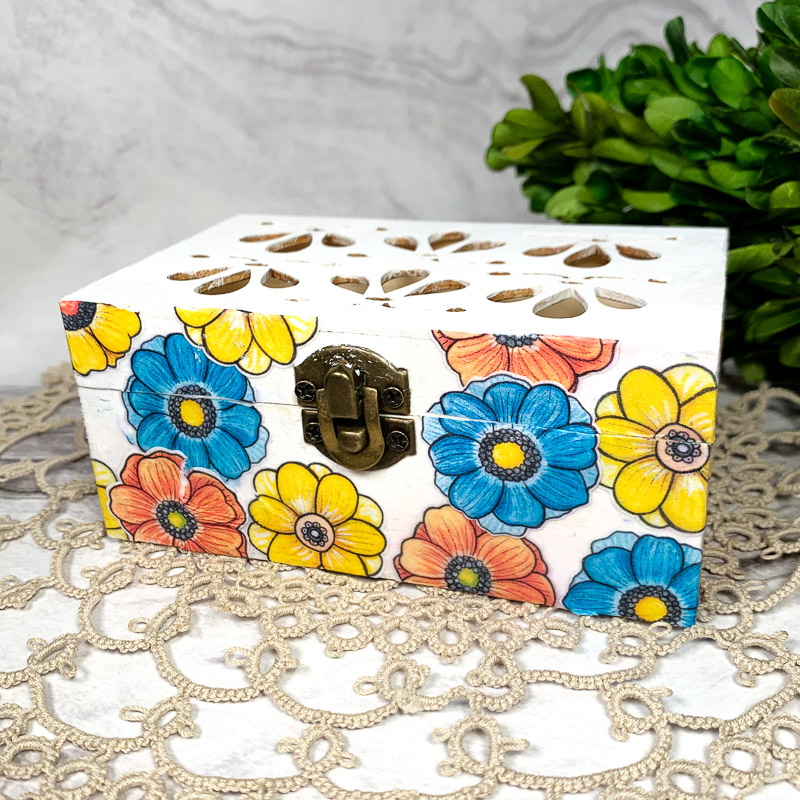
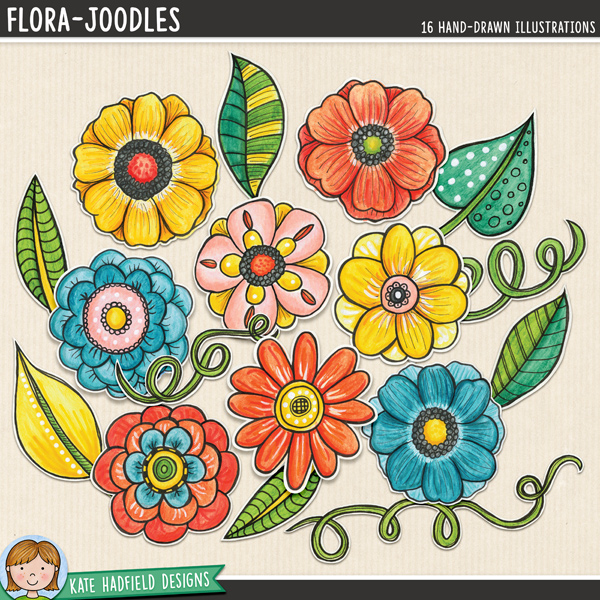
Hello everyone! Sasha here. It’s March, which means (hopefully!) warmer weather will soon be here! So, today I’m sharing a floral decoupage craft! It’s been a long time since I have done any kinds of decoupage projects, and I had so much fun putting this one together. The Flora Joodles Digital Illustration Set make for the perfect pack to get started with some spring crafting!
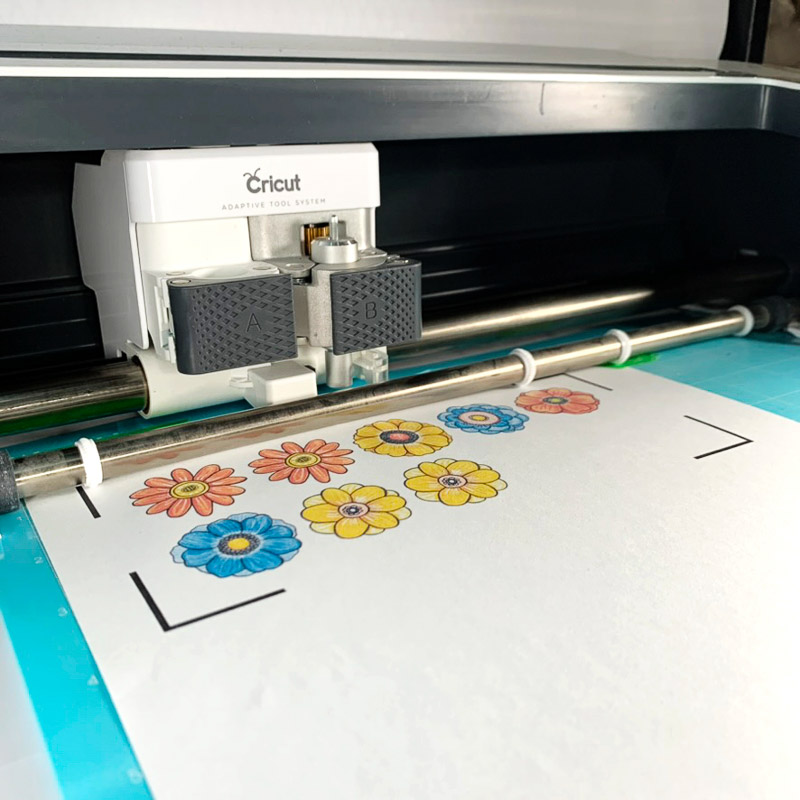
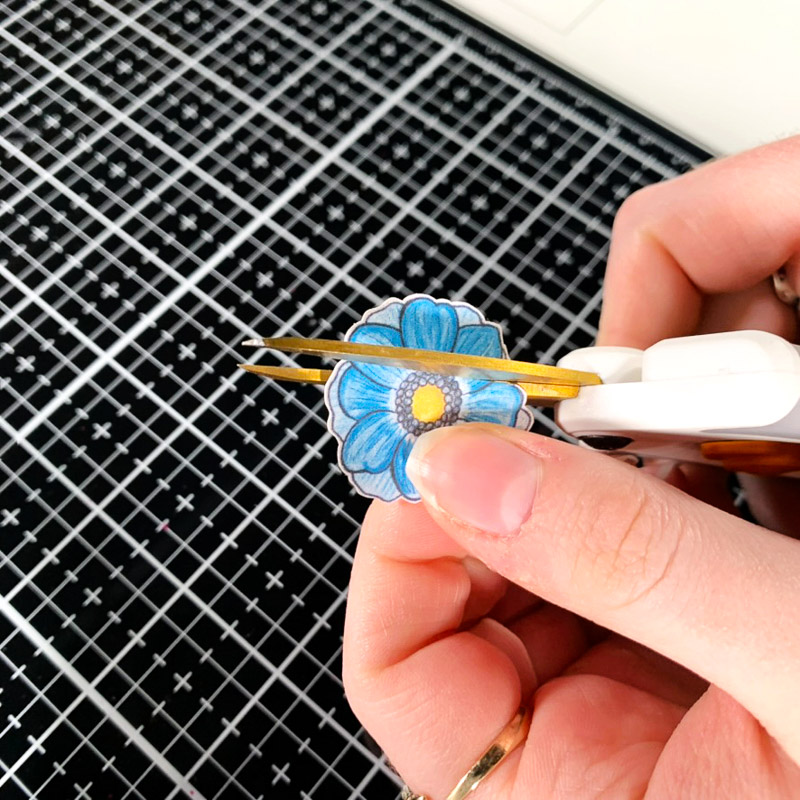
I started this craft by uploading several of the floral images into Cricut Design Space. I sized them to an appropriate size (for me, this was approximately 1.1 inches by 1.2 inches), printed them on regular printer paper, and then cut them using my Cricut Cutting Machine.
After I had all of the images printed, I painted a base layer of white acrylic paint onto my small wooden box. I got this box from my local dollar store – it acts as a perfect canvas for this craft!
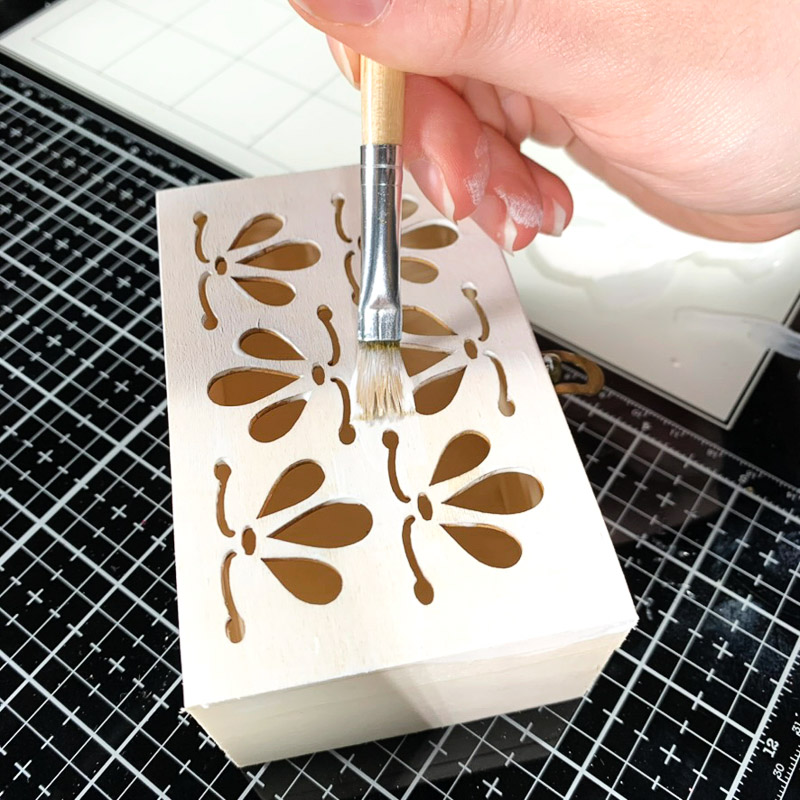
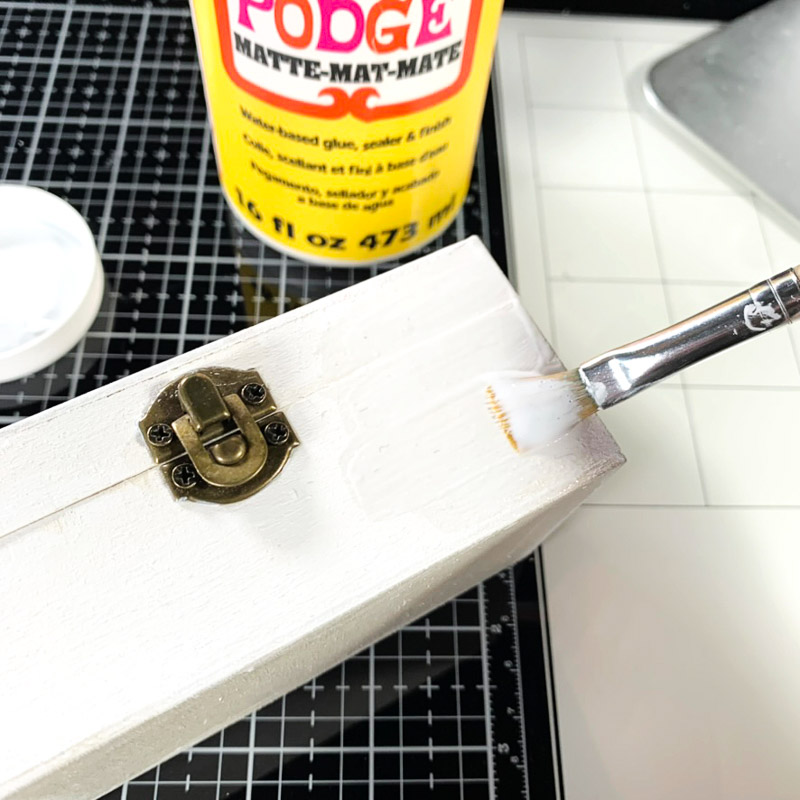
To decoupage, start by using a paintbrush or sponge brush to apply a layer of Mod Podge to the wooden box where you will place your image. For this, you can also use any collage medium. Then place the floral image on the Mod Podge, making sure it adheres fully to the wooden box. To seal the image and prevent it from lifting or peeling, add another layer of Mod Podge or collage medium on top.
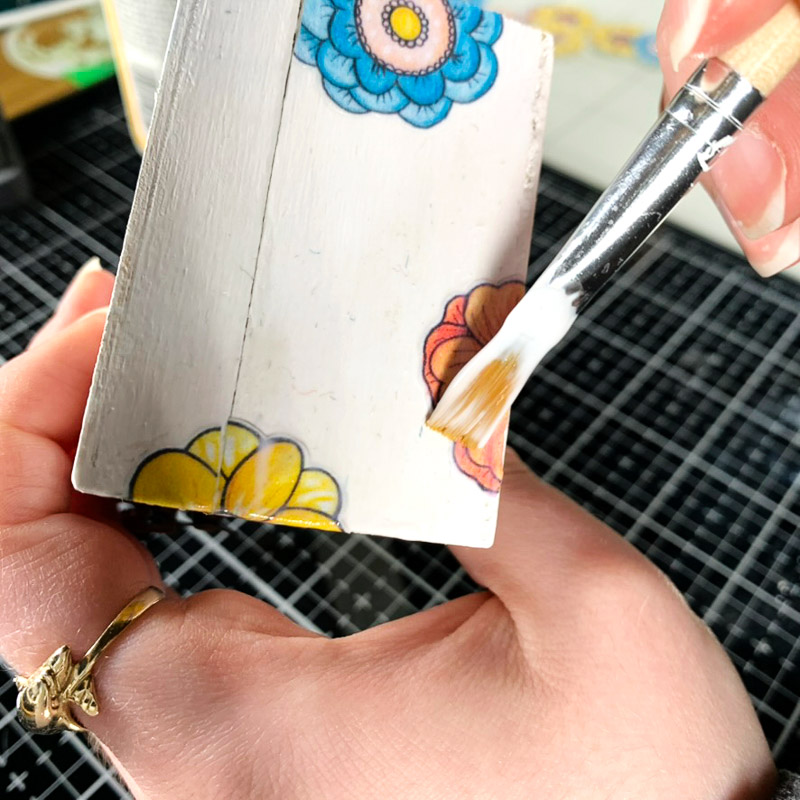
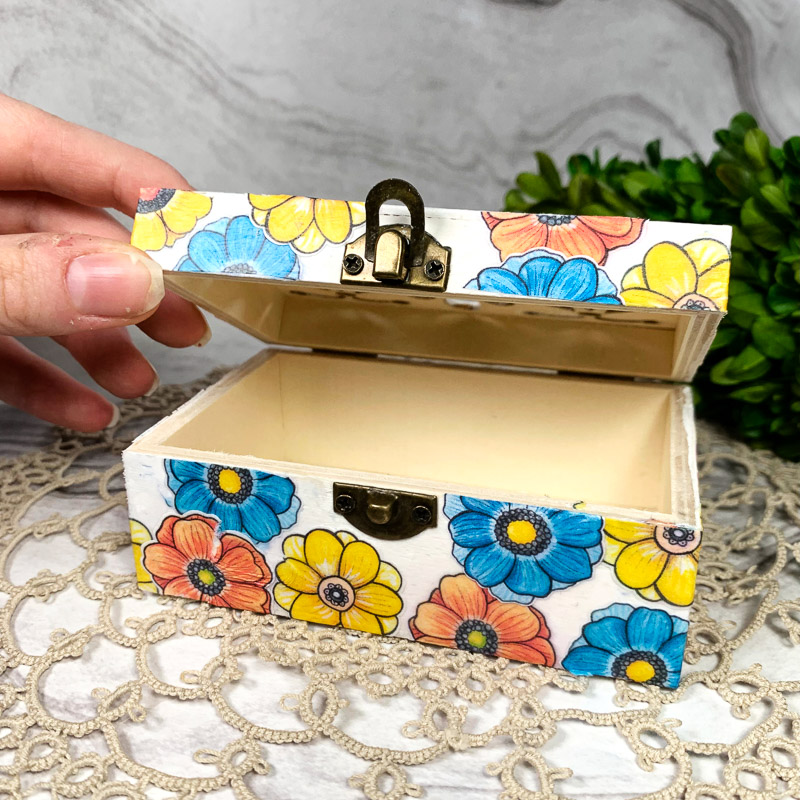
To place a floral image over the box opening, cut the image beforehand and apply it as usual, making sure to line it up.
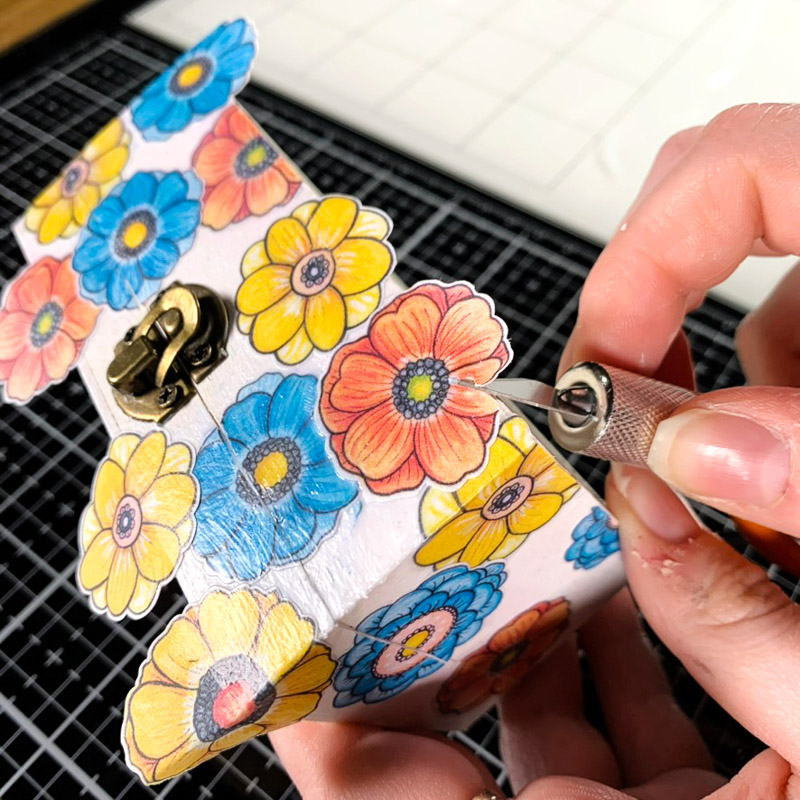
Once the Mod Podge dries, use a precision craft cutting knife to trim off any excess that overhangs the edges of the wooden box.
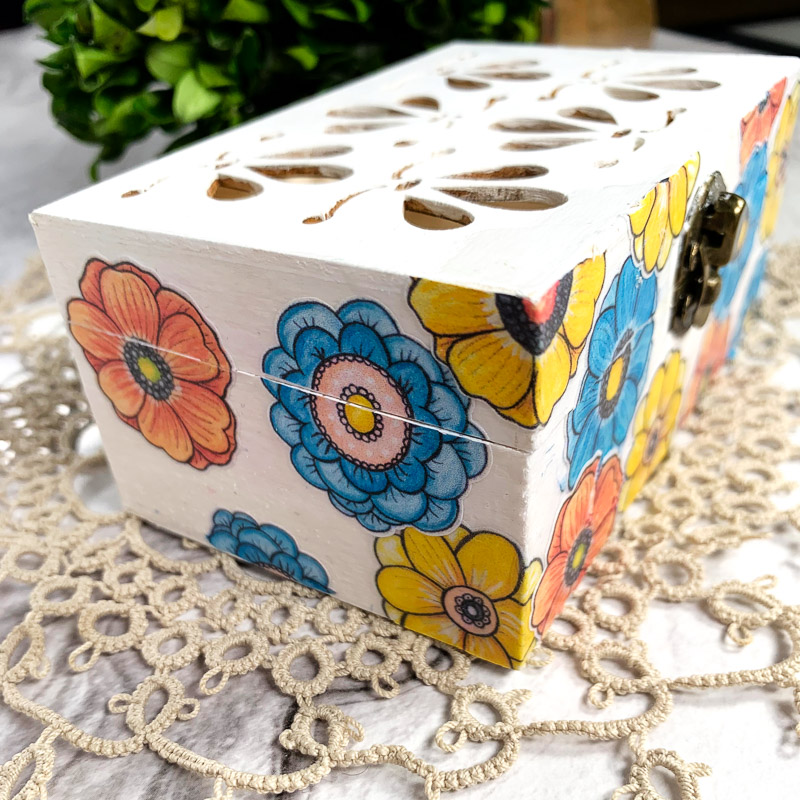
And there you have it! An easy, customizable wooden box that anyone can make! Whether you want to make a keepsake box or jewelry box, or gift it to a loved one, decoupage is the perfect way to personalize it and have some fun while doing so!
Thanks for reading. See you next time!
Sasha
Products Used:
- Flora Joodles Digital Illustration Set
- Wooden Box
- Mode Podge
- Cricut Cutting Machine
- Printer
- Printer Paper
- Scissors
- Precision Cutting Knife

 Betsy’s Talk To The Tail Easter bunny card
Leave a Reply