

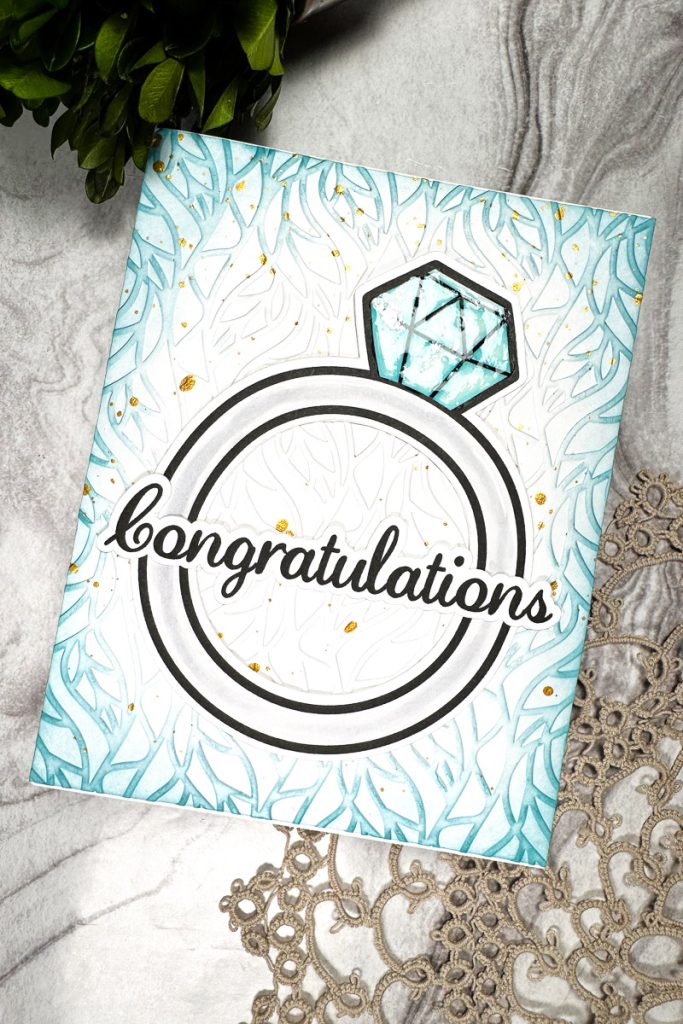
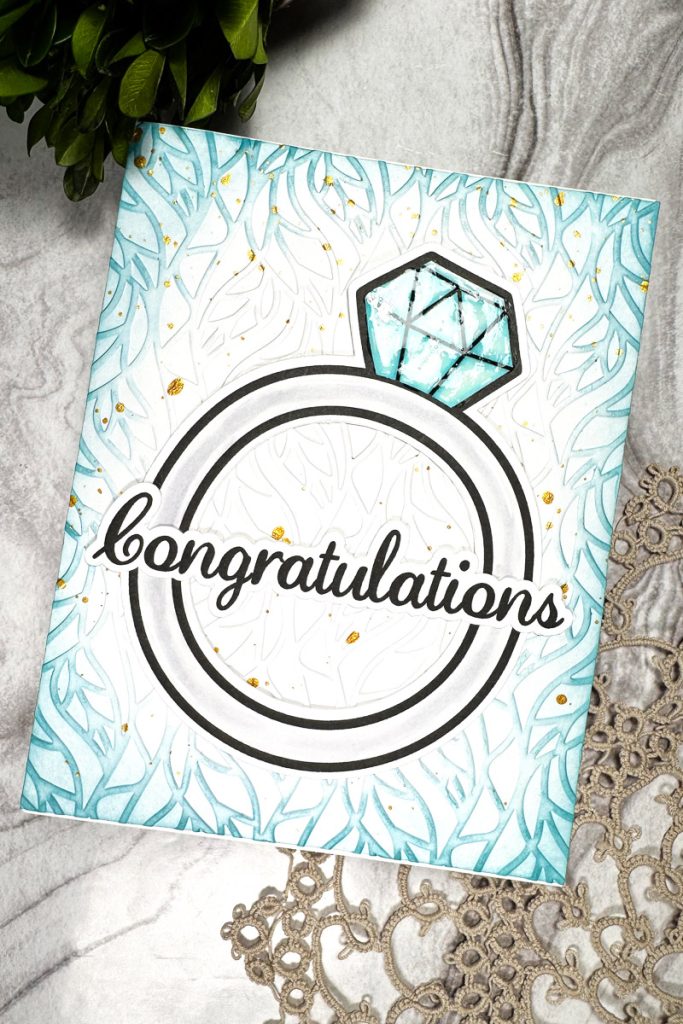
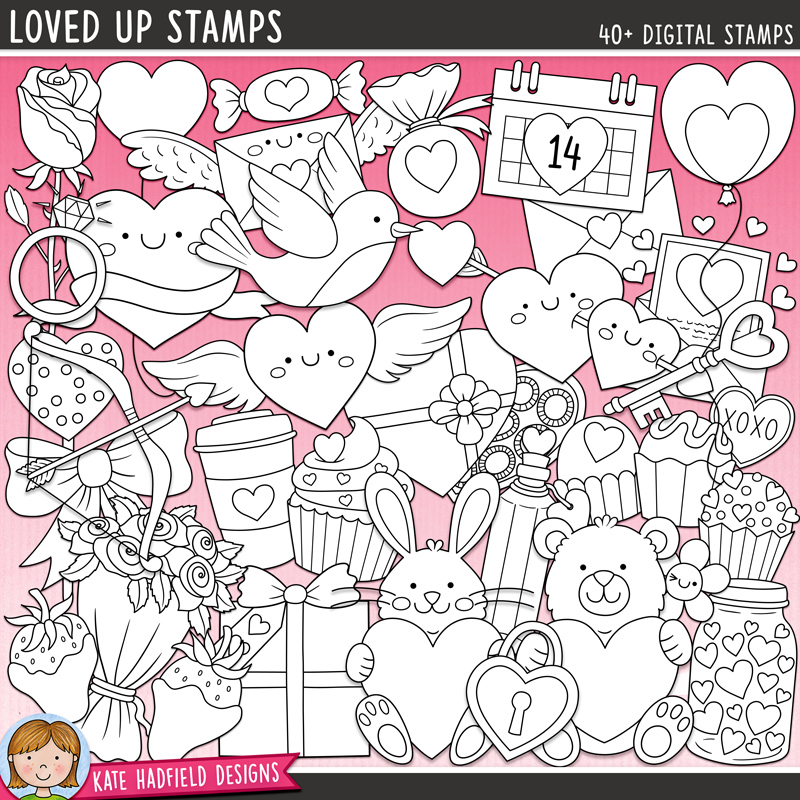
Hello everyone! Sasha here! Wedding season is here! So, what better time than to share some inspiration for an easy-to-make wedding-themed card! I used the Loved Up Digital Stamp Set to create this card.
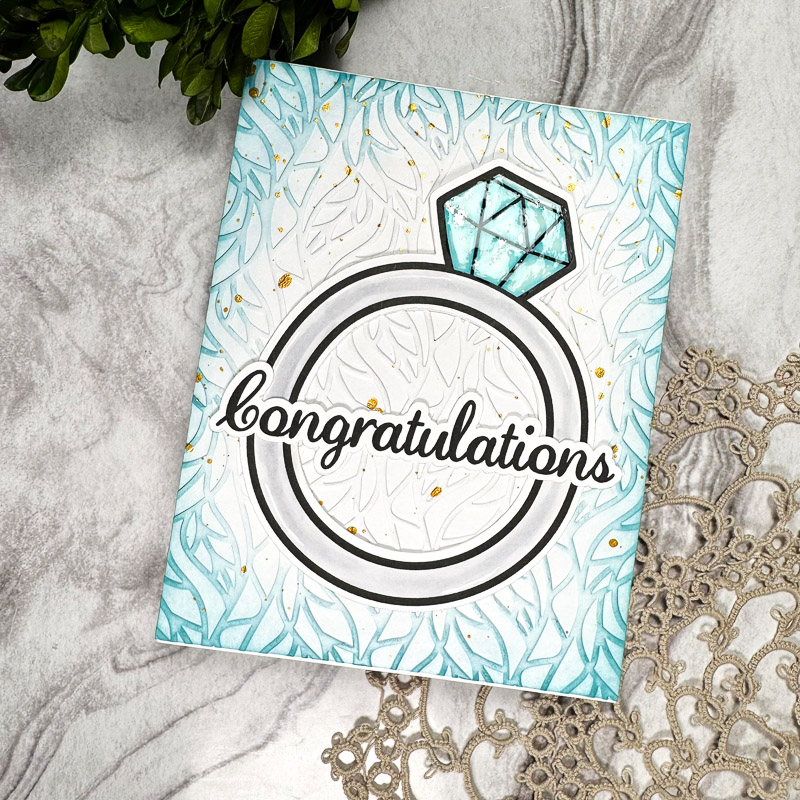
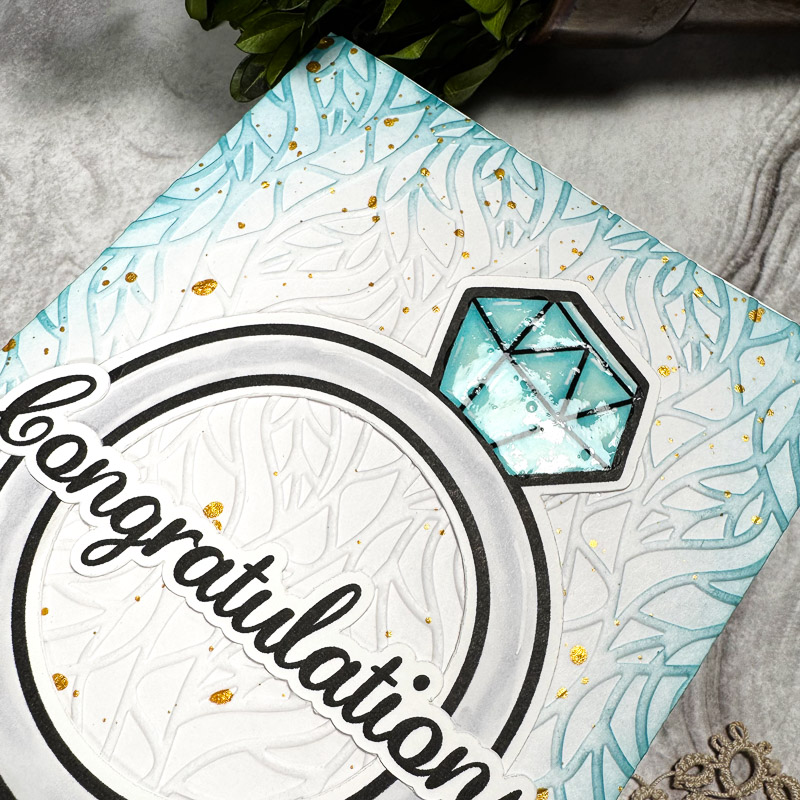
I started by uploading the ring image into Cricut Design Space. From here, I sized the image to fit onto a US A2-sized card base, and then printed the image onto 100lb Hammermill cardstock and cut it using my Cricut cutting machine. I also used Design Space to create a simple “Congratulations” sentiment.
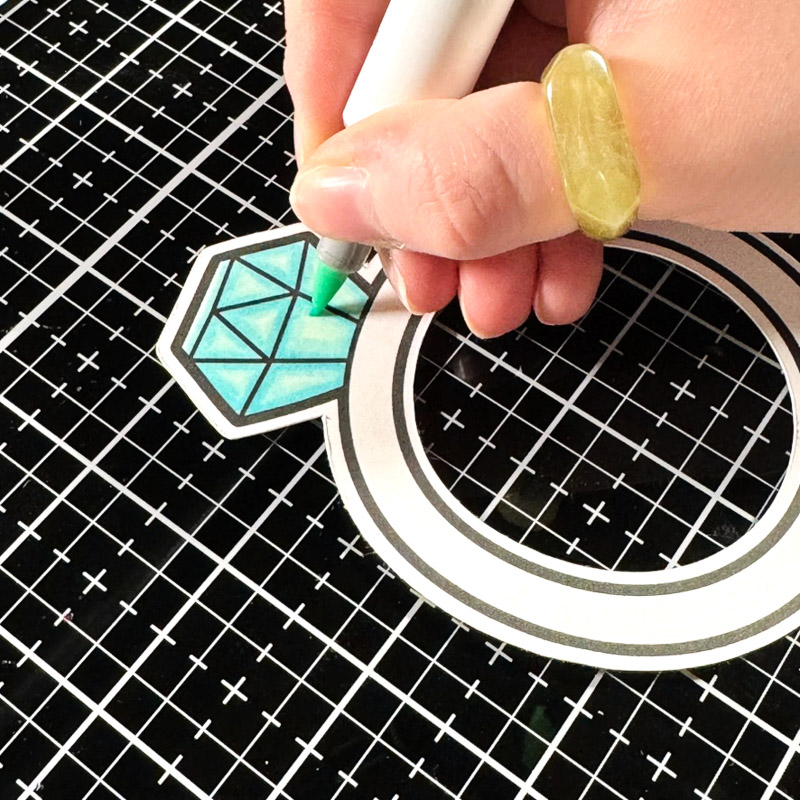
Time to colour! I used the following Ohuhu alcohol markers to colour the ring:
- Blue: G324, G322, G320
- Grey: BG050, CG2, CGII00
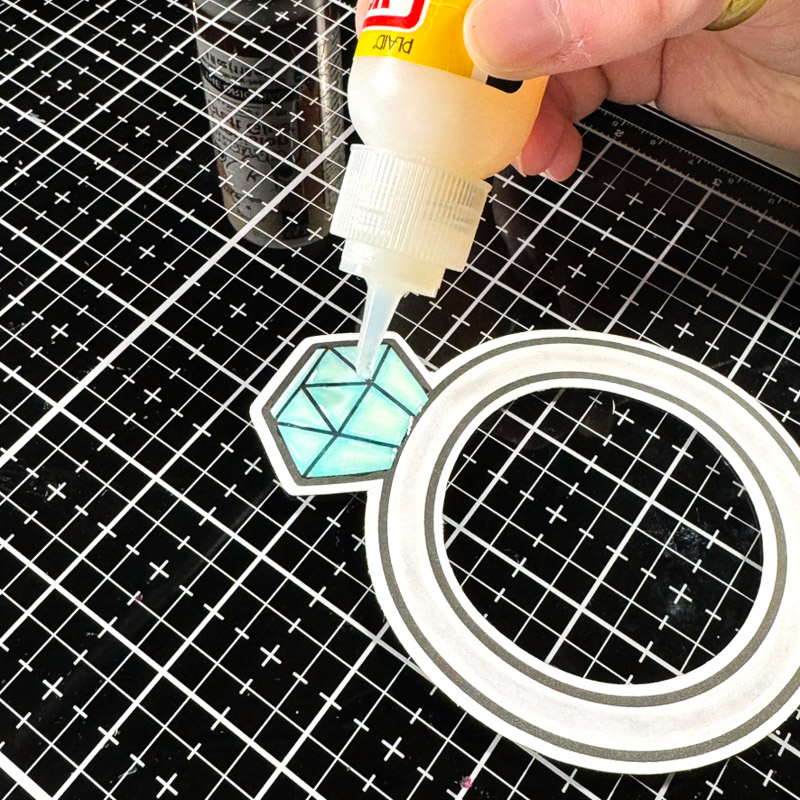
Now, I wanted the diamond to shine, so I used Mod Podge Dimensional Magic to add a glossy accent. It really helps to make the diamond stand out!
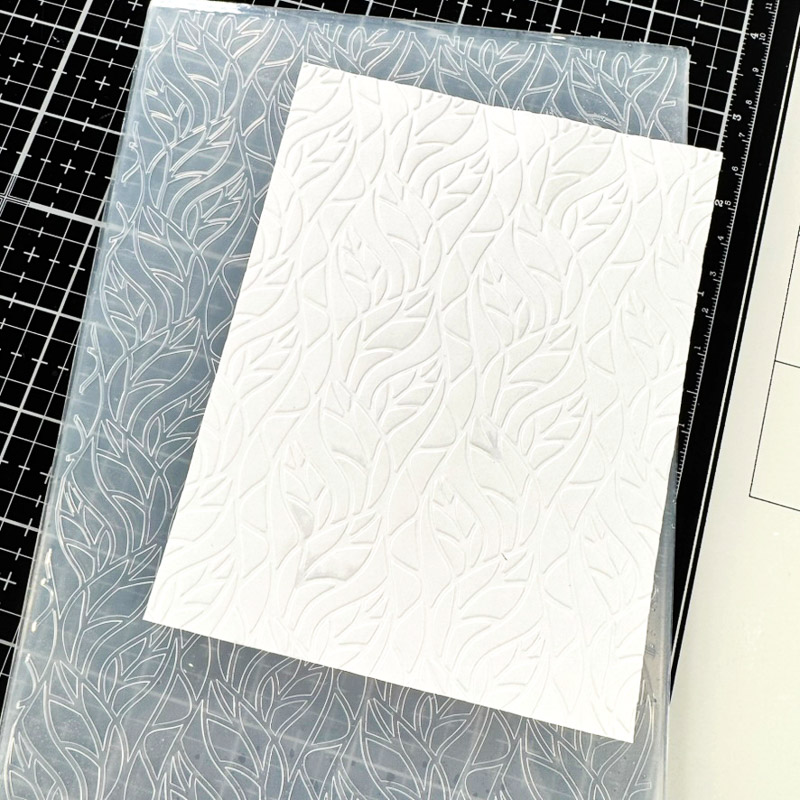
To make the background, I embossed a card panel that measures 4.25 inches by 5.5 inches using a foliage-themed embossing folder. A floral embossing folder would also be perfect for this kind of card!
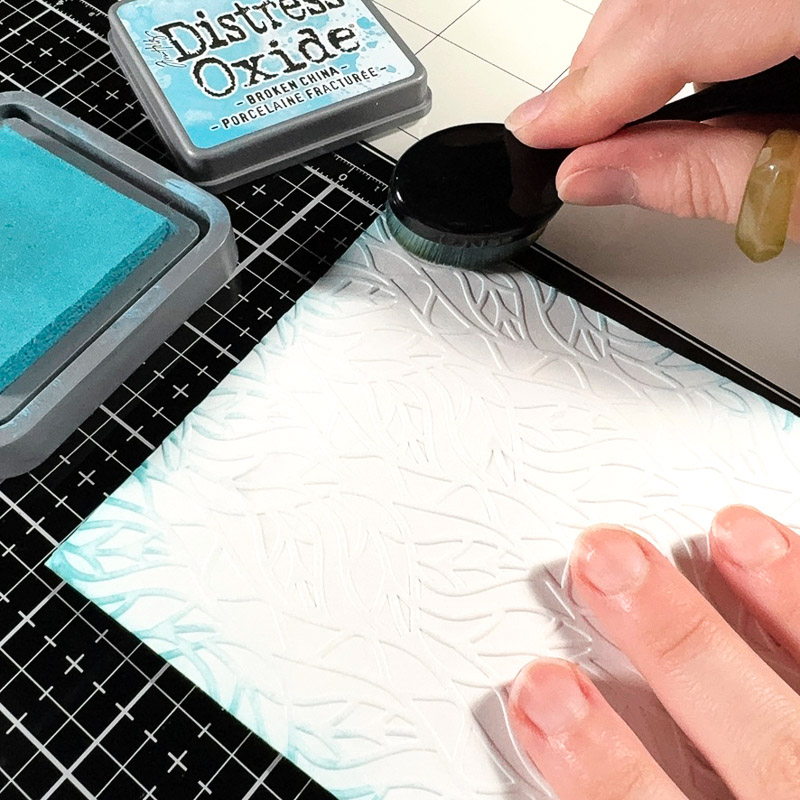
I then lightly ink-blended around the edges of the card panel to add a bit of colour. I used Broken China Distress Oxide to match the colour of the diamond ring. You can make the background any colour that would best match the wedding colours!
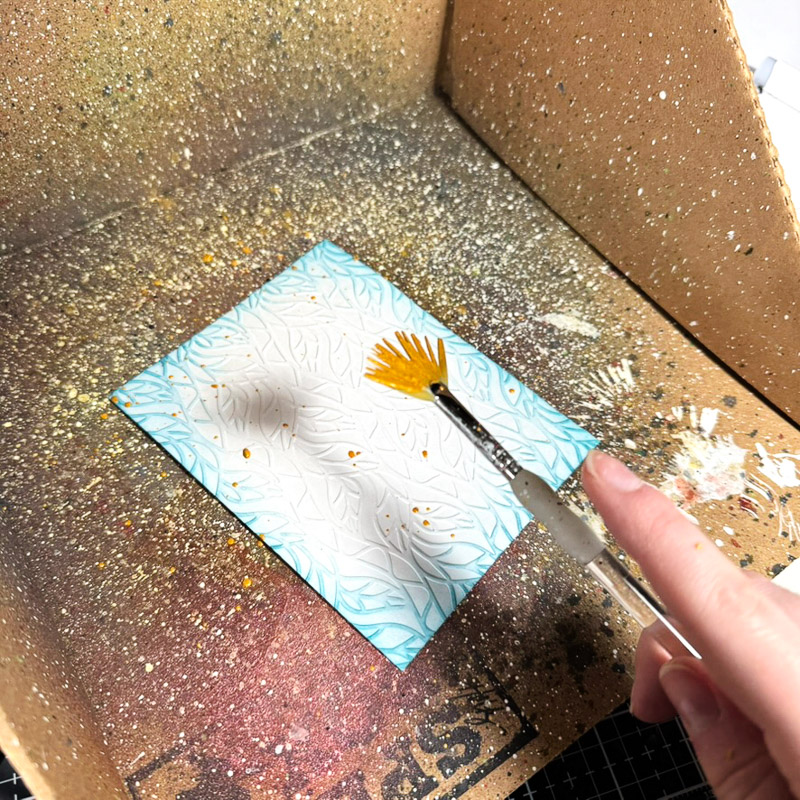
I also splattered the background using some gold acrylic ink, which I think fits the wedding theme perfectly!
To finish the card, I glued the panel onto my card base and the image and sentiment on top using liquid adhesive glue.
And that’s the finished card!
Materials used:
- Loved Up Digital Stamp Set
- Cricut cutting machine
- Cricut Design Space
- Printer
- Embossing folder
- Mod Podge Dimensional Magic
- Gold acrylic ink
- Broken China Distress Oxide
- Liquid adhesive glue
- 100lb Hammermill cardstock
- White cardstock
Thanks for reading. See you next time!
Sasha

 Betsy’s Miss You lovecats card
Leave a Reply