
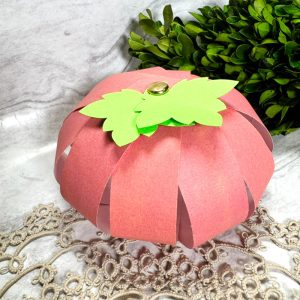
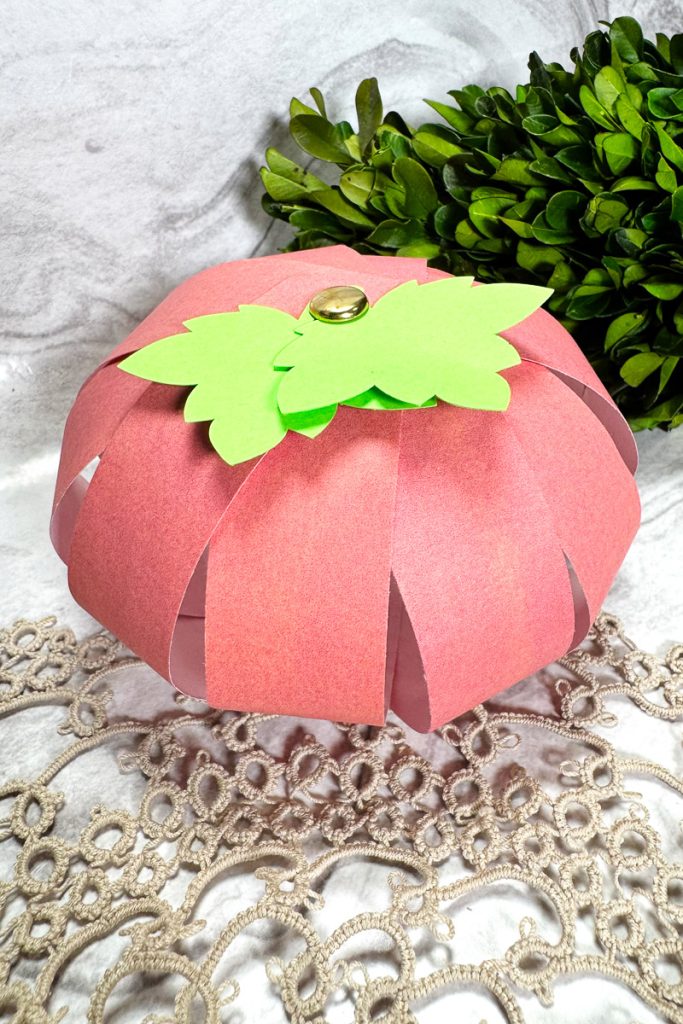
Hello everyone! Sasha here. Today I’m sharing a fun and easy 3D pumpkin craft featuring the Fantabulous Fall Papers. The perfect way to start the fall season off right!
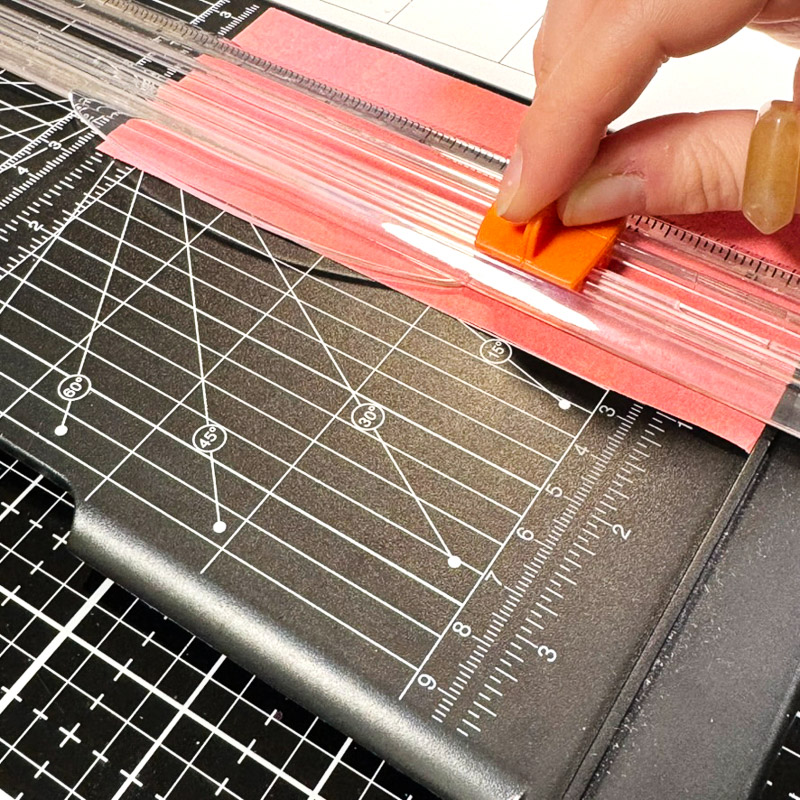
To start, I uploaded the orange-reddish paper from the Fantabulous Fall Papers into Microsoft Word. I sized the paper to fill the page and printed it onto regular printer paper. I then cut the paper into 10 strips measuring 1″ x 6″.
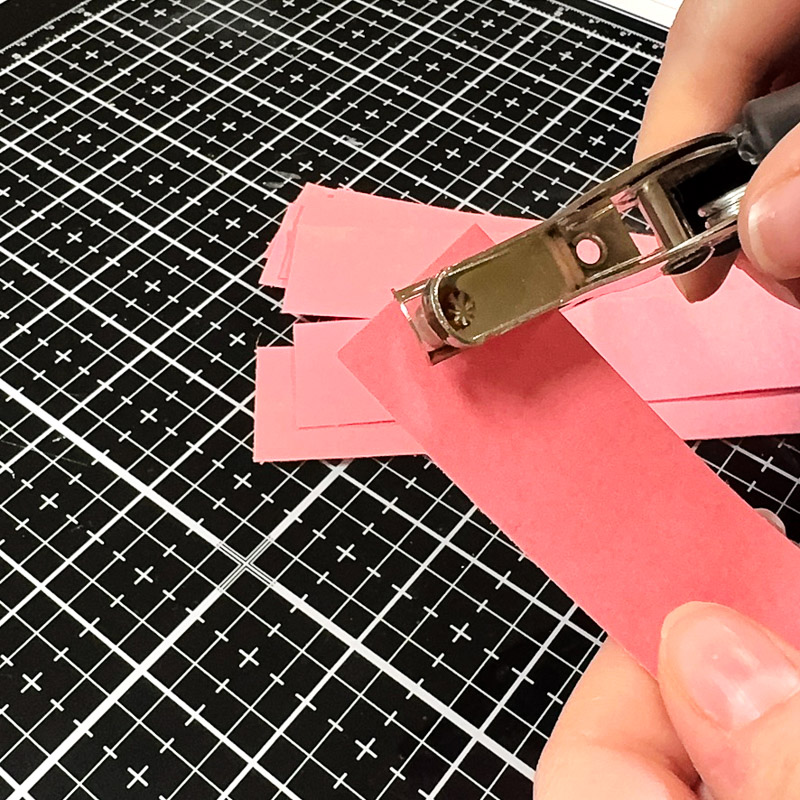
Next, I used a hole punch to punch a hole at both ends of each strip.
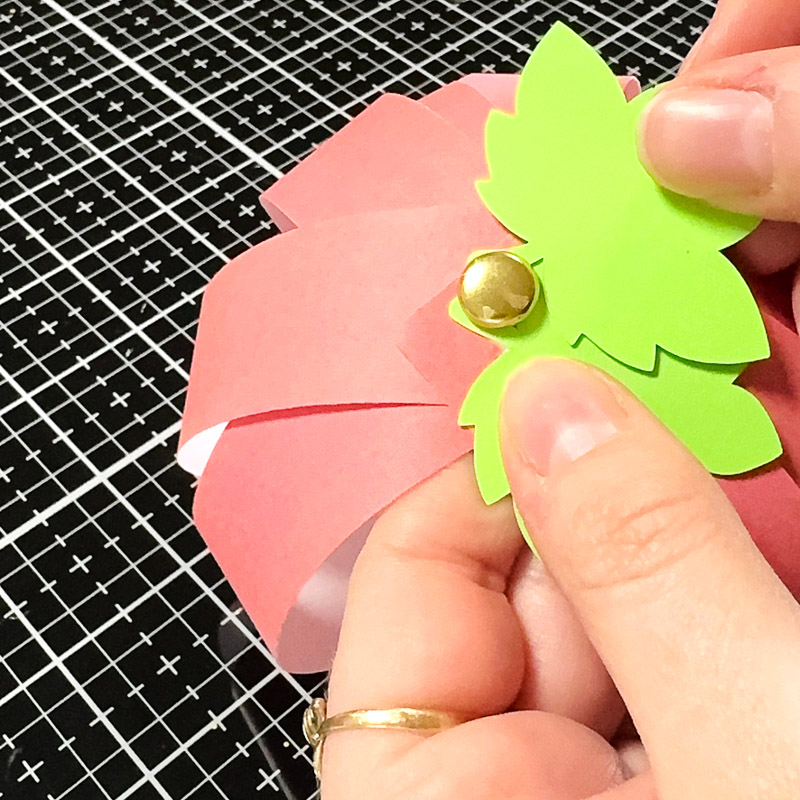
I placed all 10 strips onto a brad through one end and secured the brad.
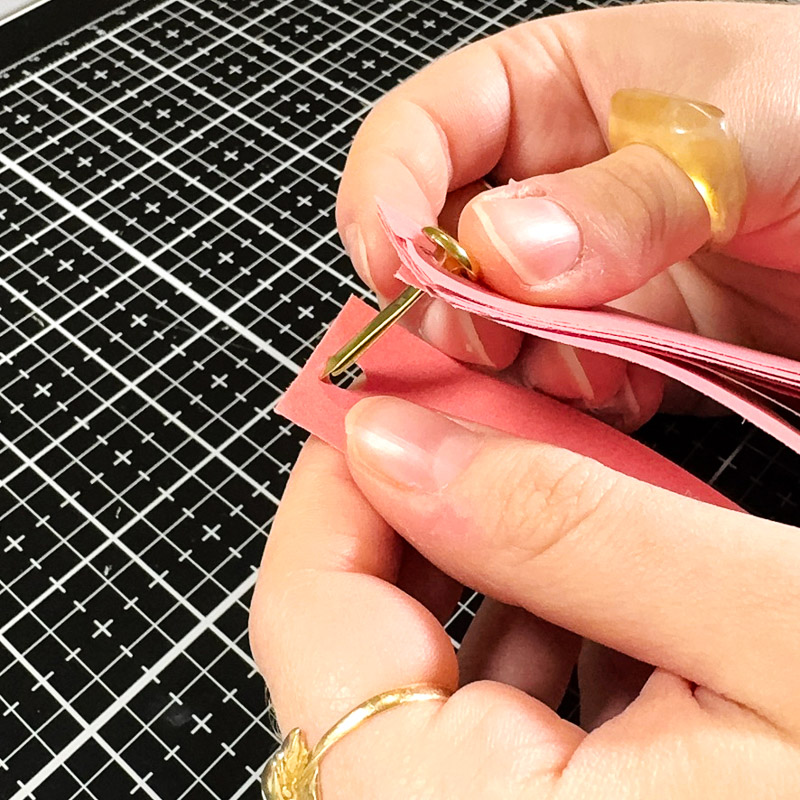
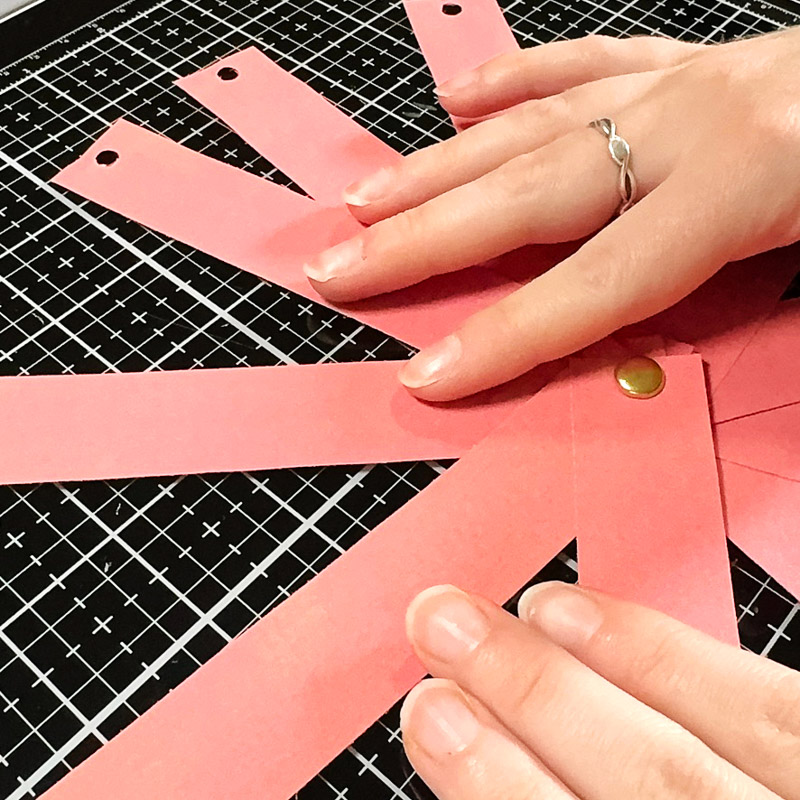
I then gathered the other ends of all the strips together and placed them onto a second brad.
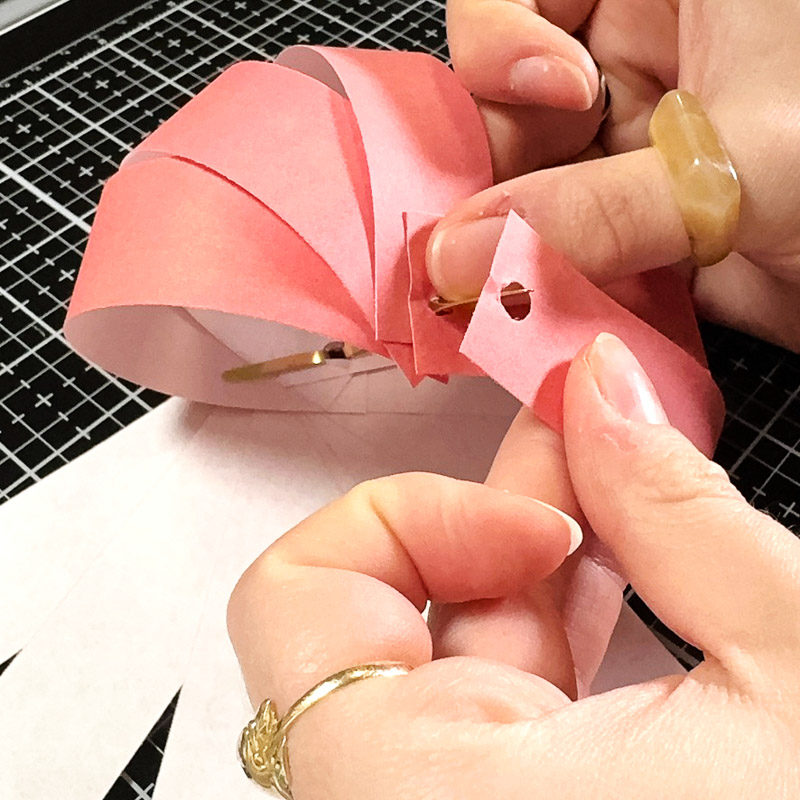
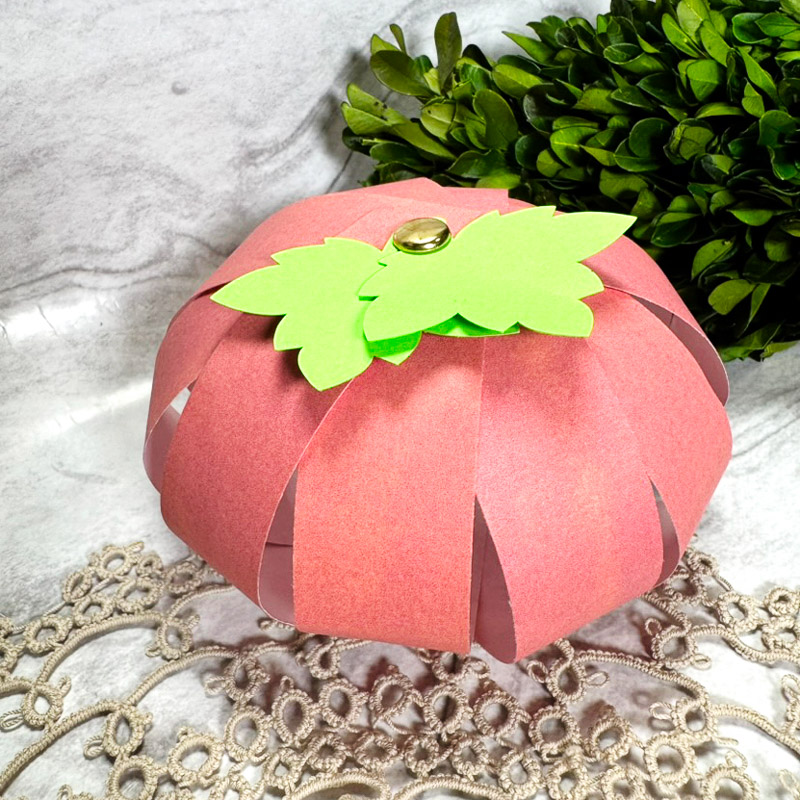
Once all of the strips were attached, I spaced them out and gently shaped them to create the rounded shape of a pumpkin.
To finish my pumpkin, I used my Cricut to cut out a couple of leaves. I attached the leaves to the top of the pumpkin using liquid adhesive glue.
And that’s it! This would be such a fun project to make for fall decorating, a Thanksgiving table, or even as part of a fall-themed centrepiece.
Thanks for reading. See you next time!

Products Used:
- Fantabulous Fall Papers
- Brads
- Printer
- Printer paper or cardstock
- Leaf die cuts
- Liquid adhesive glue
- Paper trimmer


 Betsy’s Autumn Oak Leaves card tutorial
Leave a Reply