

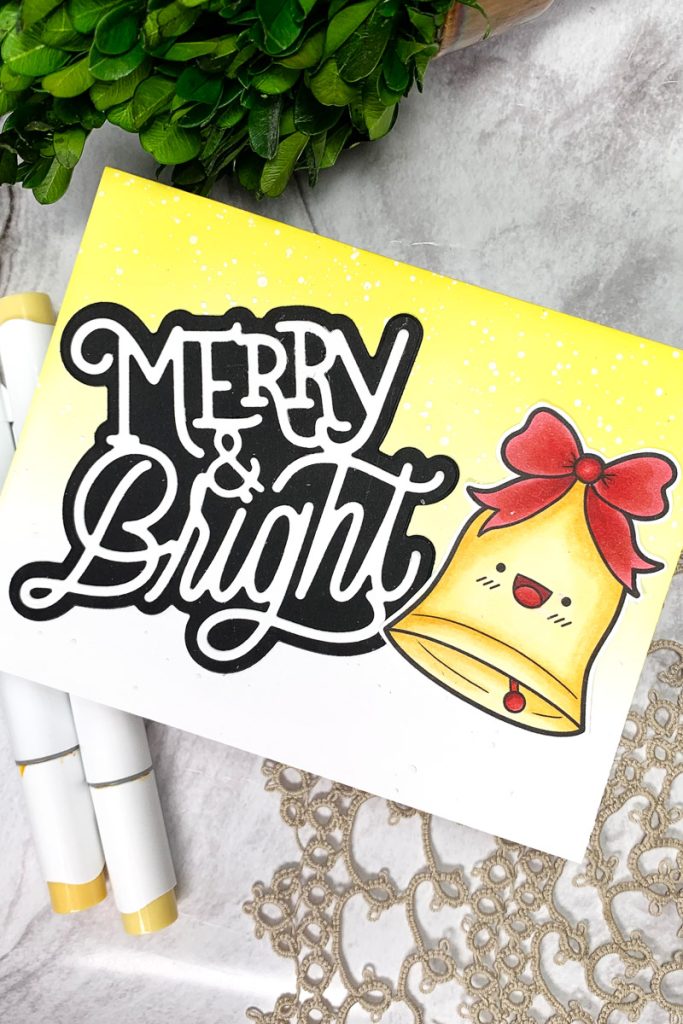
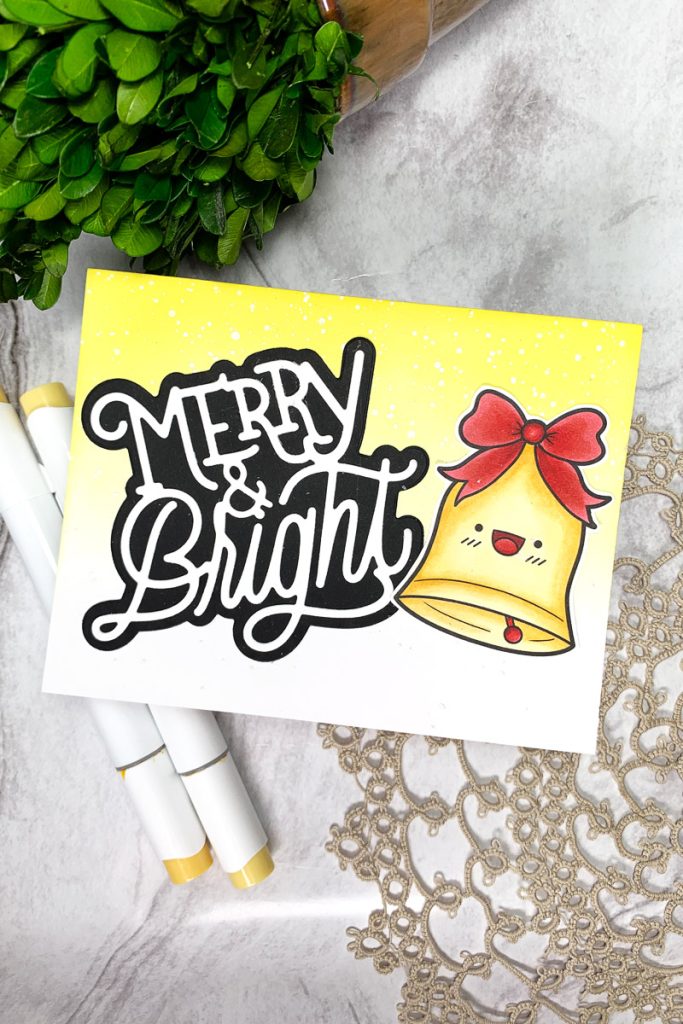
Hello everyone! Sasha here. Today, I’m using the Holly Jolly Digital Stamp Set to make an easy, bright, and cheerful Christmas card perfect for this holiday season!

I started by uploading the adorable bell image to Cricut Design Space to size it to fit on a US A2-sized card. Once I had the image at the size I wanted, I printed it on 100lb Hammermill cardstock and cut it out with my Cricut Cutting Machine. You can also use a word-processing software to size and print out your image.
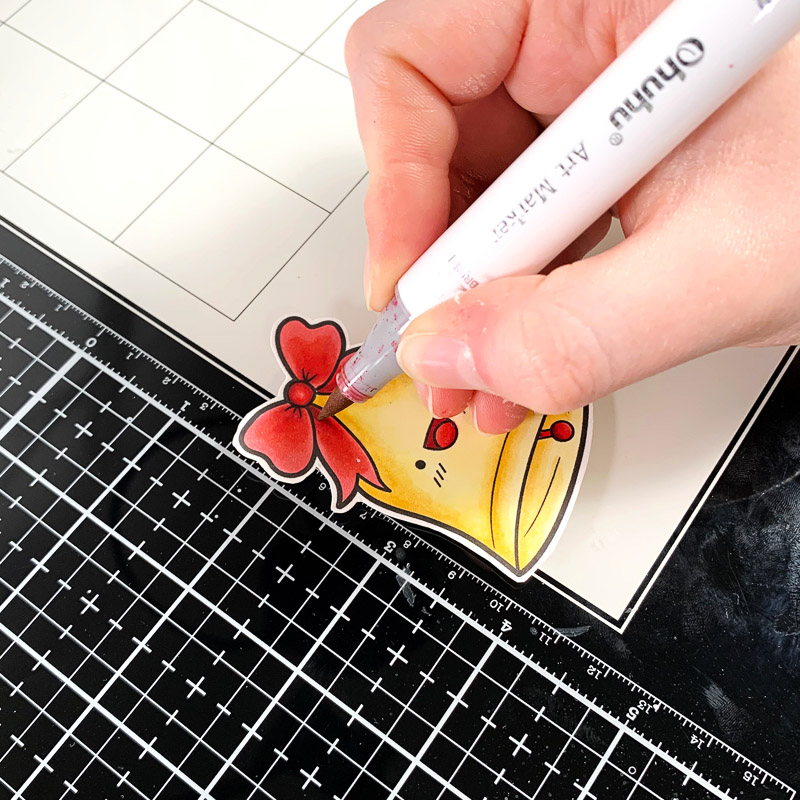
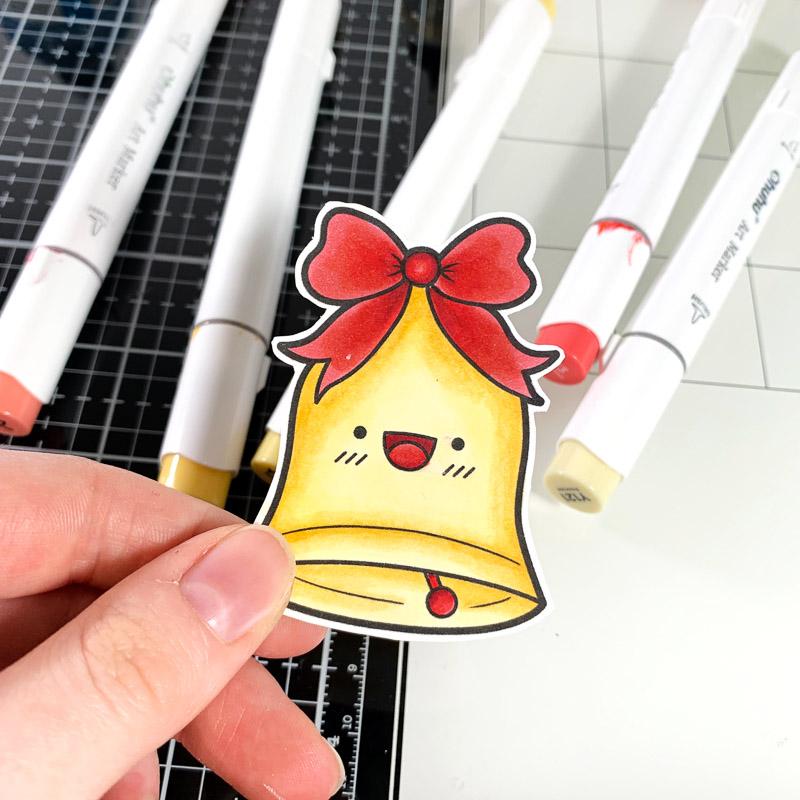
Next, I coloured the bell image using the following Ohuhu alcohol markers:
- Red: R8, R2, R3, R1
- Yellow: Y140, Y130, Y121
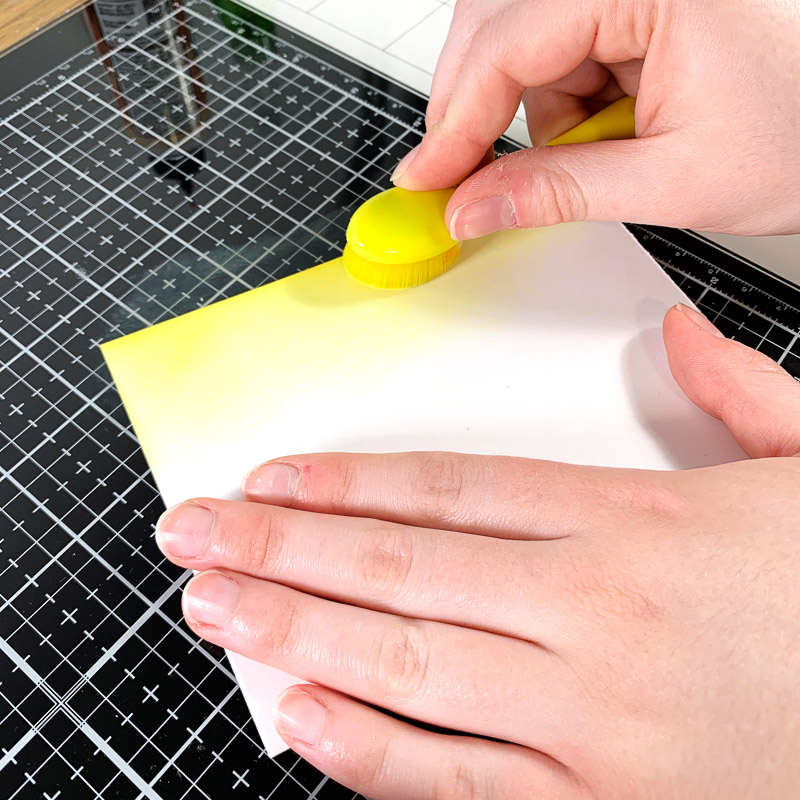
For the background, I ink-blended a simple yellow gradient using Squeezed Lemonade Distress Oxide, starting at the top and gradually fading the colour out to white.
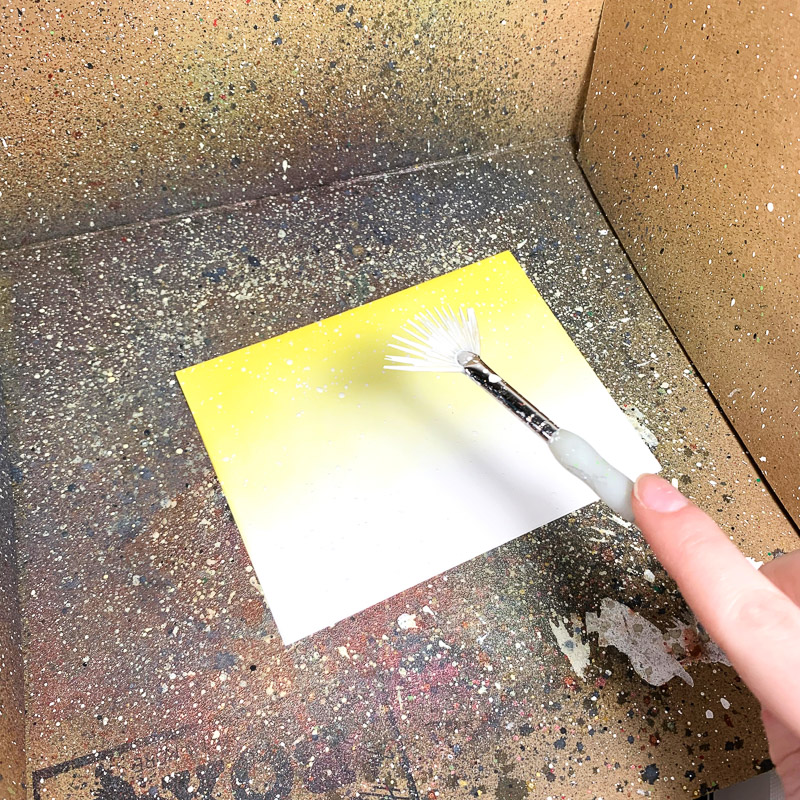
I also decided to splatter the background with white paint, one of my favourite steps! Splattering your cards is such a fun and easy way to add a bit more interest to your projects without having to think too much about it. Plus, when making winter or Christmas-themed cards or projects, it ends up looking like snow, which, of course, is a bonus!
To finish off the card, I used liquid adhesive to adhere the star to the background. For the sentiment, I used a die-cut to add the sentiment “Merry & Bright.”
And there you have it!
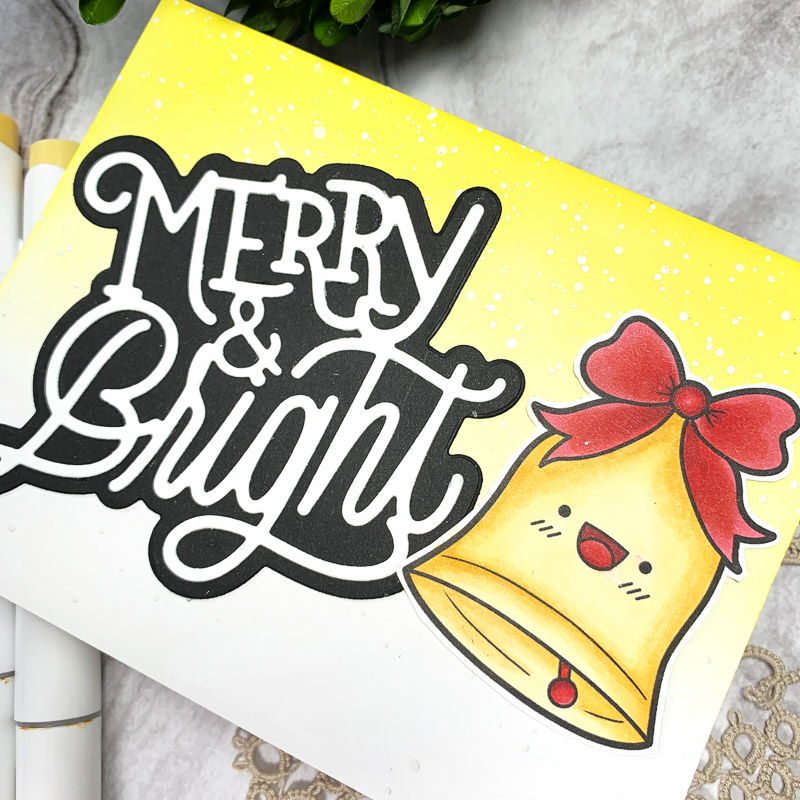
The Holly Jolly Digital Stamp Set is definitely one of my favourites. I just can’t resist the adorable Christmas images!
Thanks for reading. See you next time!
Sasha
Products Used:
- Holly Jolly Digital Stamp Set
- 100lb Hammermill cardstock
- Printer
- Cricut Cutting Machine
- Ohuhu alcohol markers
- Liquid adhesive glue
- White paint
- Squeezed Lemonade Distress Oxide
- Sentiment


 My favourite art supplies to use in my Bullet Journal
Leave a Reply