
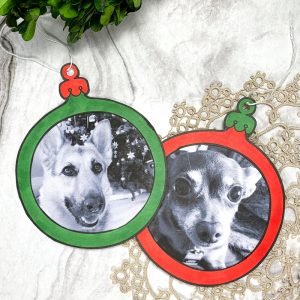

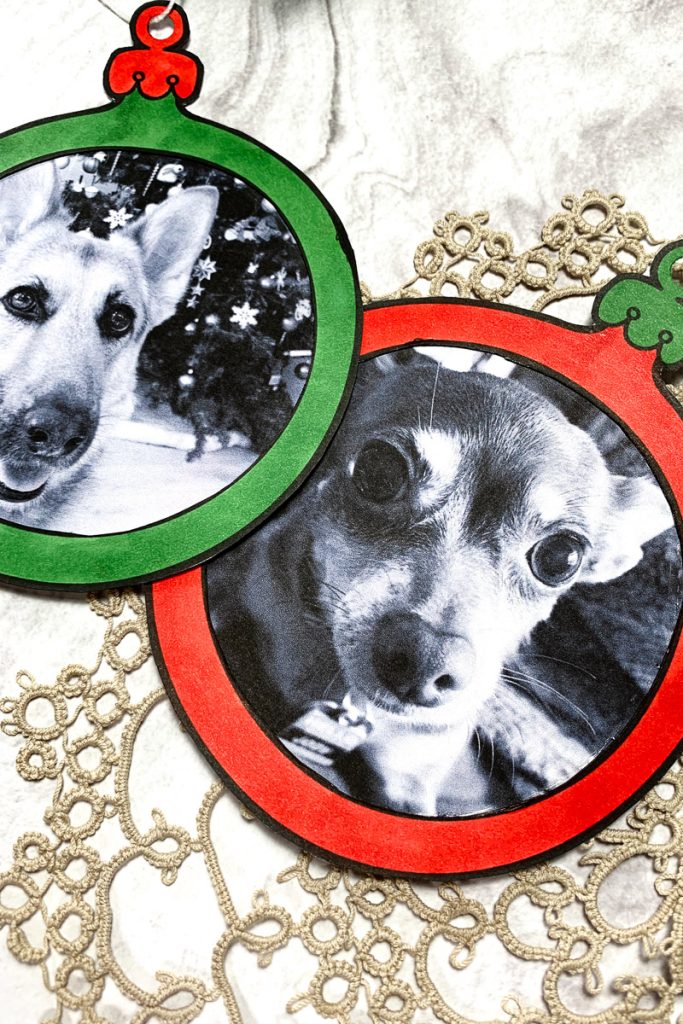
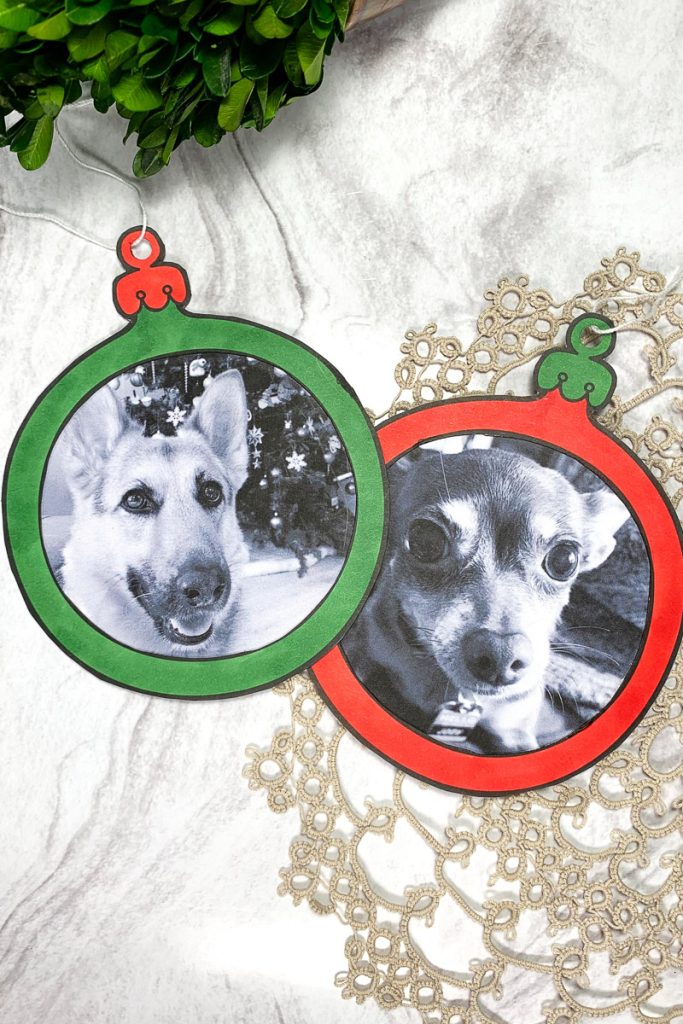
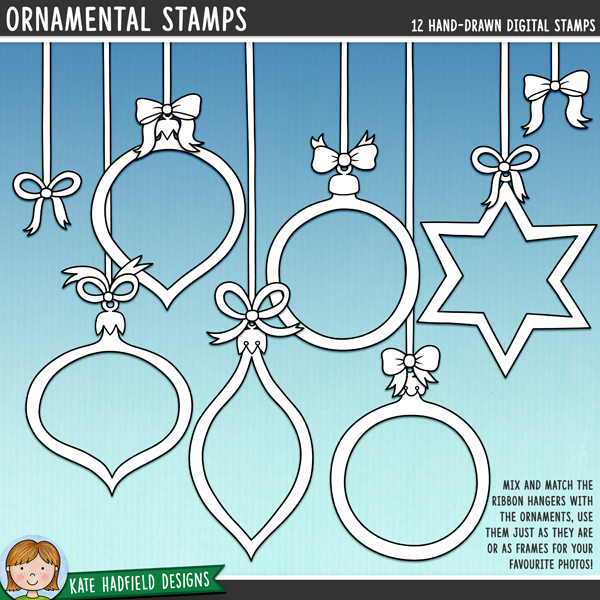
Hello everyone! Sasha here. Today, I’m sharing a project featuring two of my favourite things… crafting and my dogs! Using the Ornamental Frames Digital Stamp Set, you can make some personalized Christmas ornaments featuring any picture you want!

I started by uploading one of the ornament frames into a word-processing software and sizing it so that it would fit my pictures. My pictures measure approximately 5” by 4”, so I sized the ornament frames to measure approximately 5.2” by 4.2”. Since I am making two ornaments, I copied and pasted the ornament so that I would have two on one sheet of cardstock.
Once ready, I printed the ornament frames onto 100lb cardstock and cut them out. For the centre of the ornament frames (where the picture is going to go), I used a precision craft cutting knife.
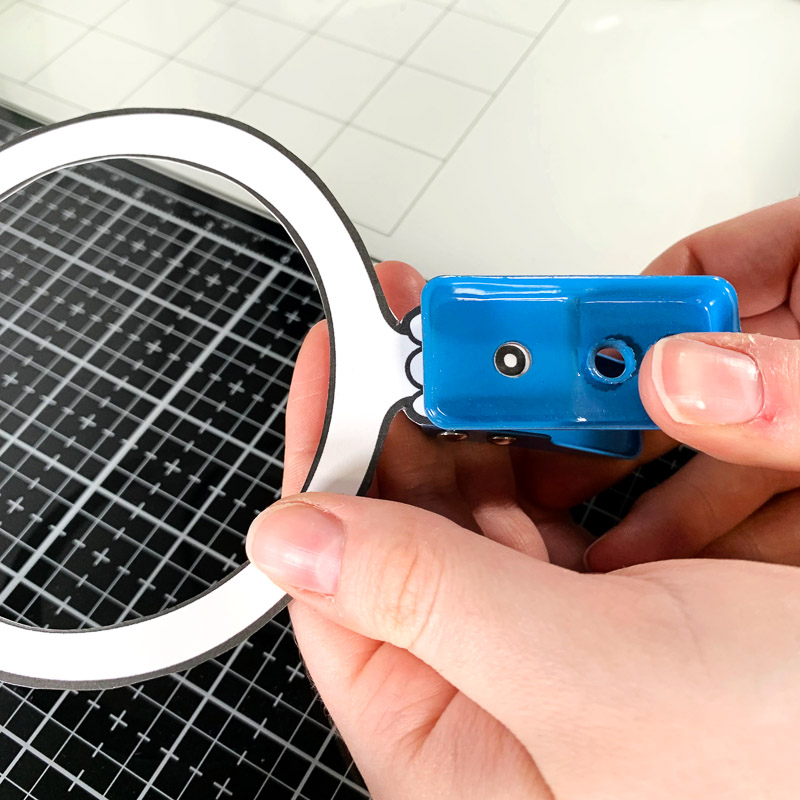
I also used a hole punch to punch a hole at the top of the ornament for the string.
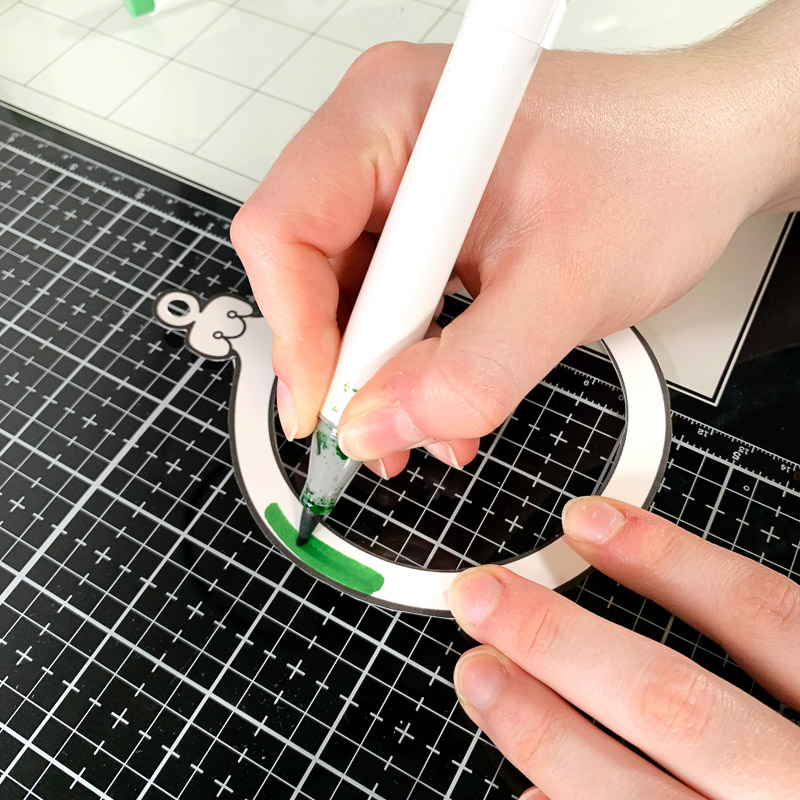
Now, it’s time to colour! I kept it simple and coloured each of my ornaments using red and green markers to keep it light and festive! However, you can decorate your ornaments with whatever art supplies your heart desires! This is where you can get really creative with it.
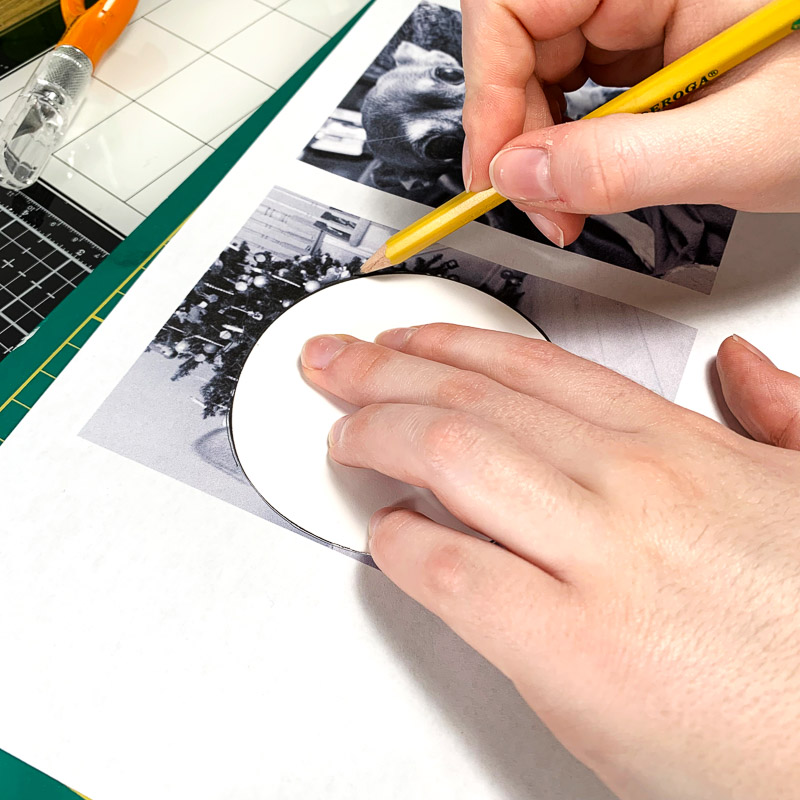
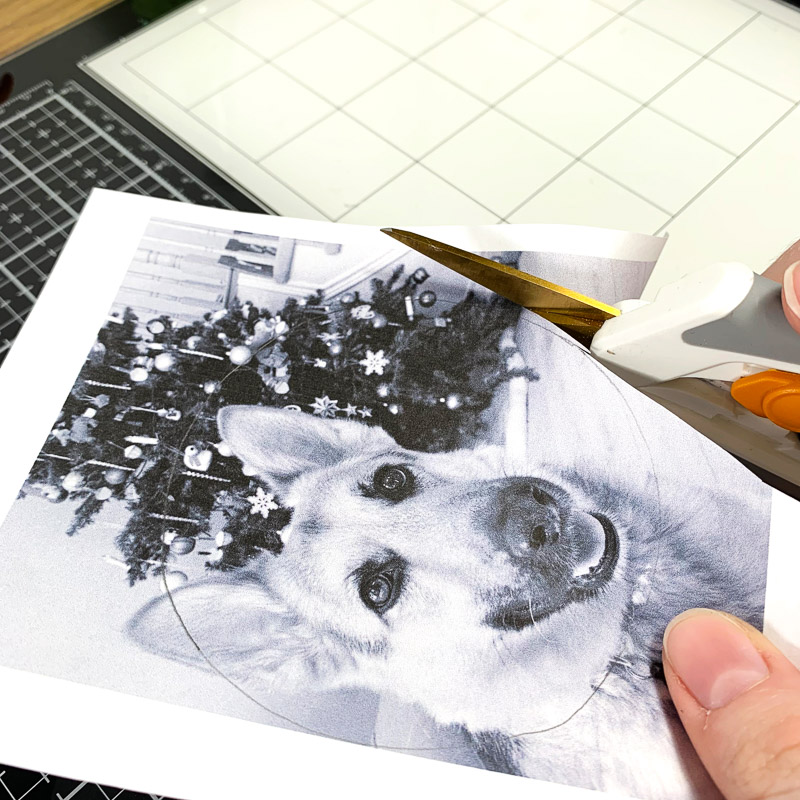
Using the centre of the ornament frame I cut out earlier, I placed the circle onto my picture and lightly traced around it with a pencil. I then cut around the pencil mark to cut out my picture. This creates the perfect guideline for making sure your picture fits in the frame!
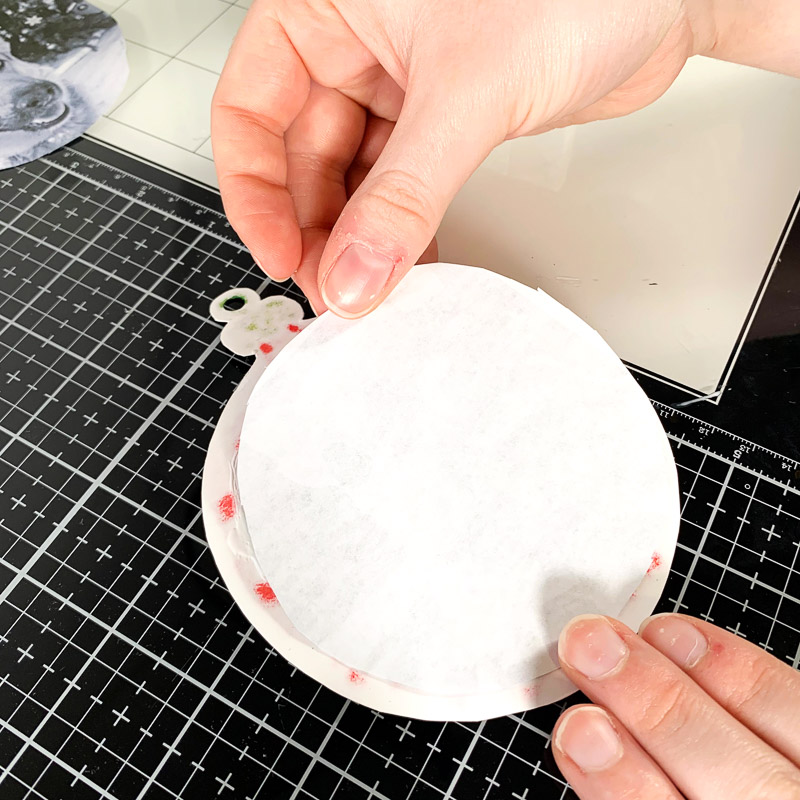
From here, add glue to the back of your ornament frame and place your picture inside.
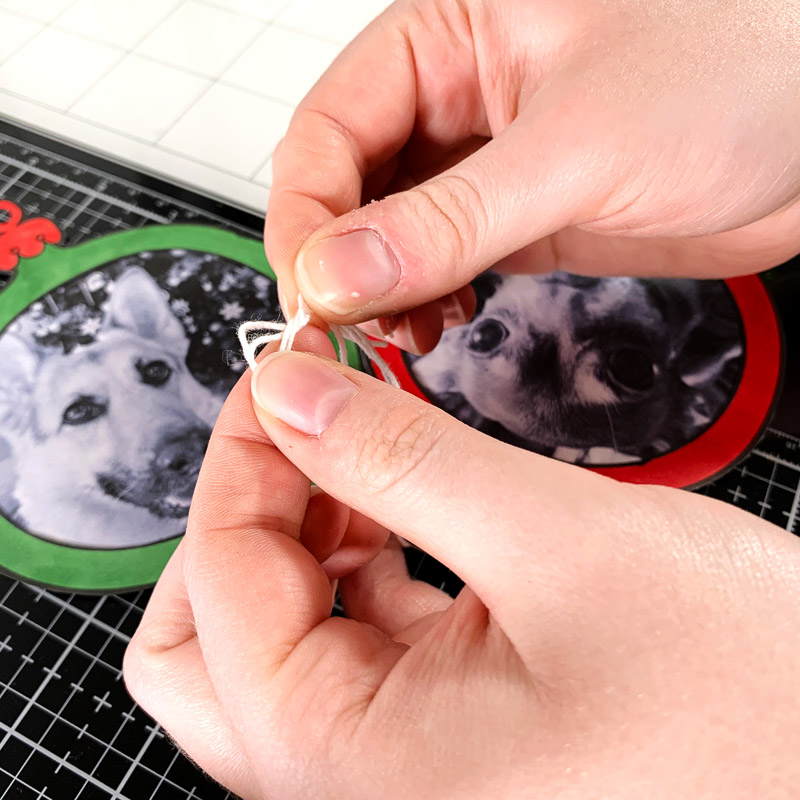
To finish off the ornaments, simply add ribbon or string to the loop at the top of the ornament so it’s ready to be hung on the Christmas tree!
And that’s the complete project!
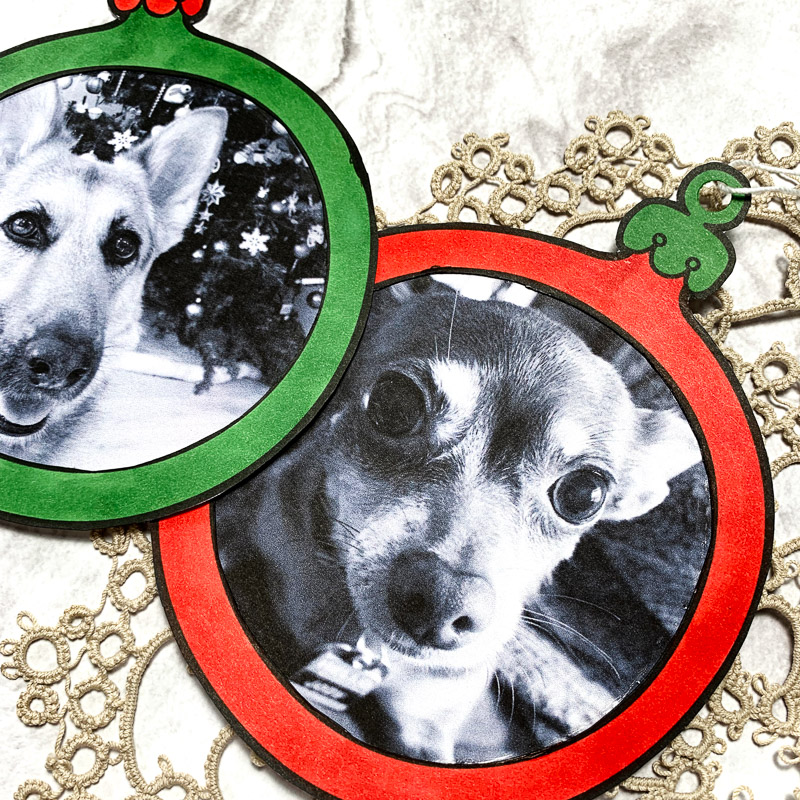
I love how these ornaments turned out, especially since they feature pictures of my furry friends! I can’t wait to hang them on my Christmas tree and even make some more!
Thanks for reading. See you next time!
Sasha
Products Used:
- Ornamental Frames Digital Stamp Set
- Pictures
- 100lb Cardstock
- Printer
- Markers
- Glue
- Ribbon or String
- Scissors
- Precision Craft Cutting Knife

 Betsy’s Stay Cozy bundled up penguin card
Leave a Reply