
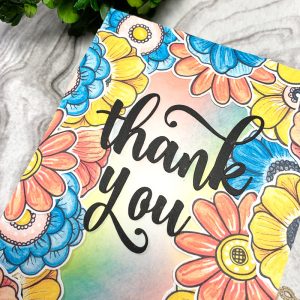

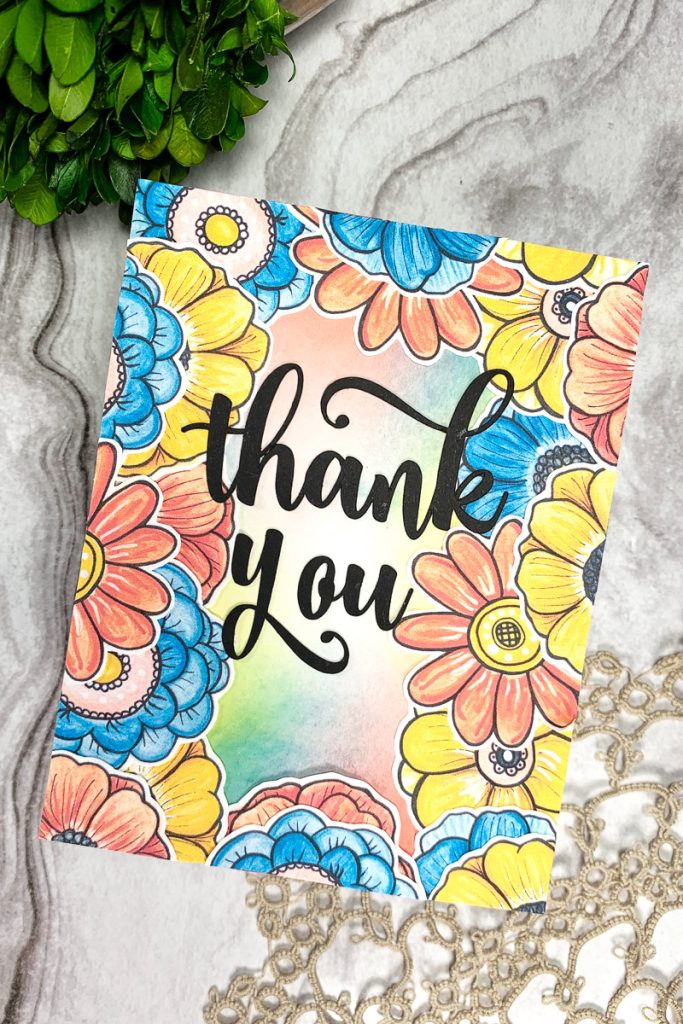
Hello everyone! Sasha here. Looking to send a quick yet meaningful thank you card? Today, I’m sharing how I create this easy floral-themed thank you card for anyone and any occasion.

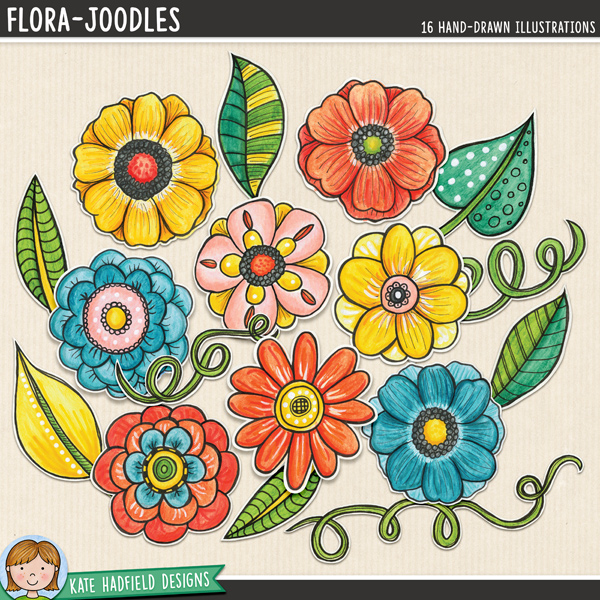
For this card, I used the Flora Joodles Illustrations set, which features 16 hand-drawn and precoloured floral illustrations, perfect for those in a time crunch but still wants to make a personalized, handmade card. Any of the Flora Joodles or Art Joodles Illustrations sets would be perfect for this card design.
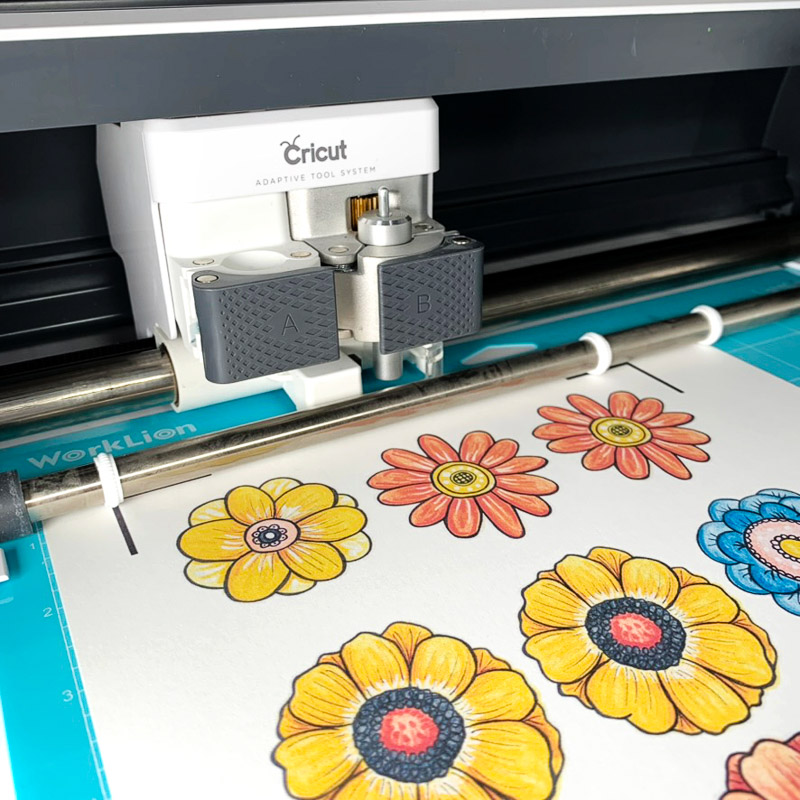
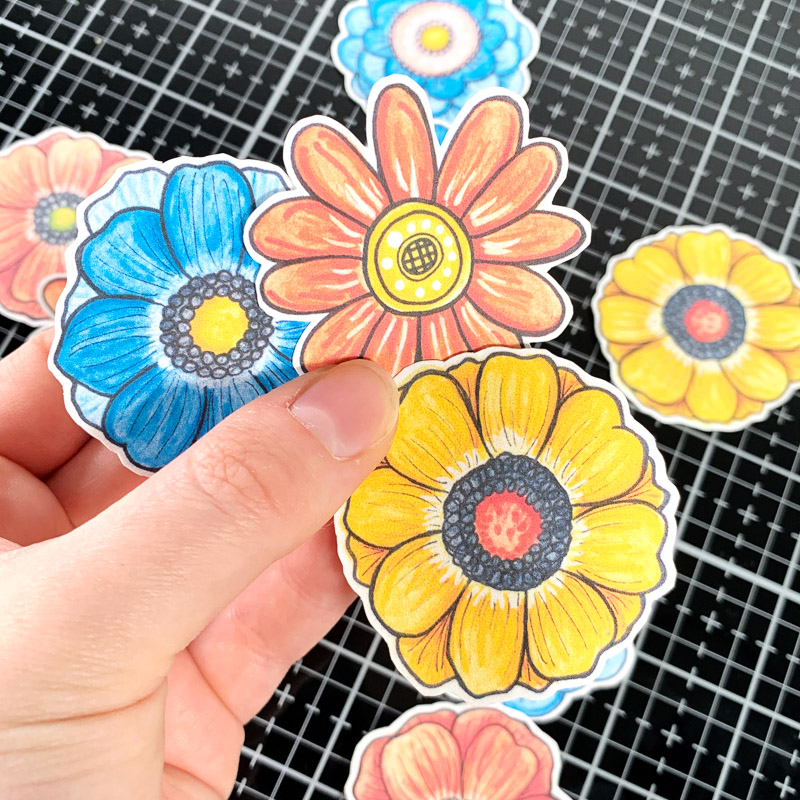
I started by uploading a few of the floral images into Cricut Design Space to size, print, and cut out the images I will need for my card. To print and size your images, you can also use any word-processing software, such as Microsoft Office or Google Docs. I ended up printing nine floral images total, which will allow me to create a nice, full and layered border on my card.
To create a simple background for my card, I ink-blended three colours of ink that nicely match and complement the colours of the floral images. I used Candied Apple, Squeezed Lemonade and Salty Ocean Distress Oxide inks for my card.

With the background done, it’s time to start adding the floral images. I glued down the florals around the border of my US A2-sized card using liquid adhesive, making sure the floral images overlapped and went all the way to the edge of the card.
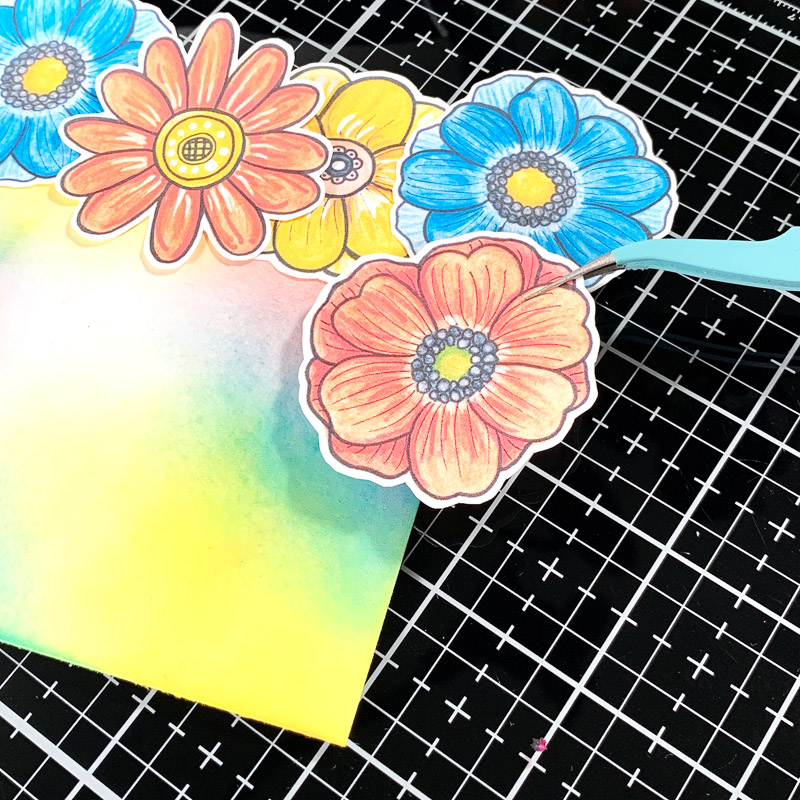
Then, I trimmed off the excess of the floral images overhanging the card, and used those trimmed pieces to layer on top of the florals I had just glued down, helping to add more dimension to the floral border.

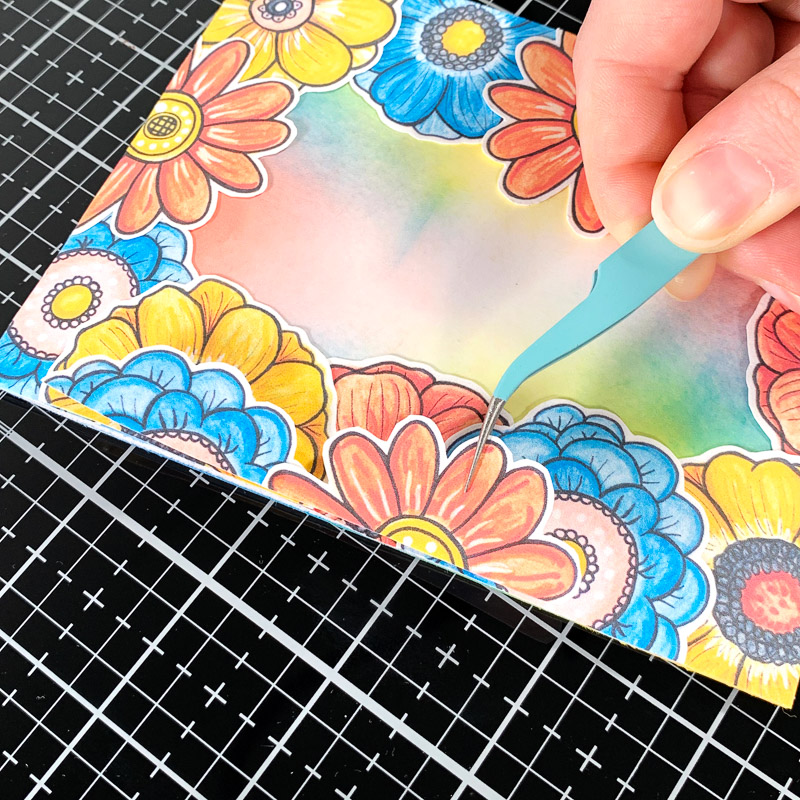
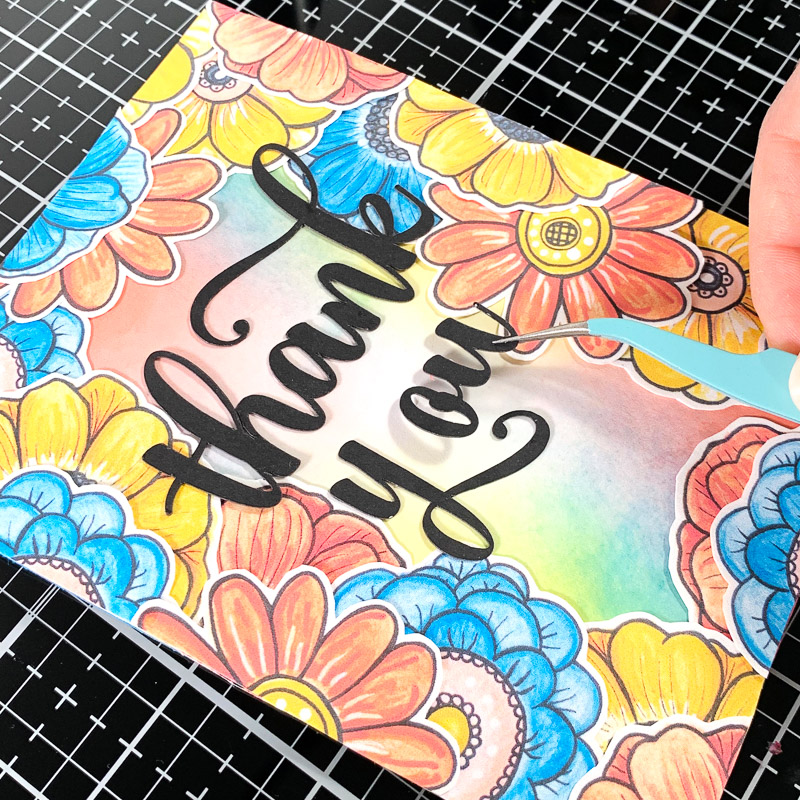
To finish off the card, I added a “Thank You” die-cut sentiment in the centre of the card. A stamped sentiment would also work just as well.
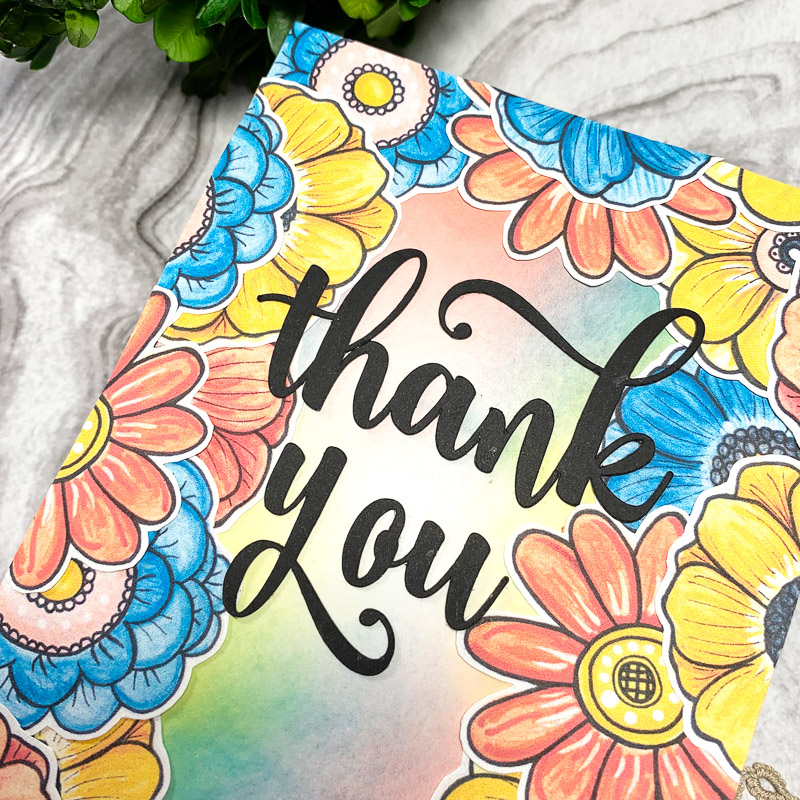
And there you have it! A simple thank you, floral-themed card that takes minimal time to make, yet still looks beautiful.
Thanks for reading. See you next time!
Sasha
Materials used:
- Flora Joodles Illustrations set
- 100lb white cardstock
- Printer
- Cricut Cutting Machine
- Liquid adhesive glue
- Candied Apple Distress Oxide
- Squeezed Lemonade Distress Oxide
- Salty Ocean Distress Oxide
- “Thank You” die-cut or stamped sentiment
- Scissors or paper trimmer

 Free Digital Scrapbook Template: Heat Wave
Leave a Reply