
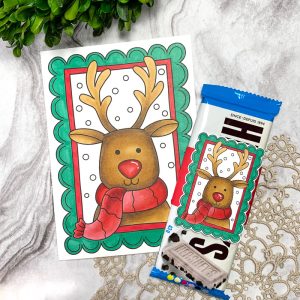

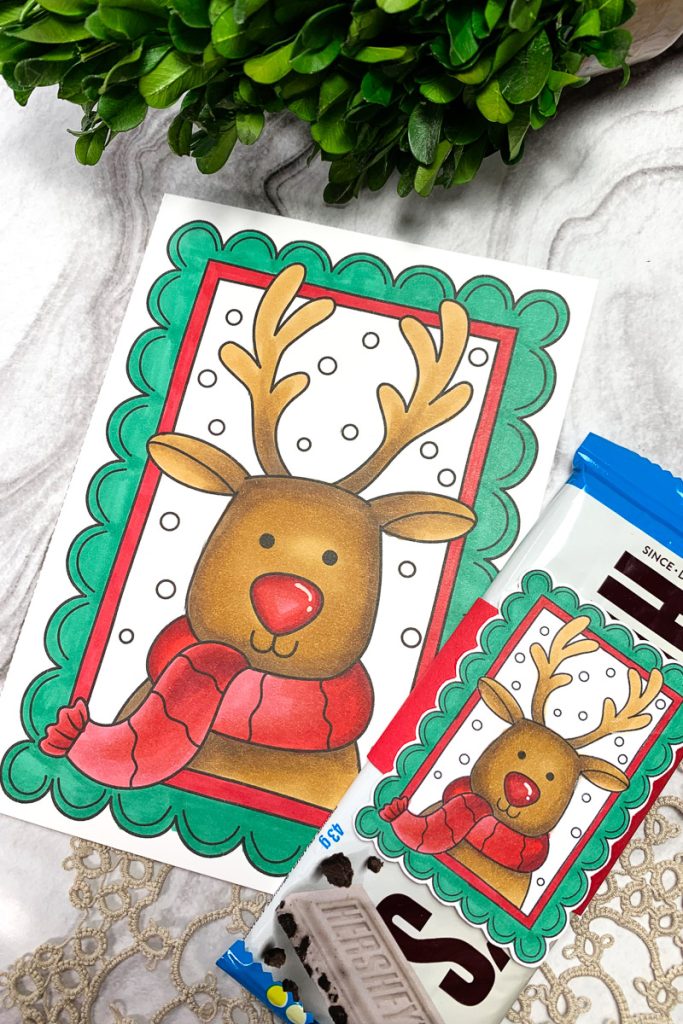
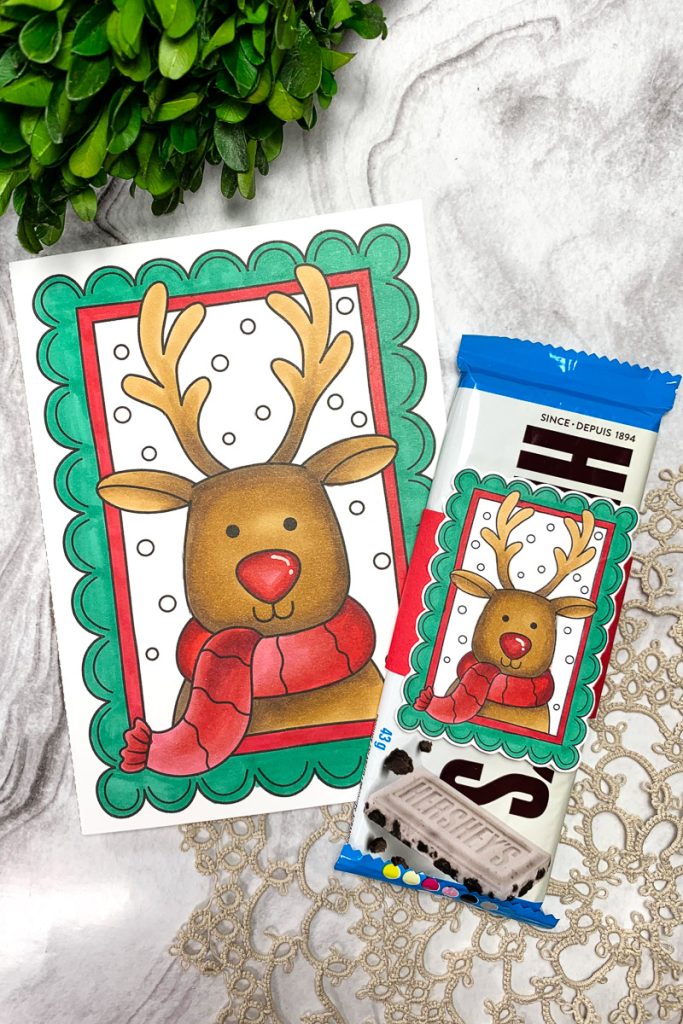
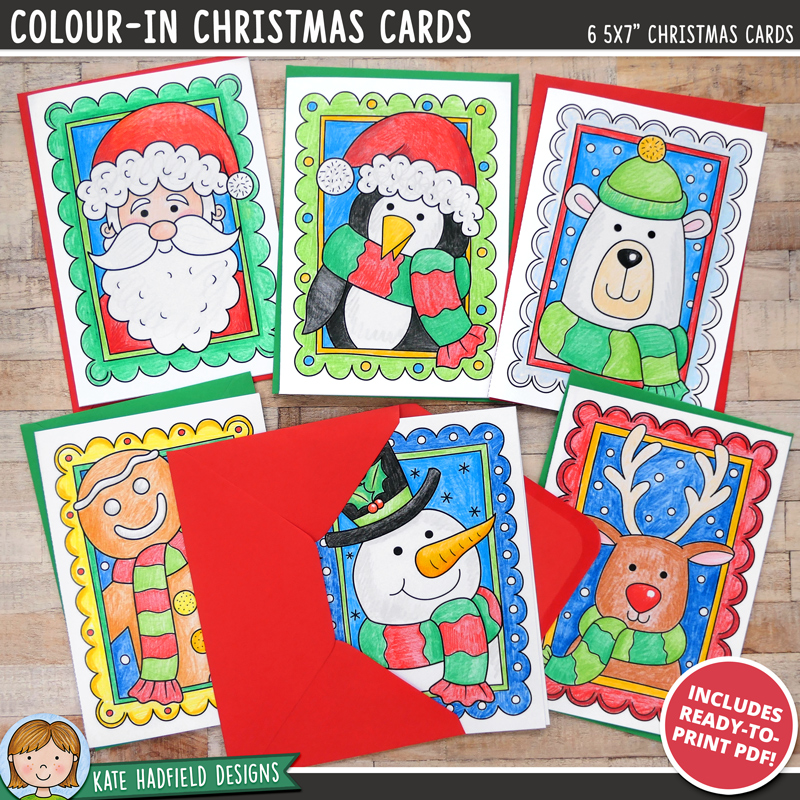
Hello everyone! Sasha here. Making and gifting Christmas cards is fun, but have you ever included chocolate with your card? Today, I’m sharing how I used the Colour In Christmas Cards to make a simple Christmas card with a matching chocolate bar wrapper! The perfect gift for anyone this holiday season!
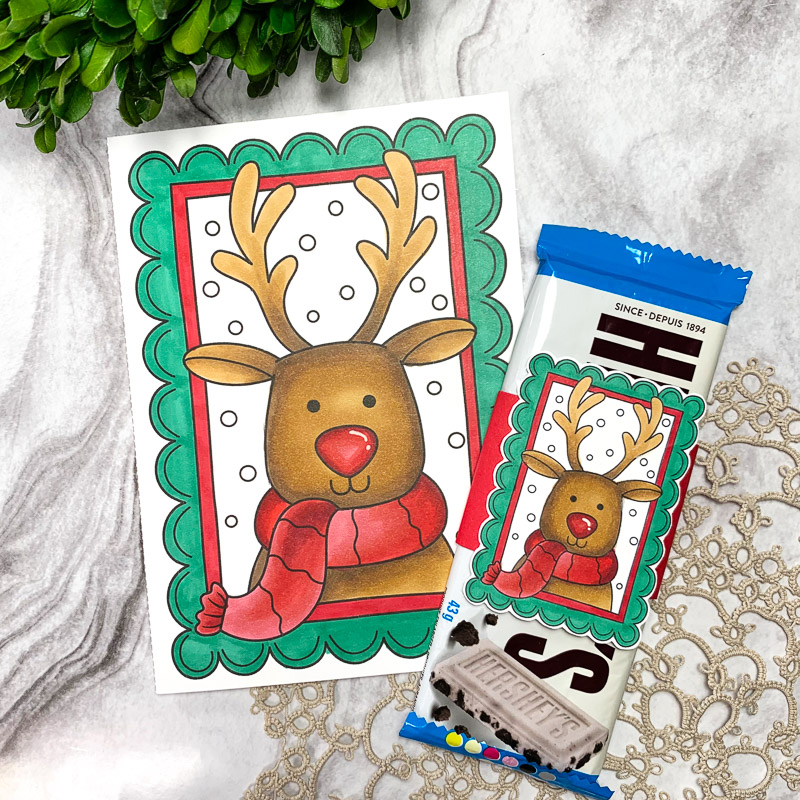
To print the card, I used the ready-to-print PDF included. The PDF has the cards already sized to measure 5″ by 7″, so all you have to do is print!
For the matching image for the chocolate bar wrapper, I uploaded the JPG into Microsoft Word, cropped it, and resized it to approximately 5.5 cm by 7.7 cm. For this step, you can use whatever word-processing software you are most familiar with.
Once I was ready, I printed both the card and the matching image for the chocolate bar wrapper onto 100lb Hammermill Cardstock, my favourite cardstock for colouring with alcohol markers!
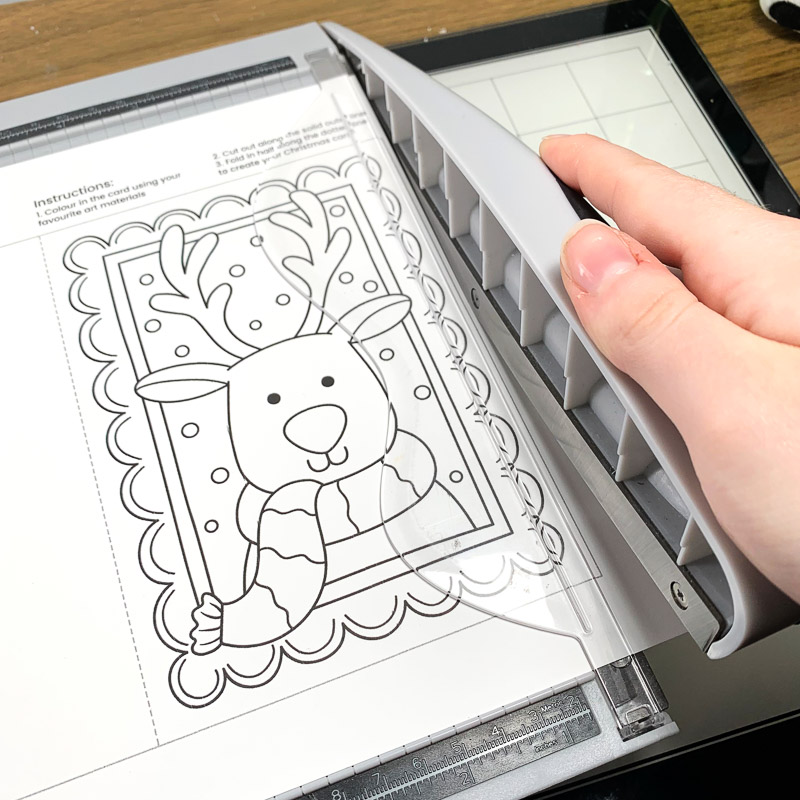
I used my paper trimmer to trim the card and a pair of scissors to cut out the smaller image.
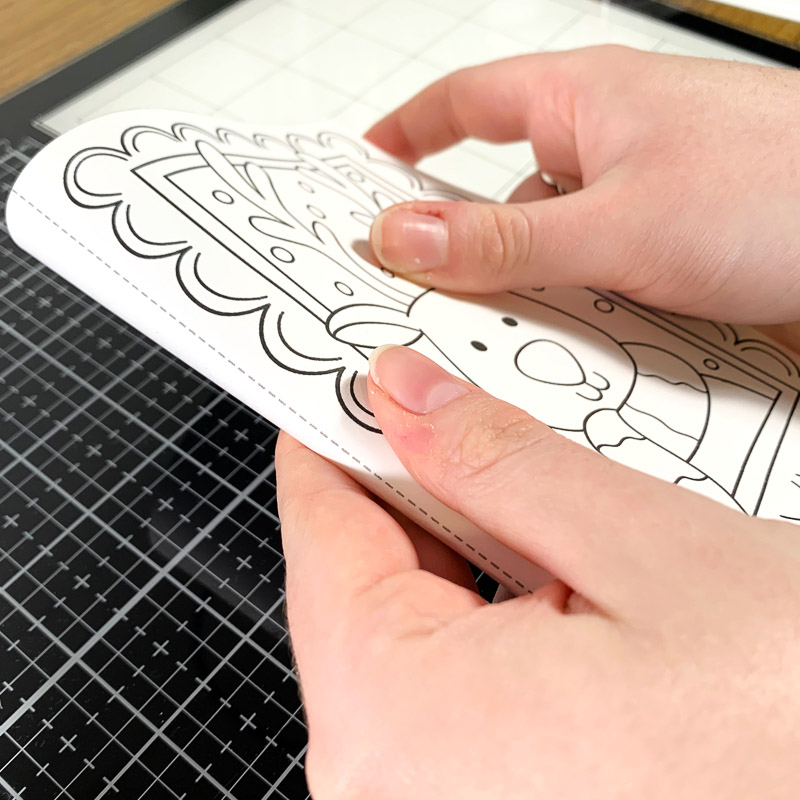
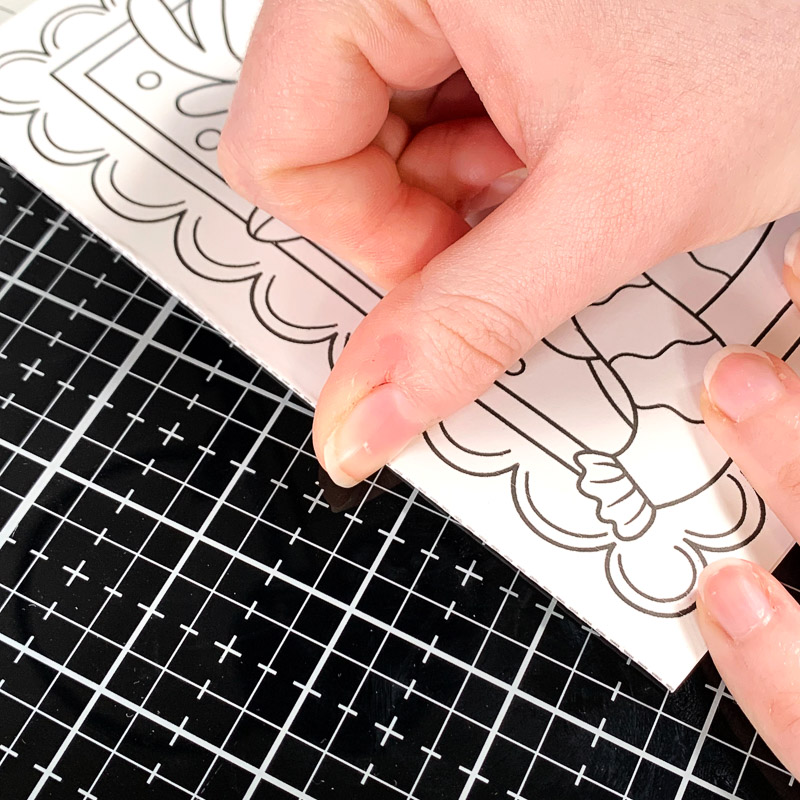
To score the card, simply fold the card along the dotted line. You can also use a scoring tool; however, I found it easiest just to fold along the line.
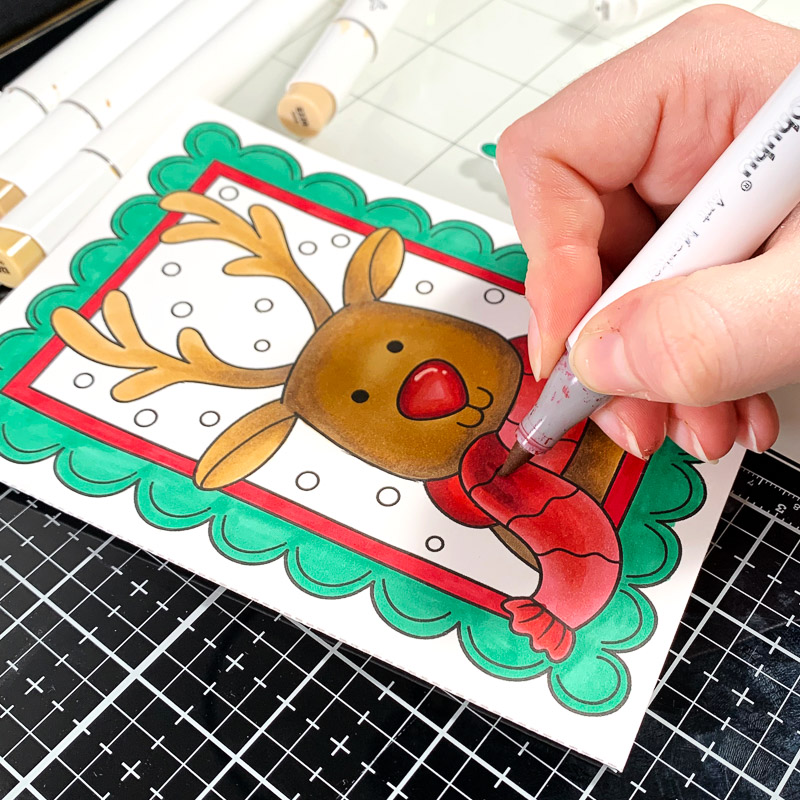
To colour, I used the following Ohuhu alcohol markers:
- Red: R8, R2, R3, R1
- Brown: E310, E370, E240, E220
I also used red and green Sharpies to colour the frames.
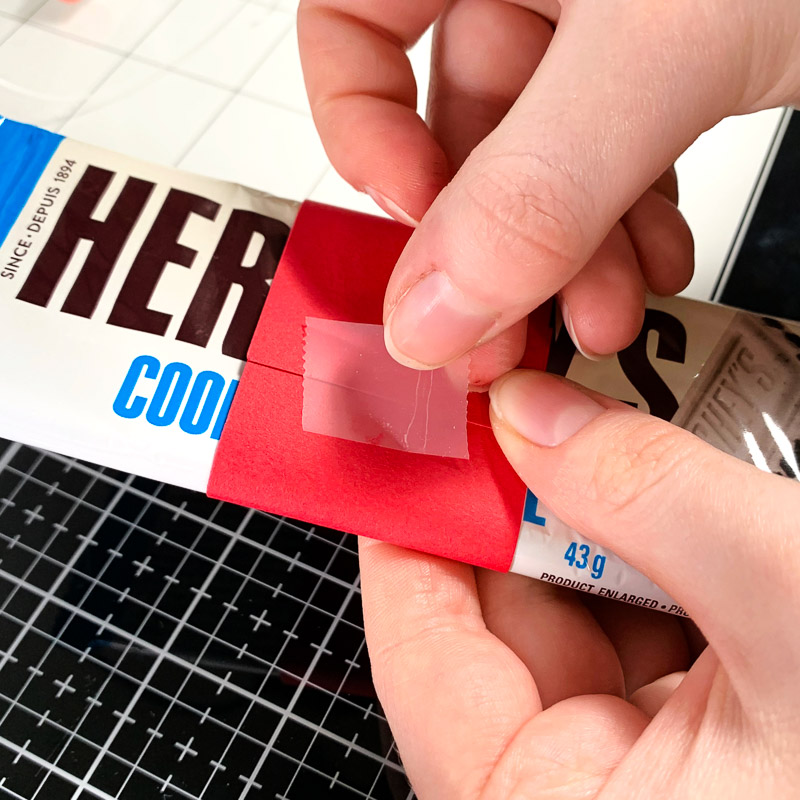
With everything coloured, the last thing to do is create the chocolate bar wrapper! All you have to do is cut a piece of cardstock (I went with Red to match Rudolph!) to measure 1.75″ by 6″.
Wrap the cardstock around the chocolate bar wrapper and tape or glue it.
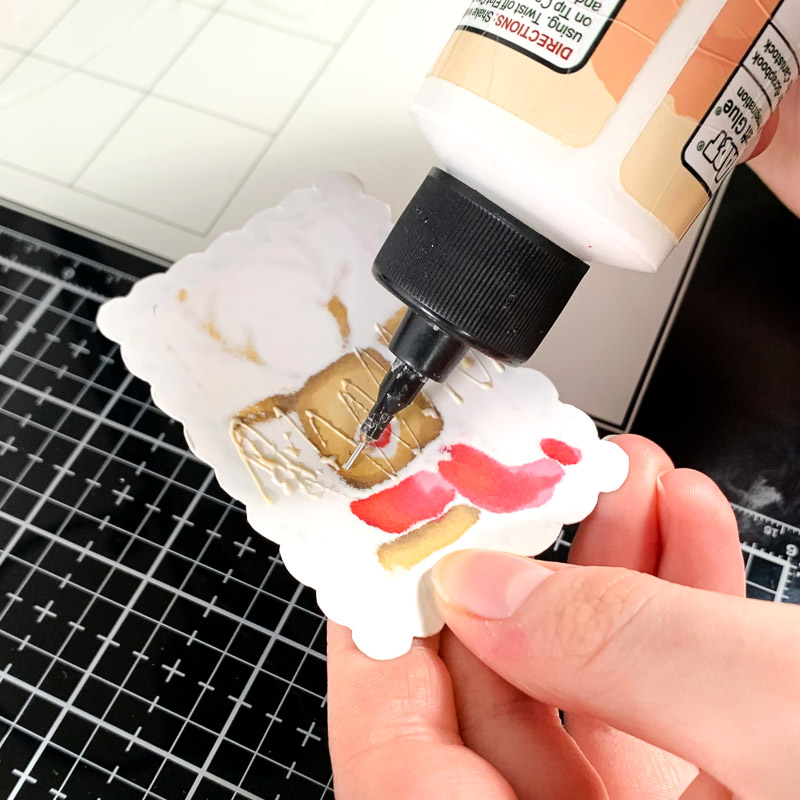
Lastly, glue the image onto the chocolate bar wrapper.

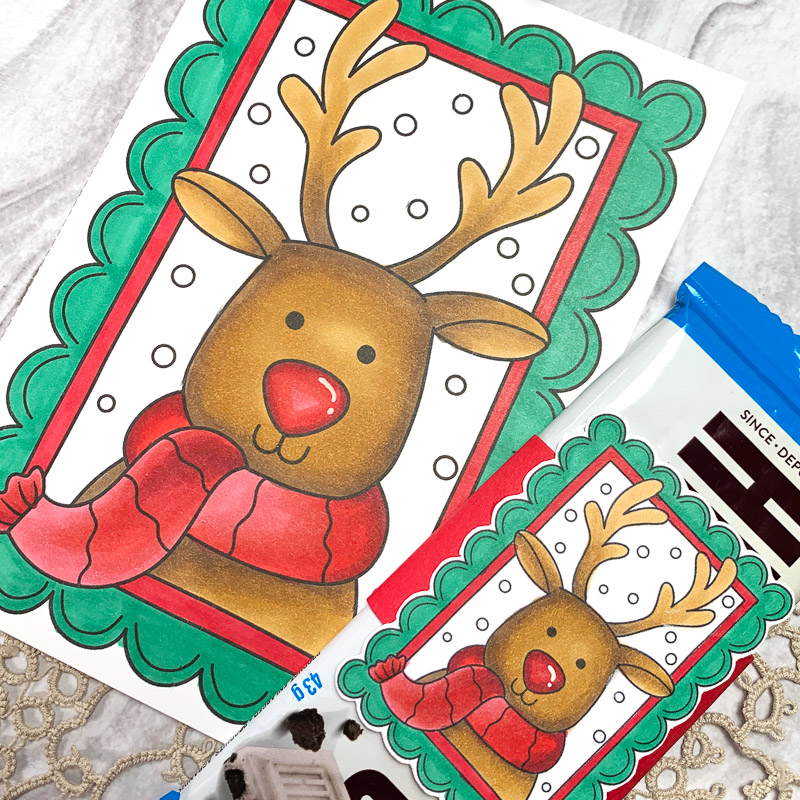
And that’s it! This simple card and a matching chocolate bar wrapper make the perfect festive duo.
Thanks for reading. See you next time!
Sasha
Products Used:
- Colour In Christmas Cards
- Ohuhu alcohol markers
- Sharpie markers
- Glue and tape
- Printer
- Paper trimmer
- Scissors

 December Bullet Journal calendar printable
Leave a Reply