
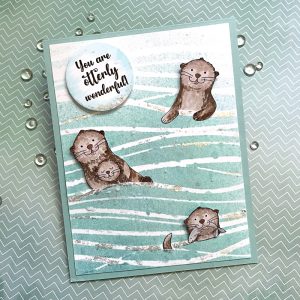

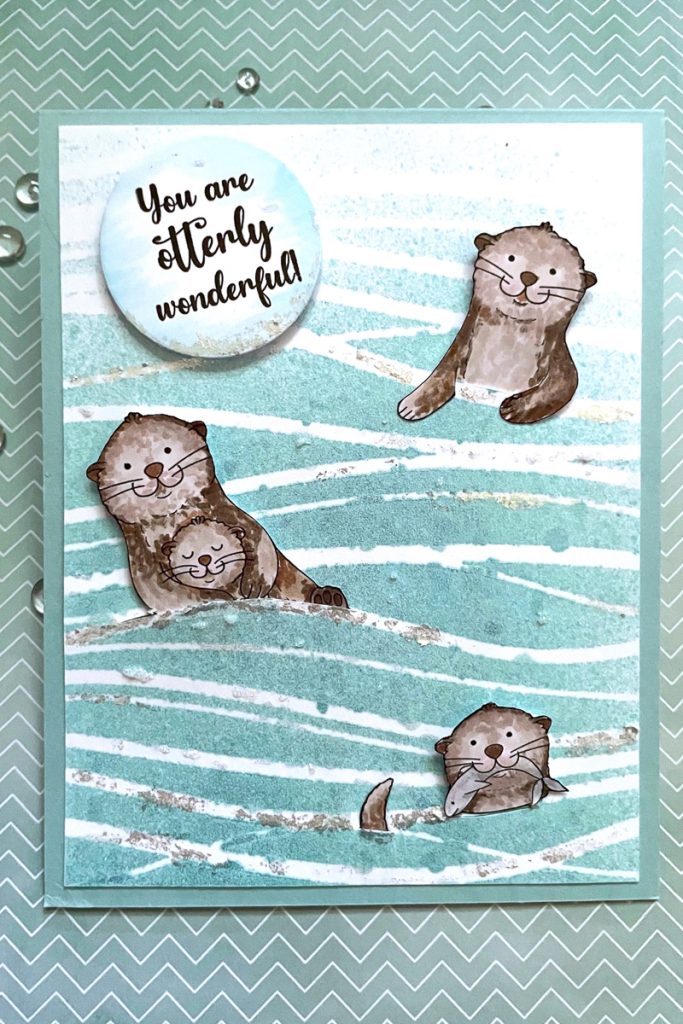
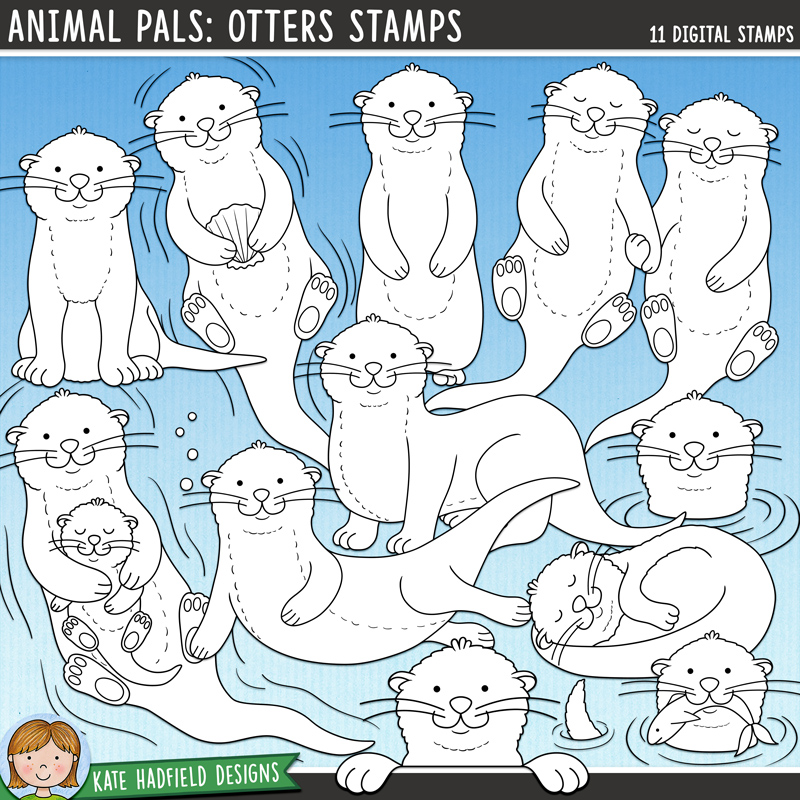
Hello everyone! Summer is fully underway and today I’m sharing with you a card made with a cute digital stamp set – Animal Pals: Otters! This is such an adorable set with plenty of images to create scenes for your cards!

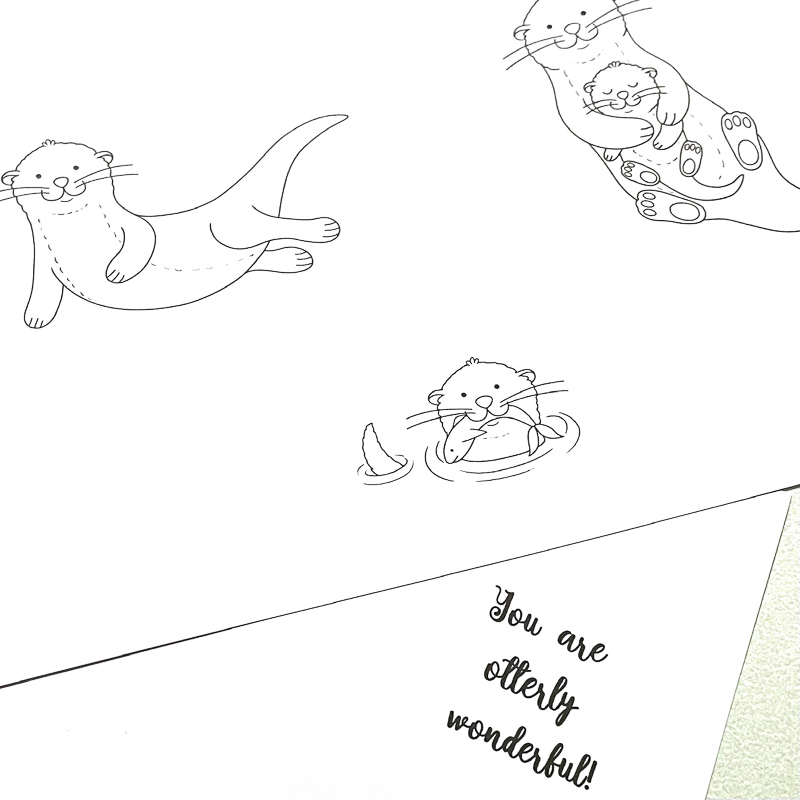
True confession time – I made a total of 3 backgrounds for this card…the first 2 failed. But, I started by sizing and printing my images onto white card stock. I knew what my layout was going to be, so I sized them accordingly. I would end up making them a bit smaller in the final card!
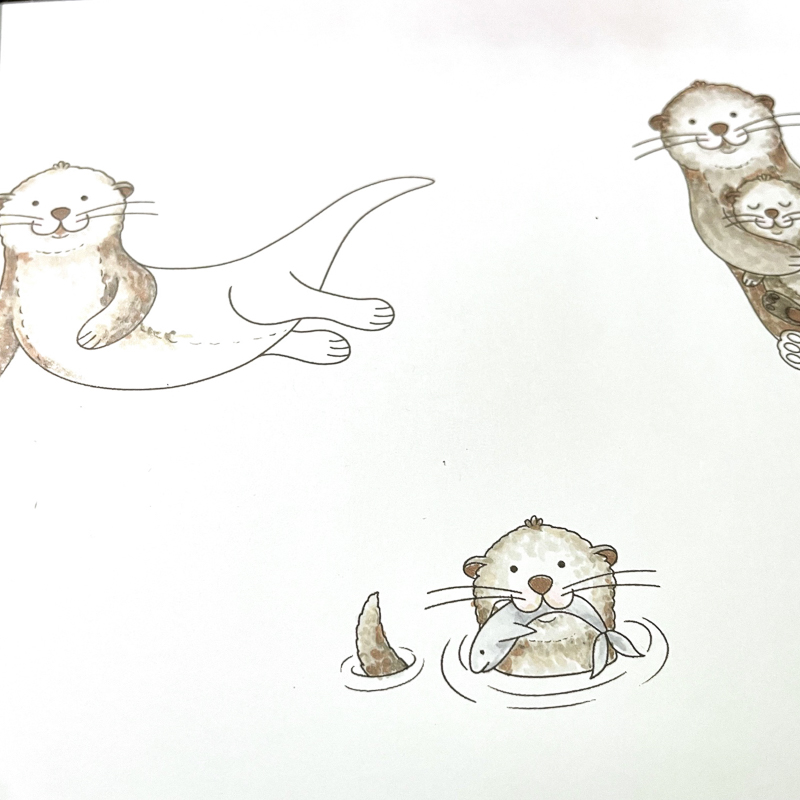
I started out by coloring light, using Warm Grays.
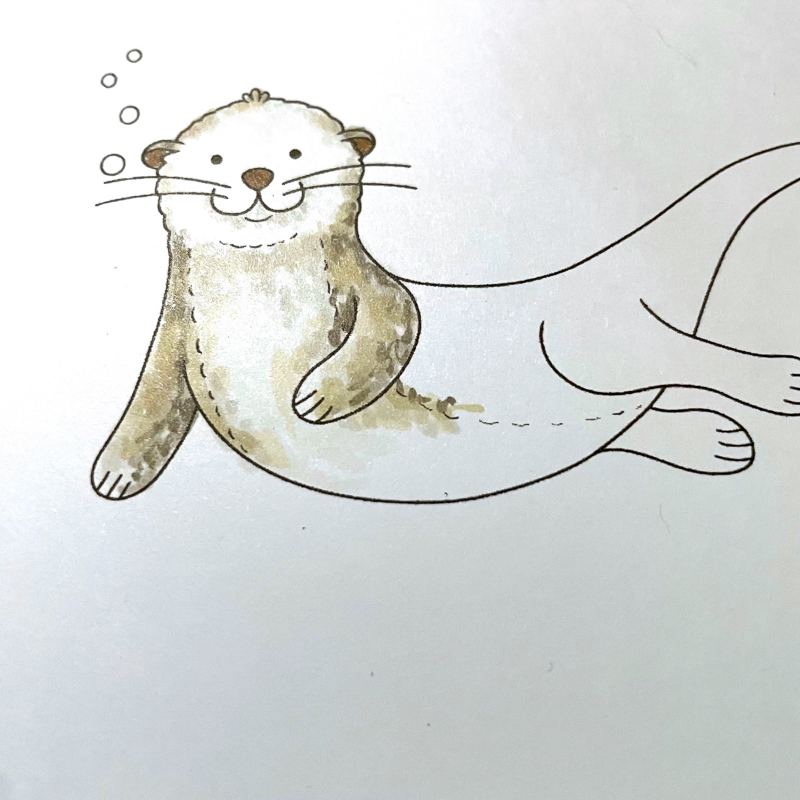
These were coloring up very easily. I tried to make the fur looked variegated because otters are generally not one color.
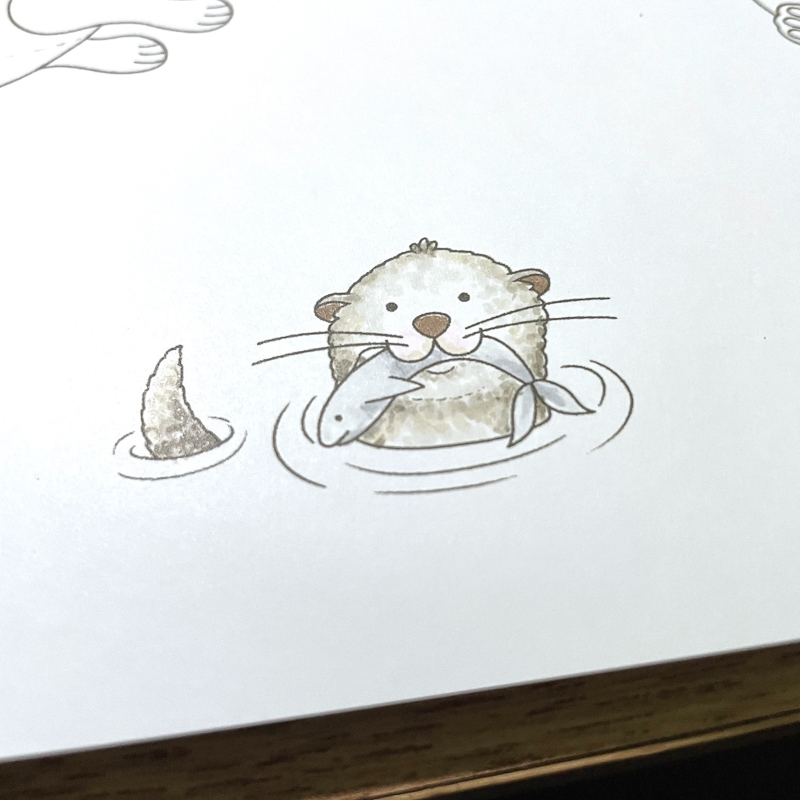
Copic colors used: C1, C2, 3, RV10, W0, W1, W2, W3, W5, W7, E25, E41, E43, E47, E71
I finally stenciled my background panel. This seemed to be the best way to go with what I had in mind for the card. The other 2 backgrounds totally minimized the otters.
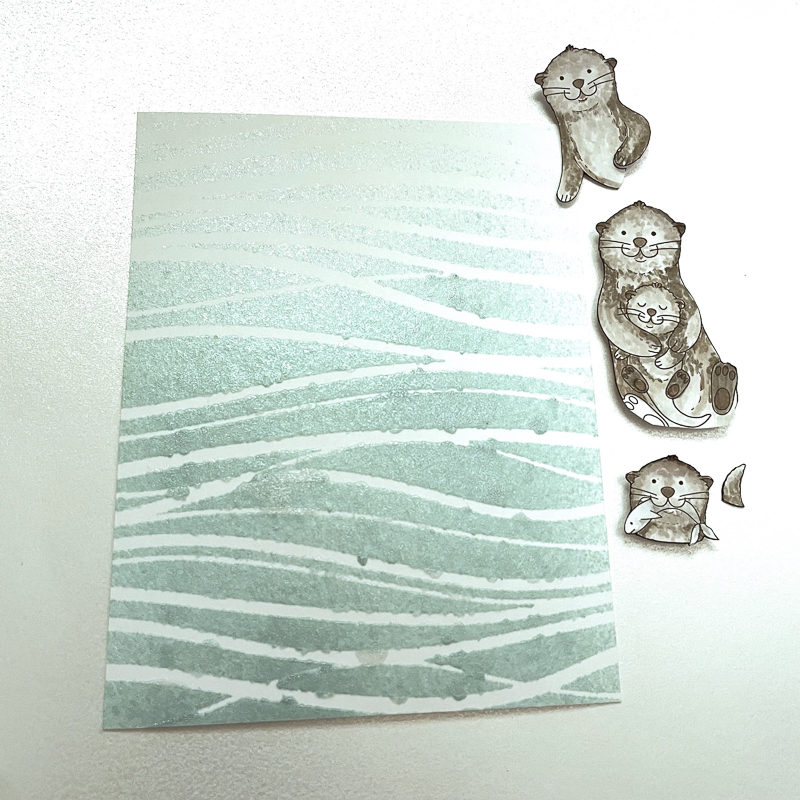
The otters are not finished completely because I knew I would be cutting down the lower halves of their bodies to fit them into the waves. I cut slits along some of the gentle wave lines to do this. I popped up just their heads on foam tape and just across the bottom for the bodies to stay in place.
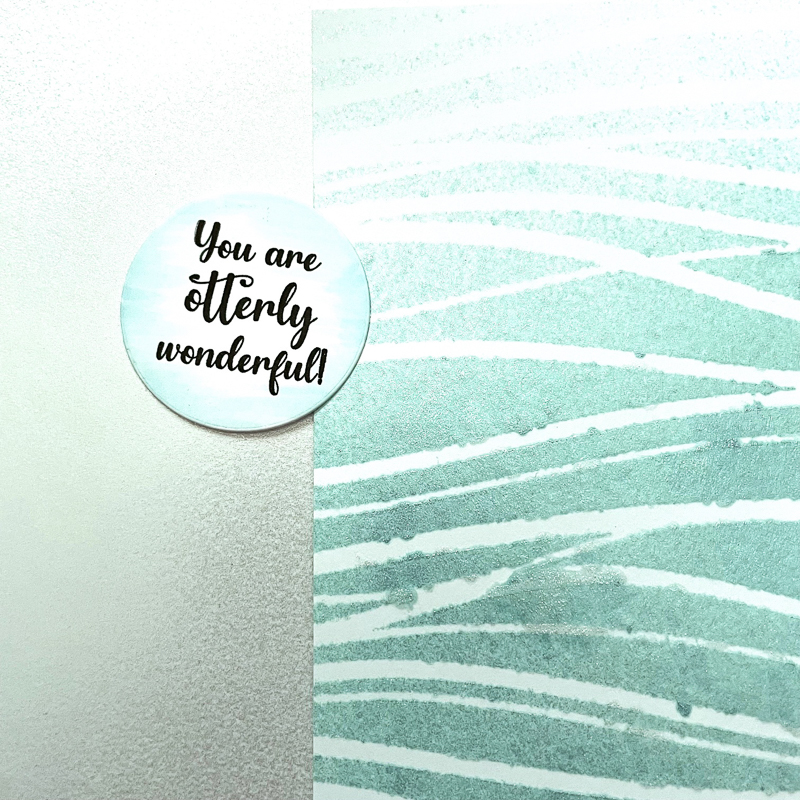
I had computer journaled the sentiment and die cut it using a plain circle die. I used a B000 marker to feather in the edges as it needed a bit of color. I foamed taped that as well to the card panel. For a little more sparkle I used a mica paste and applied it to some of the tops of the waves – I used a toothpick for this. I used a shimmer pen on the fish in the otters mouth and a black glaze pen for the eyes – just to make them stand out a bit more. I adhered the panel to an A2 size light aqua card base and my card was done!
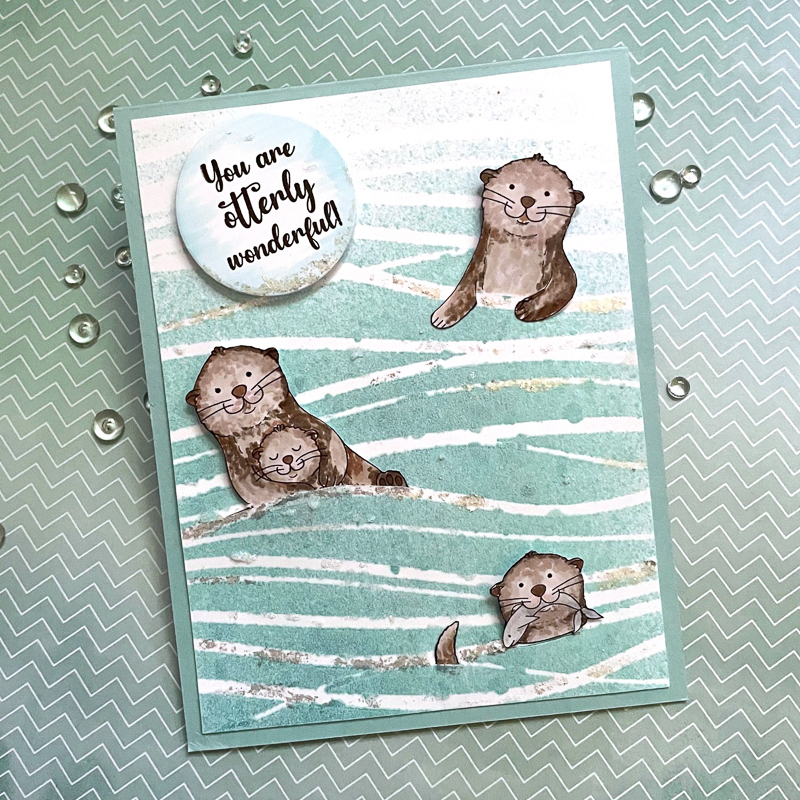
Hope you enjoyed today’s tutorial. Frustration aside over the background, this card was fun to make!
Til next time…
Betsy
You can find me on Instagram: @betsybirgeart
Materials Used:
- Animal Pals: Otters digital stamps
- white cardstock and light aqua card base
- Copic markers
- wave stencil
- mica paste and shimmer pen
- foam tape

 I Didn’t Mean The Laundry handmade card tutorial
Leave a Reply