


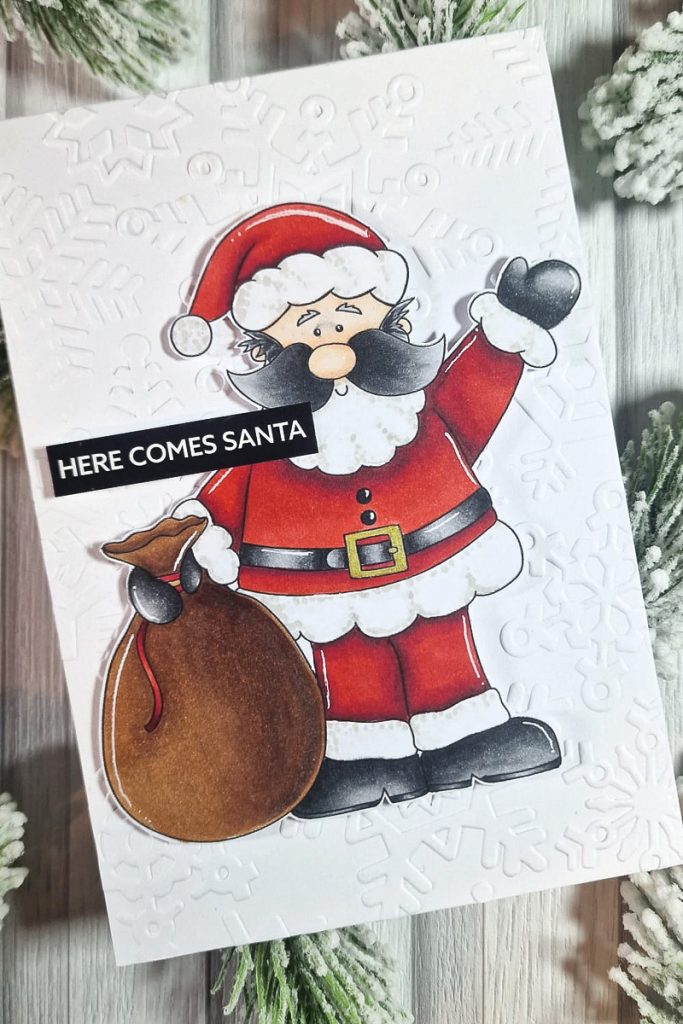
Hello crafters, I hope you’re all well! I’m on the Christmas Card making wagon now. We’re in the home stretch! Kate has looooads of Christmas Designs in store, both uncoloured and coloured. I opted to colour mine as I wanted a bit of colouring therapy. However, pre-coloured stamps are a perfect option for your batch making which is always welcome this time of year, right?!
Here’s one I made earlier…. 😉

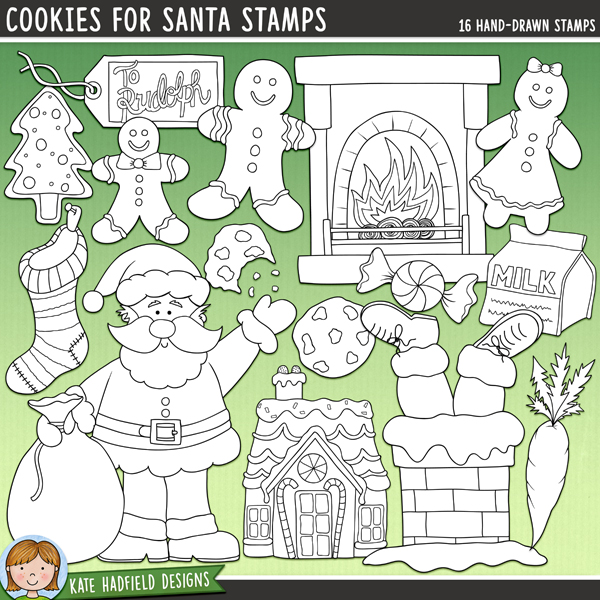
First, I printed my Santa image from Cookies for Santa Digital Stamp pack. I used Word to edit my Digi stamp. I sized to fit a UK A6 card front and printed onto 210gsm white Super Smooth card. 210gsm is a gentle weight for a home printer and Super Smooth is essential for colouring.
I coloured Santa using Copic Markers in the following colours:
- Reds: R17, R29, R59
- Whites: W00, W0, W3
- Blacks: N1, N3, N5, N6, N8
- Santa’s Sack: E27, E25, E35, E77
- Santa’s Skin: E000, E02, E51
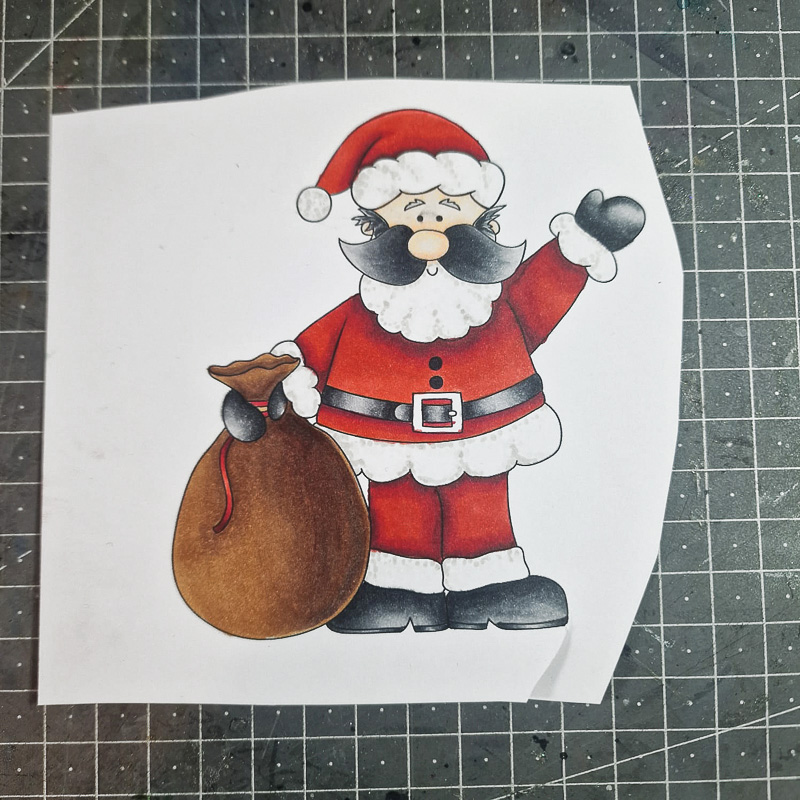
I fussy cut Santa out, then added some small white highlight details using my Gel pen.
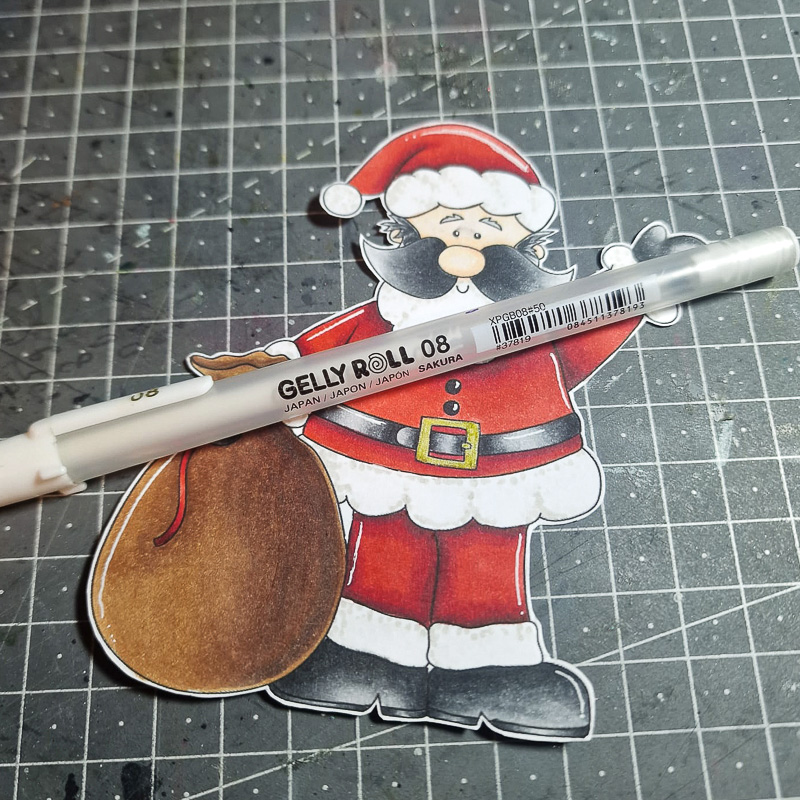
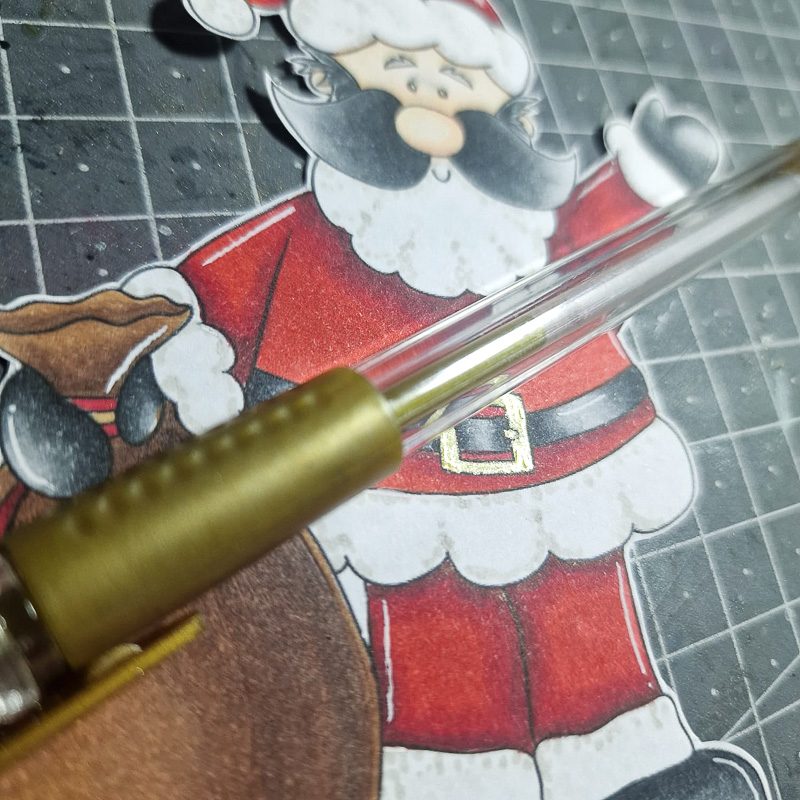
Wherever there’s a Santa, there’s a golden belt buckle, right?! I coloured Santa’s buckle in using a gold gel pen.
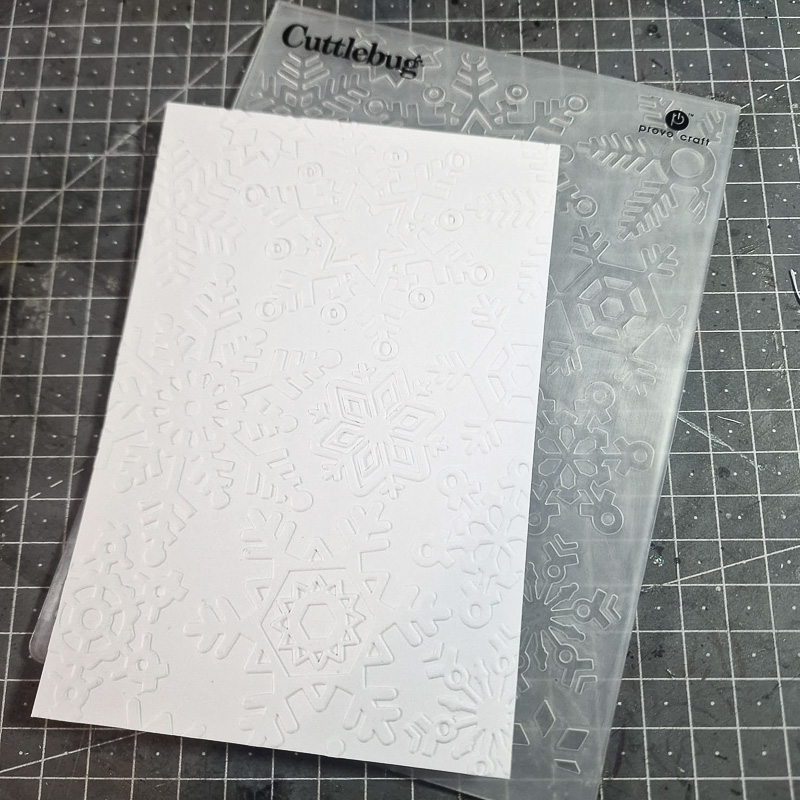
Now I created my card base. I prepared a white UK A6 top fold card blank. I cut down a piece of White card in the exact dimensions of the card front. I popped this in my Snowflake embossing folder and ran it through my die cutting/embossing machine. I then adhered this to my card front using wet adhesive.
I added some foam squares to the back of Santa and adhered this to my card front.

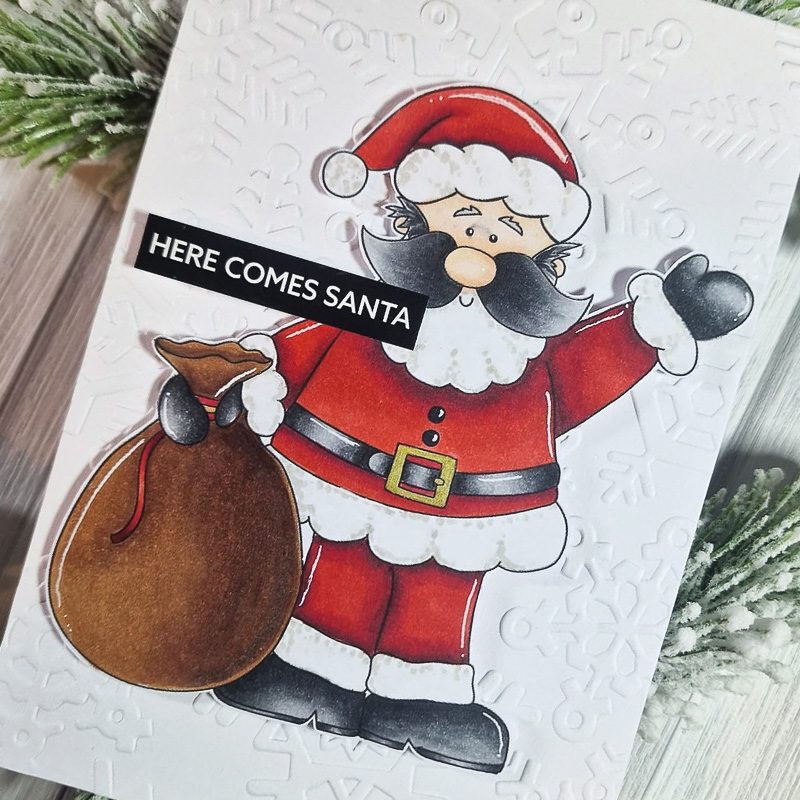
To finish, I added a pre-made sentiment from my stash. I added foam to the left end where there was space between the sentiment and the card and where it sat level over Santa’s hat, I applied wet adhesive. Using both methods of adhesion kept the sentiment flush with the main image.
This is the card complete!
Until next time, take care.
Lots of love, Dani xx
Materials Used:
- Cookies for Santa Digital Stamps
- White card
- A Snowflake embossing folder
- White Gel pen
- Gold gel pen
- Foam tape / squares
- Wet adhesive
- A sentiment
- Alcohol Markers

 DIY Advent Calendar printable Christmas craft
Leave a Reply