


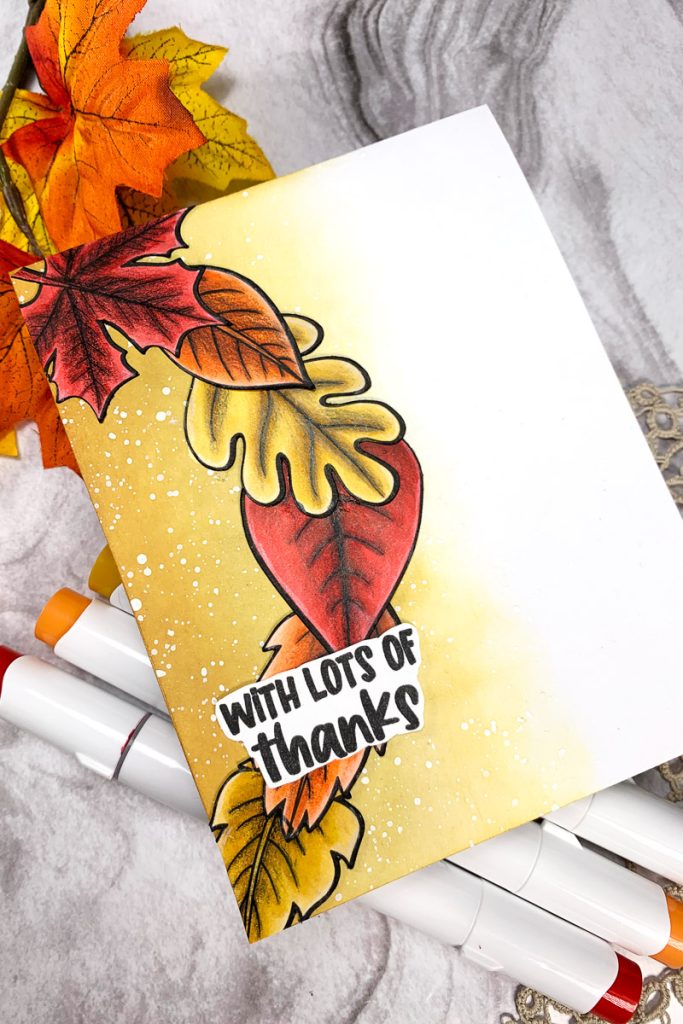
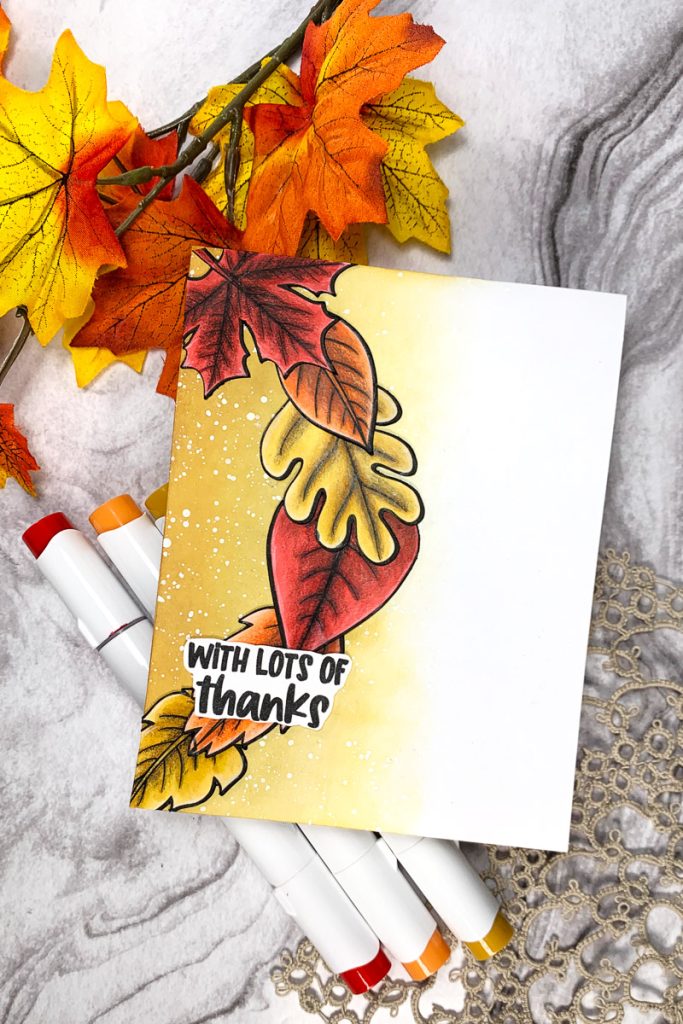
Hello everyone! Sasha here. Now that it is officially September, the seasons are starting to change, and it’s becoming my favourite time of the year! During the autumn season especially, I can’t help but love everything about it: the cooler weather (I can’t stand the heat!) and the gorgeous colours outside. During this time of the year, I always seek a lot of inspiration from the autumn colours. So, to celebrate the start of the fall season, today I’m making a fall-themed card!

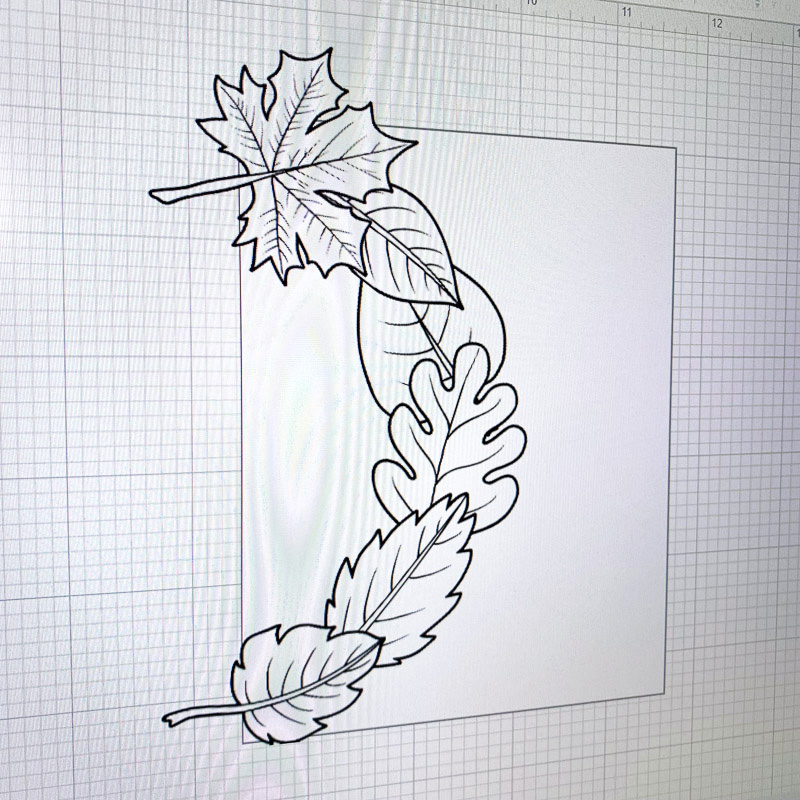
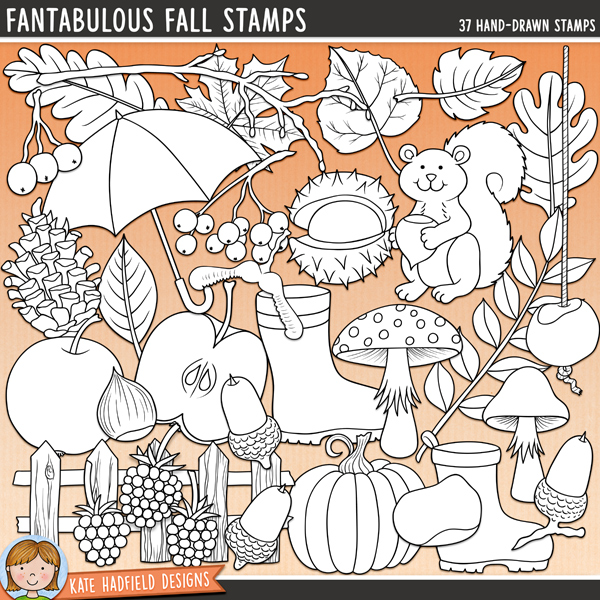
I started today’s card by first uploading my chosen images into Cricut Design Space and planning out my design. To create this fall-themed card, I’m using two perfect Stamp Sets for the fall season: the Autumn Afternoon Digital Stamps and the Fantabulous Fall Digital Stamps. Both sets offer a wide variety of classic fall items as well as plenty of autumnal foliage. For this particular card, I’m going to be using some of the leaves from these two stamp sets.
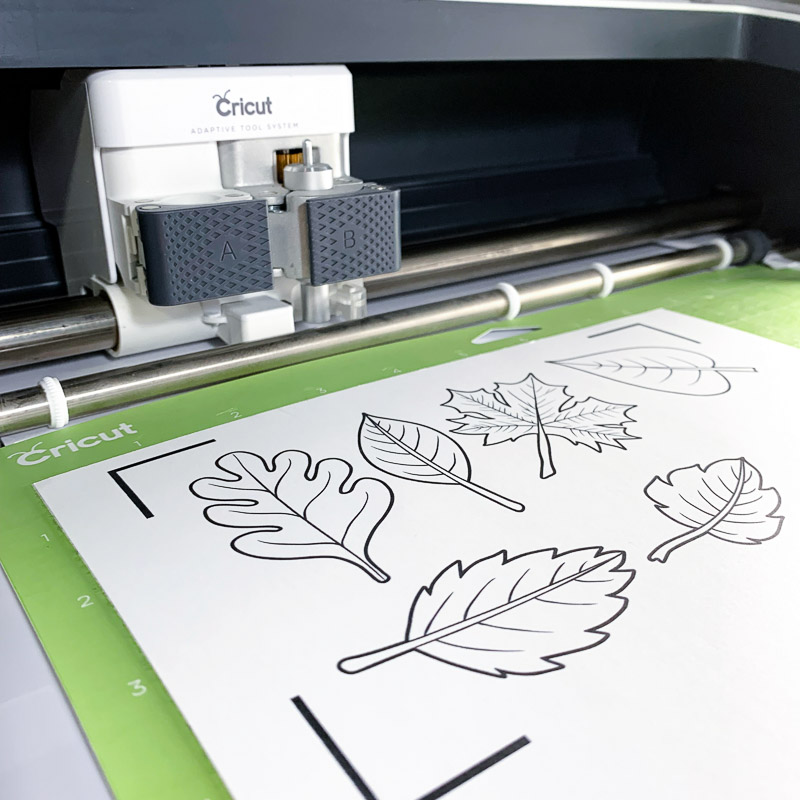
Once I had my design figured out, I printed the stamps onto 100lb Hammermill cardstock and then cut them out using my Cricut cutting machine. When you go to print out your digital stamps, make sure that you are printing them onto paper that will be suitable for whichever colouring medium you will be using in the colour of the stamps. When colouring with alcohol markers, 100lb Hammermill cardstock is my personal favourite.
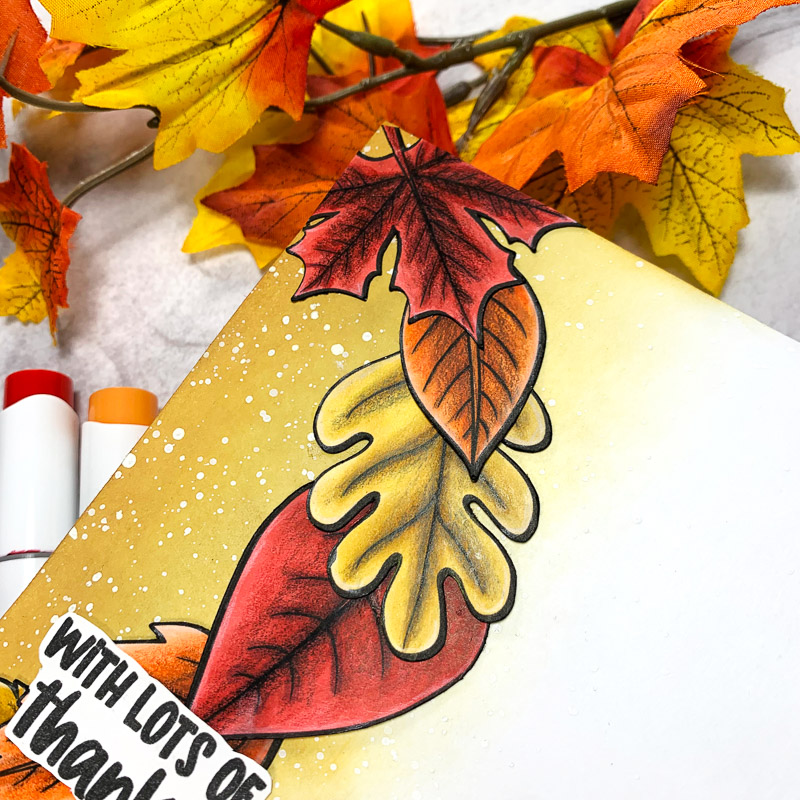
Before I could move on to colouring the images, I first took a black marker and carefully went around the edges of the cut-out digital stamps. Doing so helps to get rid of the white border around the images, making for a more finished look overall.

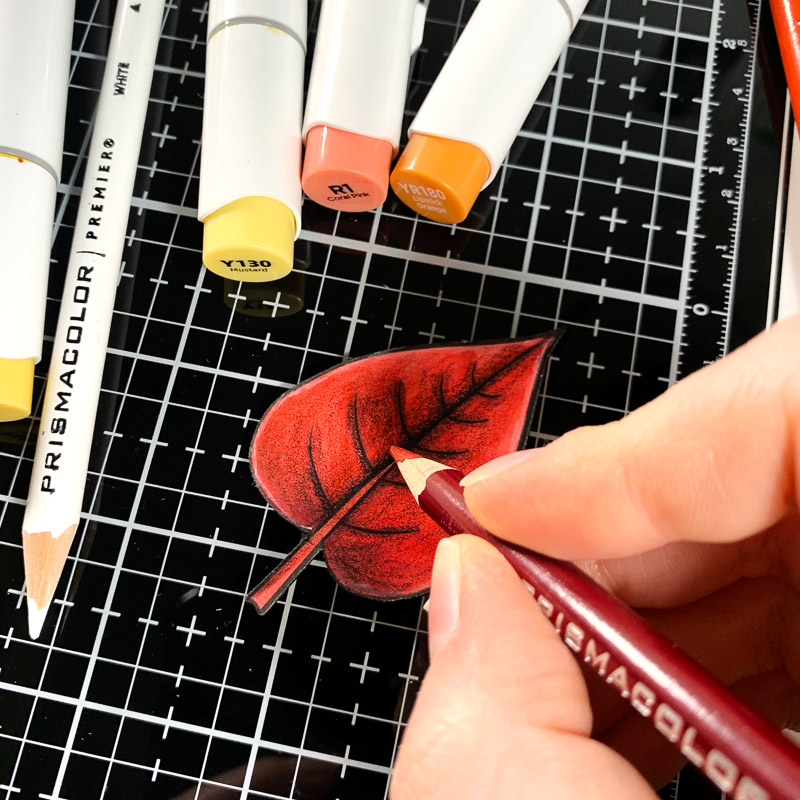
Now it’s time to colour! I coloured the leaves using three different fall colours to create a nice colourful variety of leaves. I used the following Ohuhu alcohol markers to colour:
- Red: R8, R2, R1
- Orange: YR180, YR190, Y070
- Yellow: Y180, Y140, Y130
I also used some coloured pencils – I like to use Prismacolor Premier Coloured Pencils – to add a bit more shading and contrast to the leaves. This is a step I personally like to take as it can really help to make your colouring stand out.
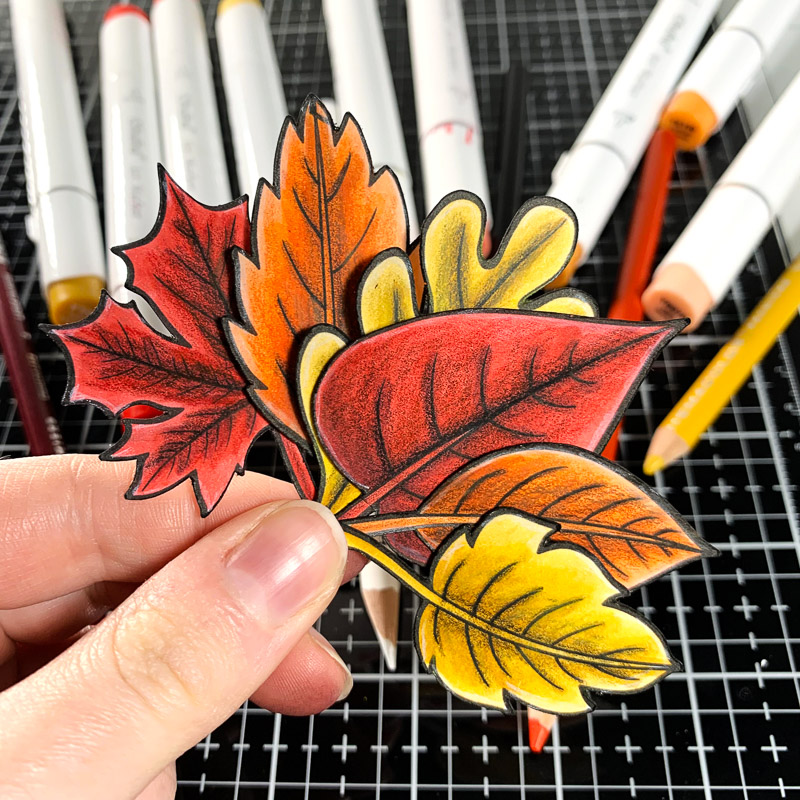
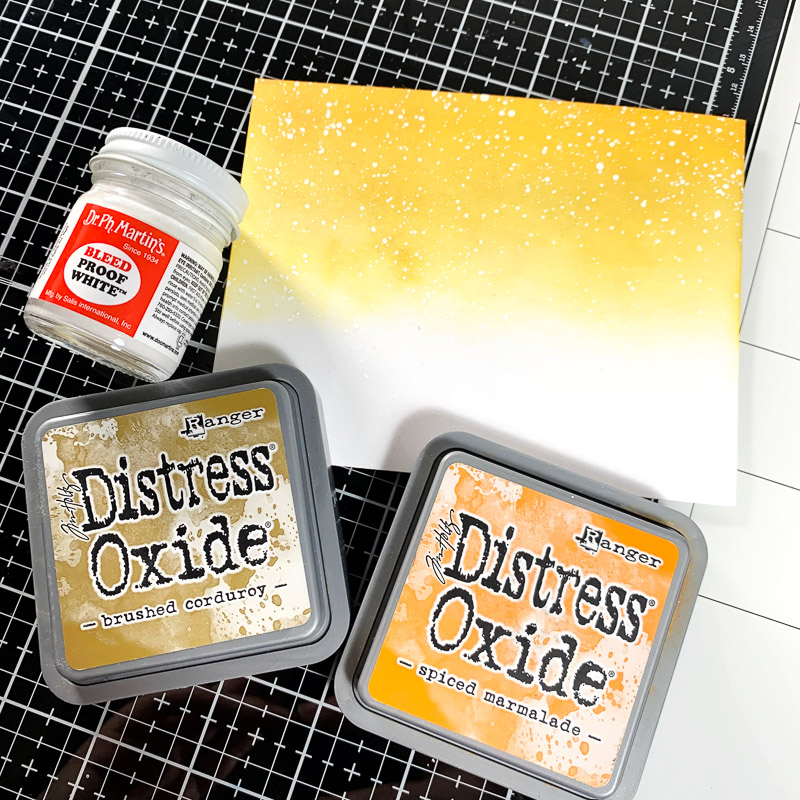
Once the leaves are coloured, I create a simple background by ink blending a matching gradient using some ink. For this, I used Brushed Corduroy and Spiced Marmalade Distress Oxide. I also splattered the background using white paint.
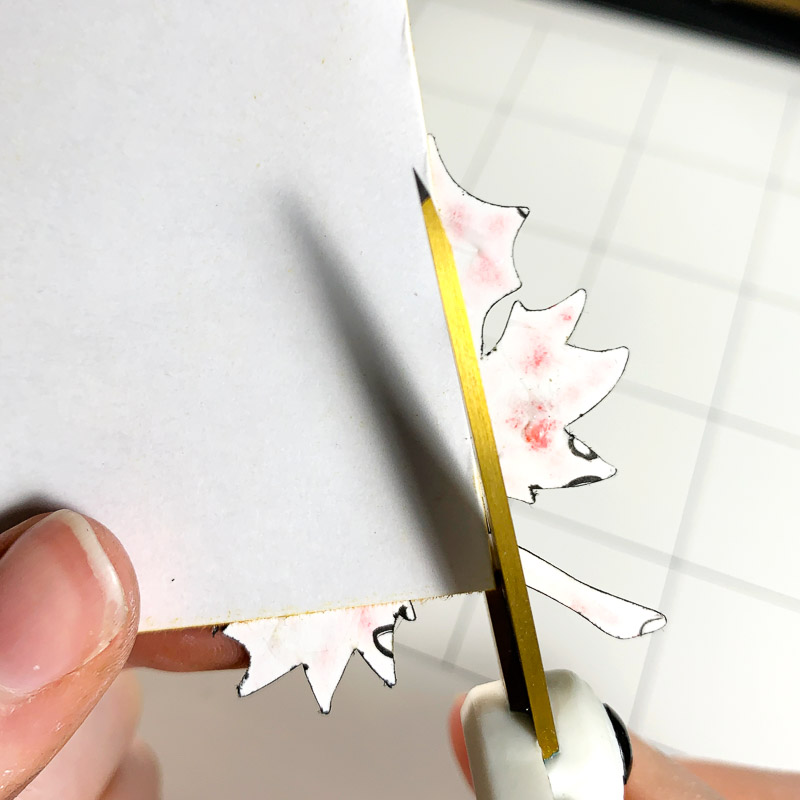
To finish off the card, I adhered the leaves using liquid adhesive in a way that represents a fall wreath, trimming off the excess that overhangs the card. I also stamped a matching fall sentiment and adhered that to the card.
And there it is! That’s the finished card!


As I mentioned earlier, this time of the year is my favourite time of the year. This also means it’s my favourite time of the year when it comes to crafting! I can’t wait to share even more festive and seasonal-themed projects in the coming months!
Thanks for reading. See you next time!
Sasha
Created with:
- Autumn Afternoon Digital Stamps
- Fantabulous Fall Digital Stamps
- 100lb Hammermill Cardstock and printer
- Ohuhu alcohol markers
- Prismacolor Premier Coloured Pencils
- Black Marker
- Spiced Marmalade Distress Oxide
- Brushed Corduroy Distress Oxide
- White paint
- Fall-themed stamp/sentiment


 Back to School handmade card tutorial
Leave a Reply