




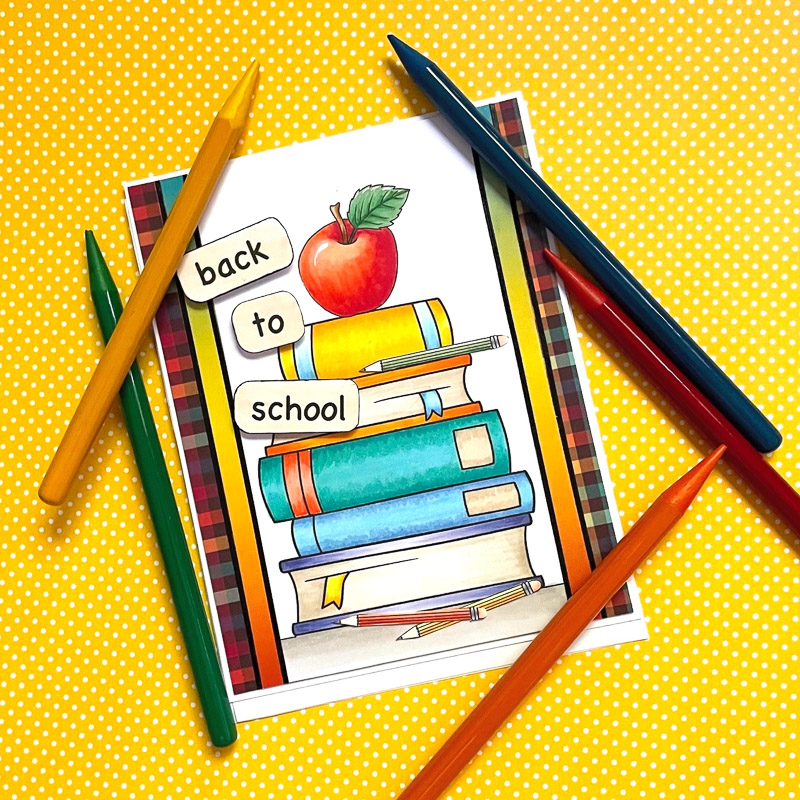
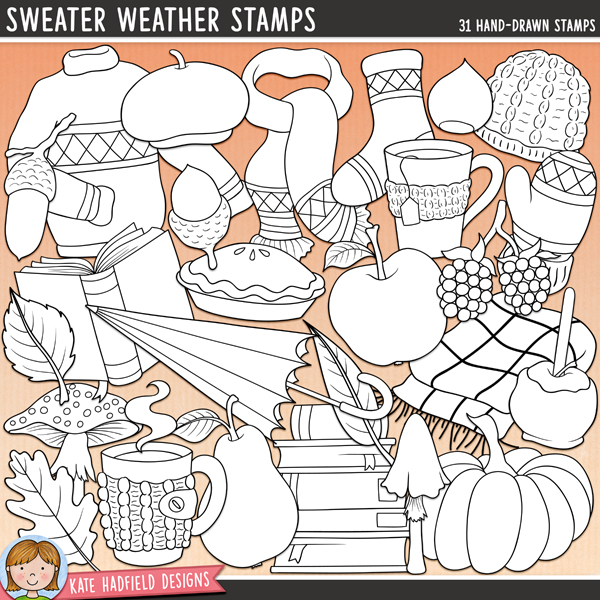
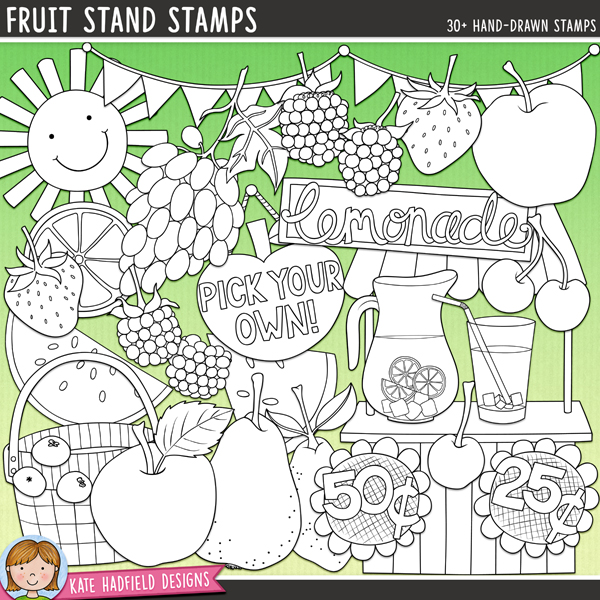
As we head into September and cooler months, schools are once again in session. Today I’ll be sharing a fall school themed school card using Sweater Weather and Fruit Stand and 9 to 5 digital stamp sets.
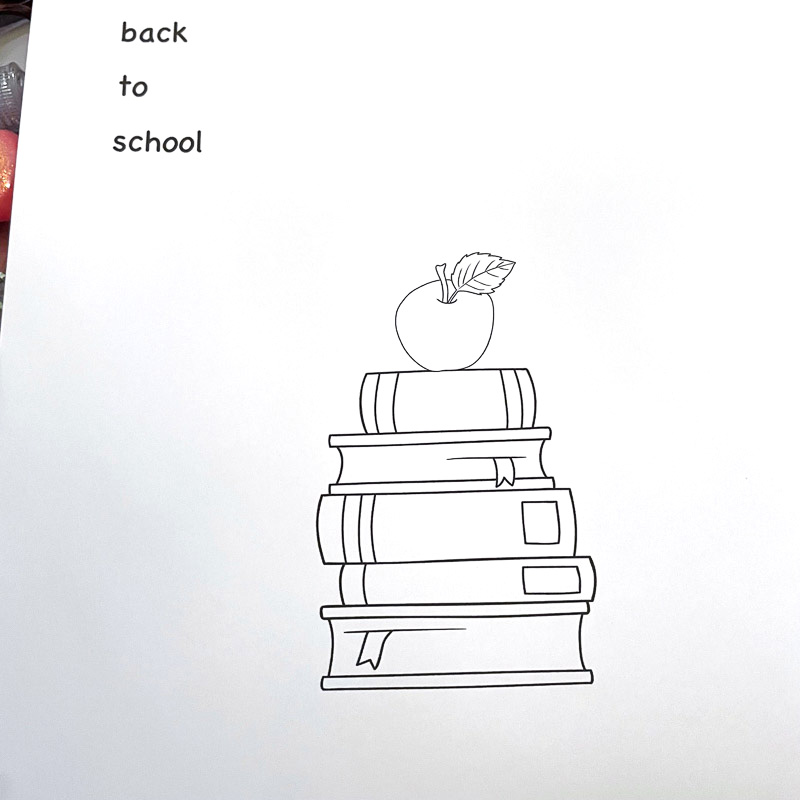
I started by composing my images in the computer. I made up my own sentiment with a font that I had in my word program and printed it out onto white card stock. I wasn’t sure at this point what I was going to do with the sentiment.
Because the shapes of the images, I wanted to make sure that the colors of the papers and background matched the colors in my image. So, I chose 2 papers that I thought would work well and were brightly colored.

I started coloring with the apple using my Copic markers.
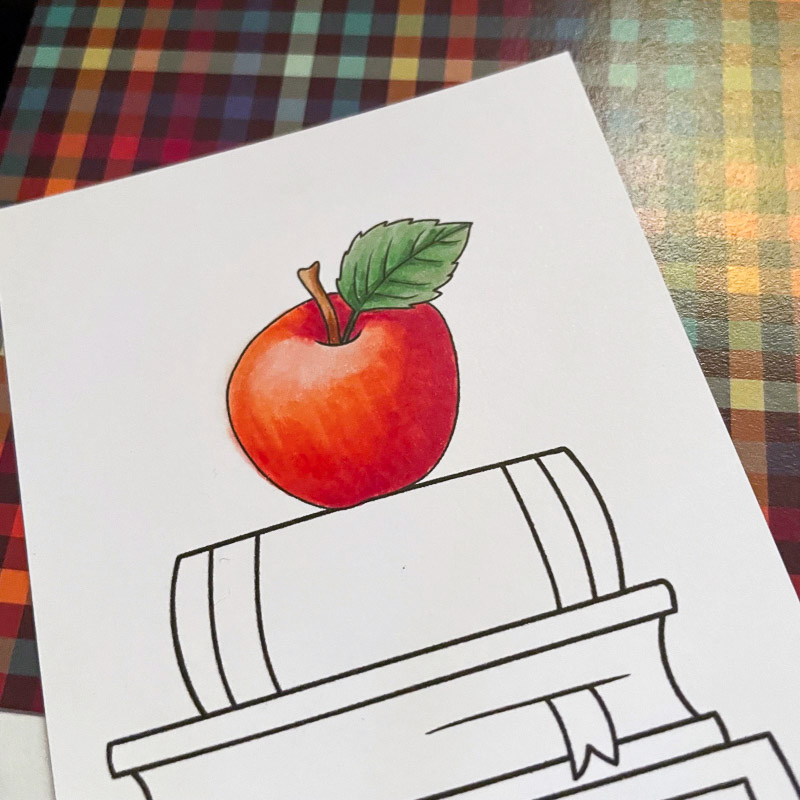
I used colors that would really make the background stand out a bit more.
Copic colors used: R00, R11, R02, R05, R27, R17, R37, E31, E33, E35, E37, E15, E41, E43, G00, G05, G21, G28, YR04, YR07, BG13, BG34, BG01, B000, B00, B12, B23, B24, BV00, BV02, BV13, BV17, W0, W1, W2, W3, Y00, Y02, Y06, Y15, Y35, and Y38.

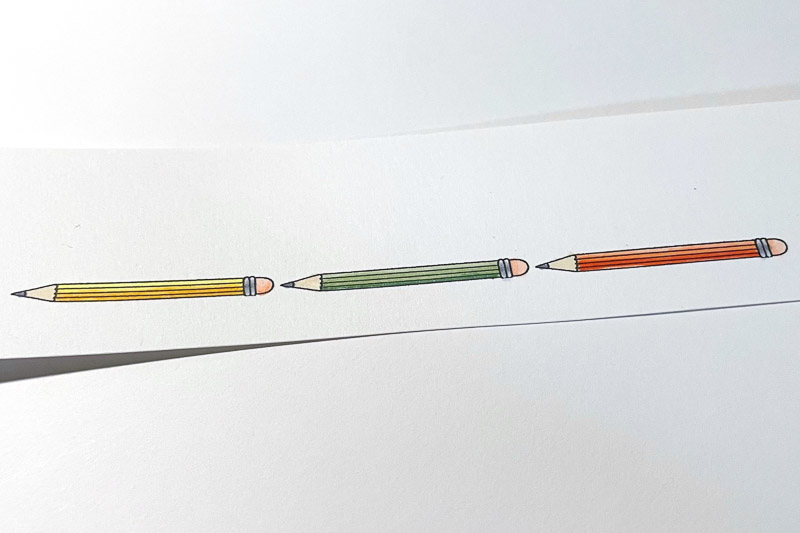
I die cut the sentiment, but couldn’t decide on placement…seems there was always a blank space somewhere. So, that was when I printed out the pencils and colored them up and then fussy cut them. To finish I decided to let the other papers show on the sides only and then for some separation I used black peel-offs between each panel. My sentiment was foam taped and my pencils were adhered flat to the surface.
This was such a fun back to school card to create and color! I already have one little someone to give it to!


Til next time,
Betsy
You can find me on Instagram: @betsybirgeart
Created with:
- Digital stamps: Sweater Weather, Fruit Stand and 9 to 5
- White cardstock
- Coloured papers
- Copic markers
- Black peel-offs
- Foam tape

 Free Digital Scrapbooking Template: Checkers
Leave a Reply