
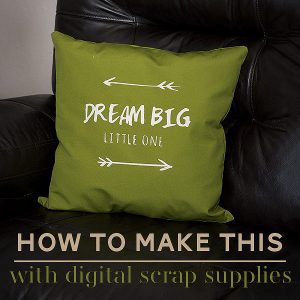

Did you know you can create your own pillows or cushions using digital designs? I will break down three different ways you can use your favorite digital scrapbooking supplies to create a personalized work of art for your home!

Pillow #1- The Fabric Paint Pillow
Works on: Premade pillows, pillowcases, and sew-your-own pillows
Difficulty: Basic Crafter
Supplies: Pillow (pillow case or fabric work as well), digital file, freezer paper, fabric paint, paintbrush, iron, and an electronic cutter (or razor blade and mat if you are doing it by hand).
1. Gather your supplies in one area. If you’re using a premade pillow, skip to step 2. If you’re using fabric to sew your own pillow, or a new pillowcase, be sure they are washed in warm water before use. Iron well once dry.
2. Choose your digital file and prepare it to be a template for cutting. I already had this basic pillow file ready to cut when I created this tutorial, but I would STRONGLY recommend purchasing one of Kate’s stamp collections. They would be absolutely perfect for this job! To get the file ready to cut, you need it transformed into basic outlines. Since I am using my silhouette, everything getting CUT OUT is in black, while everything I want to keep for background is white.
If you used one of Kate’s stamps, simply load it into your photoshop program, and fill the inside in with black!

It took a couple clicks to get everything entirely black.

3. Now that your file is ready you are going to send it to your electronic cutter. Load your mat with a piece of cut freezer paper, shiny side down (facing the mat). Cut! If you don’t have an electronic cutter, print the file on normal paper. Place a piece of freezer paper shiny side down over the top of your printed paper and trace your outlines.

Carefully using a sharp razor blade and mat, cut out your outlines.

4. Weed out the unneeded pieces. In this case, it will be everything you had in black on your file. Unlike a normal project, you are throwing away the parts you cut and keeping the background, like this!

5. Place your remaining freezer paper shiny side down on your pillow. Iron it on well at medium high. If you are using a premade pillow, this will take A LOT more care. The rest of us can do this job lickedy split. Be absolutely sure you have no spots that come unstuck! This is your template; it is what is keeping the paint off the rest of your pillow!

6. Put paper on your workspace, under your fabric, and/or between your layers of pillowcase. Remember you are using fabric paint, so you REALLY don’t want to wear nice clothes. Accidents happen . . . especially if you’re like me!
7. Squirt some paint onto your palette. If you’re super high class, you just use a paper plate 🙂 Very careful start spreading the paint over your project. I have found it works better in small strokes and carefully because no matter how well you prep, there may be a spot the freezer paper doesn’t hold as tightly as it should.

8. Allow to dry about five minutes, then very carefully peel off the freezer paper. It’s harder to get the paper off if you wait too long, but if you peel too early, you might smudge the paint. Allow the project to dry the rest of the way. I waited overnight.

9. Enjoy your pillow! (If you used fabric, now you had better get sewing so you can enjoy your pillow!)

A word of caution, your child, pet, or partner may just fall in love with this and never give it back!

Stay Tuned! Next time I’ll teach you how to create a pillow like this out of digital products!


 Inspiration from the team: Bundled Up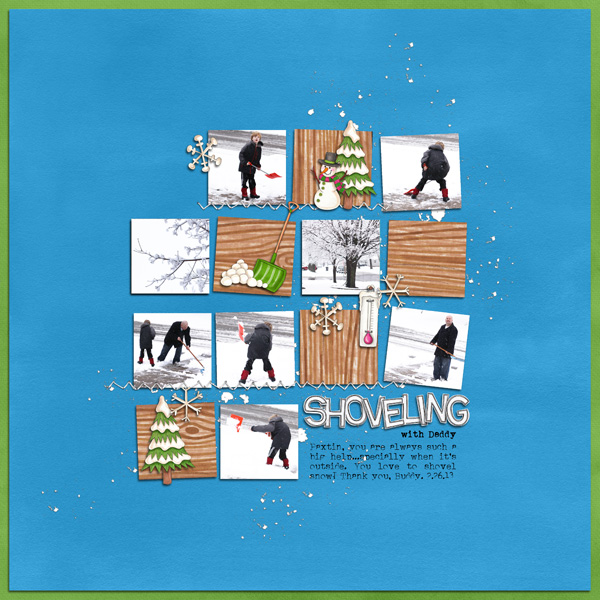
Leave a Reply