

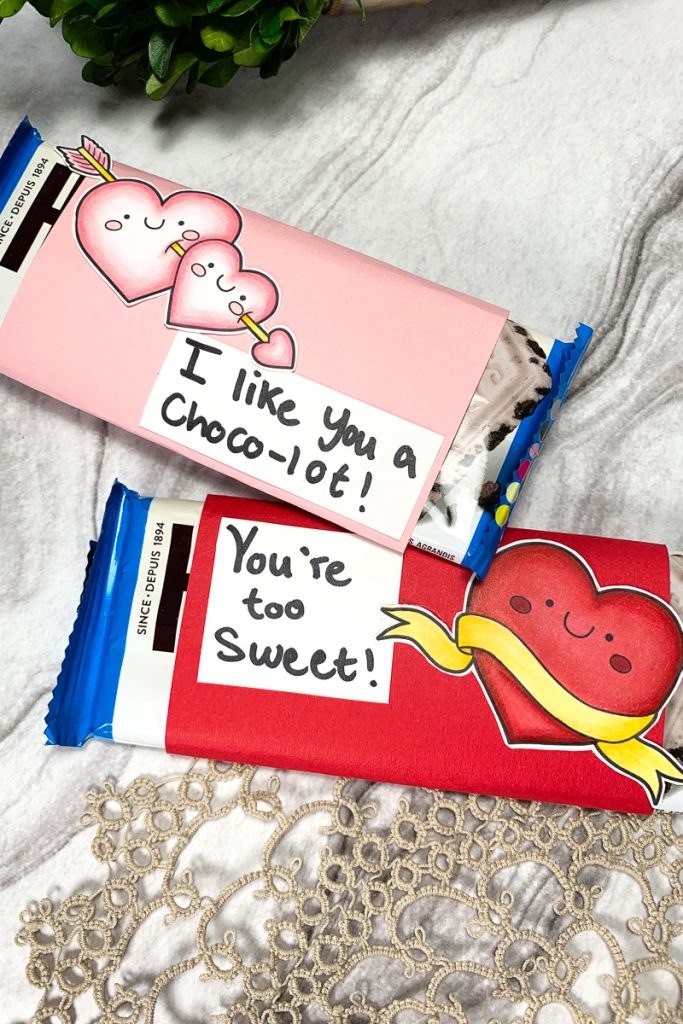
Hello everyone! It’s almost time for the sweetest day of the year… Valentine’s Day! And what better way to share the love on Valentine’s Day than with personalized chocolate treats!

Whether your little ones are handing out treats at school, you’re surprising your coworkers with a thoughtful snack, or you’re treating your significant other to something sweet, custom chocolate bar wrappers are a simple yet creative way to add a personal touch to your gifts!
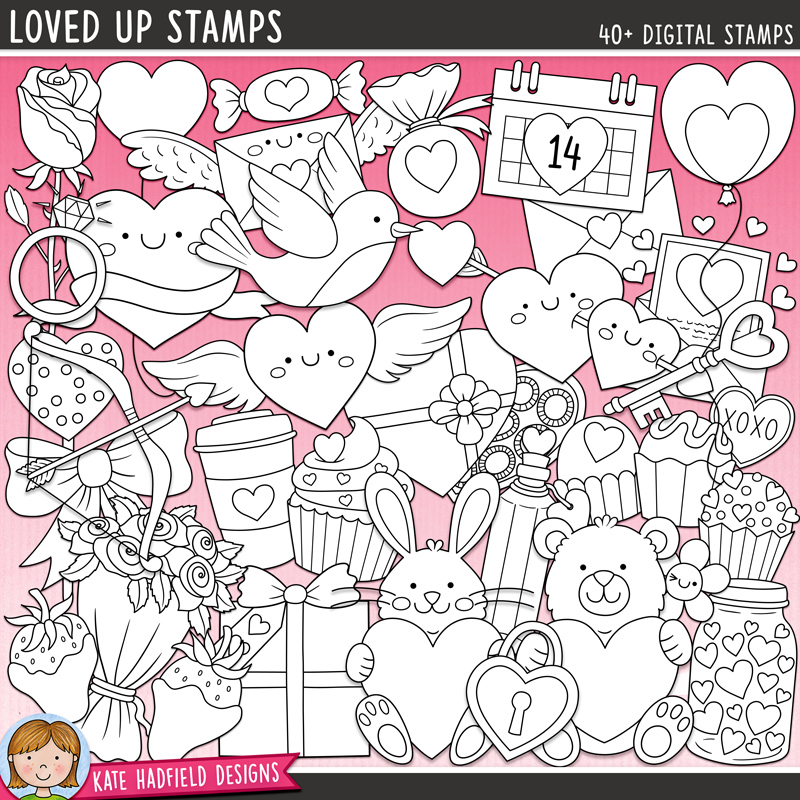
Today, I am using the Loved Up Digital Stamps. This set contains 40+ digital images you can print off and have fun colouring yourself. However, if you’re short on time, you can also use the Coloured Clip Art Version, which contains all the same images but is already coloured for you!
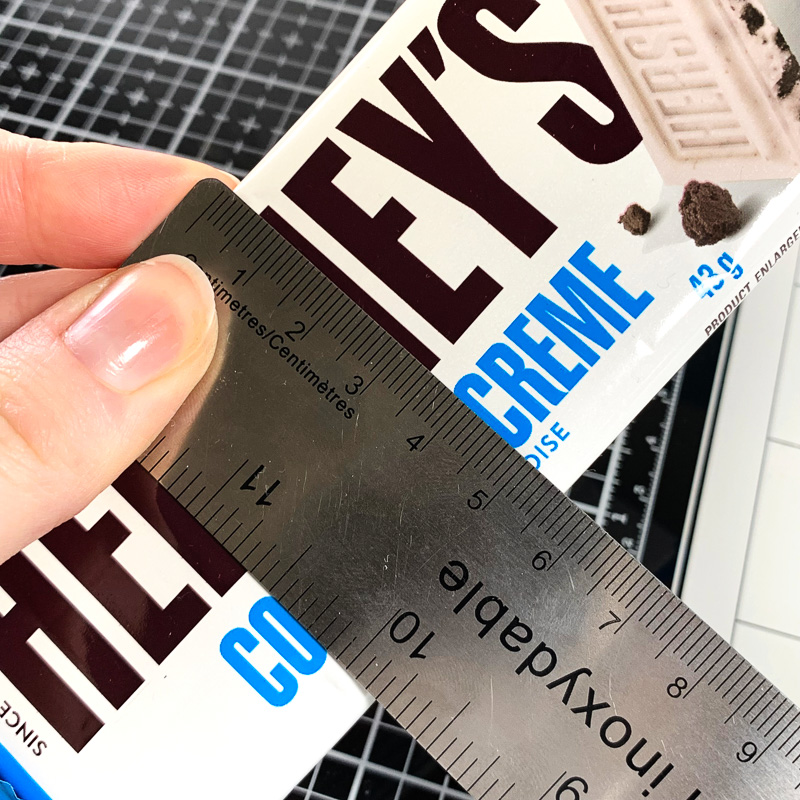
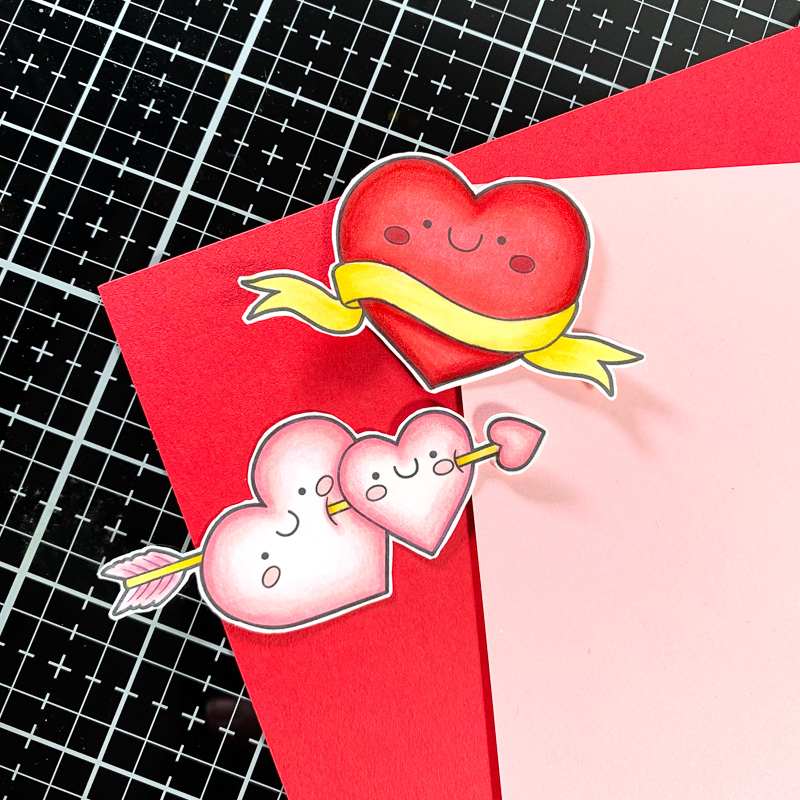
To make the chocolate bar wrappers, I first measured the size of my chocolate bar, as doing so would help me properly size the images. Then, I uploaded the images to a word-processing software—I used Microsoft Word—sized them and printed them out. You also use a cutting machine and its corresponding software, such as Cricut’s Print and Cut Feature, for this step. I sized my images to be approximately 4.4 cm by 7.5 cm to fit on a chocolate bar measuring 5.5 cm wide by 14 cm long by 0.5 cm high.
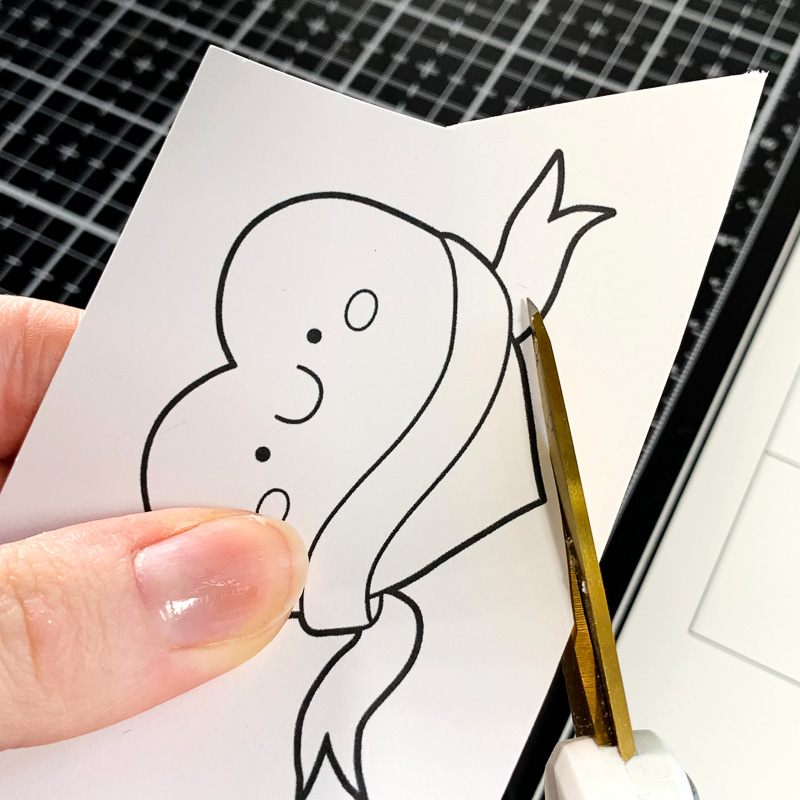
Once I had printed the images and cut them, I then coloured the images using Ohuhu alcohol markers. You can use your favourite colouring medium for this step. I used the following Ohuhu markers to colour the images:
- Red: R8, R2, R3, R1
- Pink: R9, RV270, RV260, RV010
- Yellow: Y2, Y1, Y3
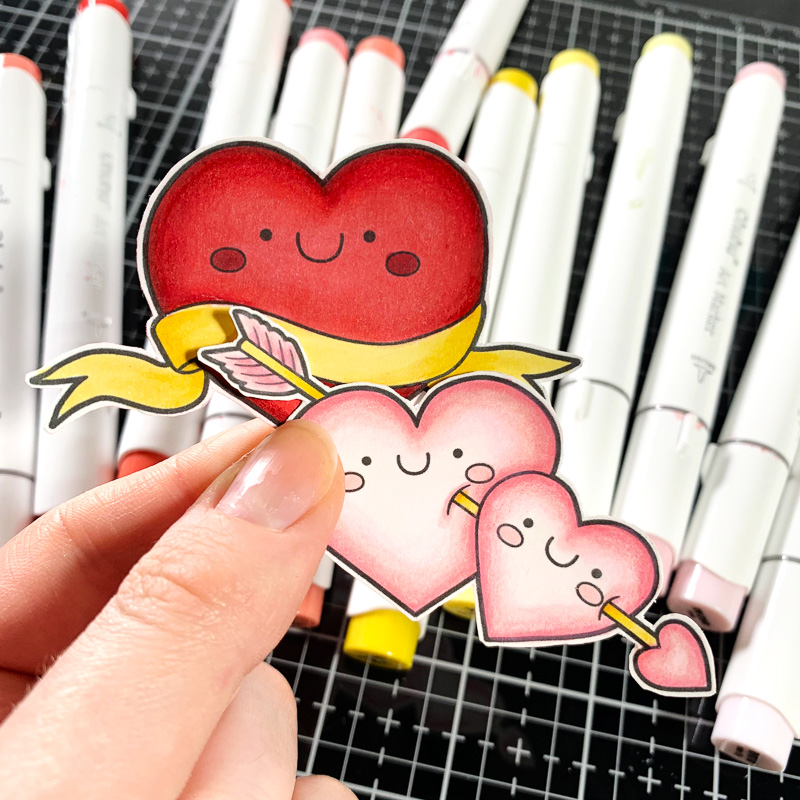
Now that we have the images ready to go let’s make the wrappers! For the chocolate bar wrapper itself, you can use any type of paper or cardstock you would like: construction paper, patterned scrapbooking paper, or if you wish to make your own design using some craft supplies, the choice is up to you! I decided to go with red and pink cardstock to match the colours I used to colour the images.
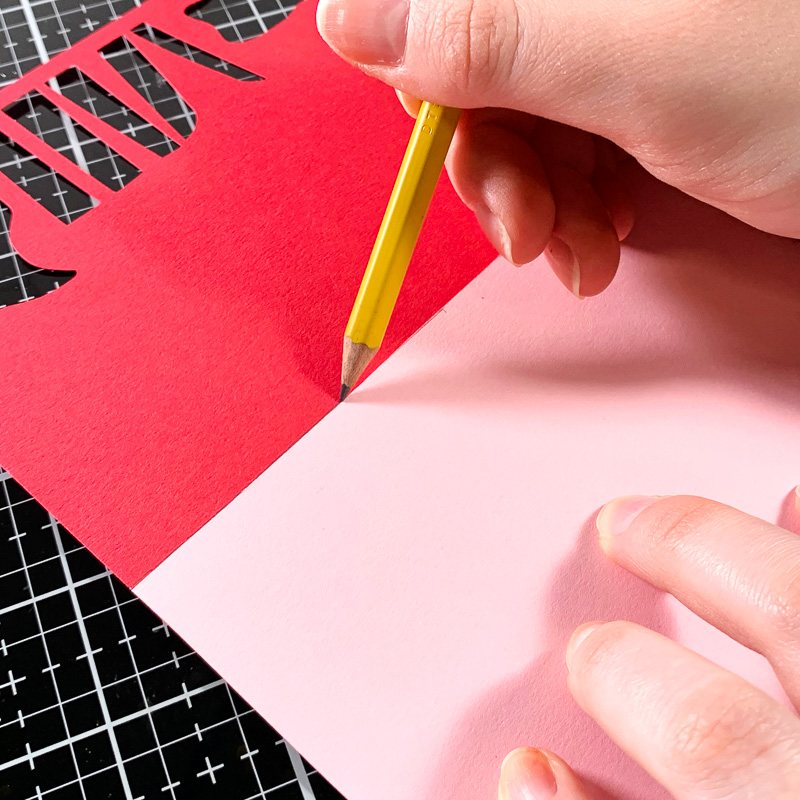
To determine the size of the wrapper, you must consider the measurements of the chocolate bar. Add the width of the chocolate bar twice (to account for the front and the back of the chocolate bar) and the height of the chocolate bar twice (to account for each side of the chocolate bar). From there, add two extra centimetres to make sure you have enough space to fully wrap the wrapper around the chocolate bar.
Once you have cut the first wrapper, you can trace it and use it as a template to cut the rest of your chocolate bar wrappers.
To make the wrapper, simply fold the wrapper around the chocolate bar, adhering the wrapper onto itself using glue, tape – whatever you have on hand. I used a regular glue stick to do this.

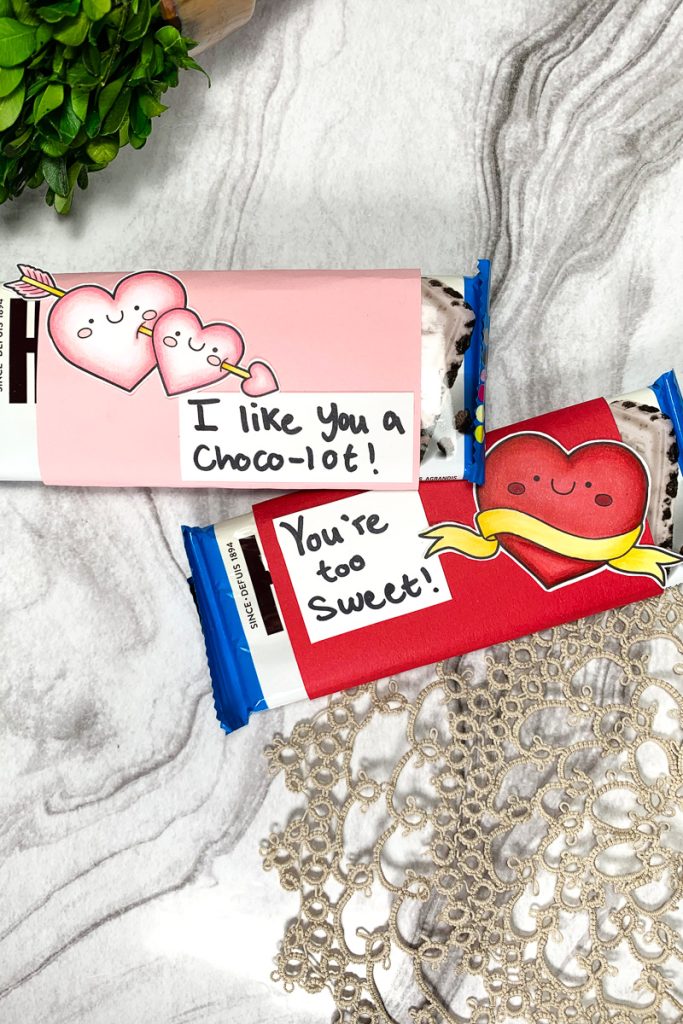
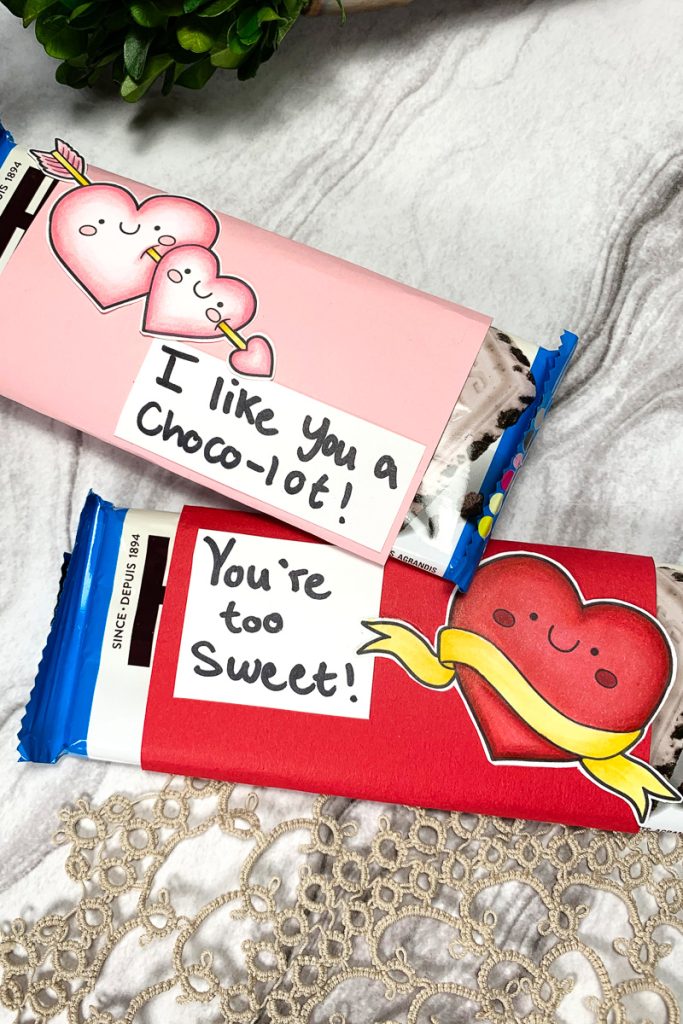
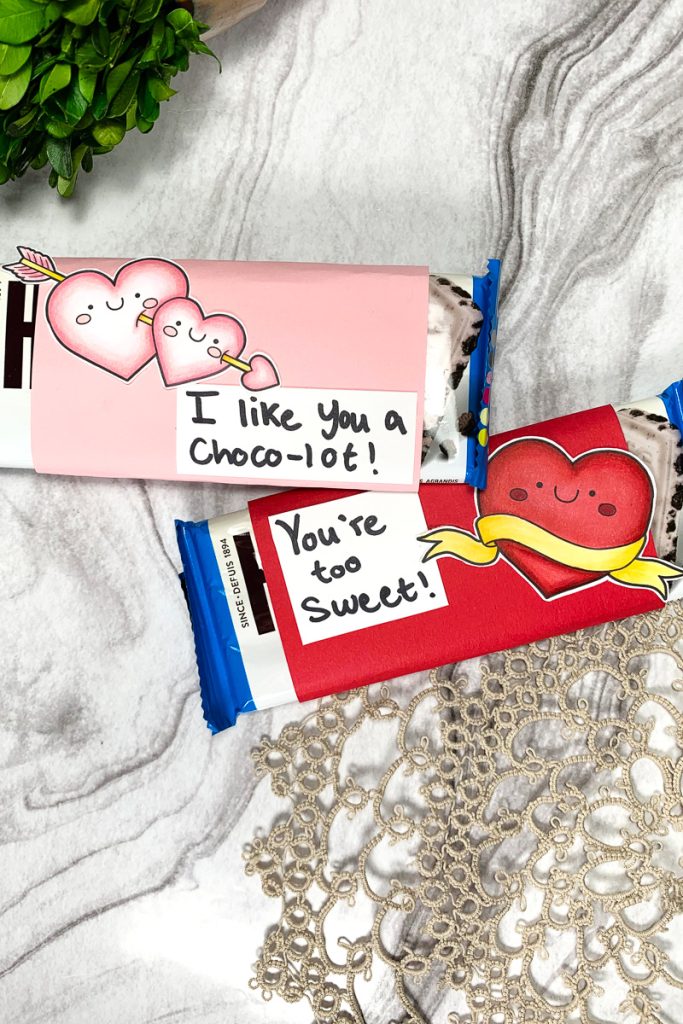
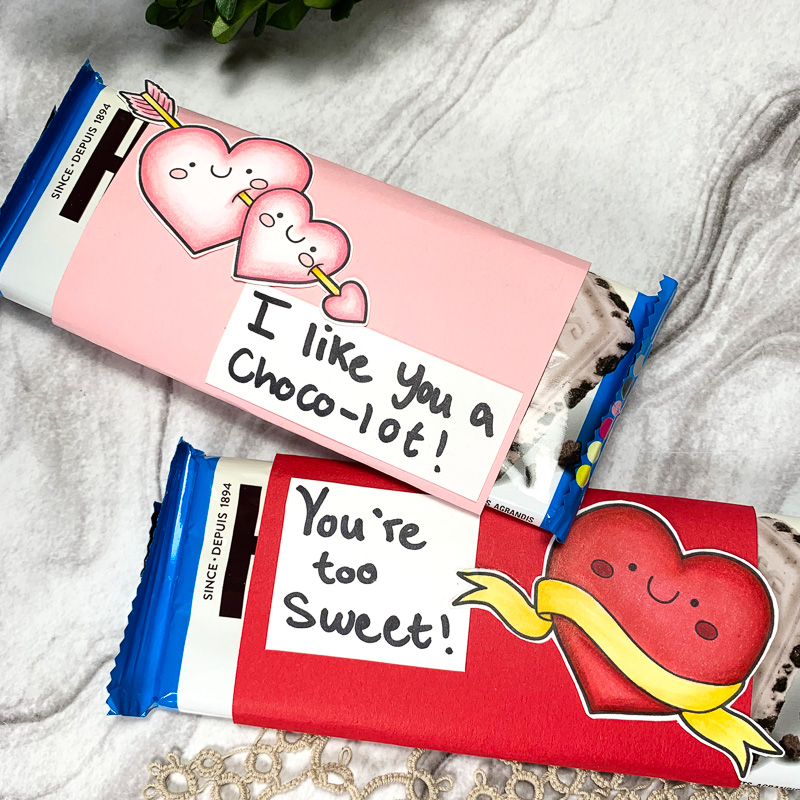
To finish off the chocolate bar wrappers, adhere your coloured images to the wrapper and write a personalized message – I decided to go with something a little punny!
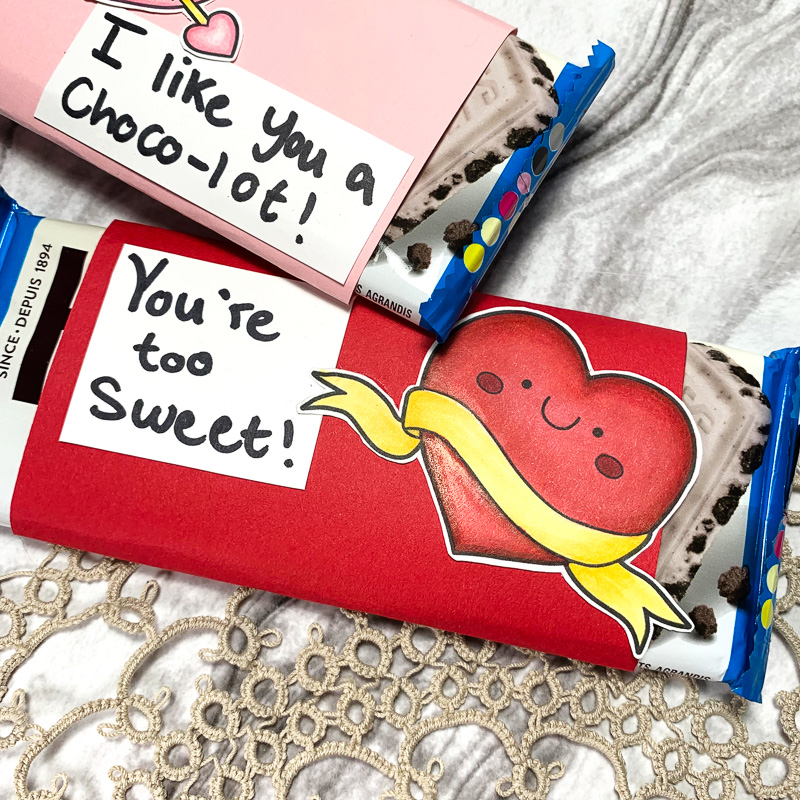

And that’s the completed project! These custom chocolate bar wrappers are such a fun and easy way to add a personal touch to your Valentine’s Day gifts. Whether you’re making them for friends, family, coworkers, or your little one’s classmates, they’re sure to bring a smile to anyone’s face! And if you want to make these wrappers for another occasion, simply switch up the colours and images to fit birthdays, anniversaries, or holiday celebrations.
Happy crafting and Happy Valentine’s Day!
See you next time!
Sasha
Materials Used:
- Loved Up Digital Stamps
- Printer
- Coloured Cardstock
- 100lb Hammermill Cardstock
- Ohuhu Alcohol Markers
- Glue
- Sharpie Marker

 Free Digital Scrapbooking Template: Heart Punch
Leave a Reply