


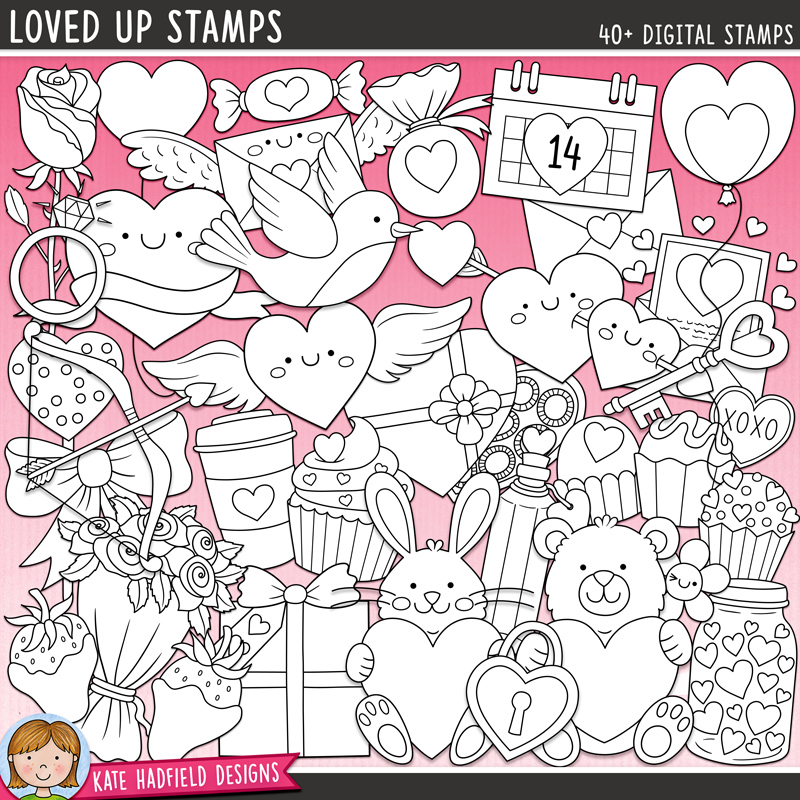
Hello everyone! Hope everyone is well and keeping warm! Today I’m sharing this adorable bear with products from the Loved Up stamp set and background paper from the Weekend at Home digital paper collection. This is such an adorable digital stamp set. So many images to choose from. I’ve only used one of them here!
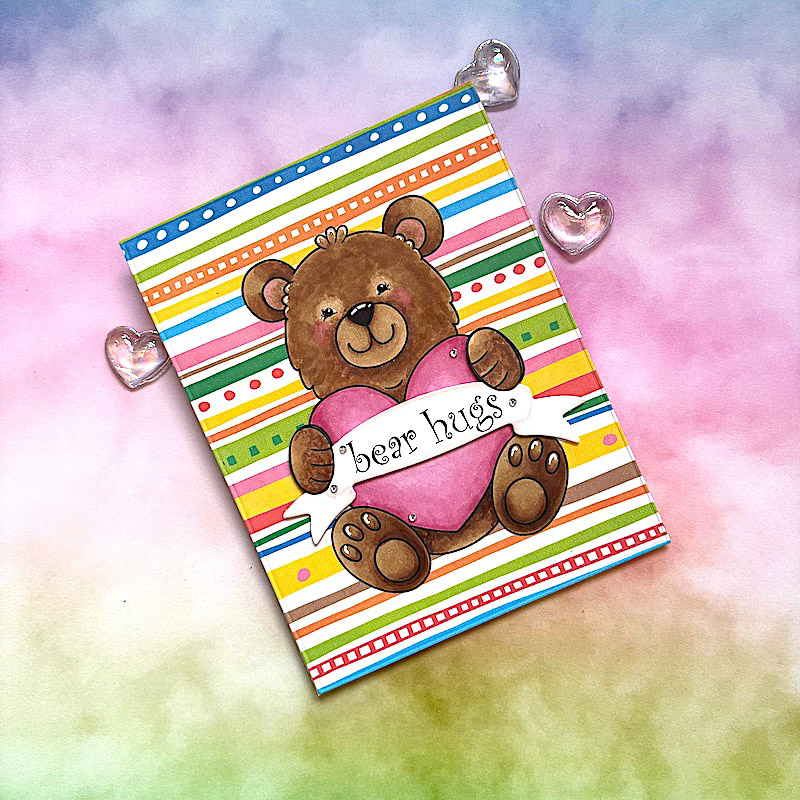
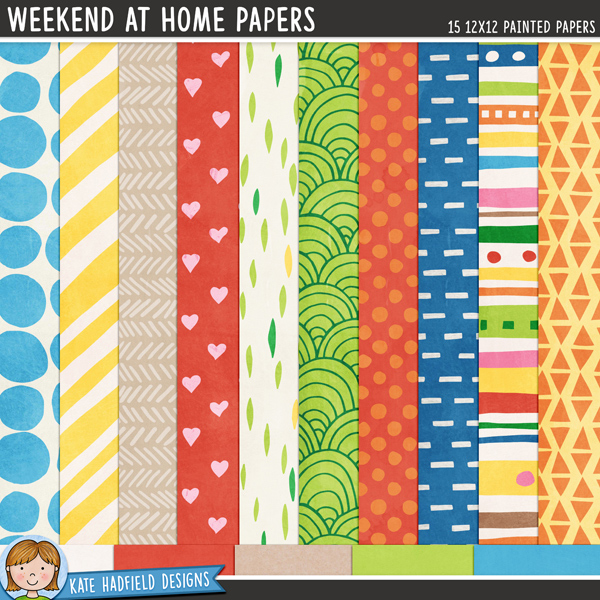
Let me show you how I made my card! I started by sizing my image so it would fit onto an A2 size card. I used a paper pattern from the Weekend at Home set. I knew this colorful paper would work well since my main element did not have a lot of different colors. This is how it printed out.

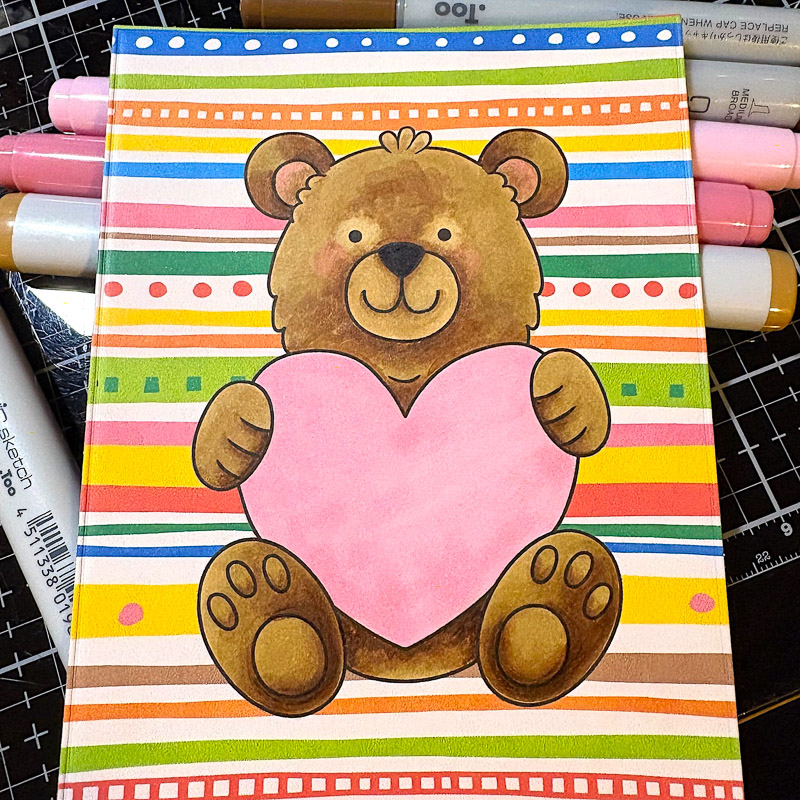
I die cut my image right away. Sometimes I do that and it gives me a better perspective of my card. On to the coloring! I started out light. I was really trying to be careful that I didn’t get my darkest color too dark. I started adding in darker tones. To create texture I colored with a more swirling scribbled motion.
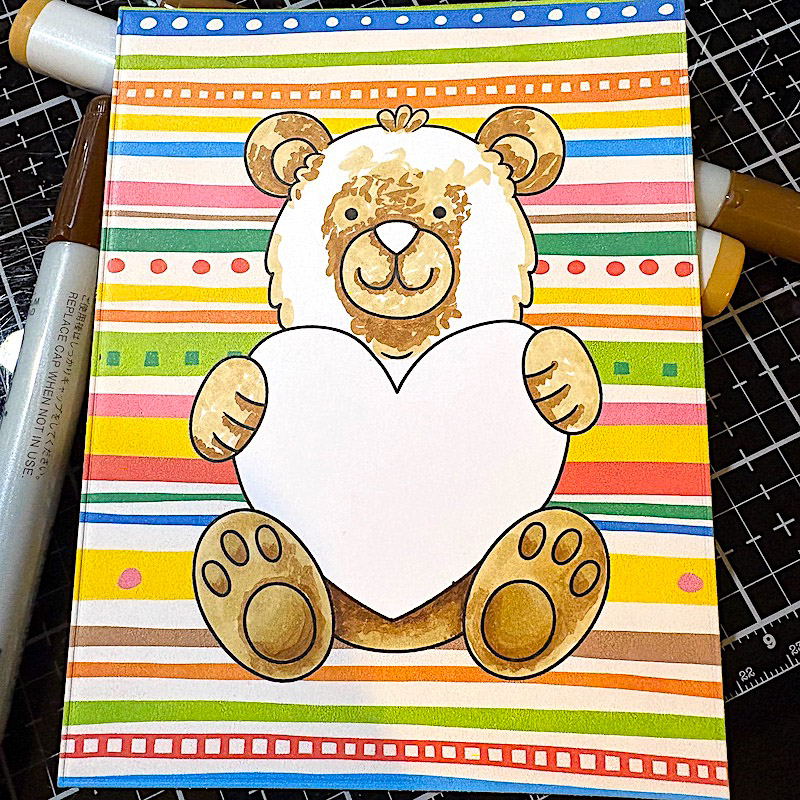
At this point I really didn’t like how it was looking. So I continued coloring, trying not to let the dark overtake the shape.
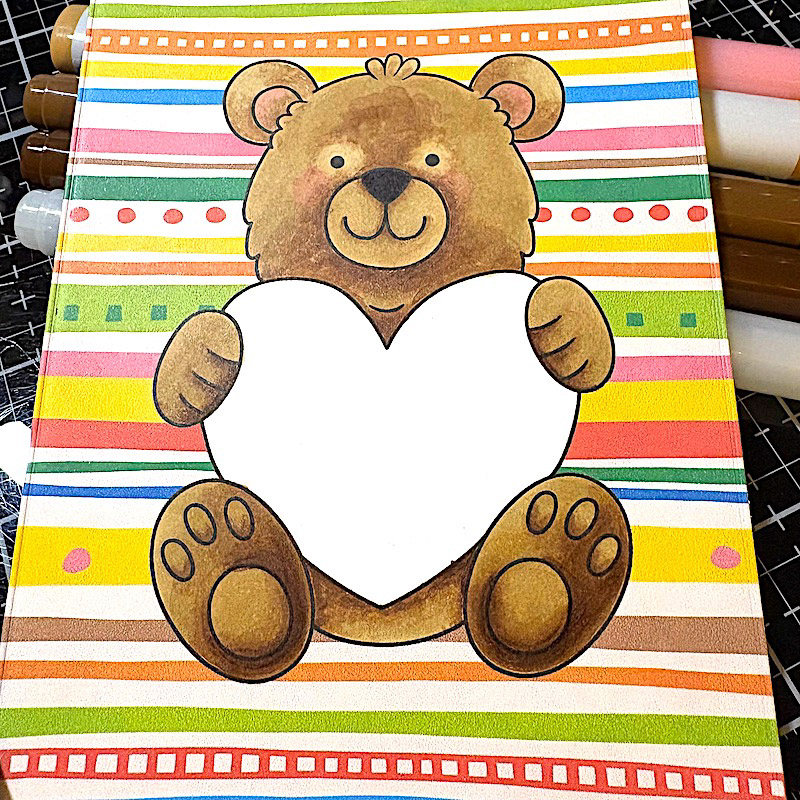
I was still not happy with the bear, but I need to change colors. I was getting frustrated with how the bear was looking, so I colored in the heart with the lightest tone.
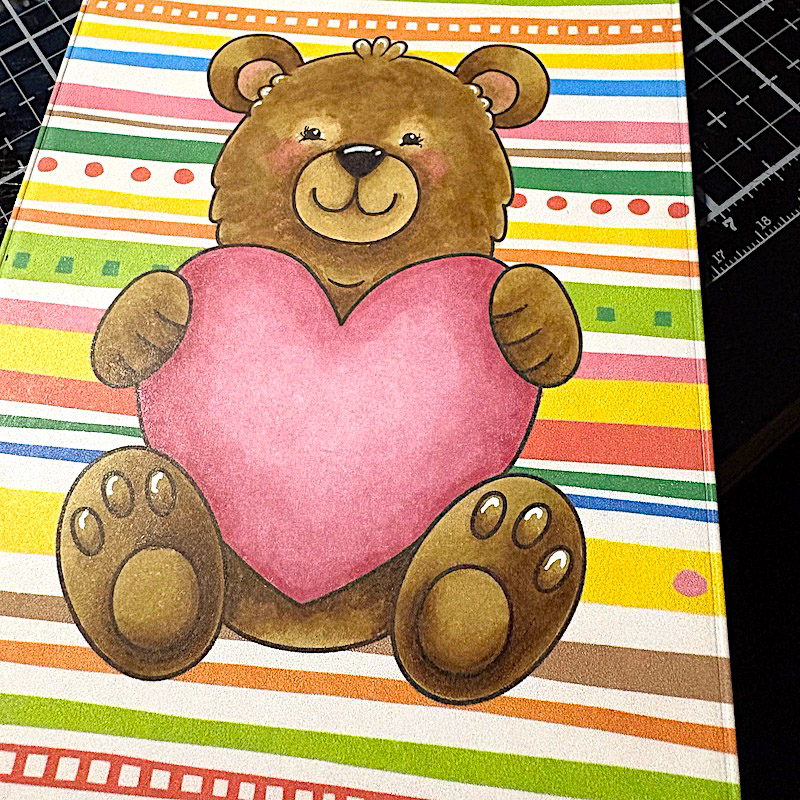
I went back to the bear and added more color to the head. Finally I was completely happy with the way it looked. I did a bit of white gel pen on the bottom paws and also the eyes. I did a dot of white in the pupils the eye and the with a black fine liner pen I added a few eyelashes at the outer corners and a curved line underneath the pupil. I added white dots on both corners of the eyes. I added cheeks with a pink marker and adhered this panel to an A2 size Kraft colored card base.

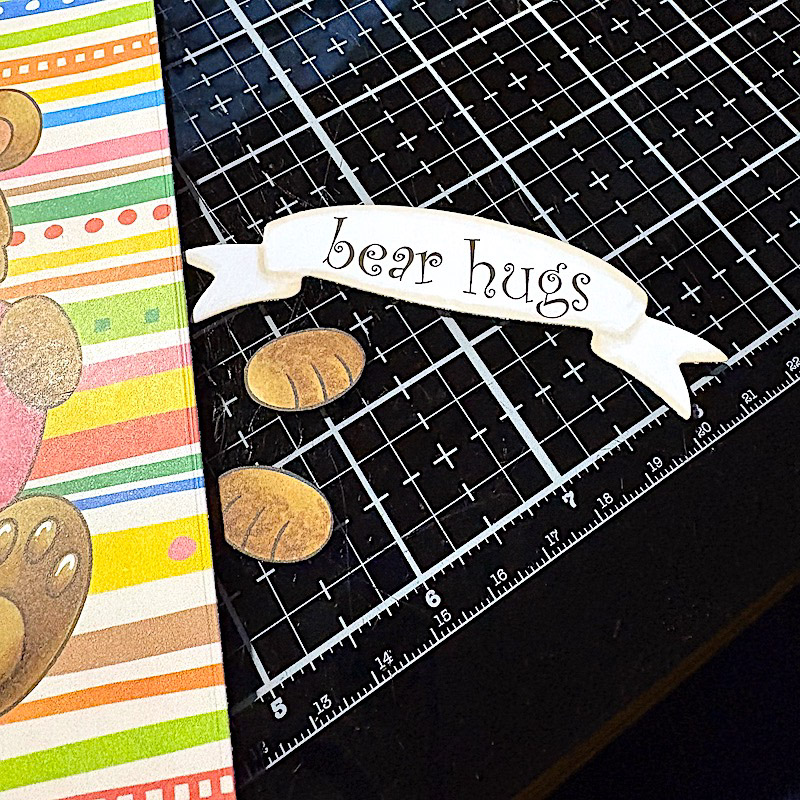
I had printed out a sentiment using a cute font and then die cut it with a banner die from my stash. My plan was to cut around the bottoms of the paws and slide the banner underneath them. But I changed my mind because I’m not that confident with a knife! So I reprinted just the paw part of the image, colored the paws again and cut them out. I used a black marker and went around the edges of these after I cut them out.

I finished up coloring the heart – I only used a 3 color blend for the heart.
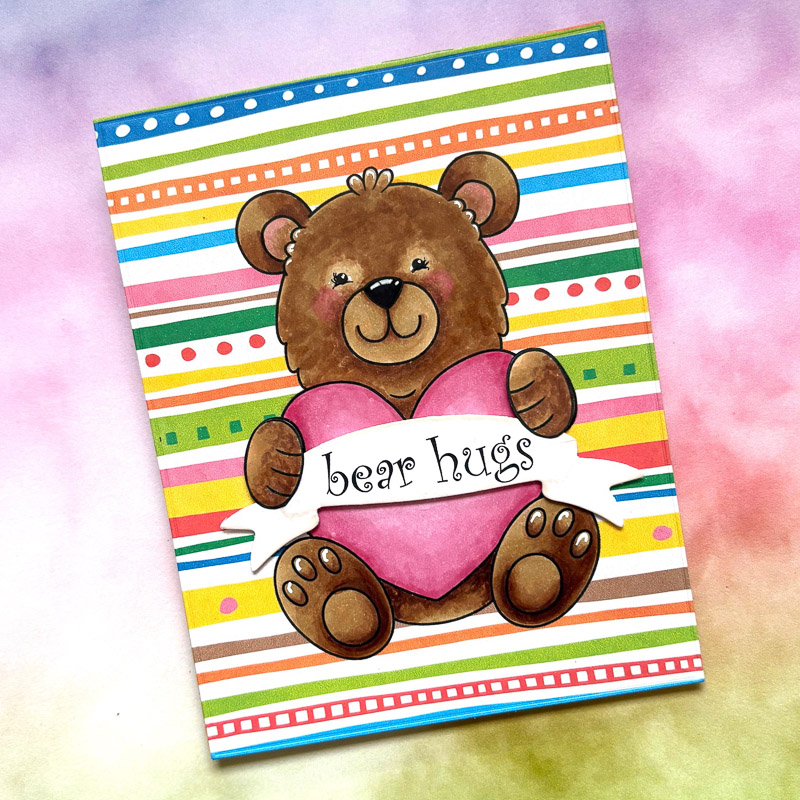
I adhered the paws to the banner. To do this I laid the banner where I wanted it to be and then adhered the paws so they would overlay the ones on the flat image. Because I adhered the paws to the banner first, I was able to pop it up on foam tape and not worry about height.
I finished with a few tiny gems scattered about. And that finished my card project! I love how this came out and I’m glad I kept working with the colors of the bear. I hope I’ve inspired you to use digital papers to back your images as well. You can find these images and so much more right here!

Til next time…
Betsy
You can find me on Instagram: @betsybirgeart
Materials Used:
- Loved Up digital stamps
- Weekend at Home digital paper pack
- Copic marker colors: E55, E57, E59, E53, E40, E41, RV23, R81, R83, R85, 100
- White cardstock
- Foam tape
- White gel pen
- Tiny gems
- Banner die
- Rectangle die

 Sasha’s Choco-lotty Valentines
Leave a Reply