
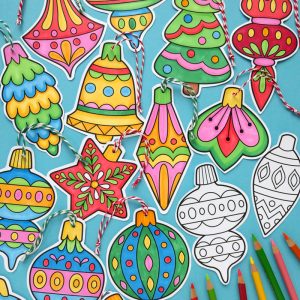

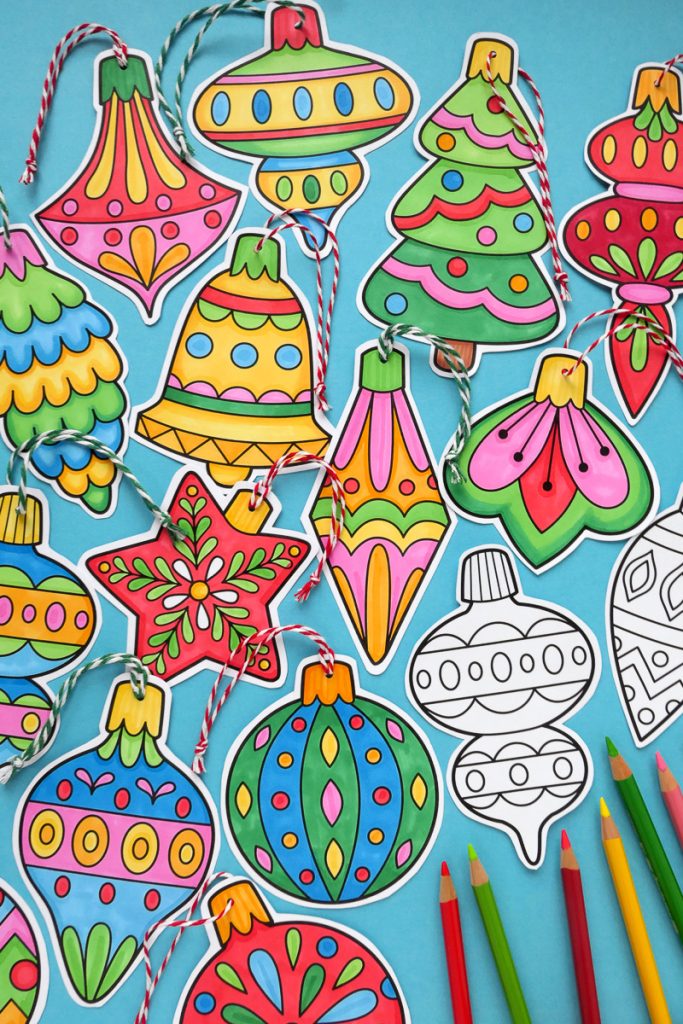
I was reminiscing about my childhood Christmases recently and remembering all the decorations I used to make as a child – egg boxes turned into glitter encrusted reindeer, card from cereal boxes painted like sparkly baubles and my pièce de résistance: a wooden clothes peg angel with a pipe cleaner halo and paper doily dress!
Inspired by happy memories of my own childhood Christmas crafting and a collection of vintage baubles we had when I was little, I wanted to put together a joyful printable ornament craft that doesn’t involve rummaging around in the recycling to make!
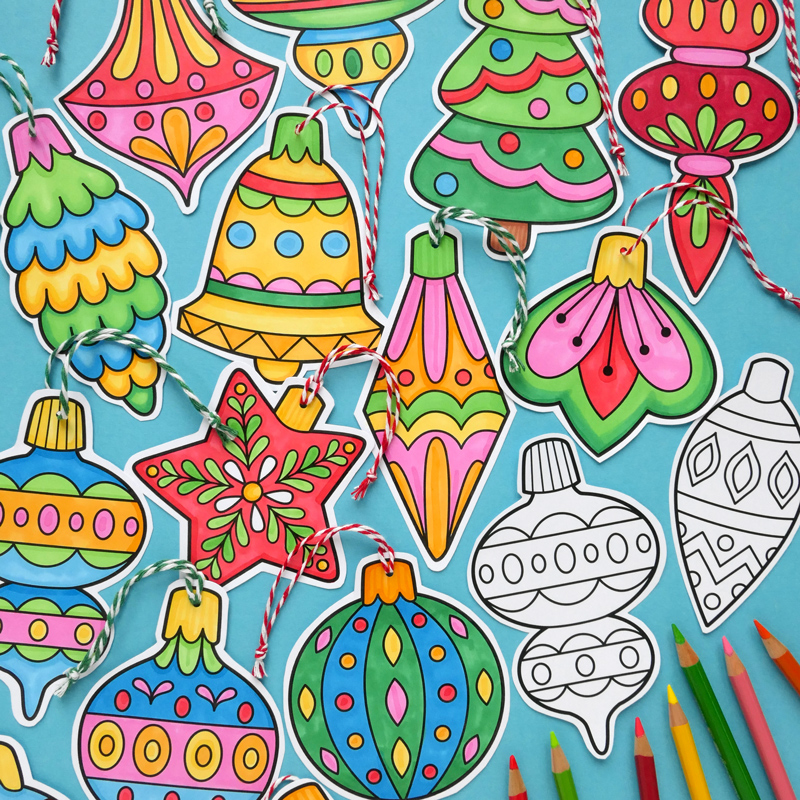
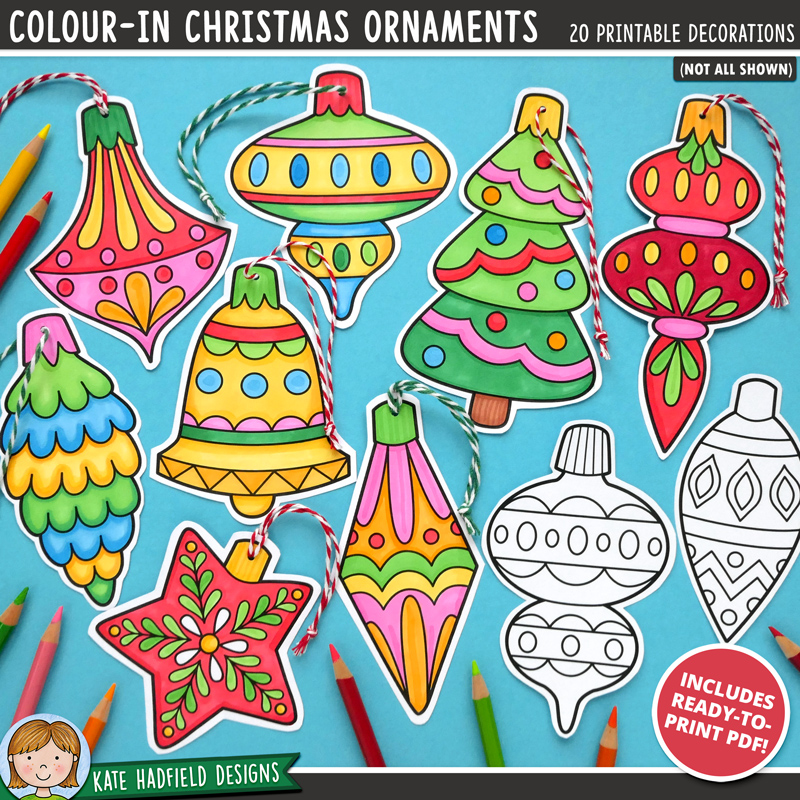
I ended up creating 20 vintage inspired ornaments for you and your kids to create, no egg boxes, pipe cleaners or paper doilies needed!
What you’ll need:
- Colour In Christmas Ornaments printable (available in the shop)
- cardstock and access to a printer
- your favourite colouring materials (coloured pencils, crayons, felt tip pens etc)
- double sided tape or a glue stick (for the double sided version)
- scissors, a hole punch and some ribbon or twine
- optional extras: glitter, metallic pens, kraft or coloured cardstock, white gel pen
How to make the ornaments:
1. The ornaments are included in both single (decorative design on one side) and double sided (same design on both sides) versions. Choose which version you want to make then print onto white cardstock. If you’re using the single sided version, a heavier weight card is best (I used 300gsm white card for mine). You can use a lighter weight card for the double sided version as you’ll be folding them in half.

2. Colour your ornaments – use your favourite art materials and have fun! Metallic and glitter pens work really well on these and add an extra touch of festive bling. I went for bold, bright colours here and used a mixture of markers and coloured pencils for the details. If you use a sturdy paper, watercolours would be a fun option while younger children could have fun with crayons. Stay in the lines, go outside the lines, add your own details or random washes of colour – anything goes!
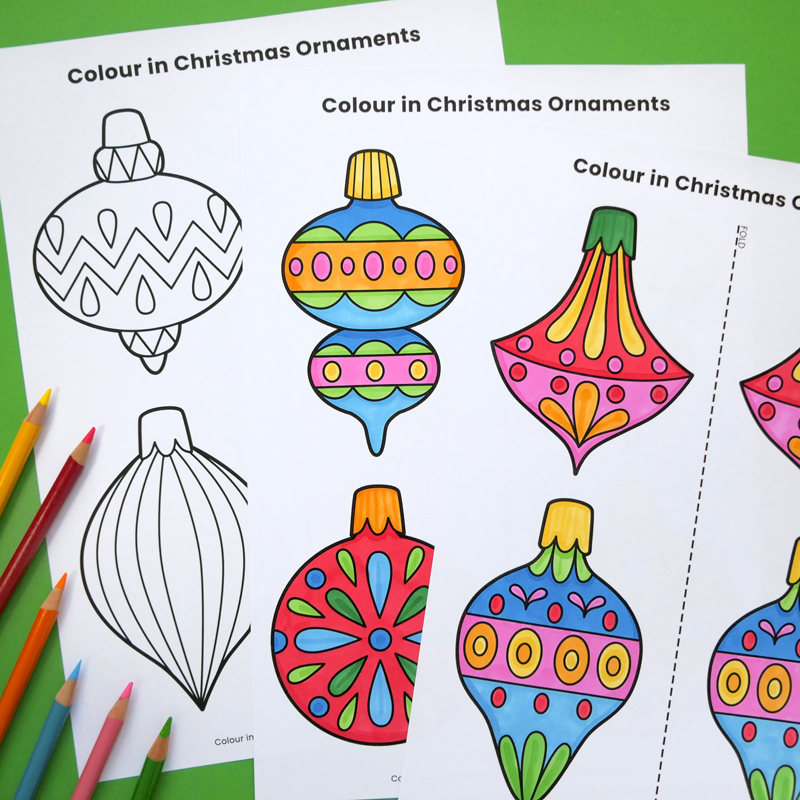
3. Now to construct the ornaments! For the double sided version, fold in half along the dotted line with blank sides together, then unfold and apply glue to the back of the ornaments (a coloured glue stick helpful here to see where you have applied the glue!) taking extra care to glue around the edges of the ornament shape. If you have used a thicker weight cardstock, scoring along the dotted line before folding will help to create an accurate fold.
Younger children might need some help here to make sure that the fold is in the right place so that the two sides of the ornament align!
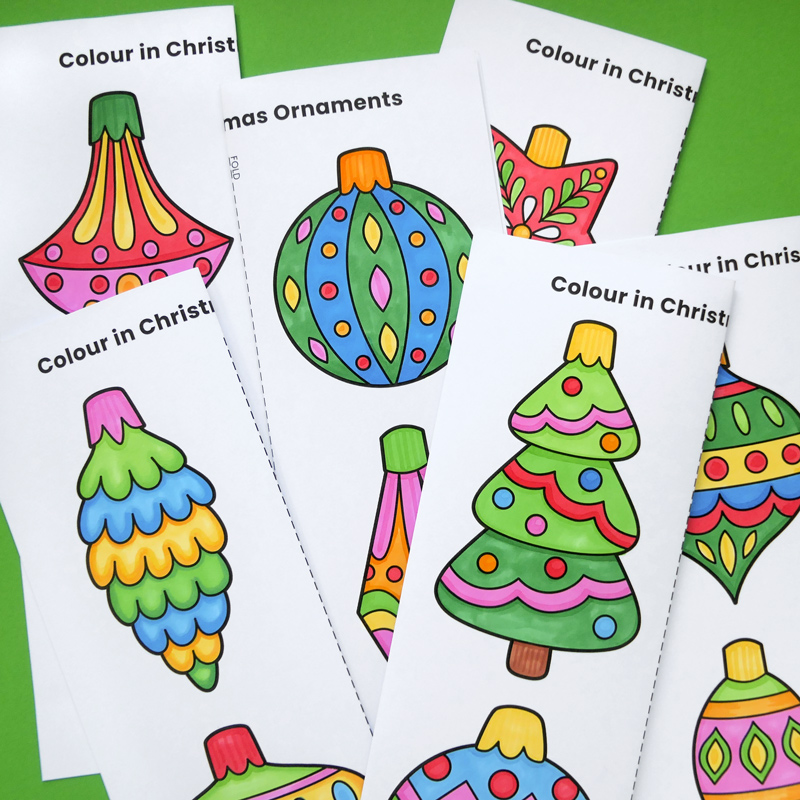
4. Allow the glue to dry thoroughly before cutting out. I like to leave a small border of paper around the edge of my ornaments but you can cut right up to the line if you prefer! Again, younger children will need some help with the cutting out as there are some more complex shapes than some of my other crafts.
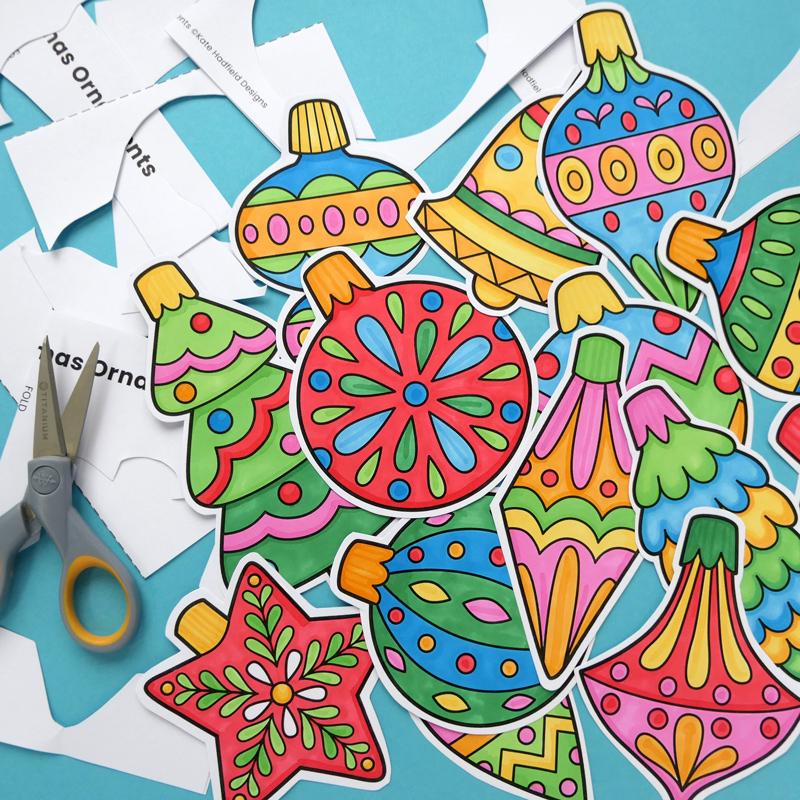
5. Use a hole punch to add a hole at the top of the decoration, then attach a loop of string, twine or ribbon to hang your finished ornaments on your tree! I used my favourite bakers twine here for some colourful Christmas stripes. If you wanted to make more durable ornaments, you could also laminate them before punching the hole and attaching the twine.
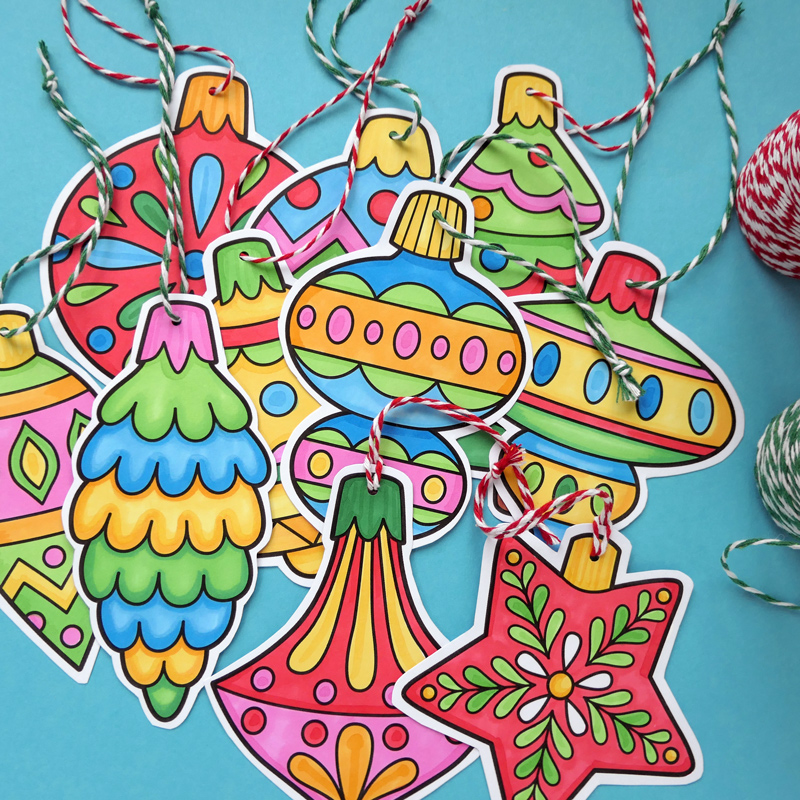
And that’s it – your own handmade Christmas ornaments ready to hang on your tree!
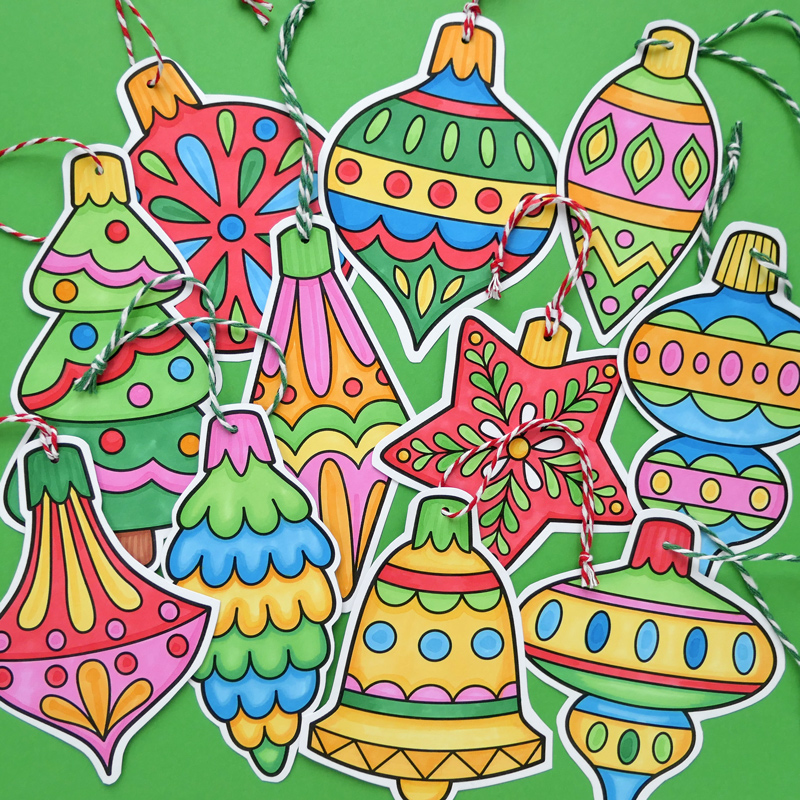
Other options include printing on coloured paper or card (kraft cardstock works really well!) and decorating with paint pens or white gel pens. The finished ornaments can also be used as gift tags (use the single sided option and write your message on the back) or you can create a fun decorative garland by stringing them together.
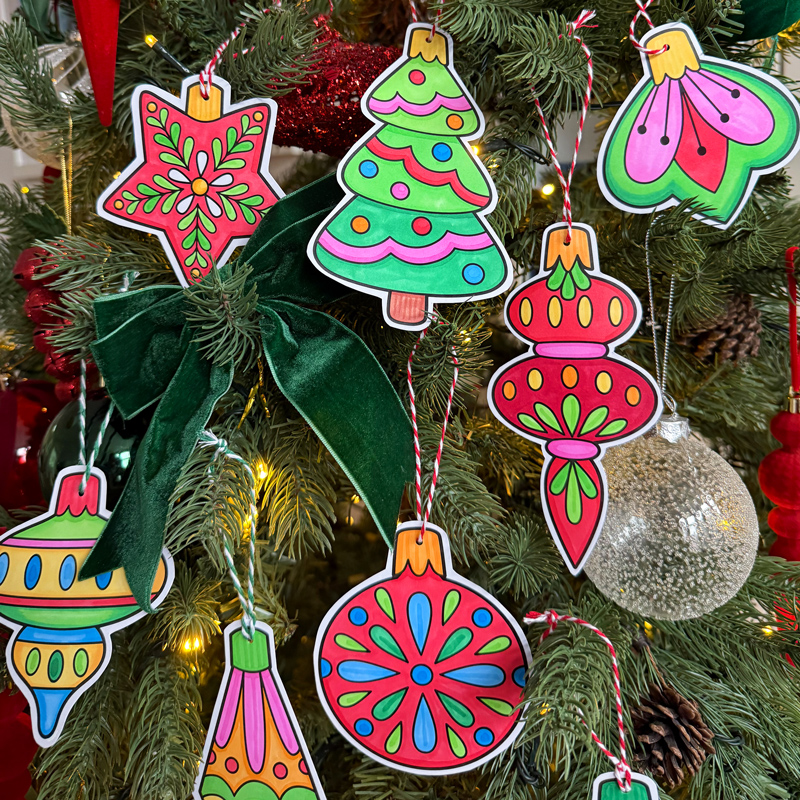
If you make your own version of these ornaments I would love to see what you create! Please feel free to tag me on social media or drop me an email to show off your finished decorations. Happy Christmas crafting!

 Christmas Kids
Leave a Reply