

Hello all. Welcome back to our blog. It’s that time of the year, Christmas cards are getting made and we all have the holiday playlist running in the background. This is officially my first Christmas card for the year, and I am absolutely in love with it. Let’s check out the steps:
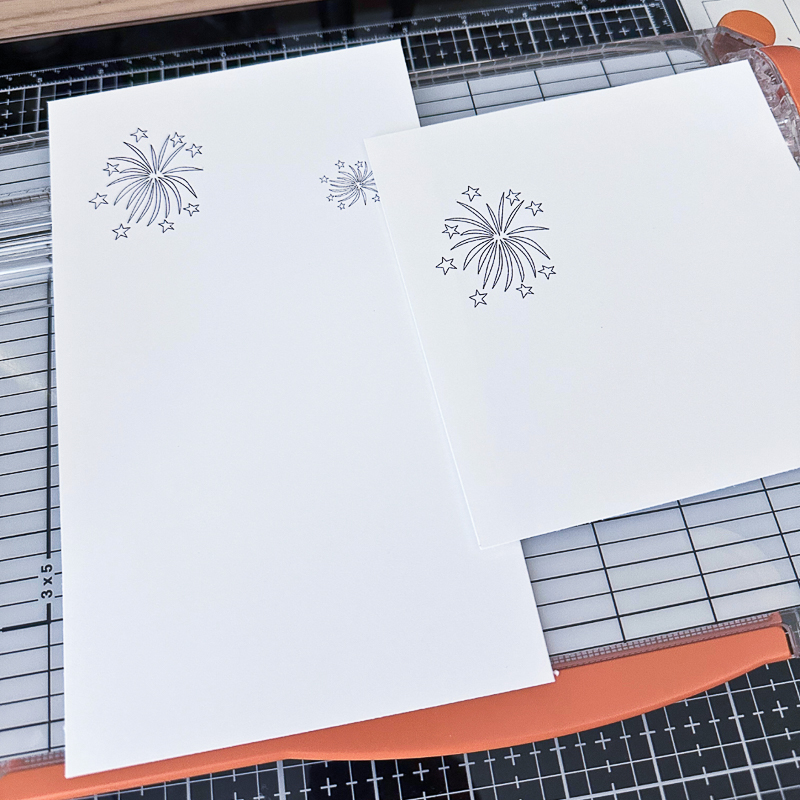
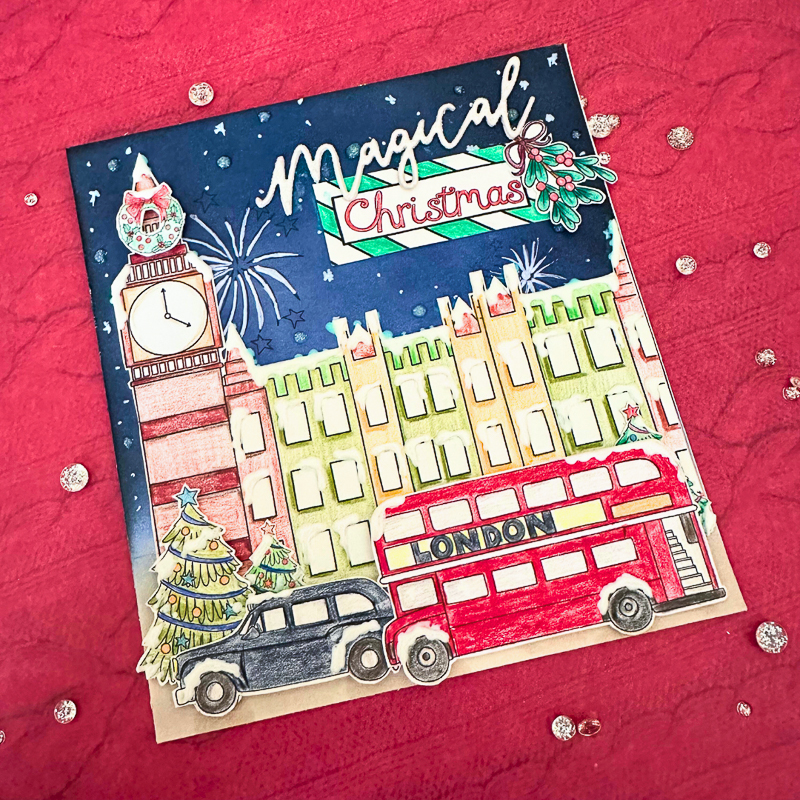
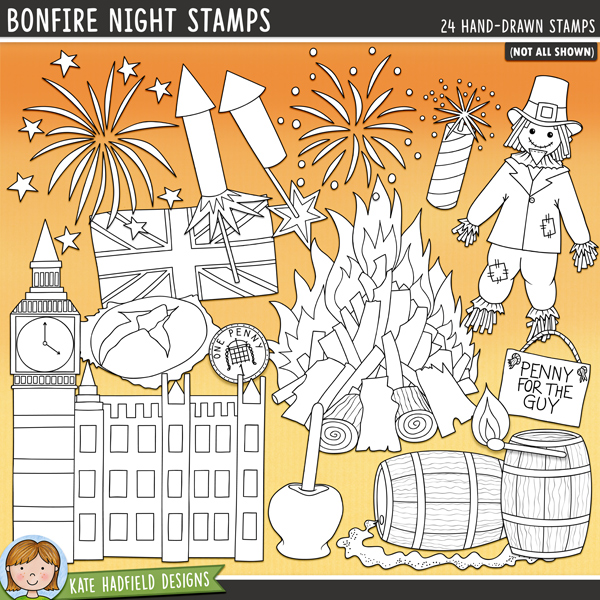
I had an idea of the background I wanted to make so I printed all the elements on a white Neenah cardstock 80lb. I also printed another plain background with only the starburst from the Bonfire Night stamp set that I printed to cut down to the background size. This time I went with an odd size of 5.5 inches x 5 inches. I felt that it gave enough room to present the scenery.
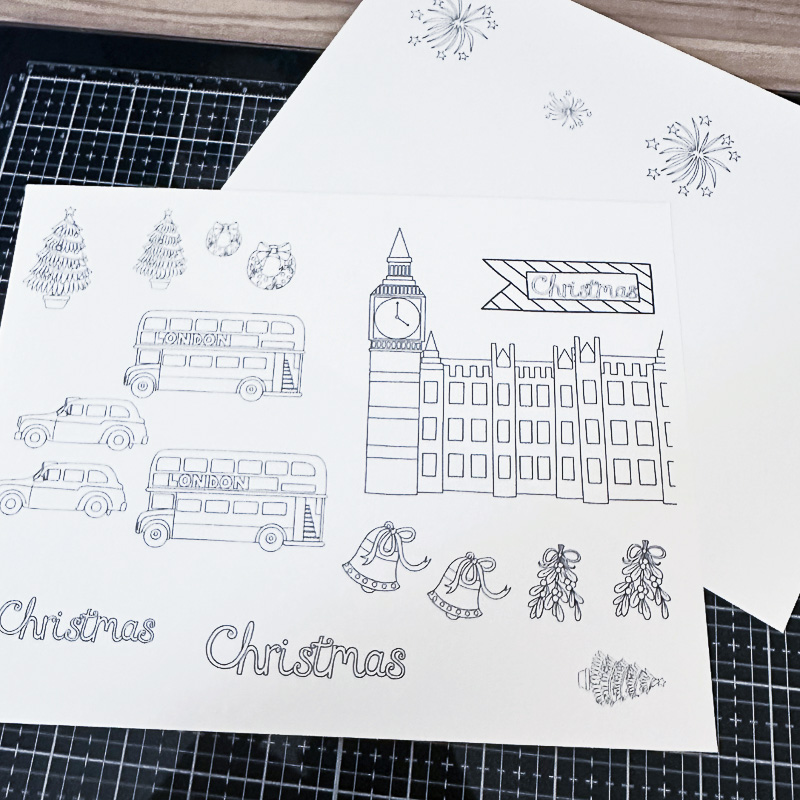
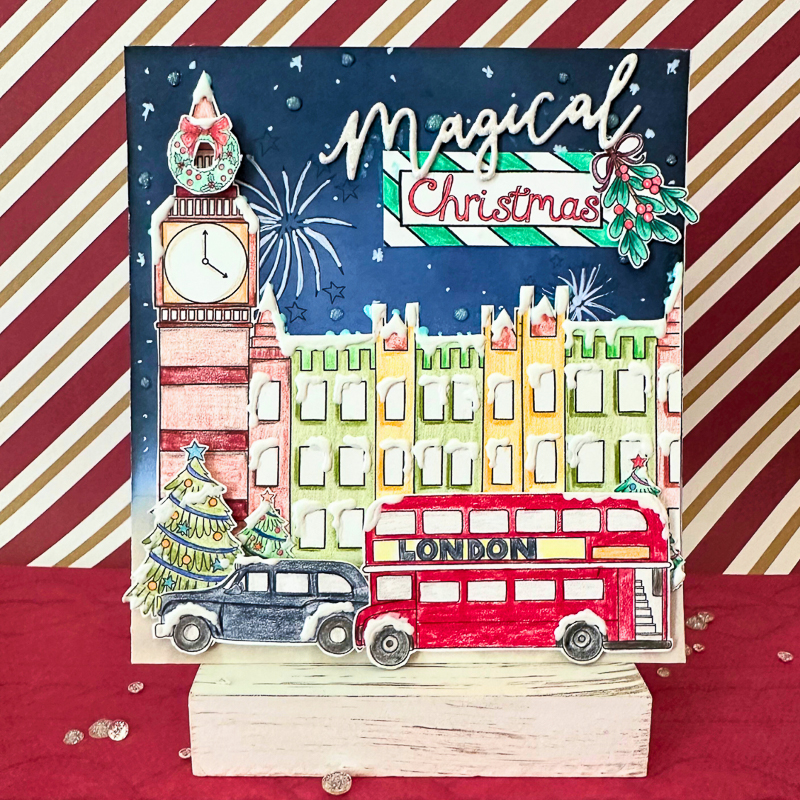
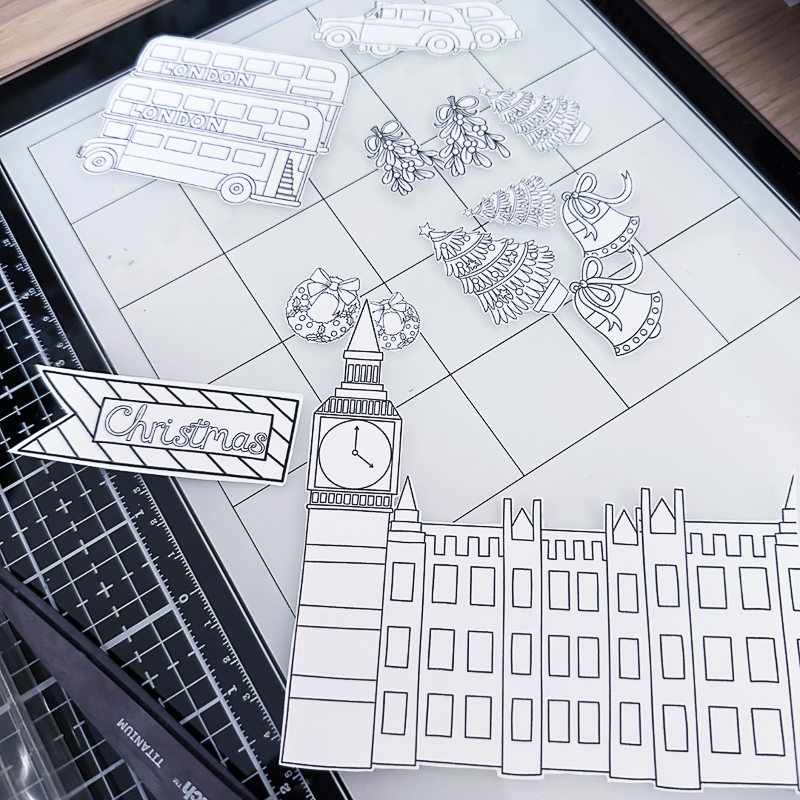
Next, I die cut all the pieces one by one and started to color each of them before assembly. I started with the building which is again from the Bonfire Night stamp set and I also added an extension of the building blocks to make it look longer. I used polychromos pencils to color everything. Once I was done, I checked the placement of the buildings in the background to analyze the portion of the sky. I drew a pencil line just to get an idea.
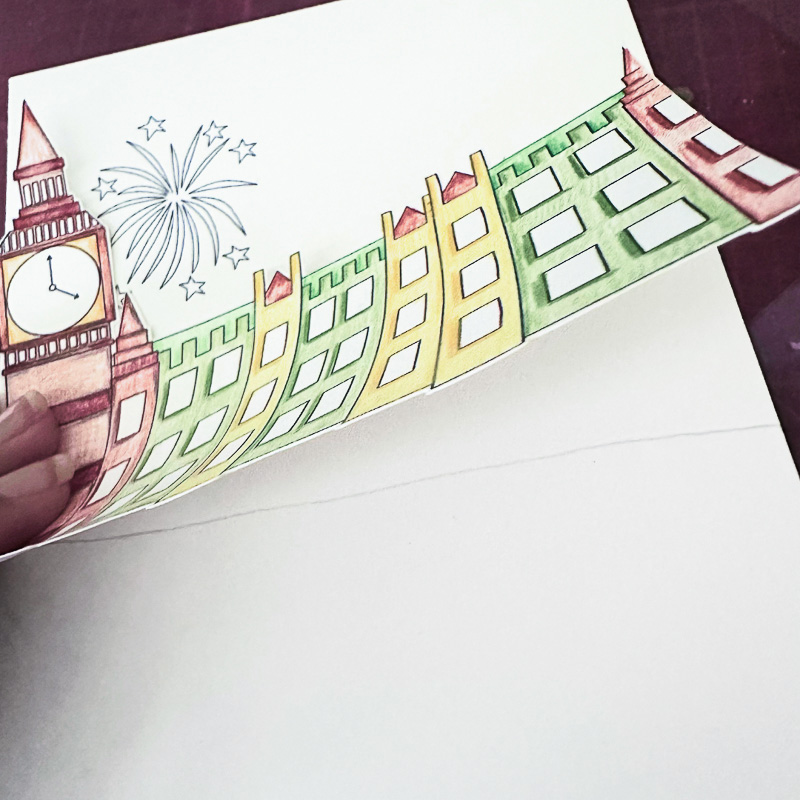
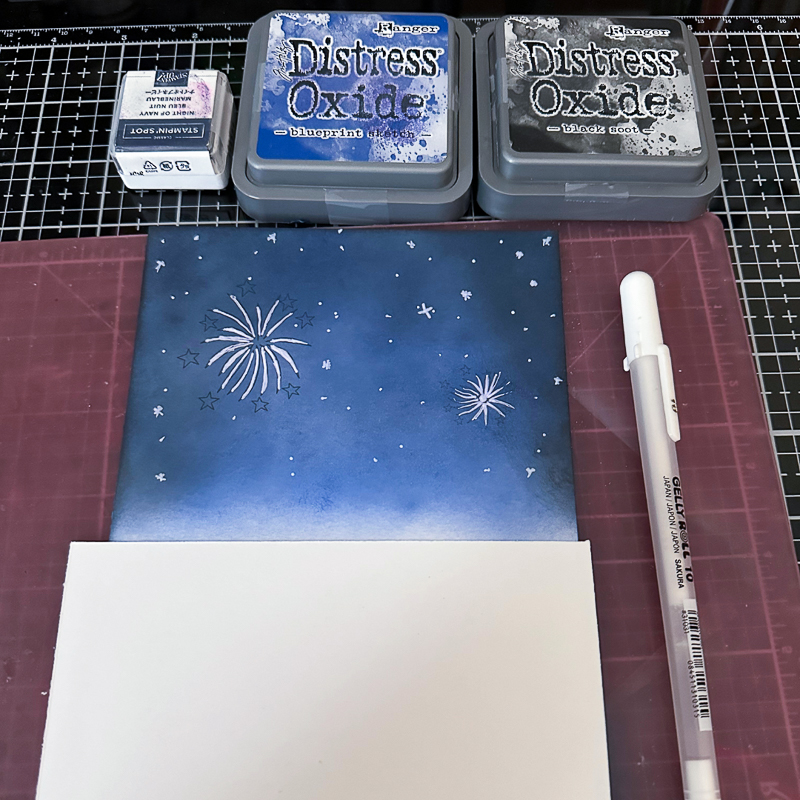
I used blue shades and black to showcase a night snowy sky. Using a white jelly pen I made some stars in the sky, and I also highlighted the starburst in the background as it became light after using the ink pads. I also used pumice stone Distress Oxide for the road for the rest of the background. Once I was happy I glued down the building.
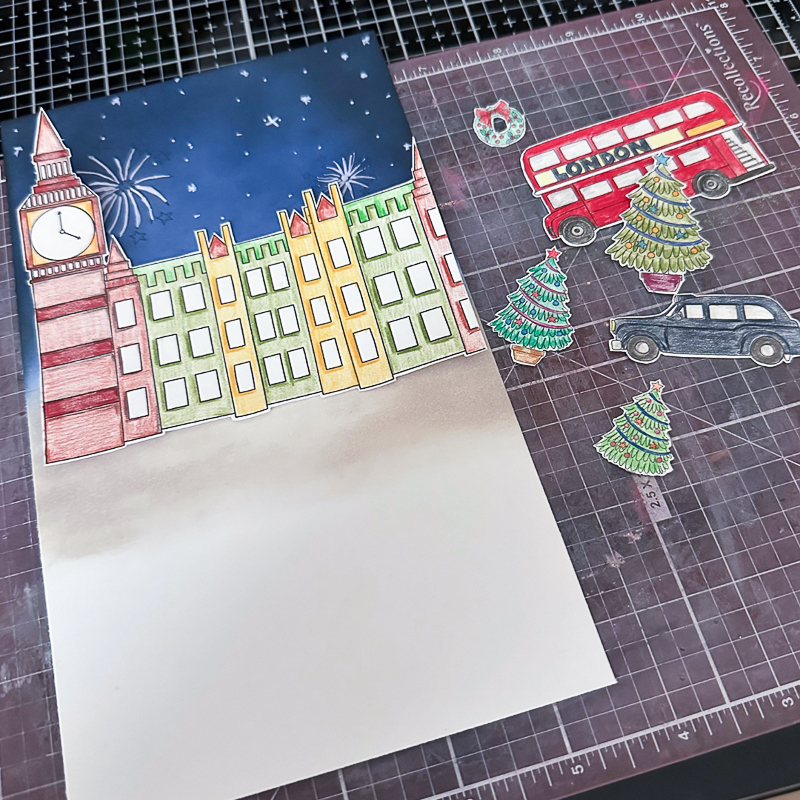
Now it was time to add all the elements. I used a wreath to be added to the building and the three Christmas trees, all from the Deck the Halls Stamp Set, I added foam tape behind the wreath to give some dimension as well as on one of the Christmas trees.
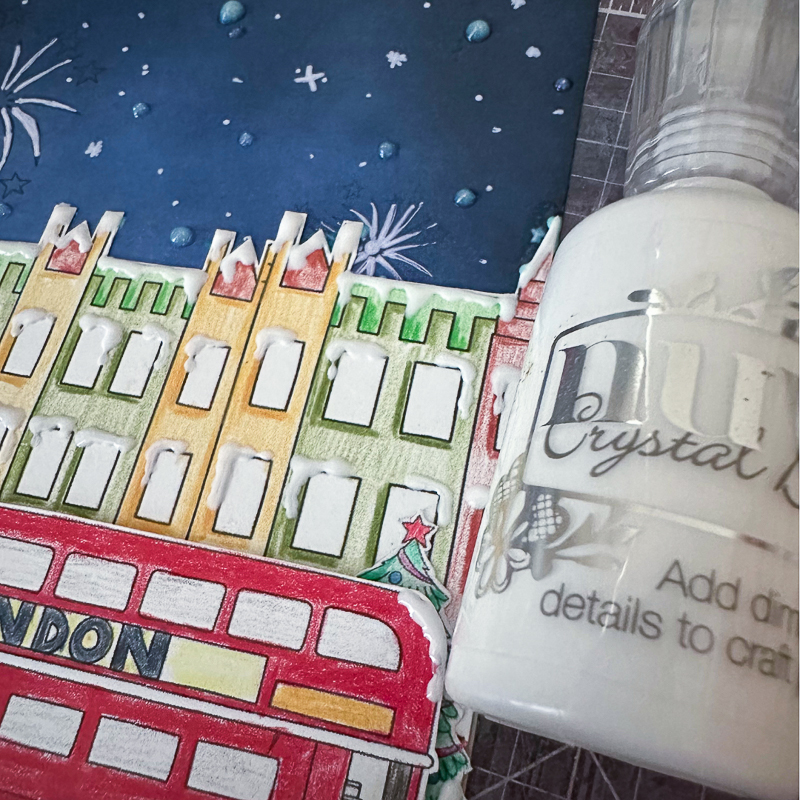
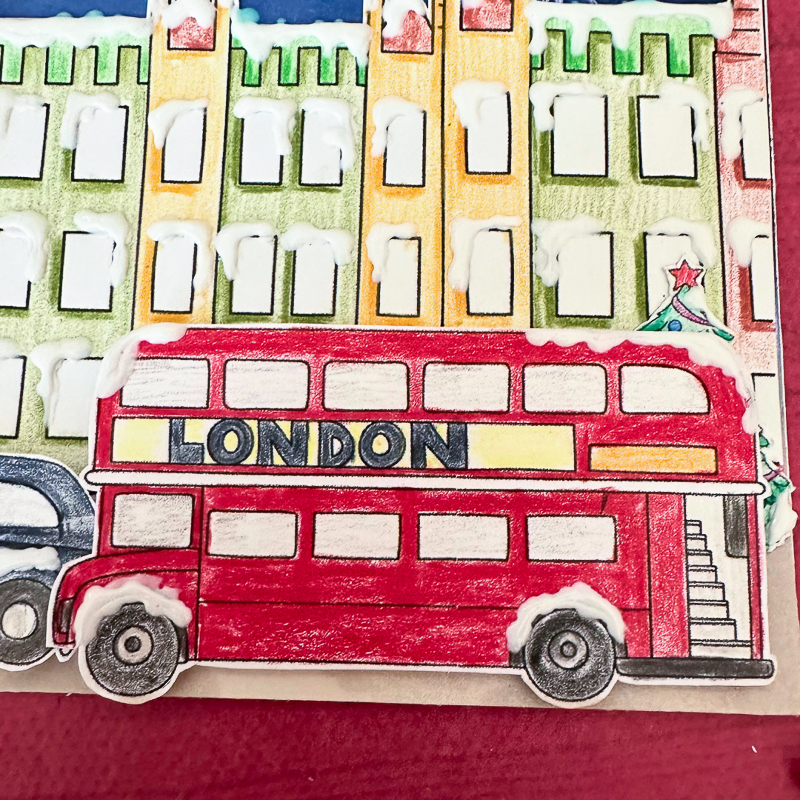
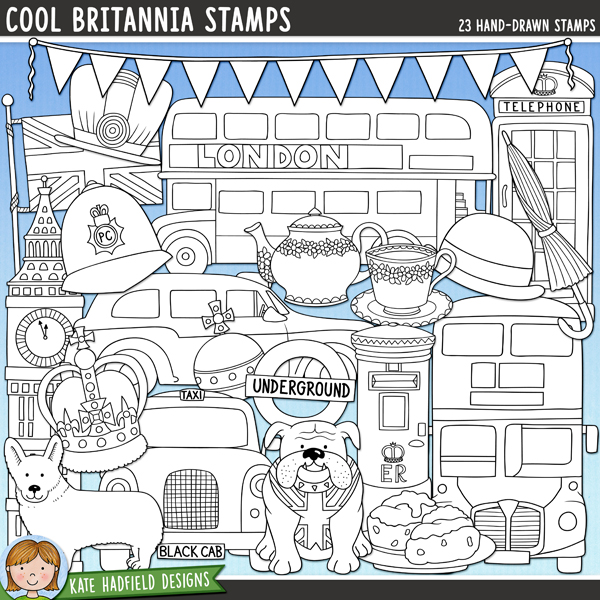
Next is the London bus and black taxi from the Cool Britannia Stamp set that I colored and adhered with foam tape at the base of the card.
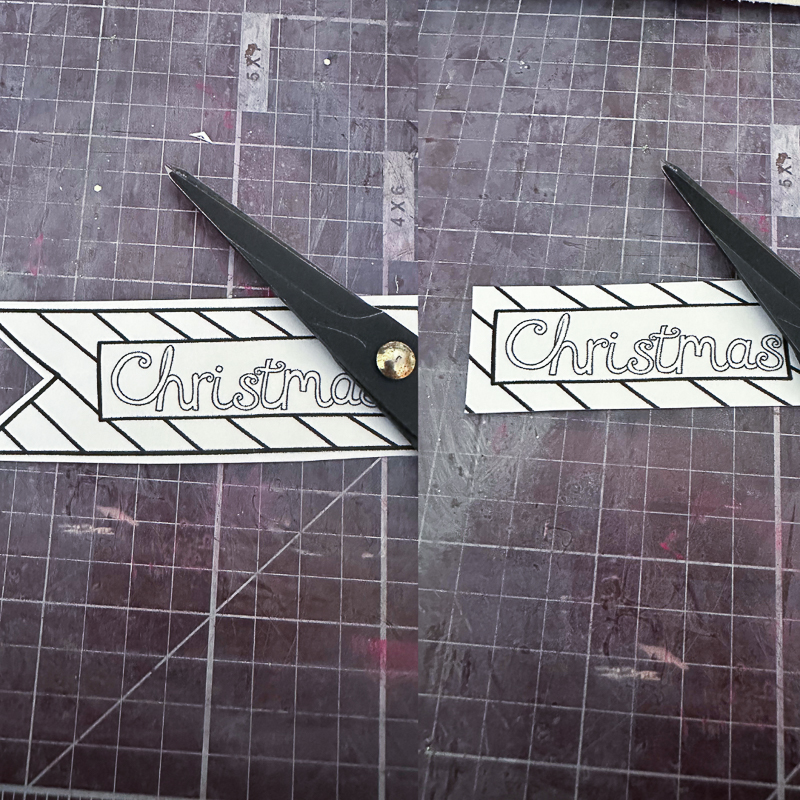
For the sentiment, I used a banner from the December Doodads Stamps along with the Christmas word that I added in the middle of the banner. The banner was in a different shape and I cut it down to a rectangle. I had the die-cut word Magical from Erin Lee Creative that I cut multiple times with the top layer from white glitter paper. I added a small mistletoe bushel from the Deck the Halls Stamp Set at the end.
I added some glossy iridescent glitter dots in the sky background. I wanted to add some snow collection at certain places, and so I used White Nuvo crystal drops to create this effect. The best way is to do this process twice after the first layer has dried. It gives a proper dimension.
There you go. The card is ready!

I hope you liked the card, and the process was easy to recreate. Thank you for stopping by. See you soon.
Kinjal
Materials Used:
- Digital stamps packs: Bonfire Night, Cool Britannia, Deck the Halls, December Doodads
- Printer and white cardstock
- Coloring tools
- Scissors
- Glue
- Foam tape
- White jelly pen
- Distress inks
- White Nuvo drops

 Free Digital Scrapbooking Template: Bracketed
I saw your card in the newsletter I just received and I had to buy this set, because a friend of mine is going on vacation to London at Christmas time and your drawings are just awesome to make a wonderfull card for her to wish her a lot of fun in England.
Oh that Christmas card is wonderful. I wish there was a video so I could see what you did to create it. My knowledge is limited and seeing that project was inspiring to me!!