
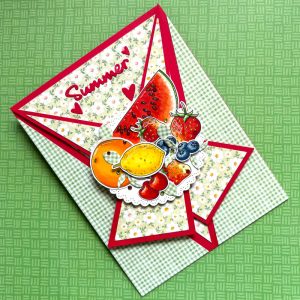

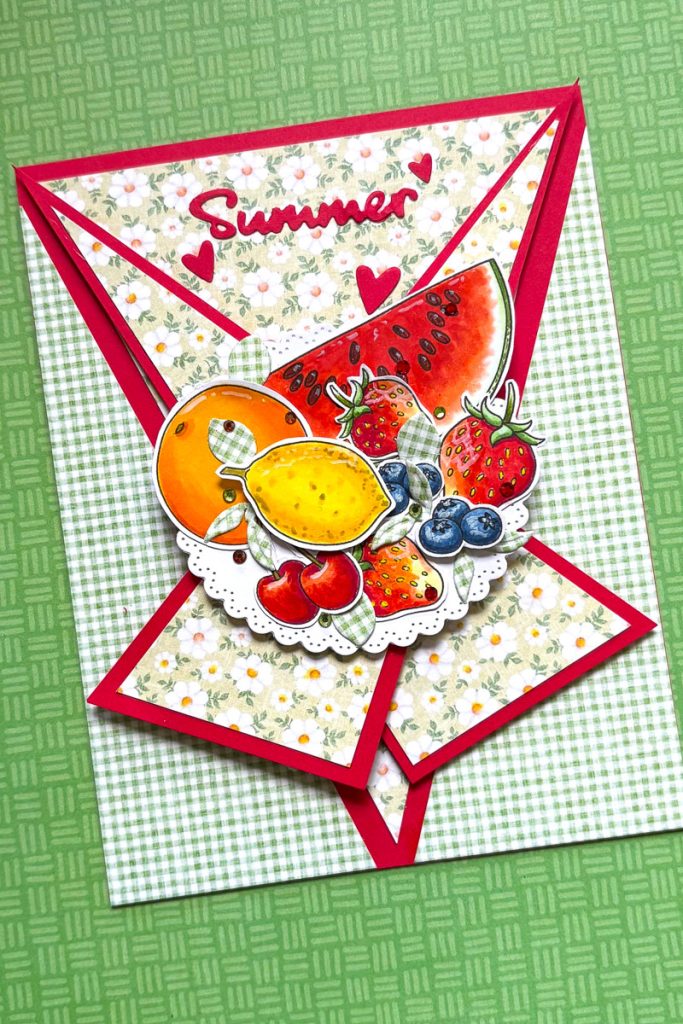
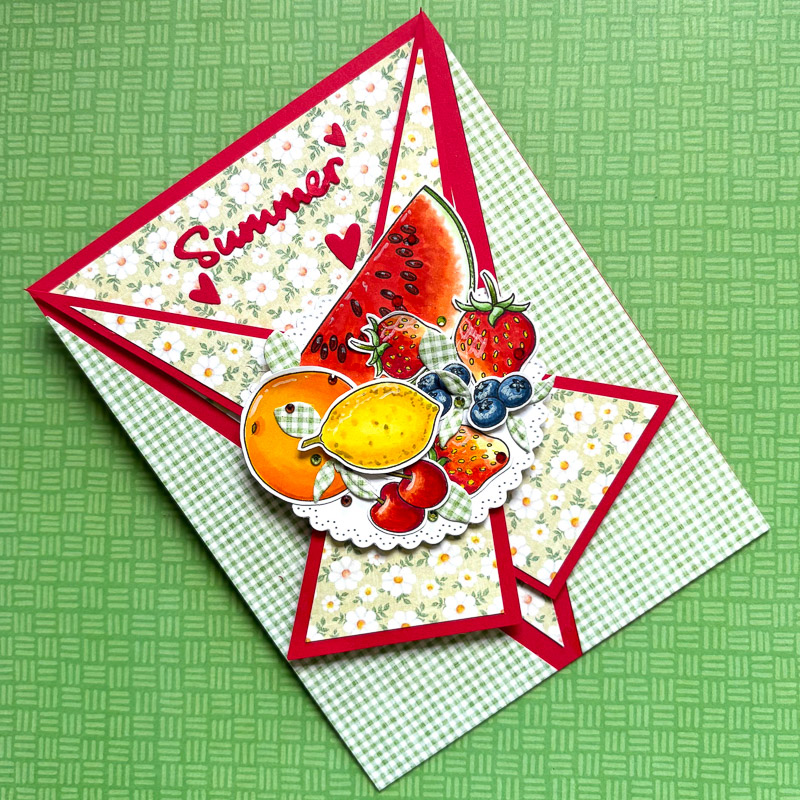
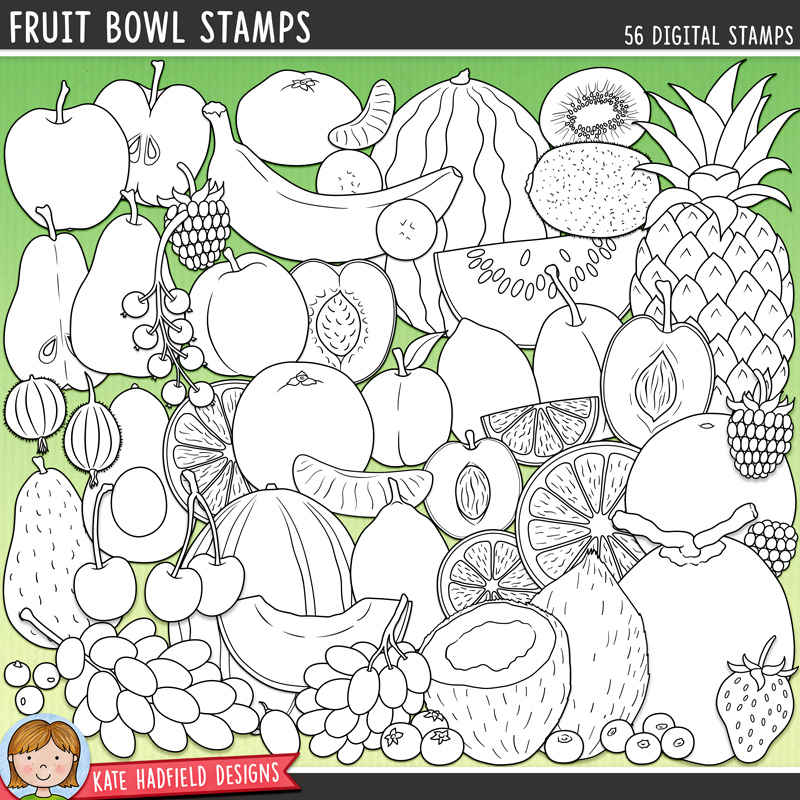
Hello everyone! Summer is arriving and everything is in full bloom! Today I’ll be sharing a summer card and a bonus card using the Fruit Bowl Digital Stamp Set. I also wanted to try a fun fold for this card. It looks folded, but it’s not!
I first chose and printed out the fruits I wanted to use, then copy and pasted ones I wanted more of, flipping them to give variation. I basically did this with the smaller fruits.

I started by coloring the fruit.
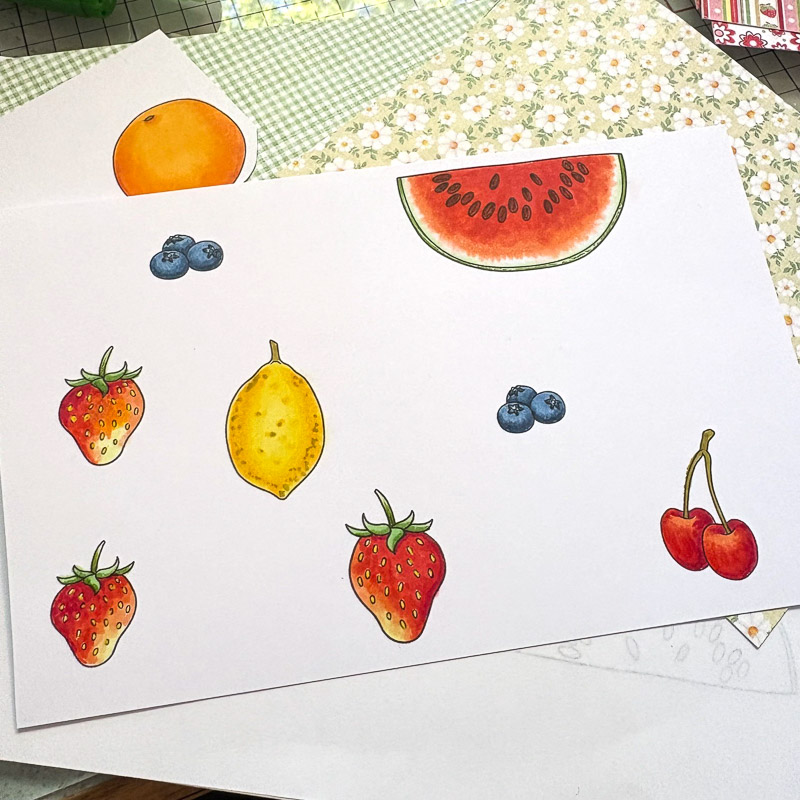
After the coloring was done I fussy cut them leaving a narrow white border around each one.

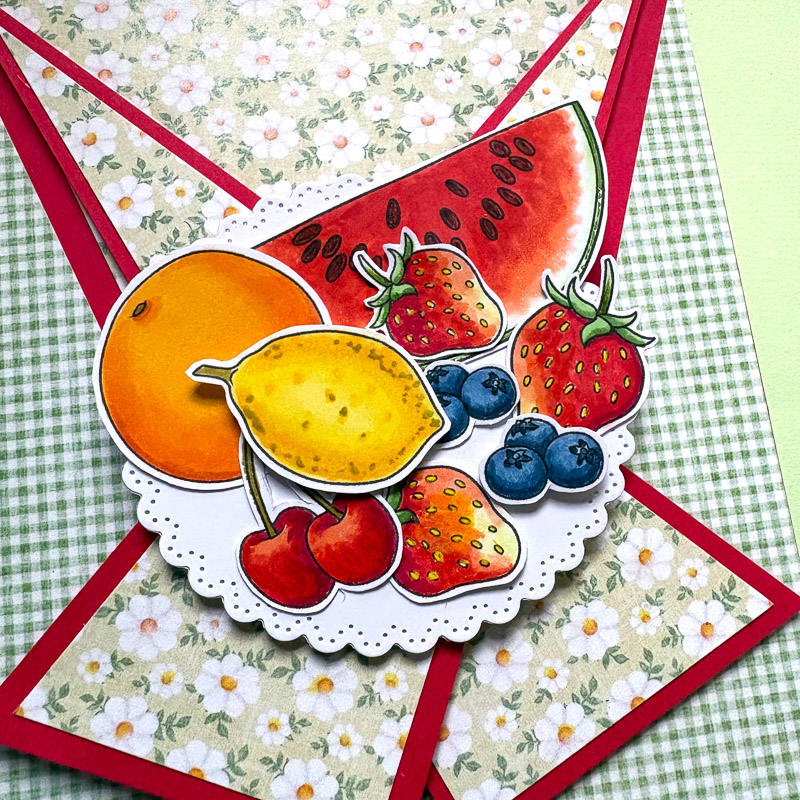
For the base – I started with a top folding white card base. Then I covered the front with red card stock. Next I took a piece of double-sided patterned paper that was 6” x 6”. I cut it to be 4” x 5 ½” inches.. Then, turning the paper so the cut side was at the top, I marked the center with a pencil on the bottom. I then cut 2 triangle panels by cutting from the top corner on one side to the center marking. I did this twice. Then I adhered the 2 triangles onto the base of the card making sure they were both facing the same way.

Turning the patterned paper to the same side as you used in the previous step, trim to the size of your card base minus ¼” inch all the way around. Use the middle triangle piece on the middle of the card base. Also cut from another panel the size of your base 2 red card stock pieces. Once again getting the angle from one of the top corners to the bottom center.
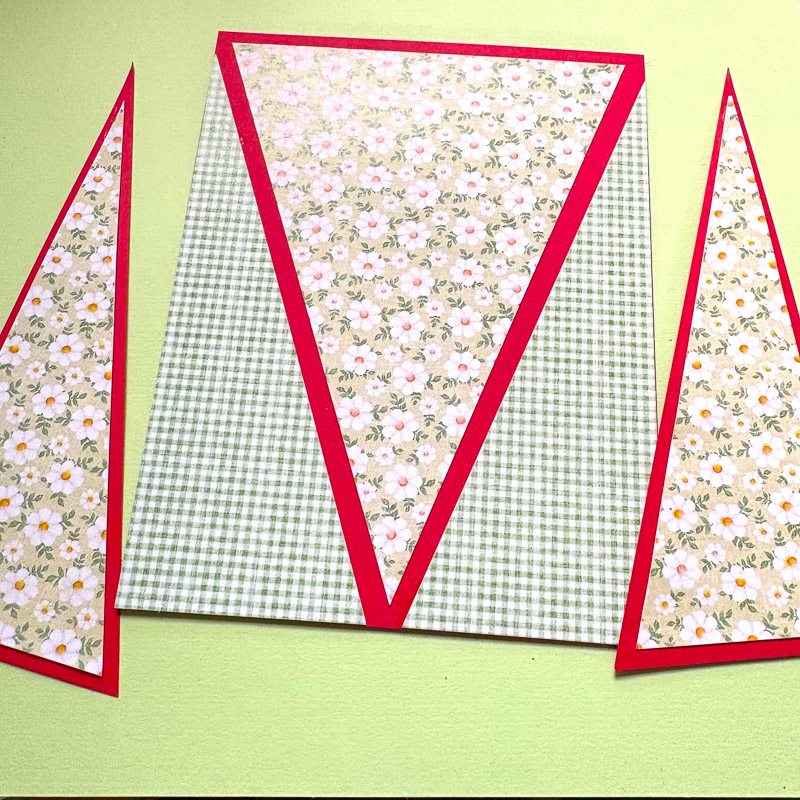
I foam taped the 2 diagonal matted pieces to the base from the top corners following the angle already on the base. I kept a close eye on the very small diamond shape that would peek out from underneath those adhered panels at the bottom of the card. I wanted them to create a diamond shape.

I die cut a small round doily out of white card stock for the fruit to have a resting place. My die is 2 ½” in diameter, then I adhered it to the middle of the crossing diagonal pieces.
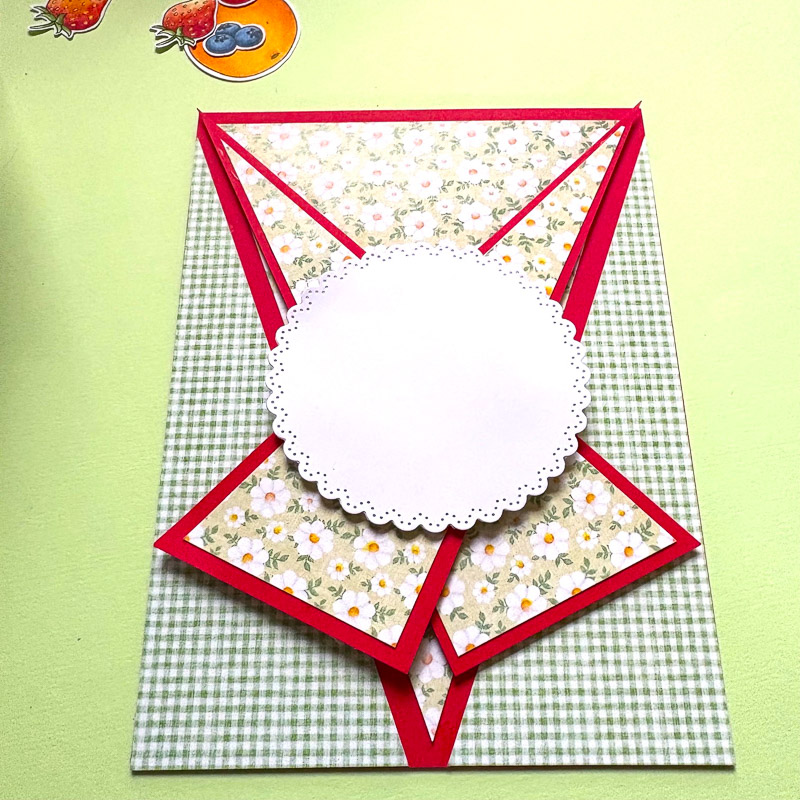
I next adhered my fruits. They were all glued flat to the surface of the white piece except for the lemon and one cluster of blueberries. I also added gems and some die cut leaves from the patterned paper.
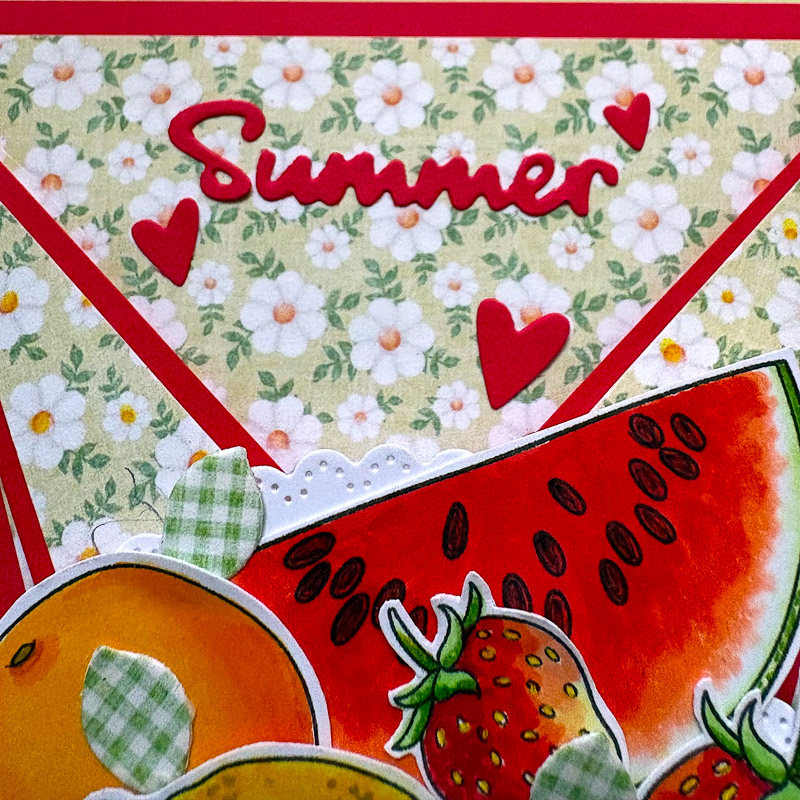
I die cut the word “Summer” from red card stock and adhered it onto the card base at the top center. I added gems to the fruit and I die cut some little leaves using a die from my stash to add around the fruit bits. And I used a white gel pen for highlights. And I used a yellow acrylic pen for the strawberry seeds.
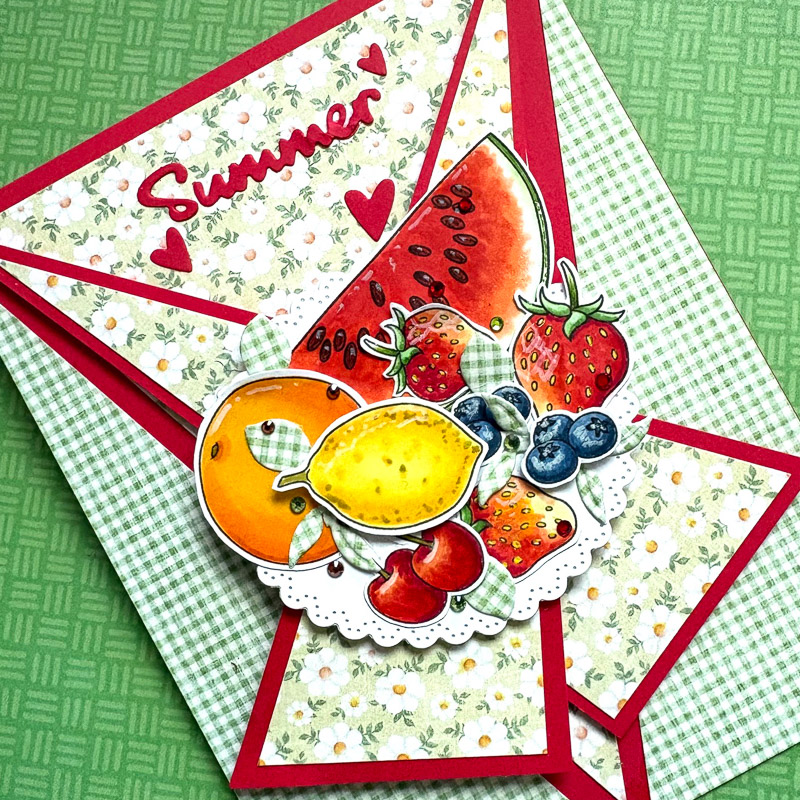
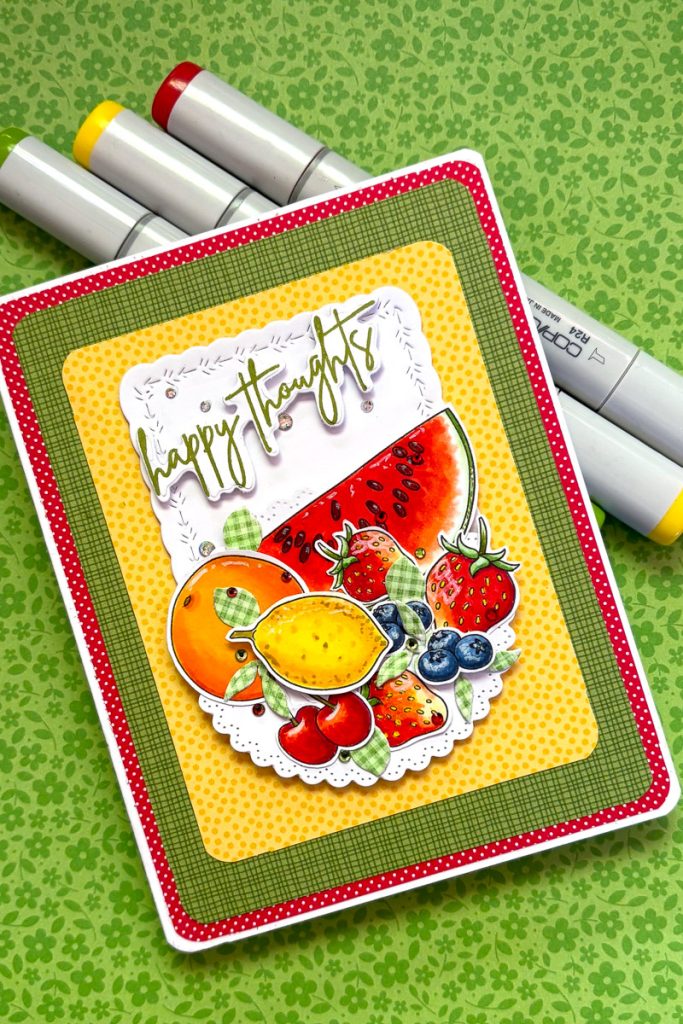
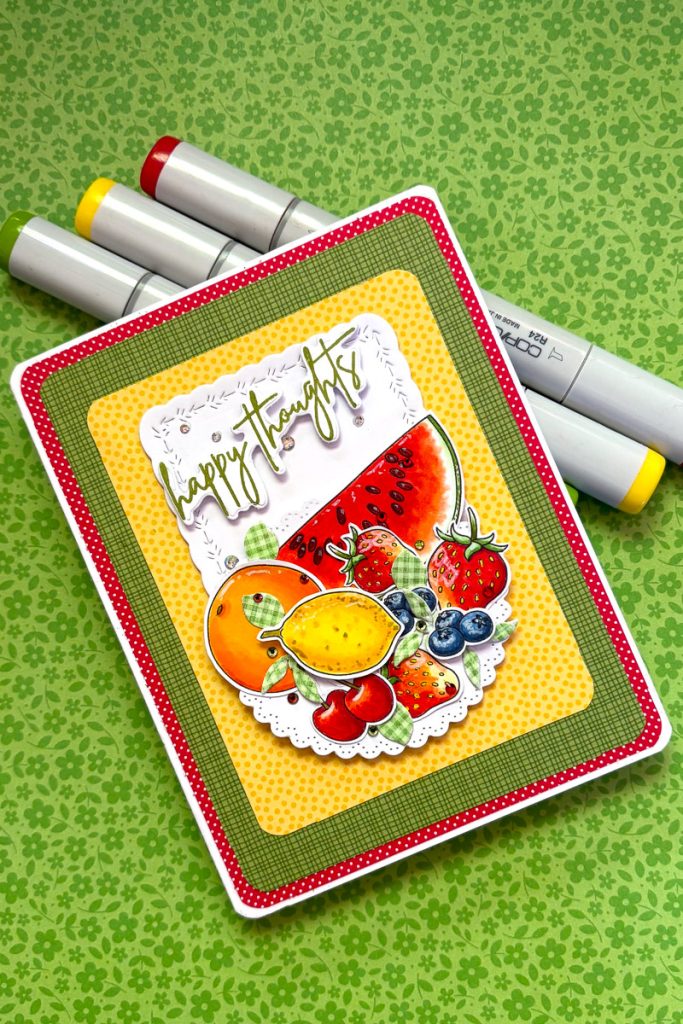
Then, disaster struck. I spilled coffee and it got it all over the base of my card. SERIOUSLY? AM I THE ONLY ONE? The base was damaged too much to save. But the focal was spared! So I made another card (peeling it off gently from the ruined card) by layering 3 shades of petite prints in colors that matched for the card base and rounded the corners. I die cut a small fancy rectangle to go behind the focal. I trimmed off the bottom of it so you couldn’t see it behind the doily. I stamped and die cut a sentiment from my stash. I foam mounted the focal and the sentiment and added extra gems and I colored in the watermelon seeds with a black fine liner pen!
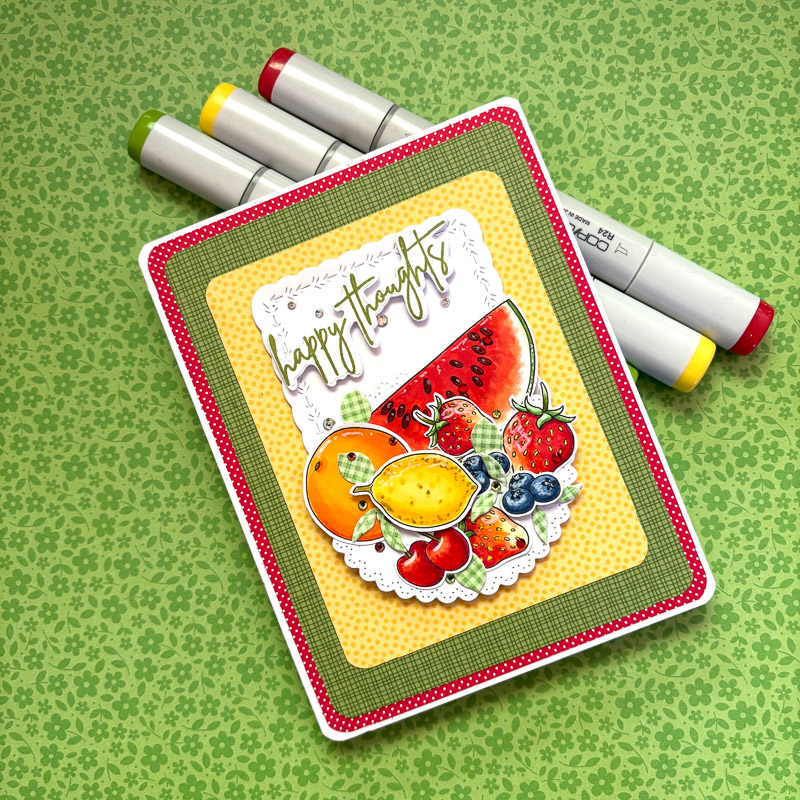
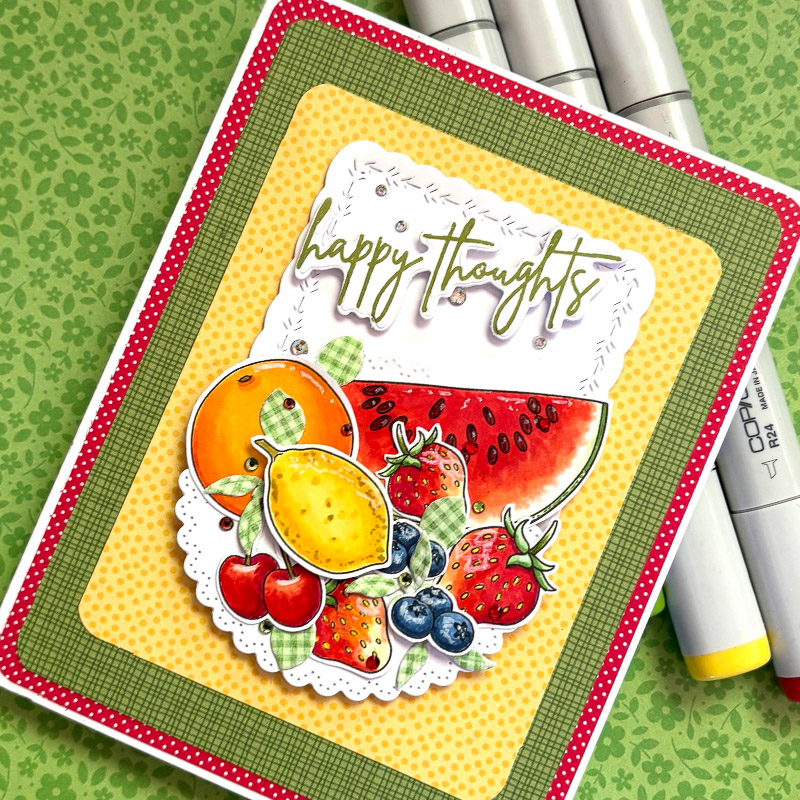
I hope you’ll give the faux fun fold card a try. Tag us – we’d love to see what you make. The bonus card was cute as well…just not as involved!!! lol…
Supplies used:
- Fruit Bowl Digital Stamp Set
- Card base
- Solid color card stock
- Double-sided patterned paper
- Doily die
- Sentiment stamp and die
- Fancy small rectangle die
- Tiny gems
- Black fine liner pen
- Yellow acrylic marker
- White gel pen
- Foam tape
- Corner Rounder
- Copic markers used: Lemon: Y02, Y08, Y17 Cherries: R02, R05, R17, R37 Blueberries: B41, B45, B97, B99 Orange: Y35, Y38, YR04, YR09 Greenery: YG11, YG17, YG95
NB: Not all supplies are needed unless making both cards
Til next time…
Betsy
You can find me on Instagram: @betsybirgeart

 Free Digital Scrapbook Template: Six Pack
Leave a Reply