
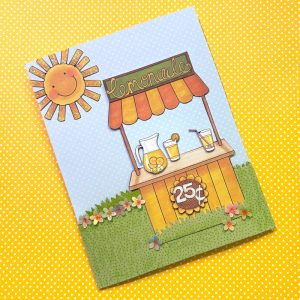

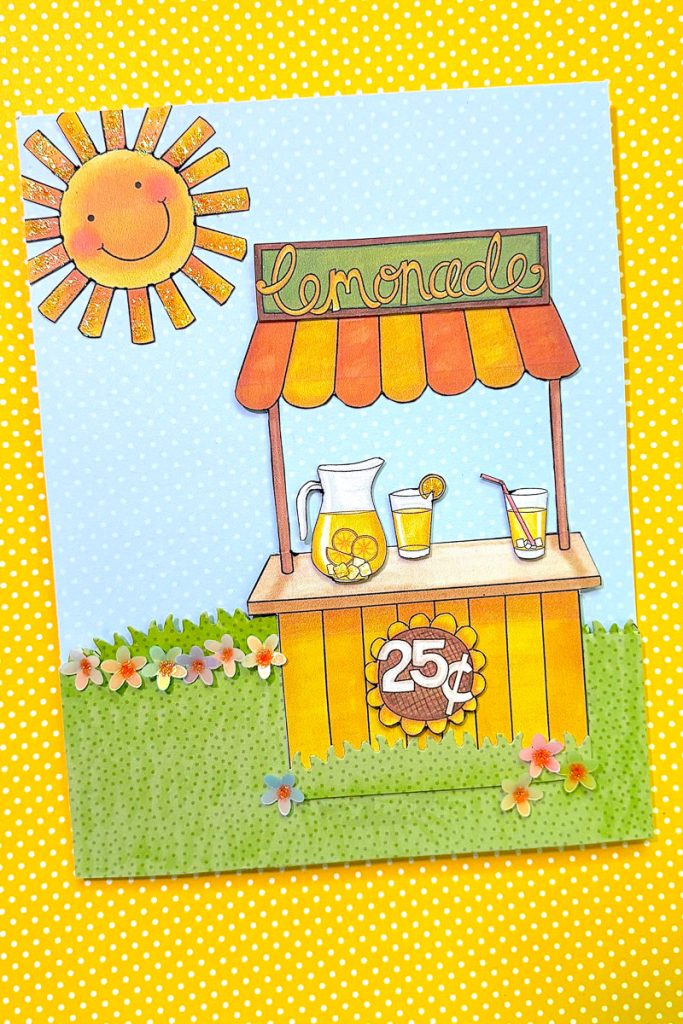
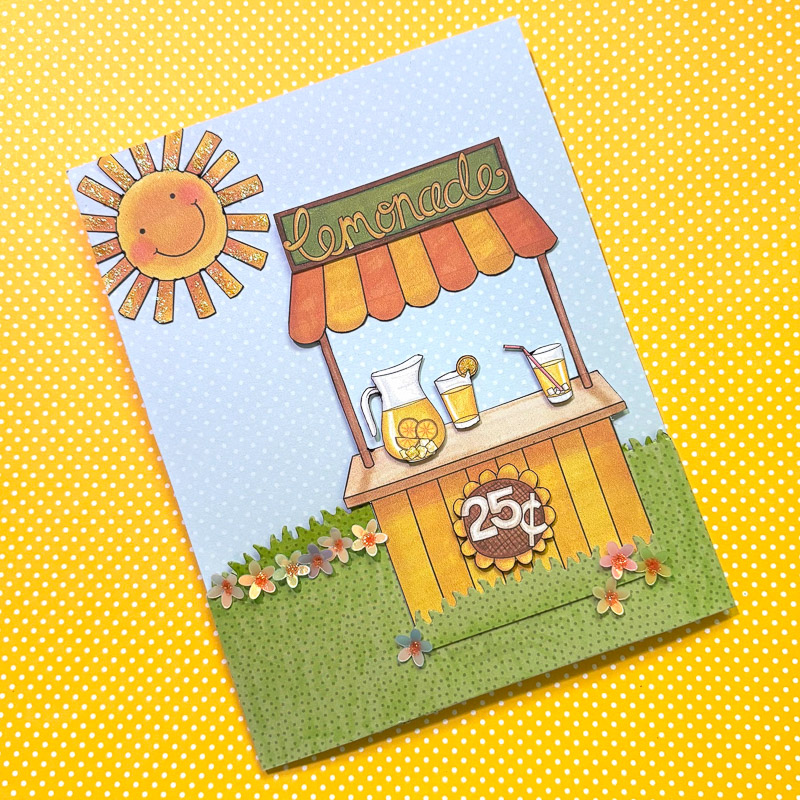
Hello everyone! Betsy here sharing with you a sweet summer treat that everyone loves! I’ll be using the Fruit Stand clipart for this. It is a colored version of the stamp set. Let me show you how I made my cut-away card!
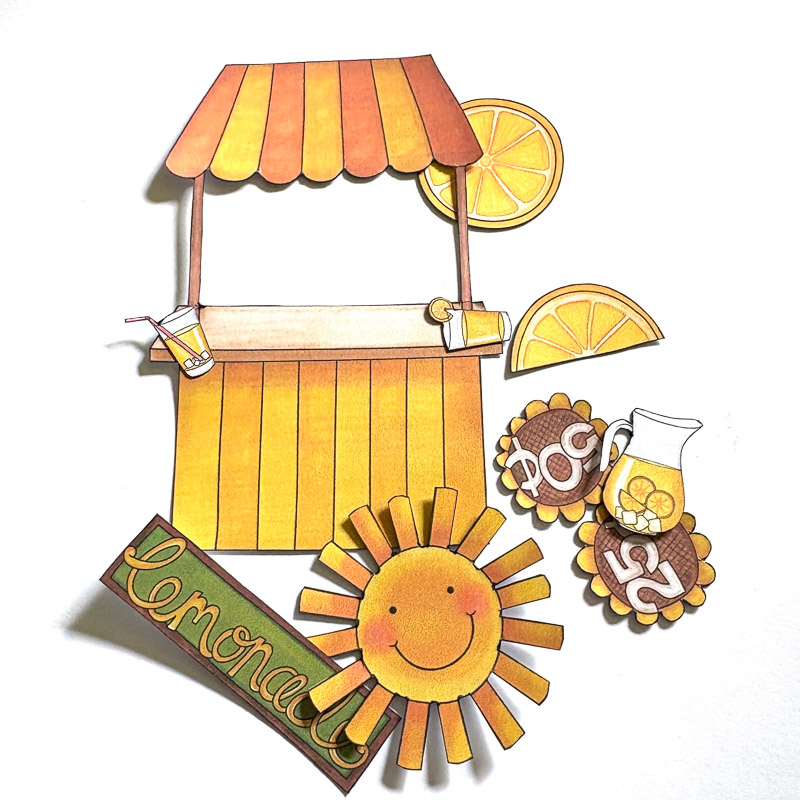
I first sized and printed all of my elements.
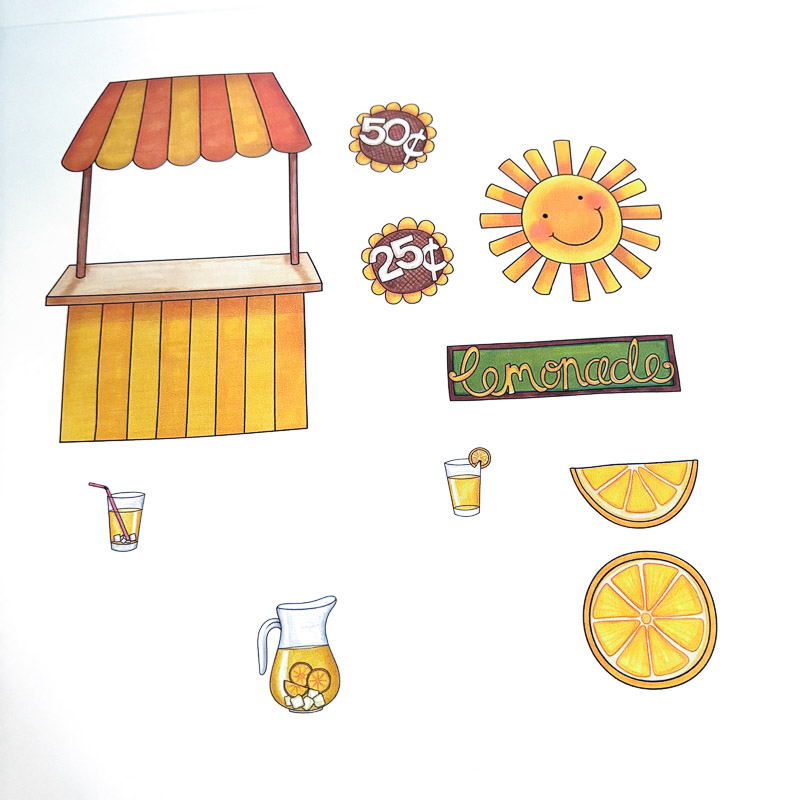
I fussy cut the elements and then went around the edges with a black marker.
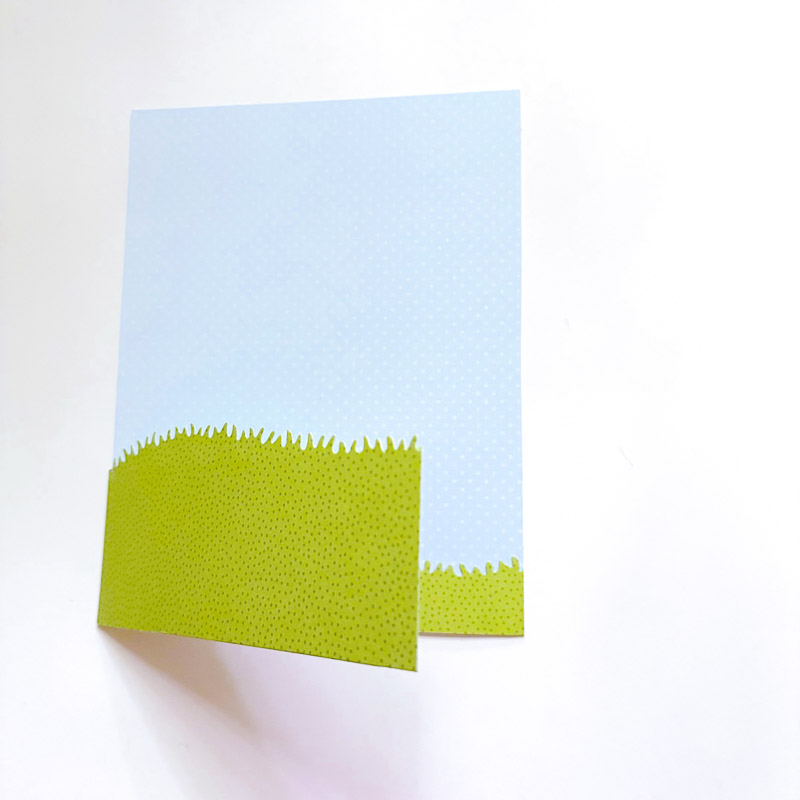
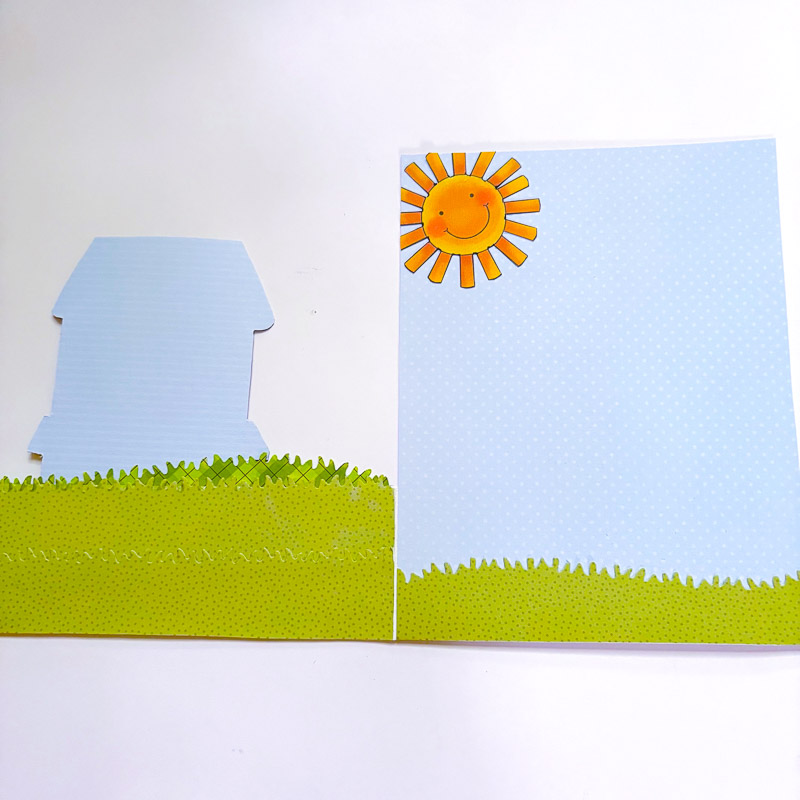
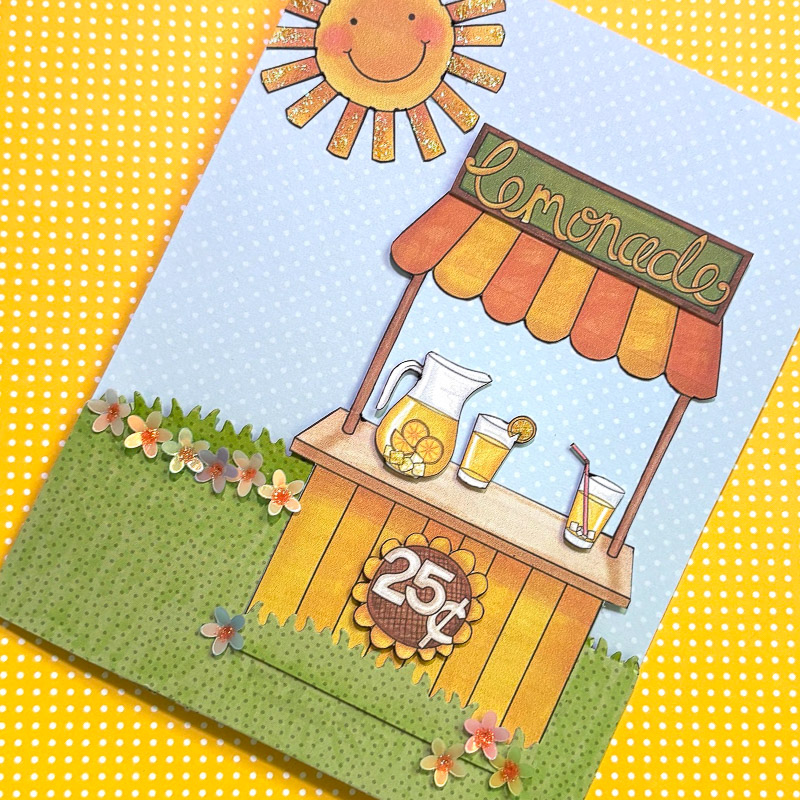
My card is a 5” x 6 ½” white side folding base. On the front I cut away the top part of the front leaving 1 ¾” flap on the front…this will be the base that my focal is adhered to. I chose 2 patterned papers – one to serve as the grassy ground and another to be the sky. I used 2 of the sky papers…my papers were 6” x 6”. Both of these papers are double-sided.
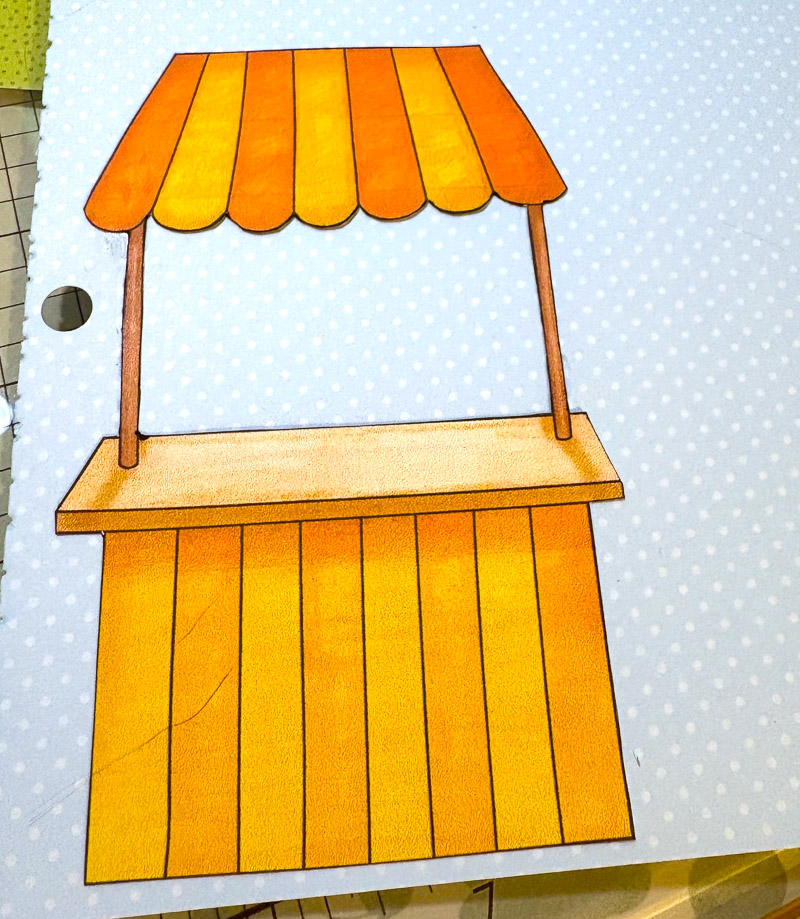
I next took the lemonade stand and backed it withthe sky paper so it would look seamless from the front.
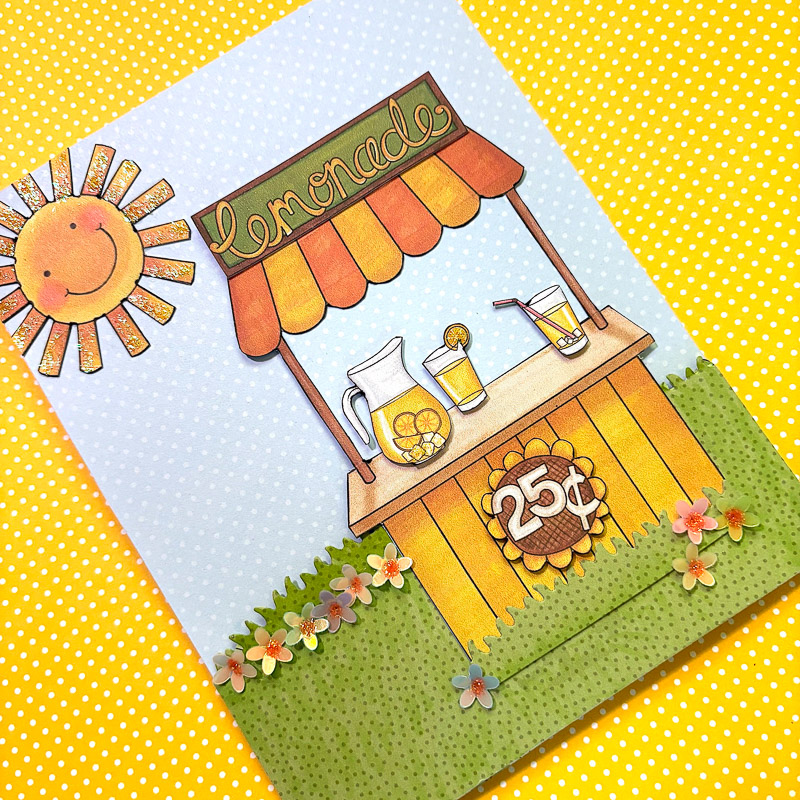
I die cut some of the green patterned paper with a wavy grass line die and adhered it to the front of the card. I also put a shorter one on the inside right of the card as there was a circle cut out of it and the grass hid that. I also adhered the sun on the top left of the inside at an angle and trimmed off the overhang.
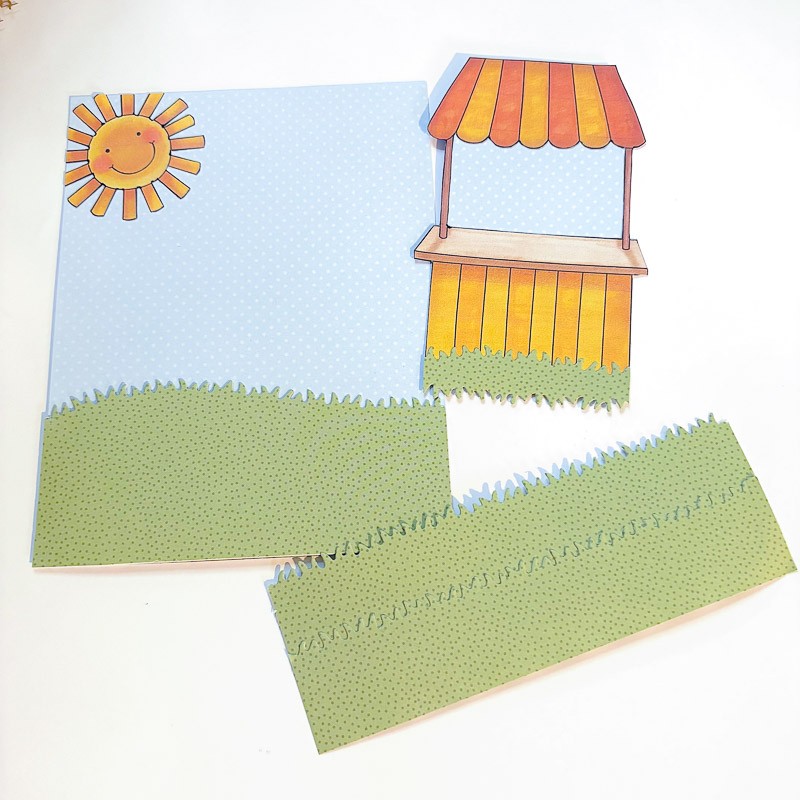
I then adhered the lemonade stand to the front of the card and made sure things looked good from the inside as well as the outside. I added a bit of shading with Copic markers to the grassy areas.
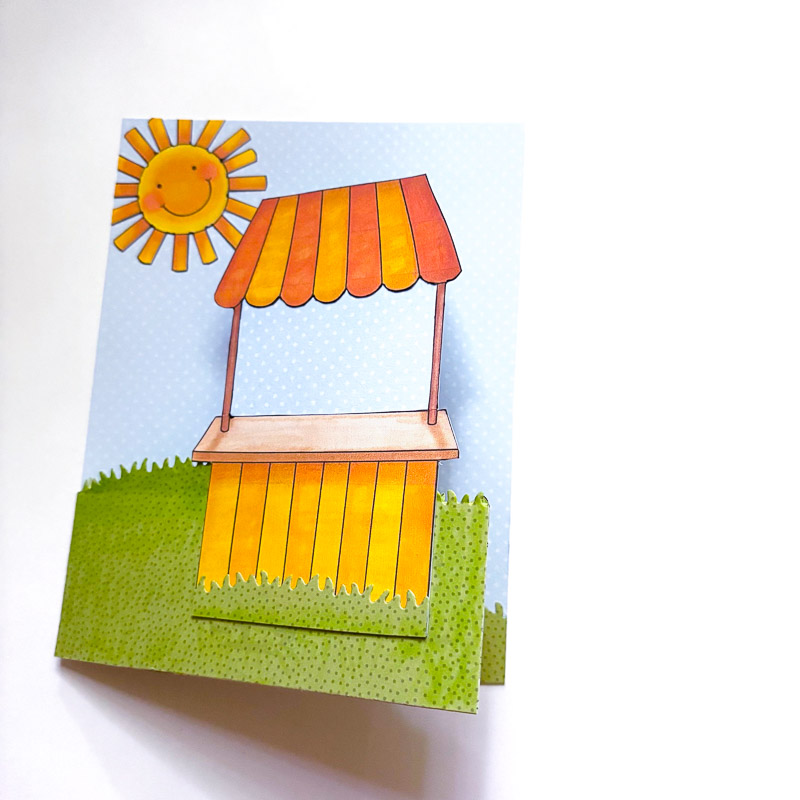
The inside of the card looks good and is lining up the way I needed it to.
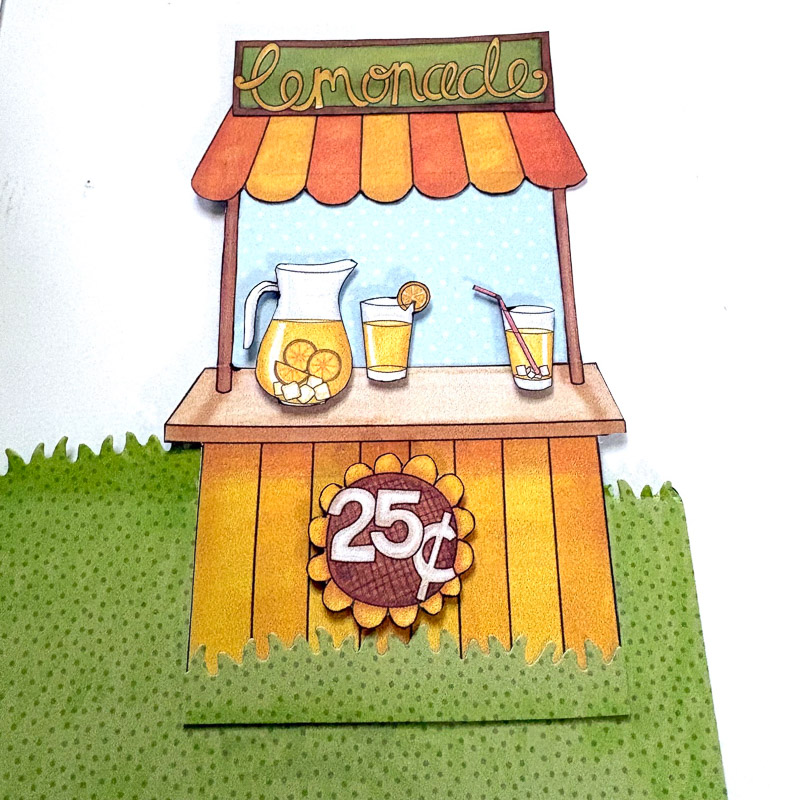
I next adhered my elements to the lemonade stand itself. I only used one of the price tags. And I added a very short strip of the die cut grass across the front it. I foam taped the lemonade, the 2 glasses of lemonade and the price tag.
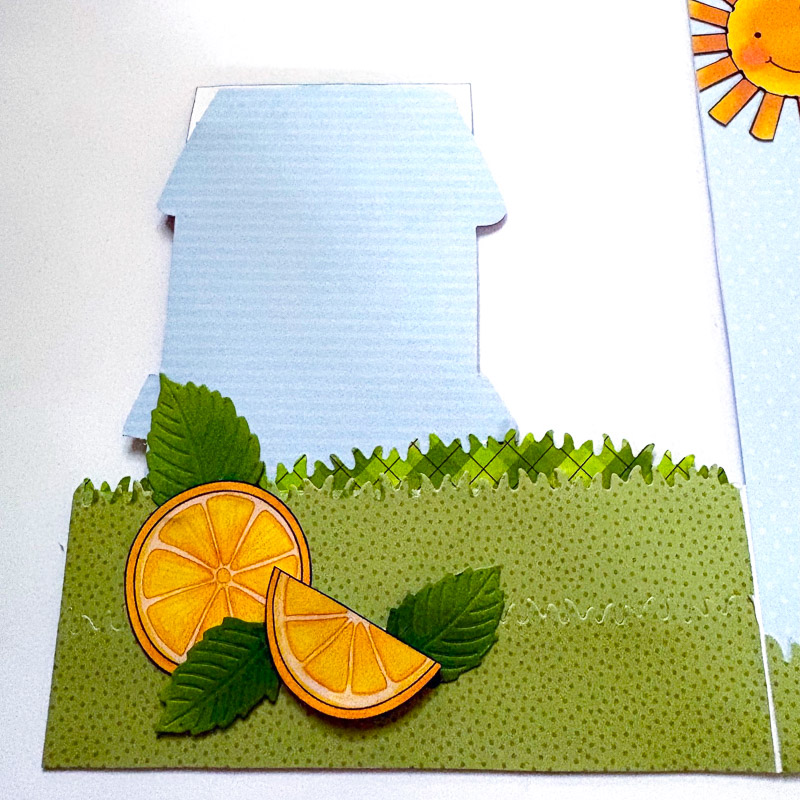
On the inside left I placed the lemon slice and half slice on the bottom. The half slice is foam taped. I had some leaves that were die cut and inked in my stash and I used 3 of those around the lemon slices.
I added some flower sequins and put orange Stickles in the middles of those. I also added yellow Stickles to the rays of the sun to finish the card.
This was fun card to put together and it was so easy using the clipart version of these stamps. I hope you give this card a try! If you do, tag us on social media because we love to see what you’re making!
Til next time…
Betsy
You can find me on Instagram: @betsybirgeart
Supplies used:
- Fruit Stand Clip Art
- 3 pcs of 2-sided patterned paper-1 green 2 blue
- Foam Tape
- 5” x 6 1/2” white card bae
- Black marker
- Stickles – Yellow and Orange
- Flower sequins
- Die cut leaves
- Grass edge die
- Copic markers used: yg11, YG25, G24


 Clipart In The Classroom: Reading Caterpillars
Leave a Reply