



Hello crafters. How are we all? By the time you read this, school in the UK will be over (or imminently) for another year. However, in some places, it’s just (or just about) begun. Show the kiddies some love (or indeed the teaching staff) with a back to school card and some encouragement!
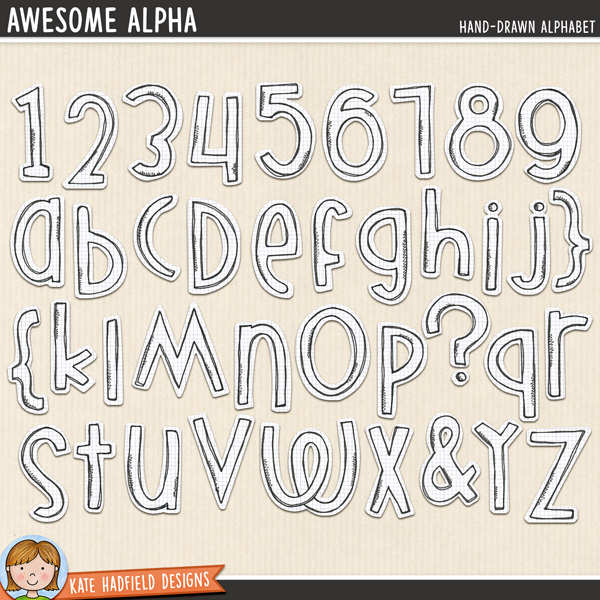
I made this card using elements from the Big School digital stamps and the Awesome Alpha doodled alphabet from Kate’s shop.

I’ll talk you through what I did to make this card.
First, I prepared all the elements I needed on my Word document. Each line of the text I treated as 1 element and lined them up centrally. The Books and Satchel I treated separately.

I set to colour all my elements using my Copic markers. Any alcohol markers of your choice will suffice. I aimed to use the ‘Primary’ colours for the text so for red I used r59 r14 and r46, blue was b24 b28 and b16 and yellow y13 y08 and y06. The satchel was E27 e13 and e15 and the books the same as the text. I added some gold metallic to the buckles of the satchel.

Using a craft knife, I did cut the area out between the satchels handle and main body. In hindsight, this wasn’t entirely necessary as it sat on a white background but it didn’t hurt ????
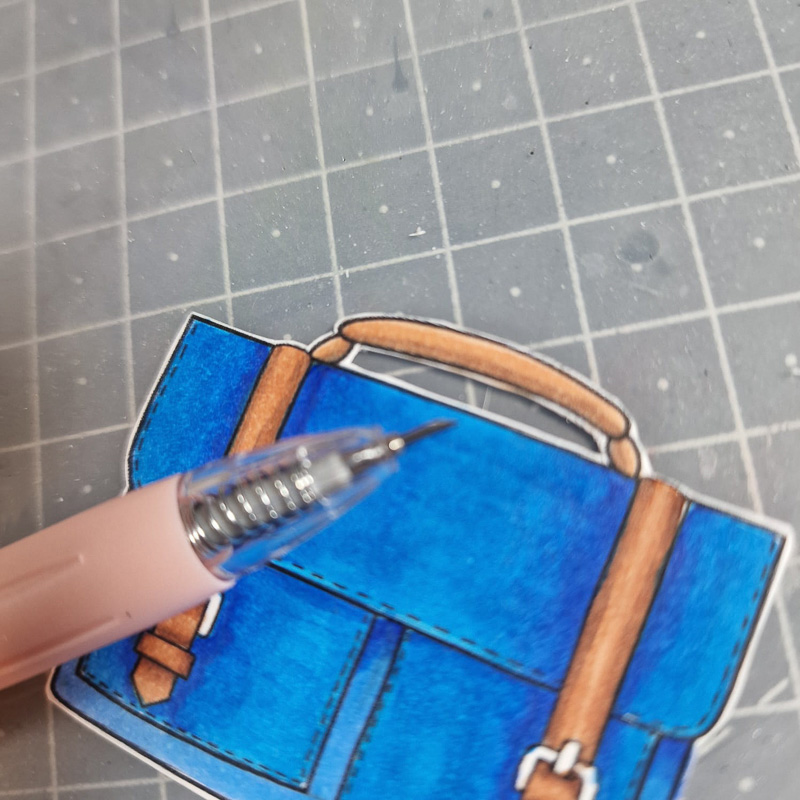
I went in with my white gel pen to add some highlight. The more the better!
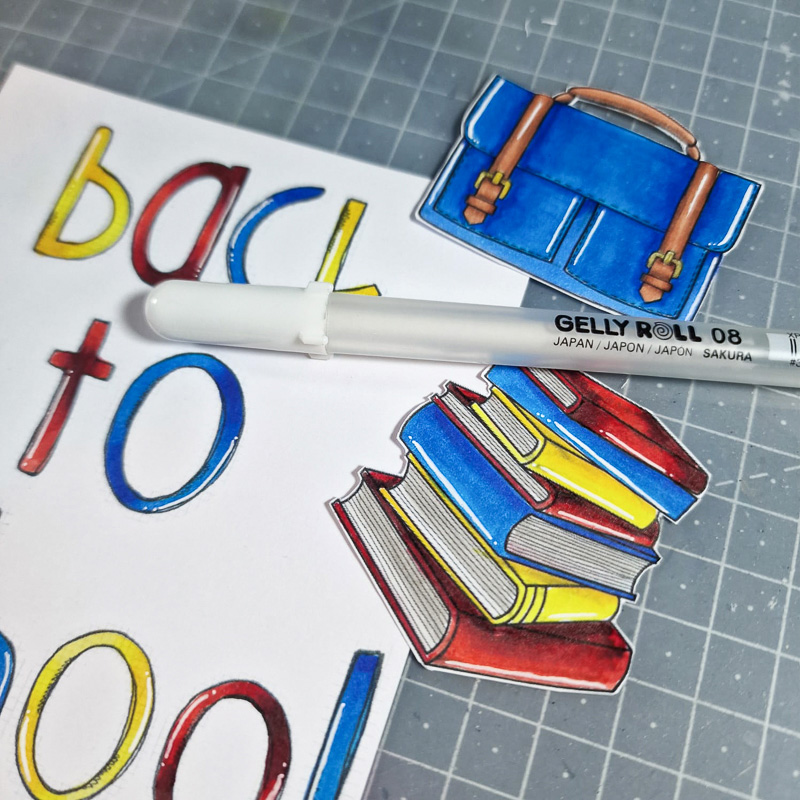
I blended some Mustard Seed Distress Oxide into the edges of the text panel. Then, I layered the panel up onto yellow, red and blue card stock (in that order) using wet adhesive, increasing in increments of approx 1mm each time.

Finally, I adhered these layers down to a 6in white card blank and adhered the Books and Satchel using foam tape to the sides of the text. This completes my Back to School card!
Good luck with anyone returning to school. You’ve got this!
Until next time, take care.
Lots of love, Dani xx
Materials Used:
- Big School Stamps
- Awesome Alpha
- Alcohol markers
- Wet adhesive
- Foam tape
- White gel pen
- Blue, yellow and red card
- Gold metallic pen
- 6in card blank


 Save the Date shaker postcard
Leave a Reply