
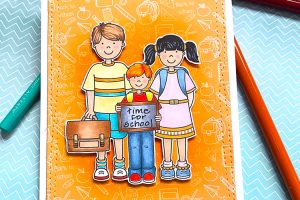

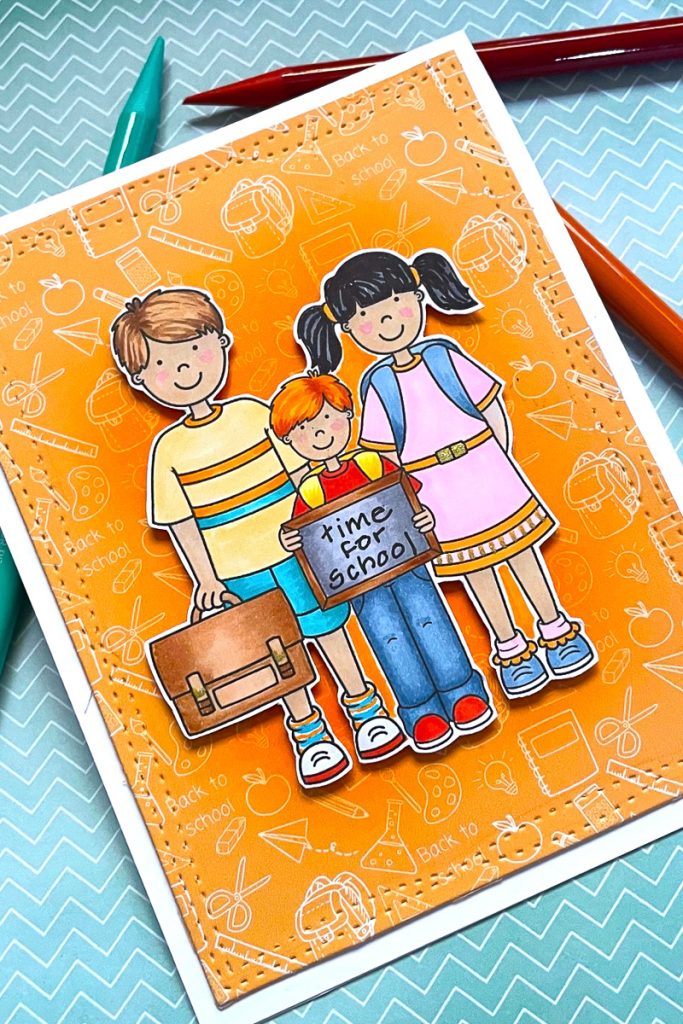
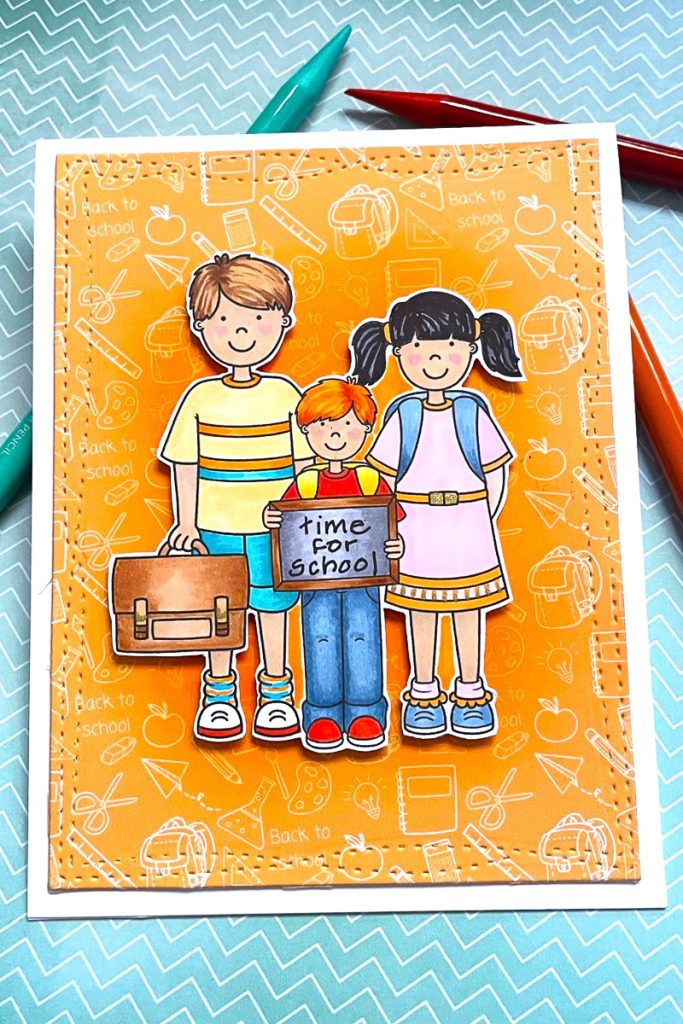
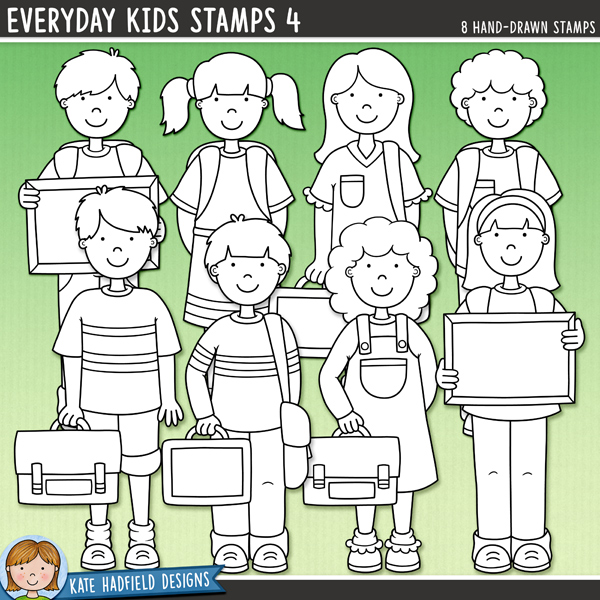
With Fall gently nudging its way in behind the tail-end of summer, familiar sights begin to appear. Here in the Northeastern United States we see lots of apples and maple trees just beginning to turn to lovely autumn shades. And we see lots of school buses. With school just getting into full swing, I thought it would be fun to make a back to school card. For this project I’ve used the Everyday Kids Stamps Set 4. This is a super fun set to create with! Let me show you how I made my card.

I started by composing my design in my computer. I purchased some school-themed digital paper from Etsy to use. I sized a panel for that and arranged and sized my 3 little kids.

I decided to color my images with Copic markers. I kept the coloring really simple. Some of the bigger area – like their clothing – I didn’t color in shading. Here are the colours I used: B93, B95, B97, E33, E35, E37, E21, E31, BV000, R05, R17, Y21, YR15, BG01, BG05, BG13, E57, E59, Y02, Y15, Y35, YR68, C1, C3, C5, E08, C7, RV02, 100.
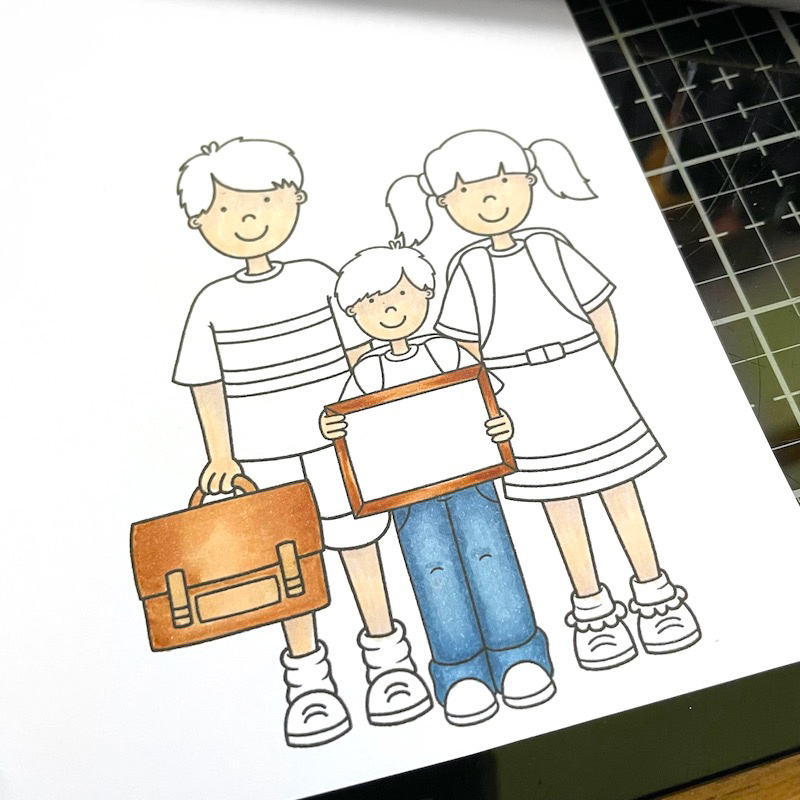

I fussy cut my image. I added touches of gold sparkle pen and I hand wrote “time for school” on the little blackboard with a black marker. I also filled in a few of the white spaces that did not get cut out with an orange marker.
I die cut my background panel with a wonky stitched cover die. Then I ink blended orange ink in the middle of the panel and kept checking to see if it would extend beyond my group of little kids.

I adhered my inked panel to an A2 size top folding white card base. Then adhered my little kids using foam tape and my card was finished!


I hope you enjoyed my back to school project!
Betsy
You can find me on Instagram: @betsybirgeart
Supplies used:
- Everyday Kids Stamp Set 4
- Copic Markers
- 80lb White card stock
- Background paper – JoyfuljourneysCA – Etsy
- Gold Glitter Marker
- Black Fine Line Marker
- Foam Tape
- Background Wonky Stitched Die

 Free Digital Scrapbooking Template: Edgy
Leave a Reply