
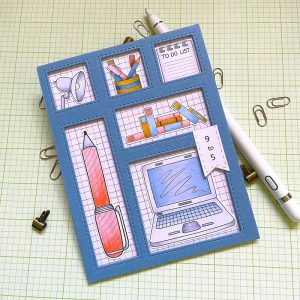

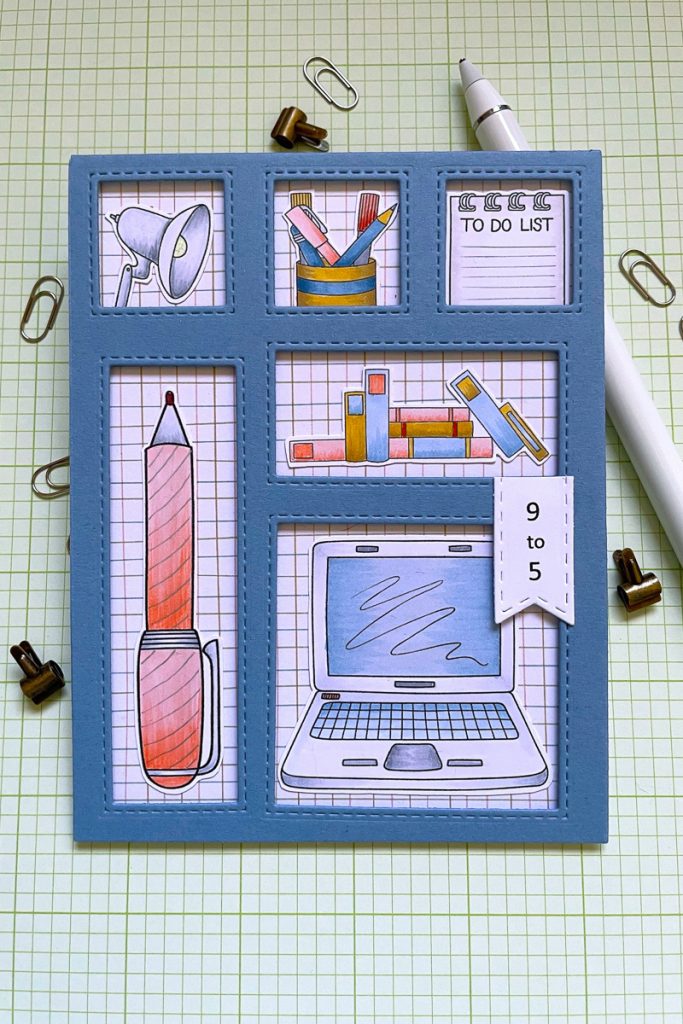
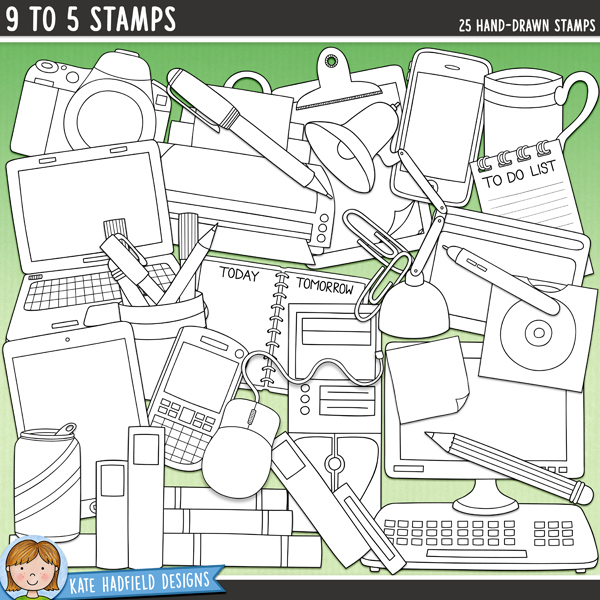
Working 9 to 5…sometimes that’s what it’s all about! I’ll be sharing this theme on my card project today! The 9 to 5 Digital Stamp Set is full of office related images that make it so much fun to use!
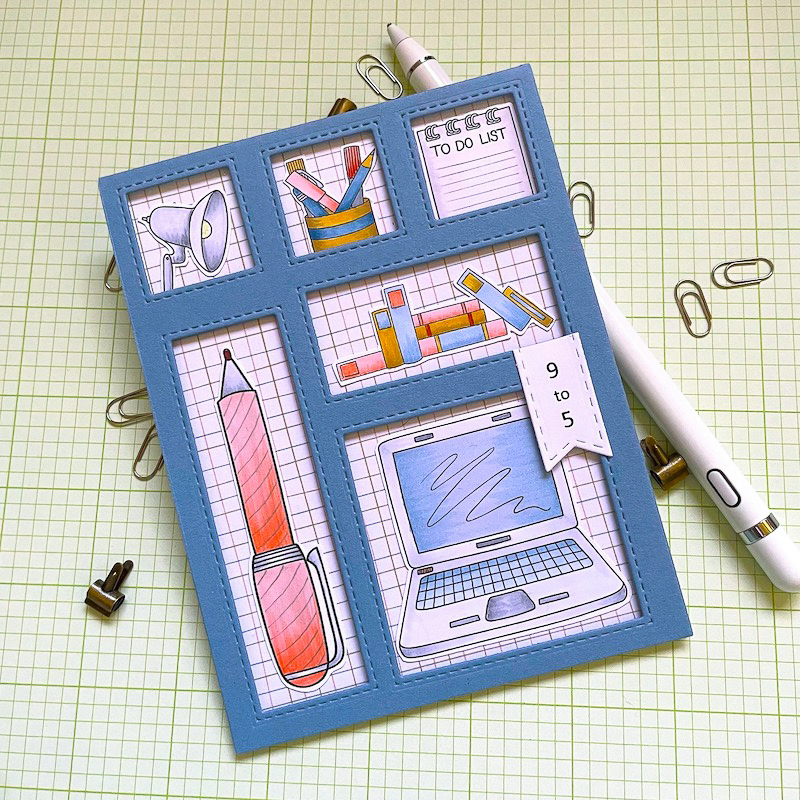
I chose to do a multi-windowed card. I have a die in my stash that has a rectangle outline and then 6 different window openings, but they are all separate dies. You could definitely make your own with graduated die sets in your stash.
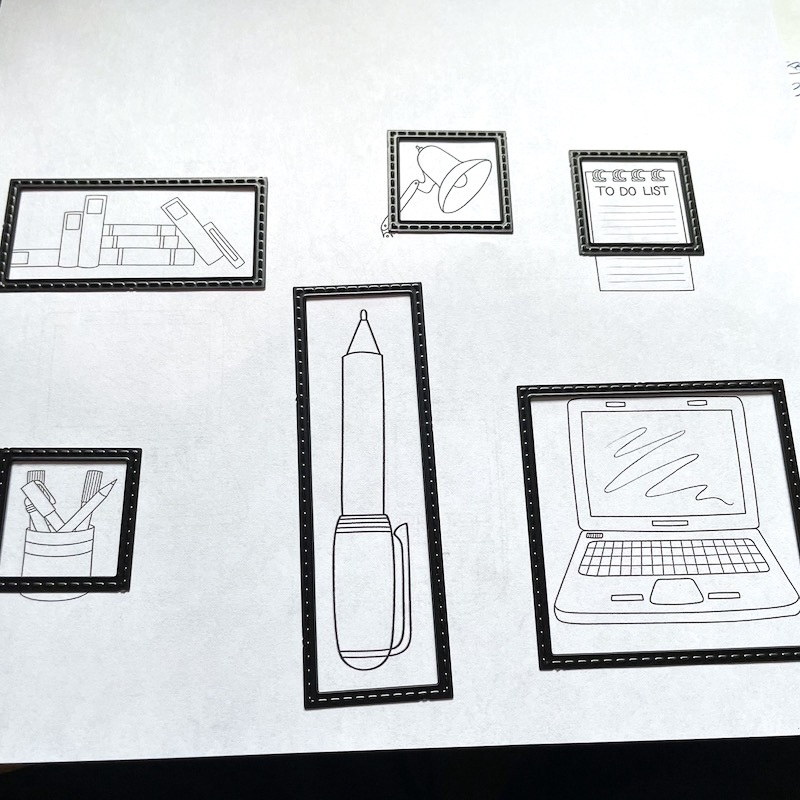
I printed out my separate images from the stamp set onto copy paper to measure and make sure they would fit into the die openings. Then I used the entire die set and cut my main background piece. I used plenty of removable tape so the dies would not shift.
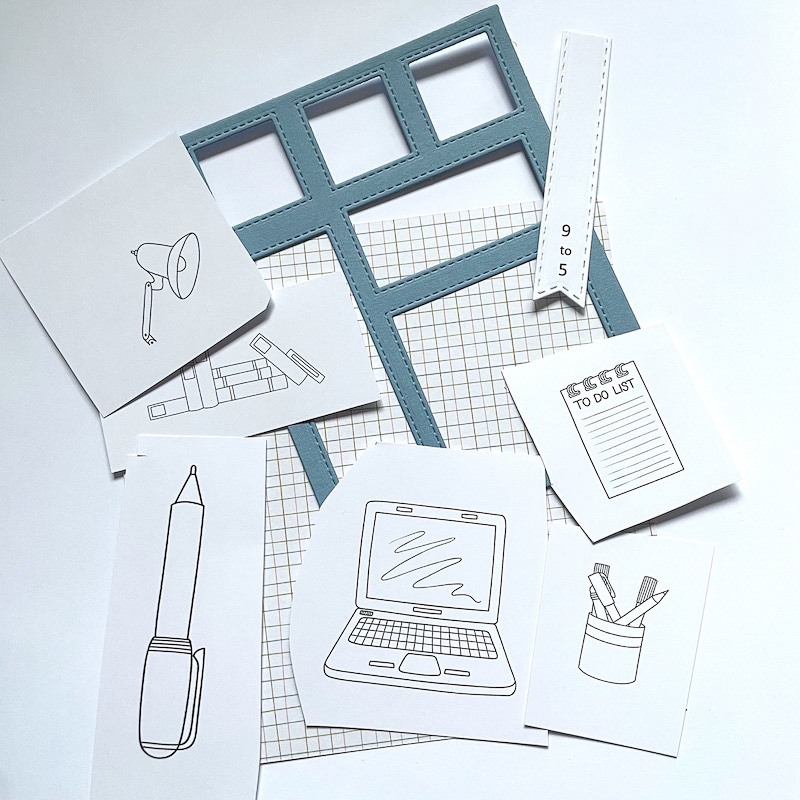
I trimmed down my images somewhat so they would be easier to work with. And I also picked out my background for the openings. I found this random piece of grid paper in my stash that could pass as work-related! I also used this paper to determine my color palette.
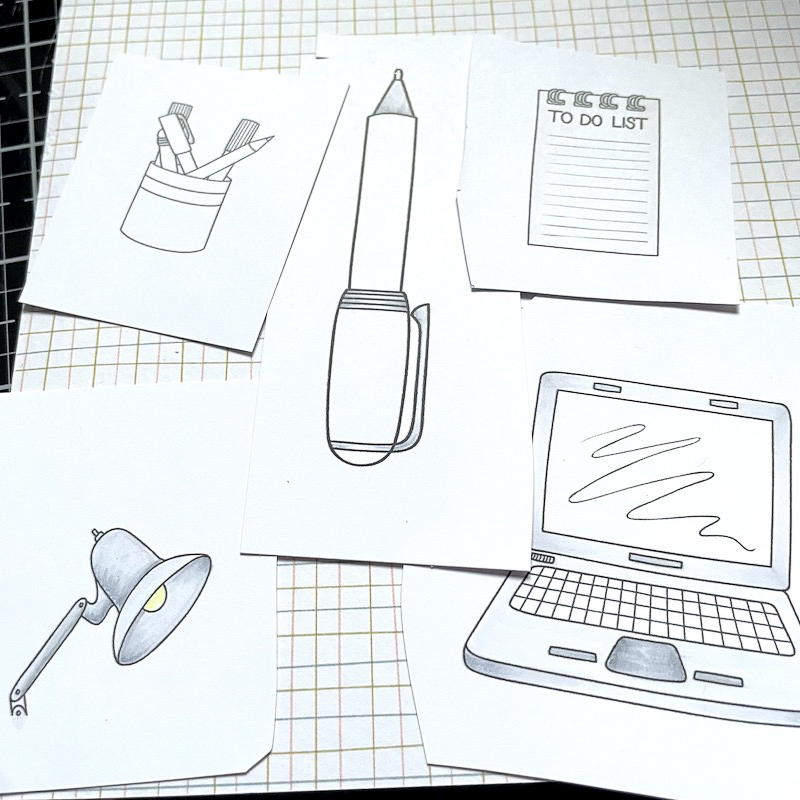
I printed out my sized elements and then it was time to color.
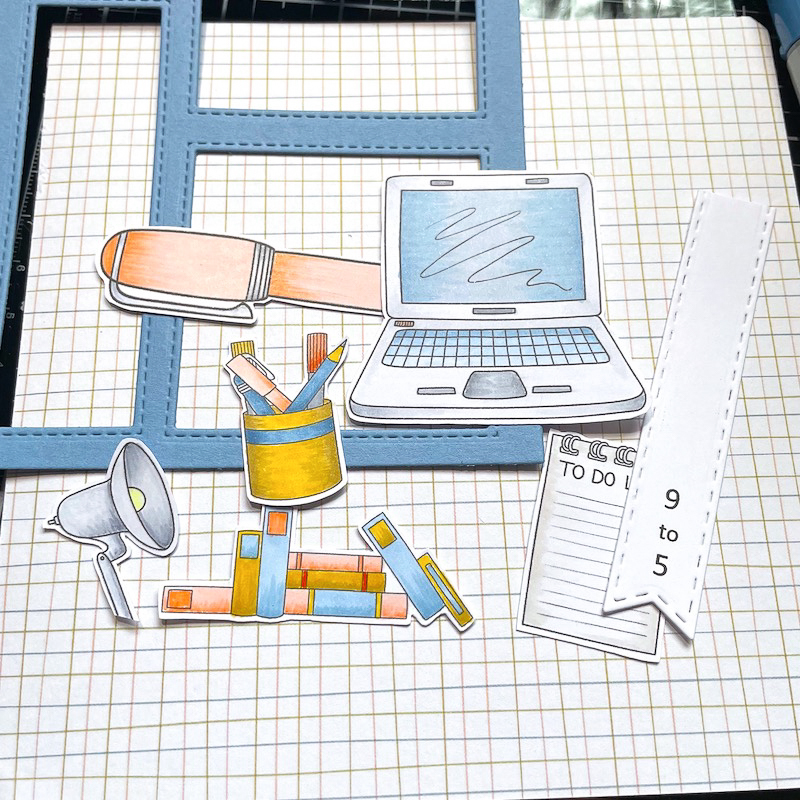
I kept the coloring fairly simple just using minimal color ways and 3-color blends. Copic markers used: C0, C1, C2, C3, W0, W1, Y00, Y000, Y26, Y28, B93, B95, B97, B91, R00, R02, R05, Blender. After the coloring was finished I fussy cut my images.
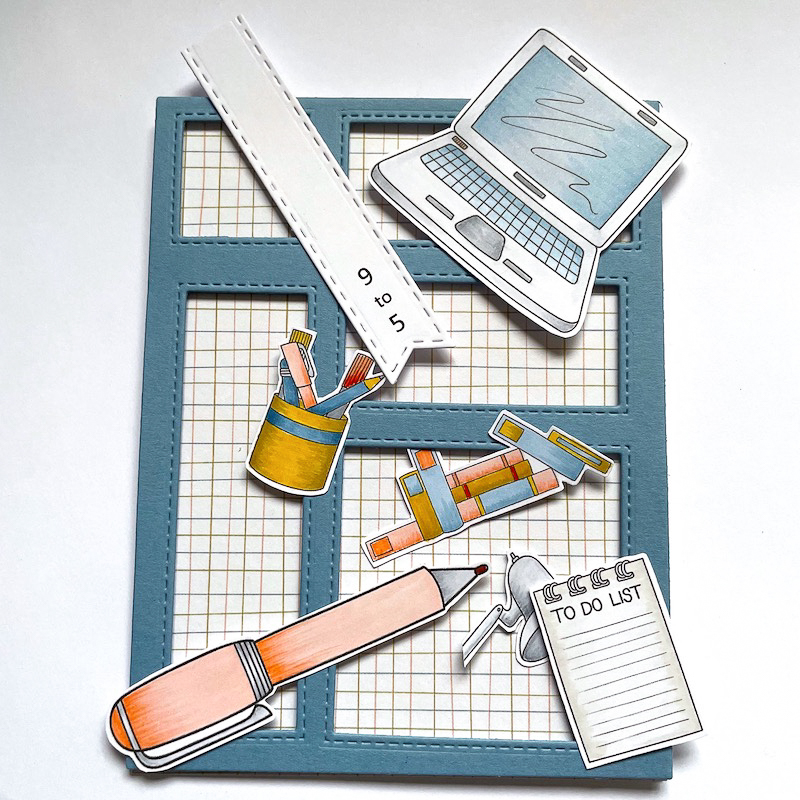
I then popped up the blue frame with foam tape and adhered the grid paper behind. Then I carefully trimmed and adhered my elements. I trimmed down the banner with the 9 to 5 on it and adhered that as well. I added a bit of glitter glue to the lightbulb in the lamp and some stripes on the pen with a silver glitter gel pen. And that finished my project!

Thanks so much for stopping by, I hope I’ve inspired you to create something you can be proud of!
Betsy
You can find me on Instagram: @betsybirgeart
Materials used:
- 9 to 5 Digital Stamps
- Copic markers
- Window die
- Blue cardstock
- Grid paper
- Foam tape
- Glitter glue
- Silver glitter gel pen

 Good Things Take Time handmade card tutorial
Leave a Reply