
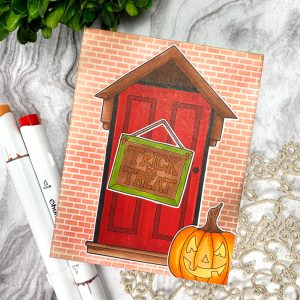

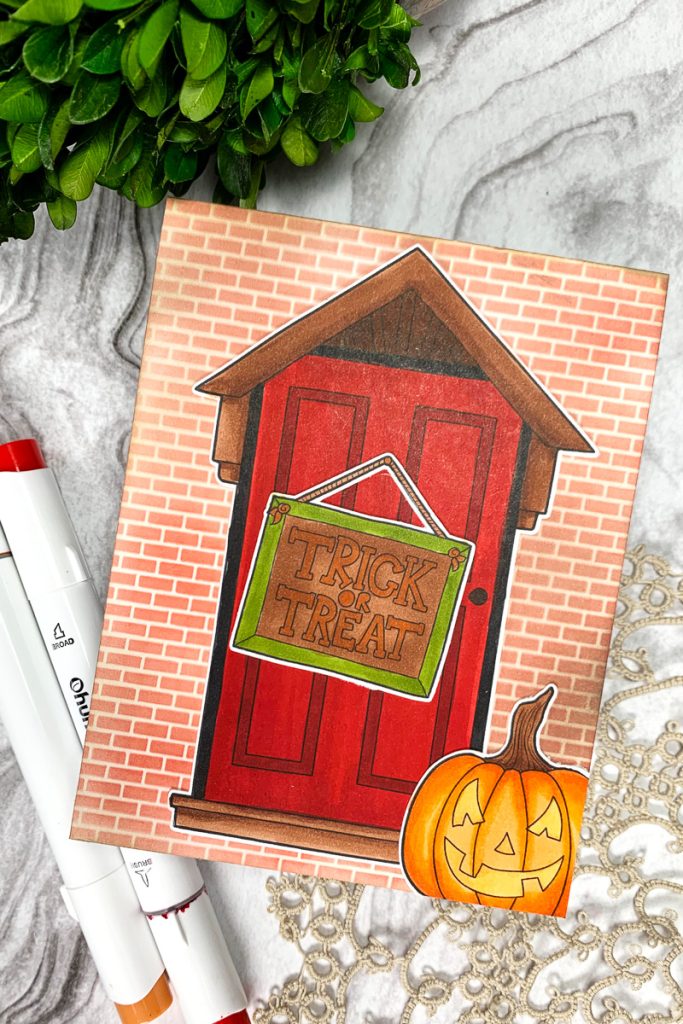
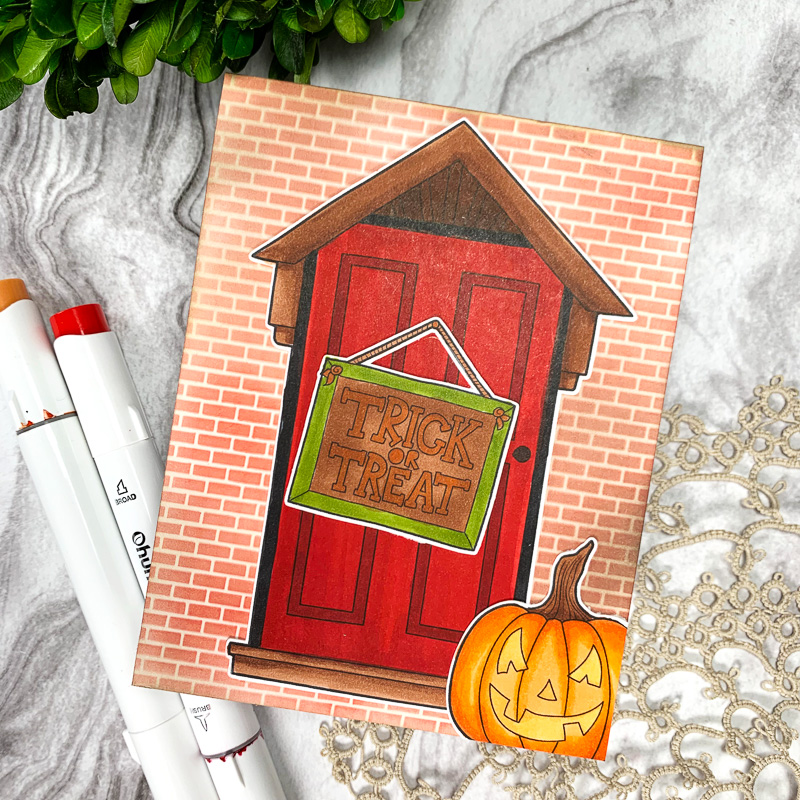
Hello everyone! Sasha here. Who doesn’t love free candy? With Halloween just around the corner, I thought it would be fun to create this festive door scene card. Plus, with the holiday season soon to come, this Halloween card idea can easily become a Christmas card, complete with a wreath and some snow! The possibilities are endless!
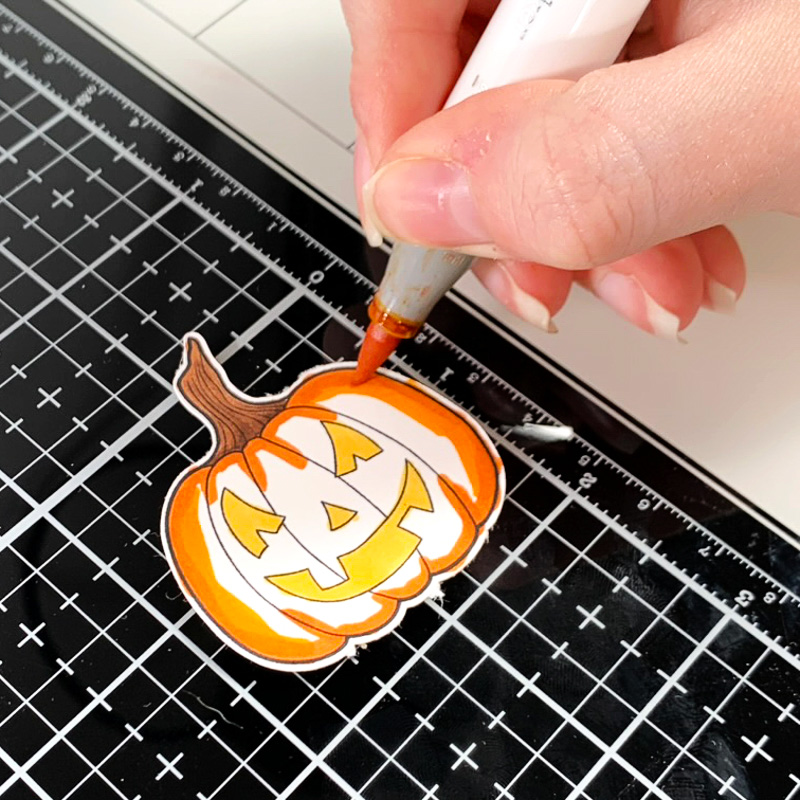
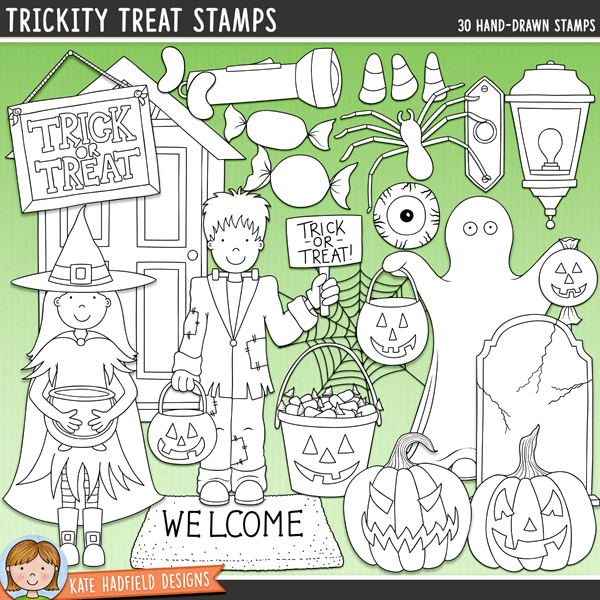
I started by uploading a few of the images from the Trickity Treat Digital Stamp set into Cricut Design Space. I used Cricut Design Space to help me size the images and plan my design. Since I am creating a simple door scene, I uploaded one of the door images, the “trick or treat” sign, and a jack-o’-lantern. Once the images are the perfect size, I printed them onto 100lb Hammermill cardstock and cut them using my Cricut cutting machine.
To colour the images, I used the following Ohuhu alcohol markers: R180, R2, Y140, YR180, YR3,Y10, YR4, GY8, 120, E120, E130
For the background of my card, I used a brick stencil to create the appearance of a house exterior. I first started by lightly inking the card with a light brown ink. I used Frayed Burlap Distress Oxide. Then, I placed my brick stencil on top and ink-blended a brick pattern onto my card using red ink. I used Candied Apple Distress Oxide.
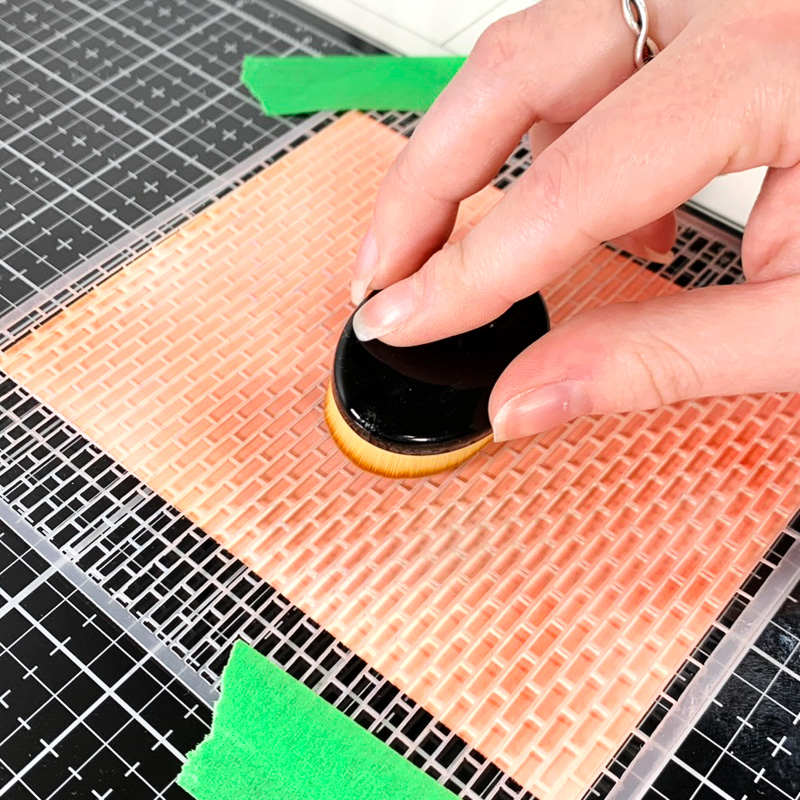
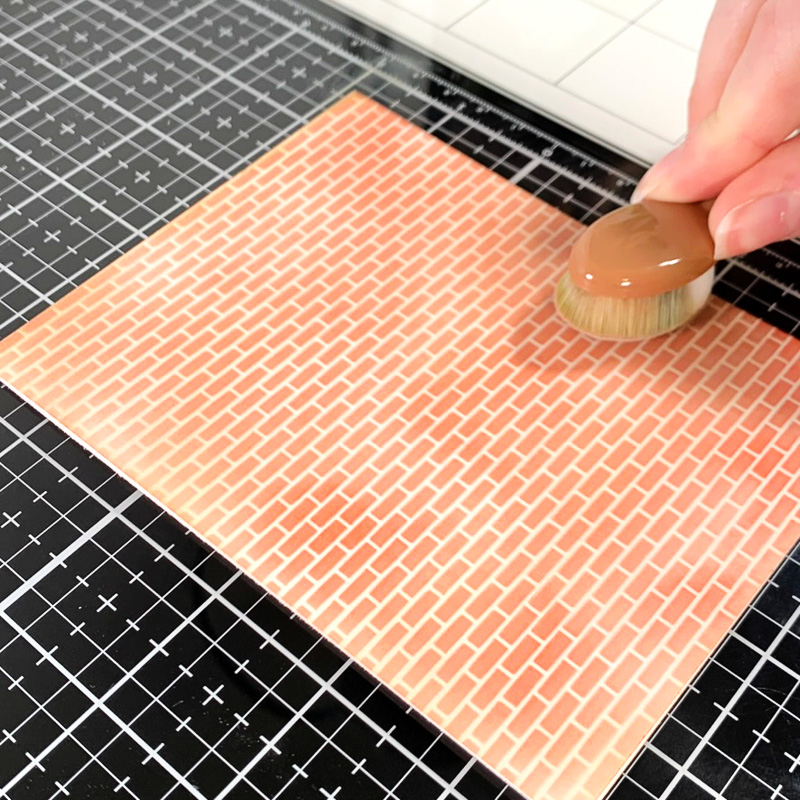
I removed the brick stencil and finished the background by haphazardly ink-blending a darker brown ink all over the background, adding a grungy appearance that is perfect for Halloween! I used Scorched Timber Distress Oxide.
To finish off the card, I used liquid adhesive to glue all of the images onto the brick background.
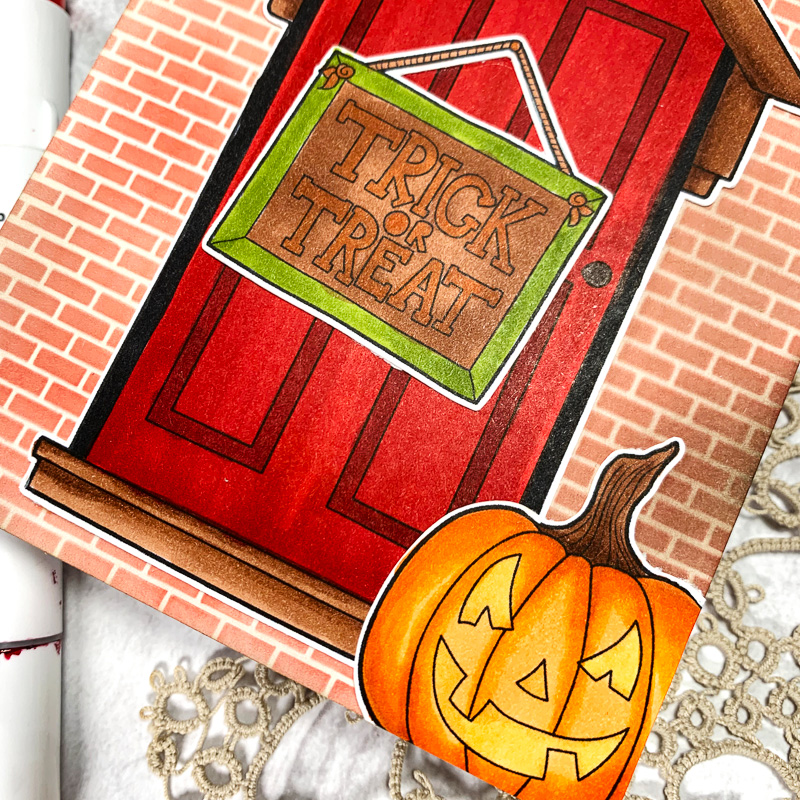
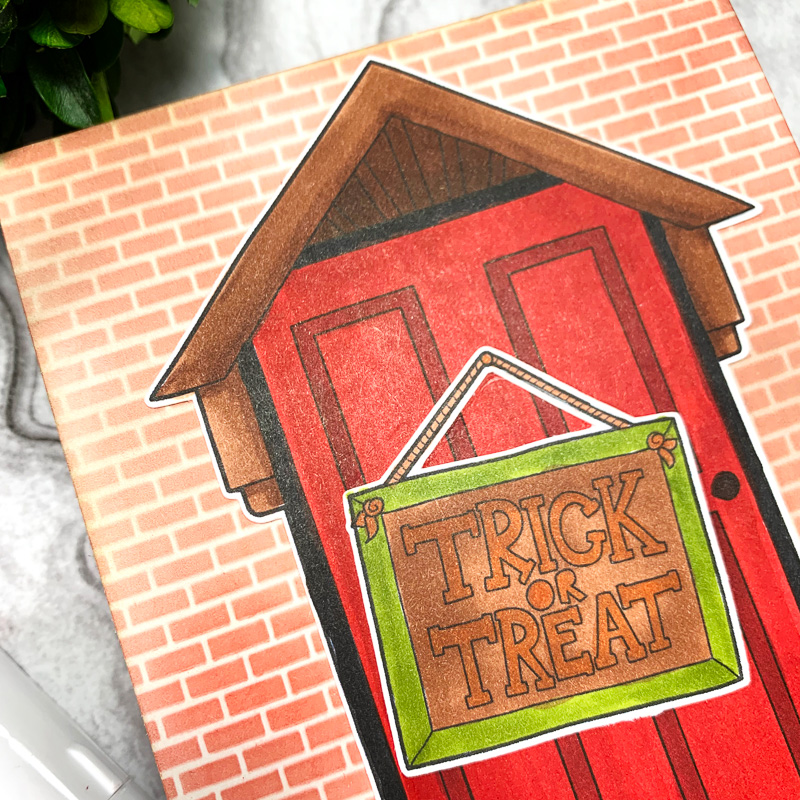
And there you have it! A handmade card featuring a perfect little scene for the Halloween season!
Thanks for reading. See you next time!
Sasha
Products Used:
- Trickity Treat Digital Stamps
- Cricut cutting machine
- Printer
- Ohuhu alcohol markers
- Brick stencil
- Frayed Burlap Distress Oxide
- Candied Apple Distress Oxide
- Scorched Timber Distress Oxide
- Blending brushes
- Liquid adhesive

 Betsy’s Monsterific Monster Card!
Leave a Reply