


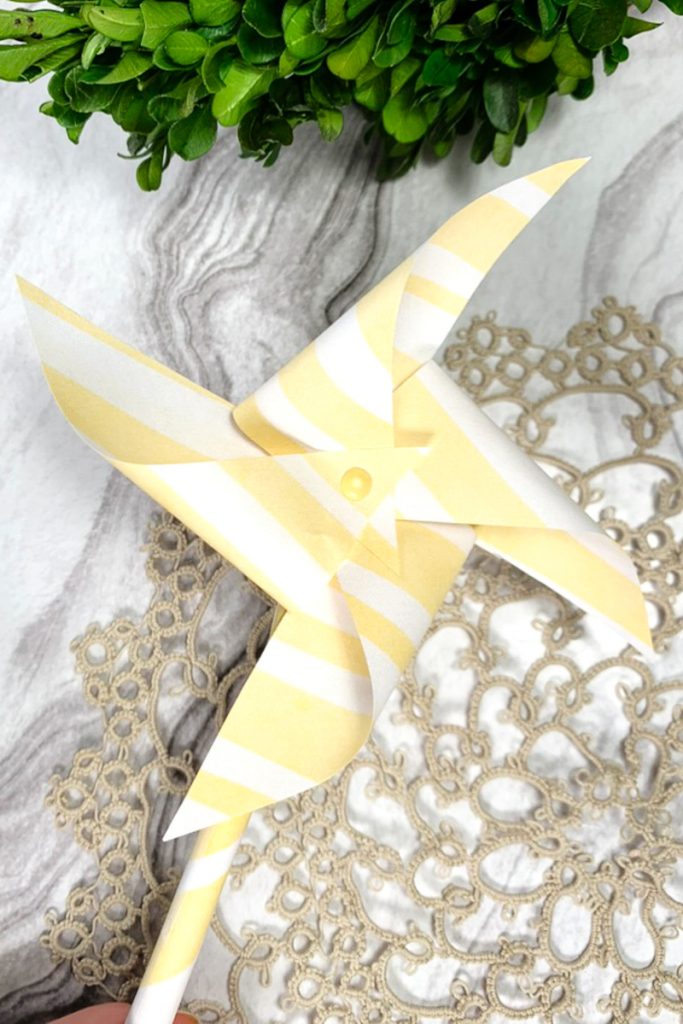
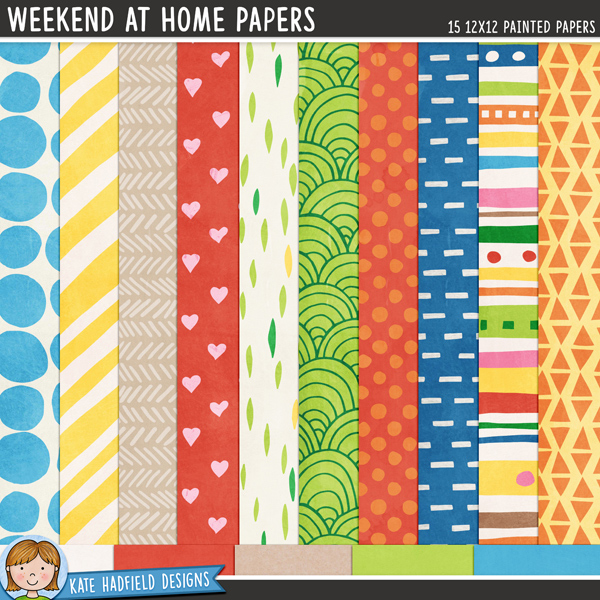
Hello everyone! Sasha here. Although I am already getting into a fall mood with some seasonal crafting, there is still time to enjoy the nice weather, so why not make the most of it with a handmade paper pinwheel? I am using the Weekend At Home Papers to make my pinwheel.

I started by pasting my chosen paper into Microsoft Word. I sized the digital paper to fill the entire page of a standard 8.5″ x 11″ page of printer paper, copied and pasted the image onto page two of the document, and printed it out, selecting double-sided printing in my printer settings. Although I often use cardstock for my paper projects, I printed this onto a piece of regular printer paper, making it easier to fold.
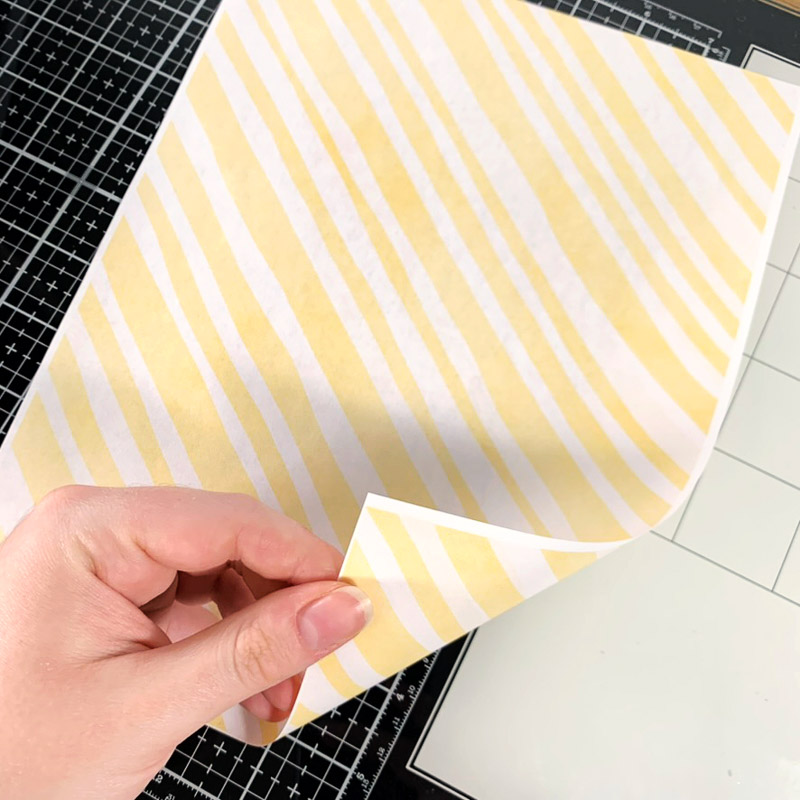
Once printed, trim the paper down to a 4″ x 4″ square for your pinwheel. While you can use a paper straw for the stick, I made one from matching patterned paper by trimming a 2″ x 5.5″ strip.

Using a ruler, mark the centre of the 4″ x 4″ piece of paper. Then, with the ruler diagonal, mark a line in each corner of the paper 1″ from the center.

Lightly fold the paper diagonally (without creasing it fully), and then hole-punch the centre.

Unfold the paper and hole-punch a hole near each corner.

Cut along the diagonal lines and erase any remaining pencil markings.

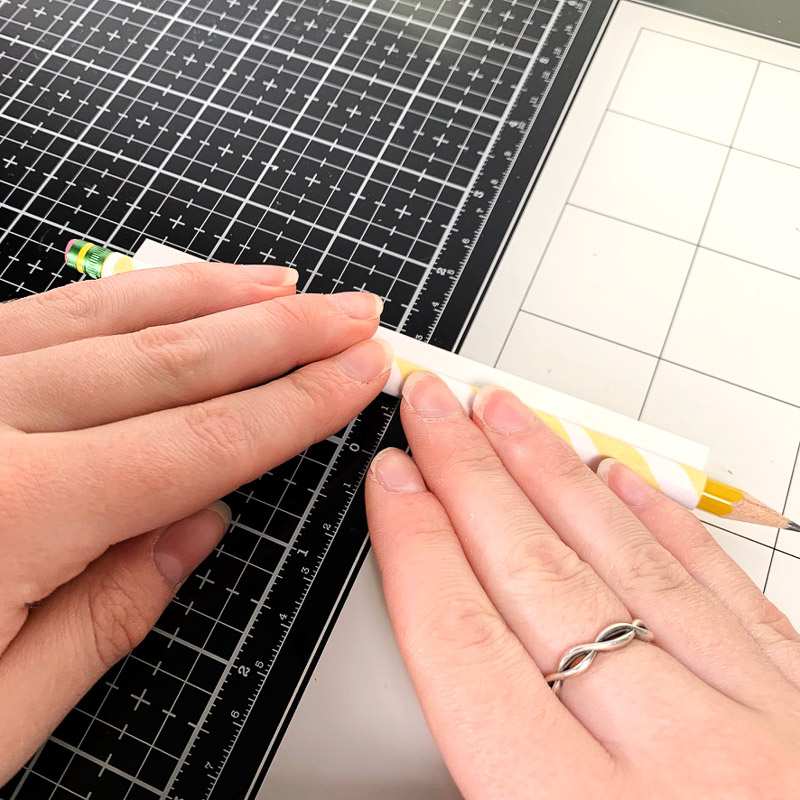
To create the paper straw for the pinwheel, roll the 2″ x 5.5″ piece of paper and use either tape or glue to hold it together. I used a pencil to help me roll my straw! Flatten one end of the straw and punch a hole.
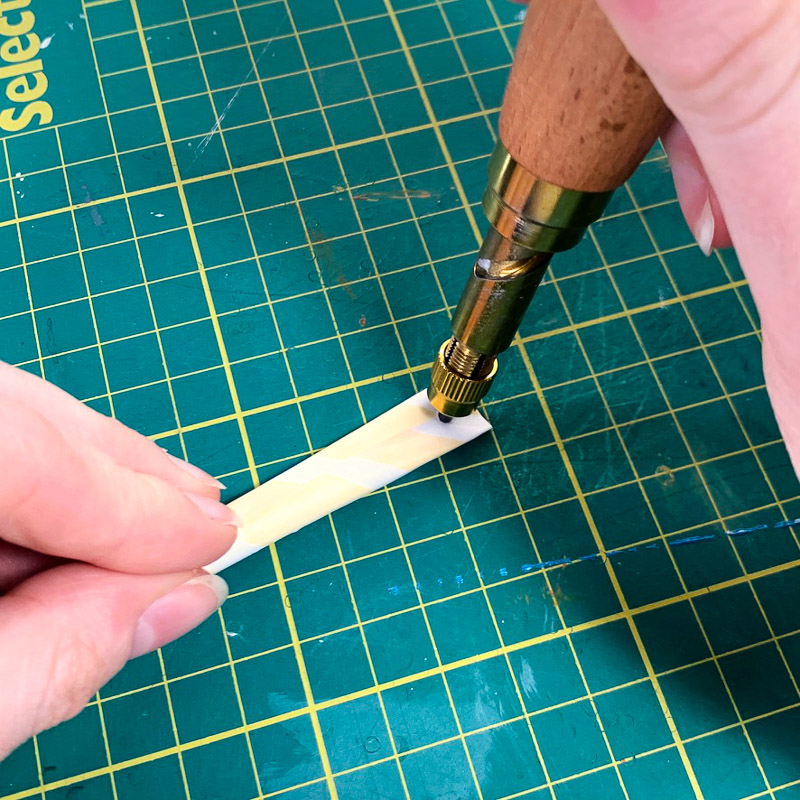
To assemble the pinwheel, bring each punched corner of the pinwheel toward the centre and stack the holes, going through the center hole and into the hole at the top of the paper straw.

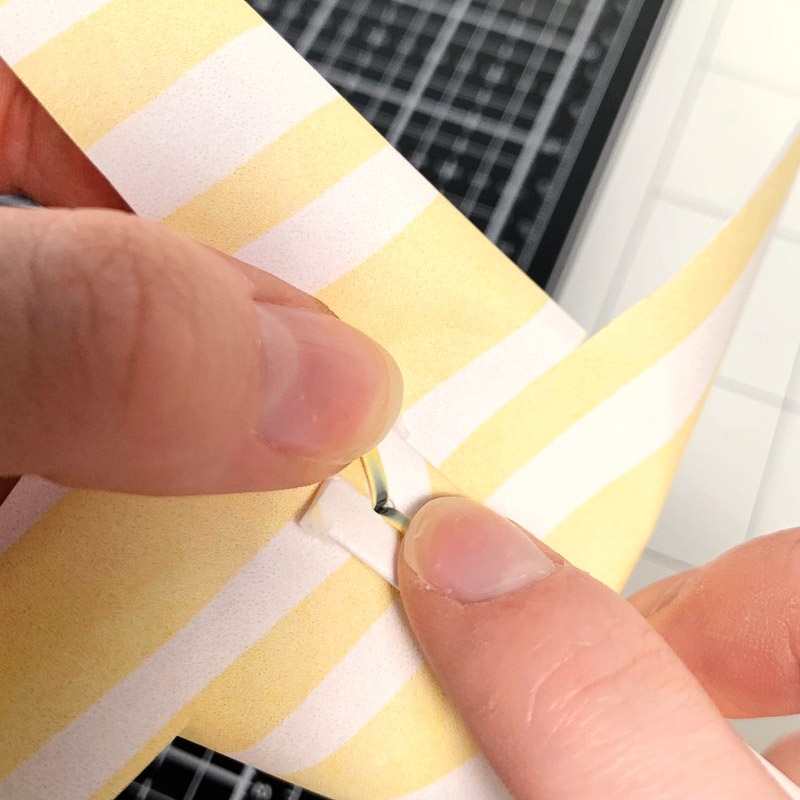
And there you have it! Your very own pinwheel!
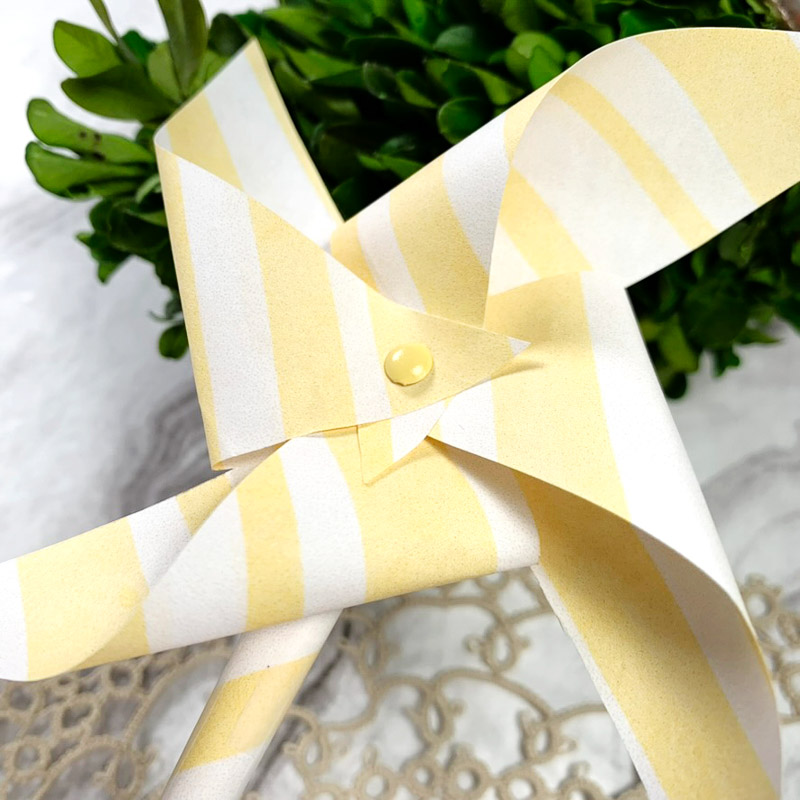
Thanks for reading. See you next time!
Sasha
Materials Used:
- Weekend At Home Digital Papers
- Printer
- Paper trimmer and/or scissors
- Brad
- Tape or glue
- Hole Punch

 Betsy’s Back To School card
Leave a Reply