

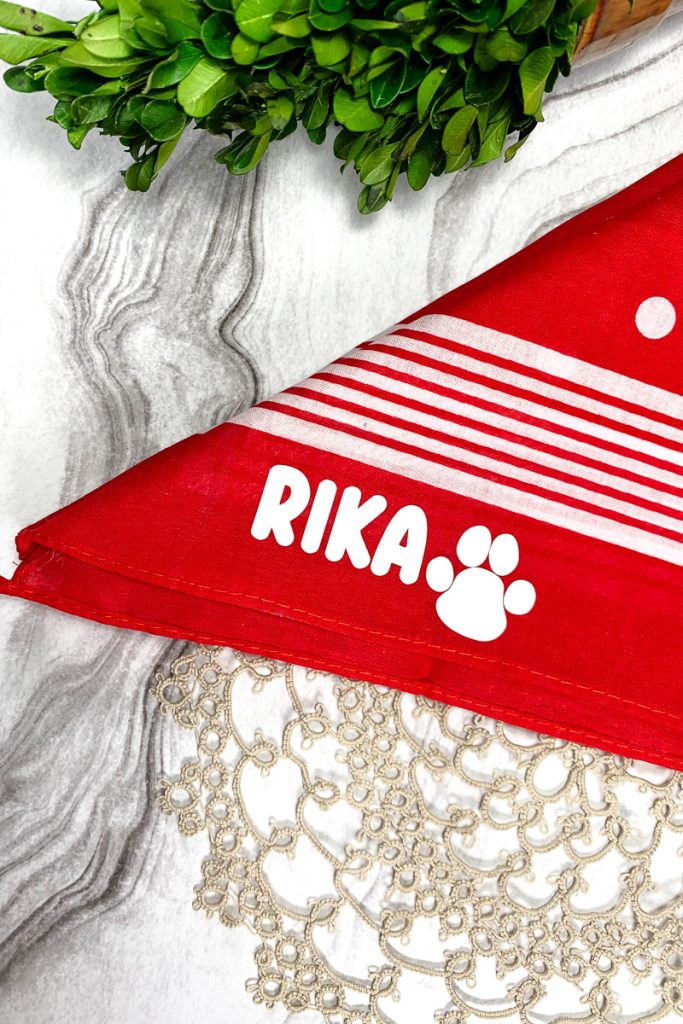
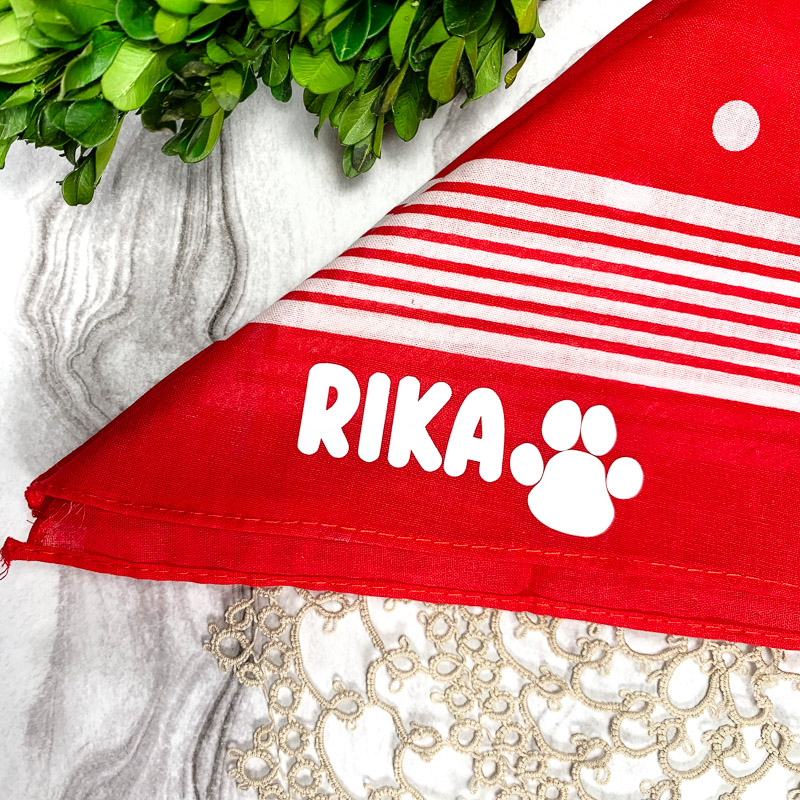
Hello everyone! Sasha here. Today, I’m sharing something a little different than usual… I’m sharing how I customized this dog bandana using the Doggie Days Digital Stamp Set!
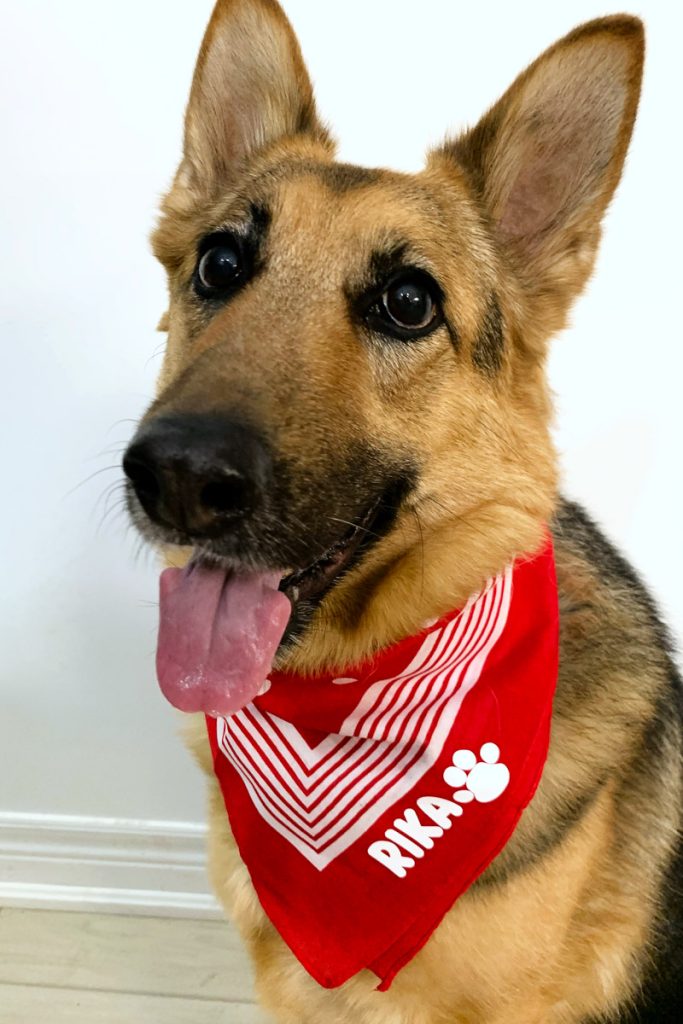
For this project, I used heat transfer vinyl, which is not something I usually work with (my crafting usually involves paper!), but I had a lot of fun customizing this bandana for my dog! I think it’s safe to say she likes it too.
I started by uploading the paw print image from the stamp set into Cricut Design Space. When uploading the image, I made sure to select the option “Convert Upload to Single Layer.” By selecting this option, Cricut Design Space creates a simple, one-layer image that is perfect for using with heat transfer vinyl!
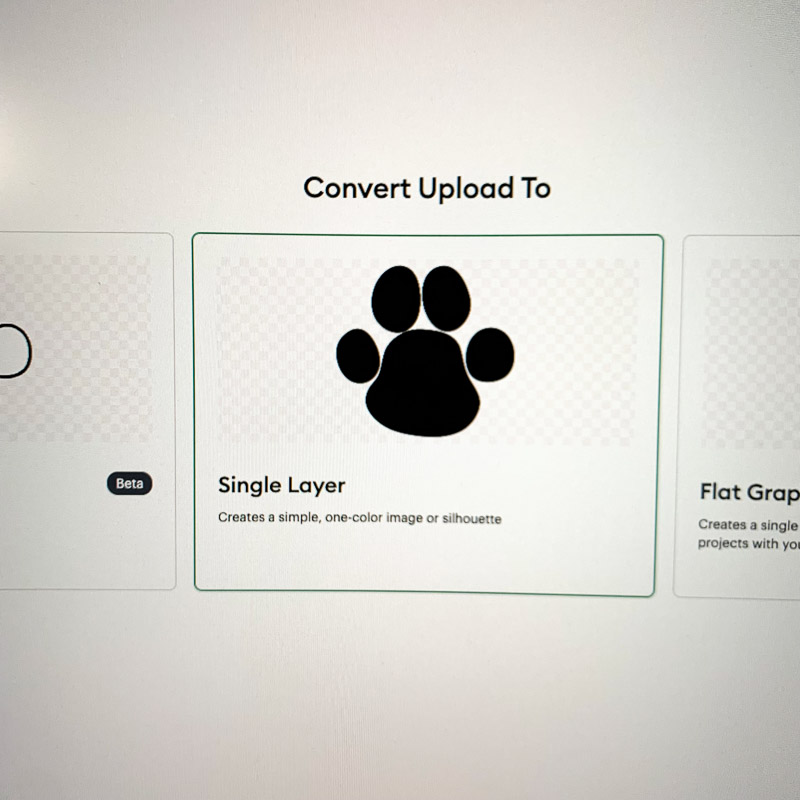
In Cricut Design Space, I also used the text tool to add my dog’s name. I aligned her name with the paw print, and then it was ready to cut!
Before cutting the vinyl, make sure to mirror it. Otherwise, the text will cut out backwards.
I placed the heat transfer vinyl onto my cutting mat, shiny side down, and cut it using my Cricut Cutting Machine.
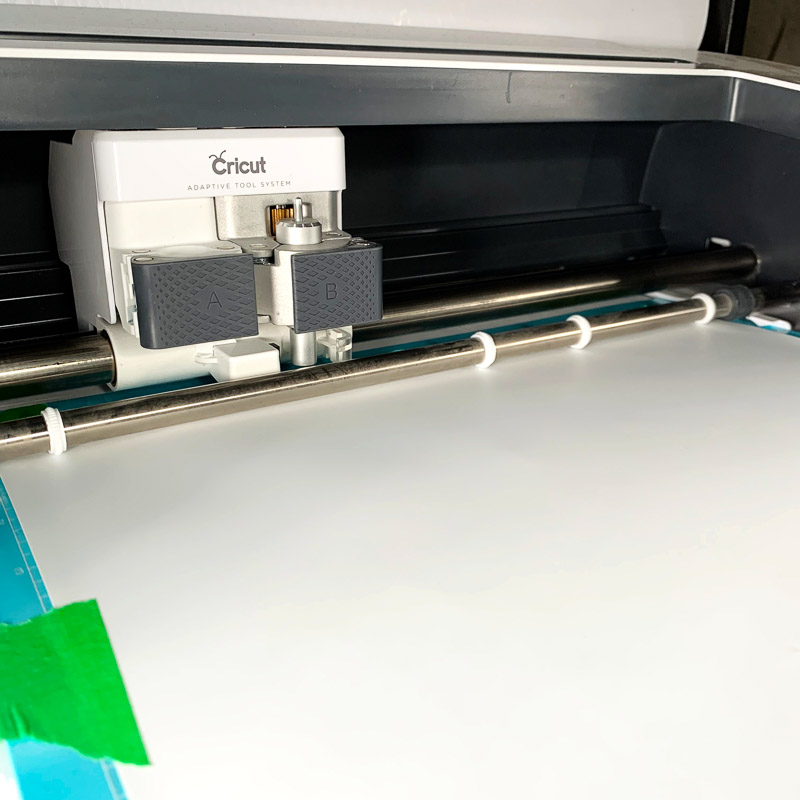
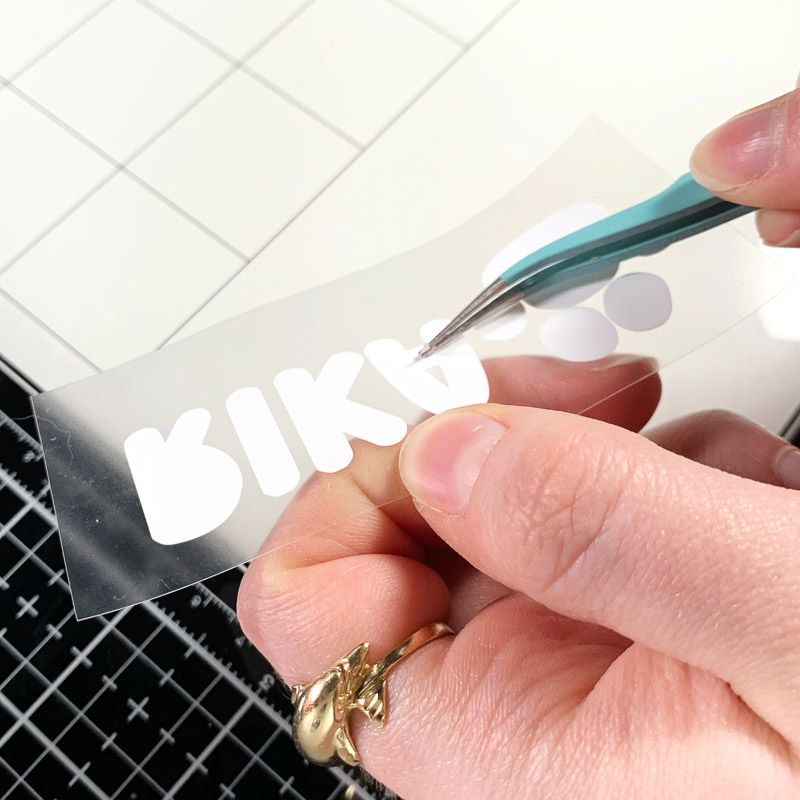
Once it was done cutting, I weeded the vinyl, removing the extra pieces of vinyl remaining on the carrier sheet in a few of the letters. For this, I used a pair of tweezers.
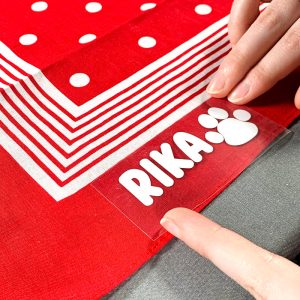
Next, I placed the vinyl onto my bandana, aligning the top of the clear carrier sheet with the design of the bandana.
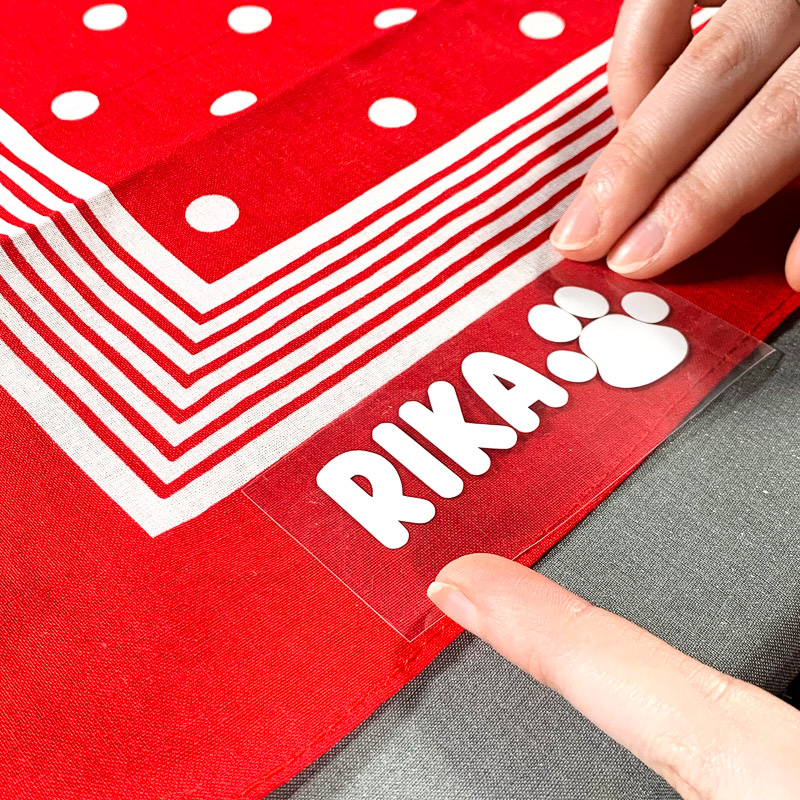
Now let’s iron it on! Using a mini heat press, I held the heat press on top of the heat transfer vinyl for approximately 10 to 15 seconds using medium pressure. However, make sure to read the directions for your vinyl to ensure a perfect transfer!
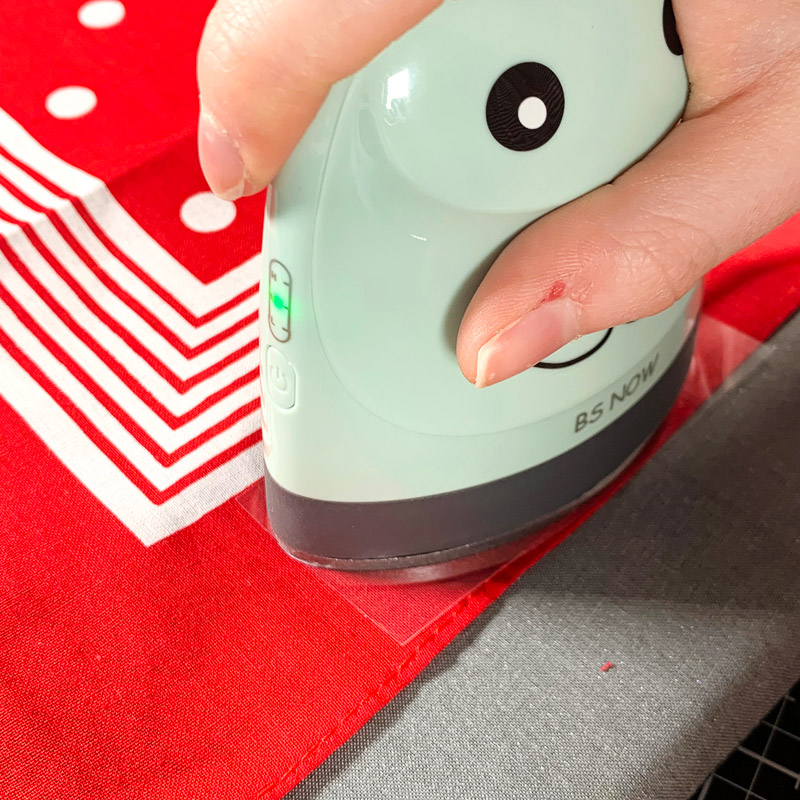
Once cooled, I peeled off the carrier sheet to reveal a perfectly customized bandana!
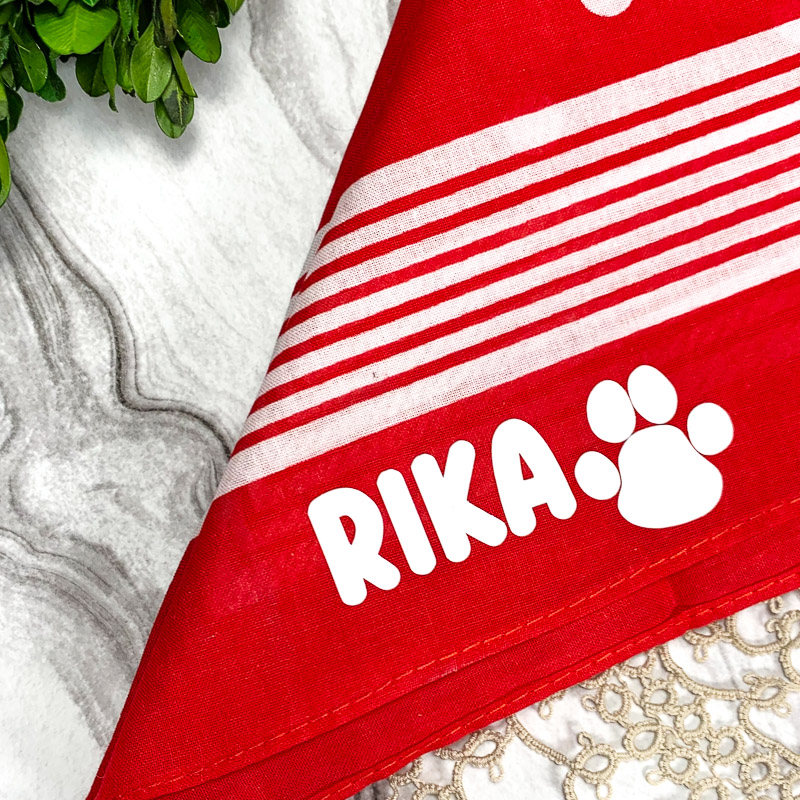
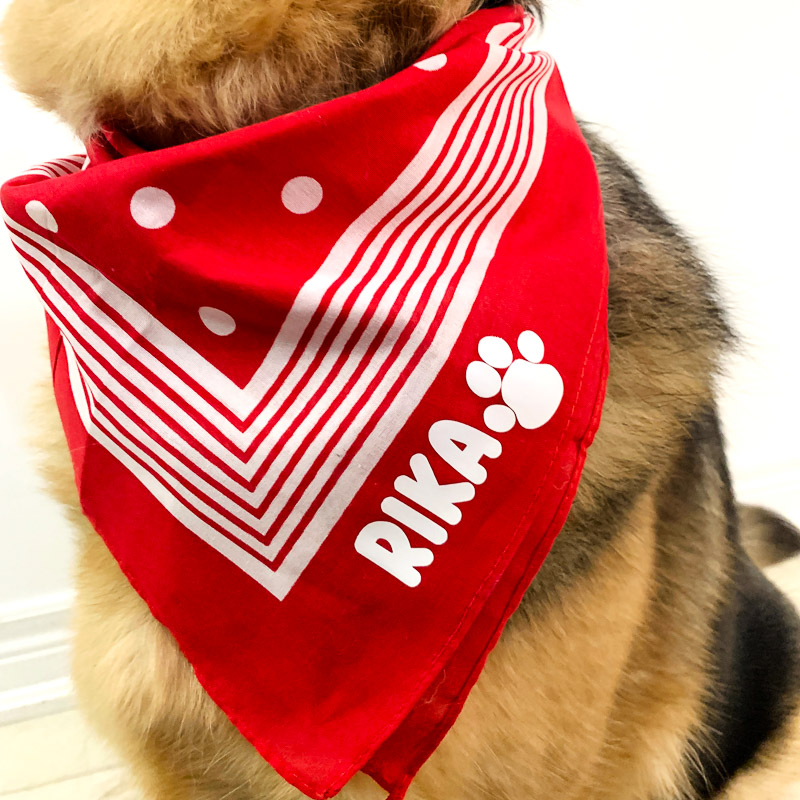
Thanks for reading. See you next time!
Sasha
Products Used:
- Doggie Days Digital Stamp Set
- Cricut Cutting Machine
- White heat transfer vinyl
- Bandana
- Tweezers
- Heat press

 Betsy’s Happy Spring card
Leave a Reply