



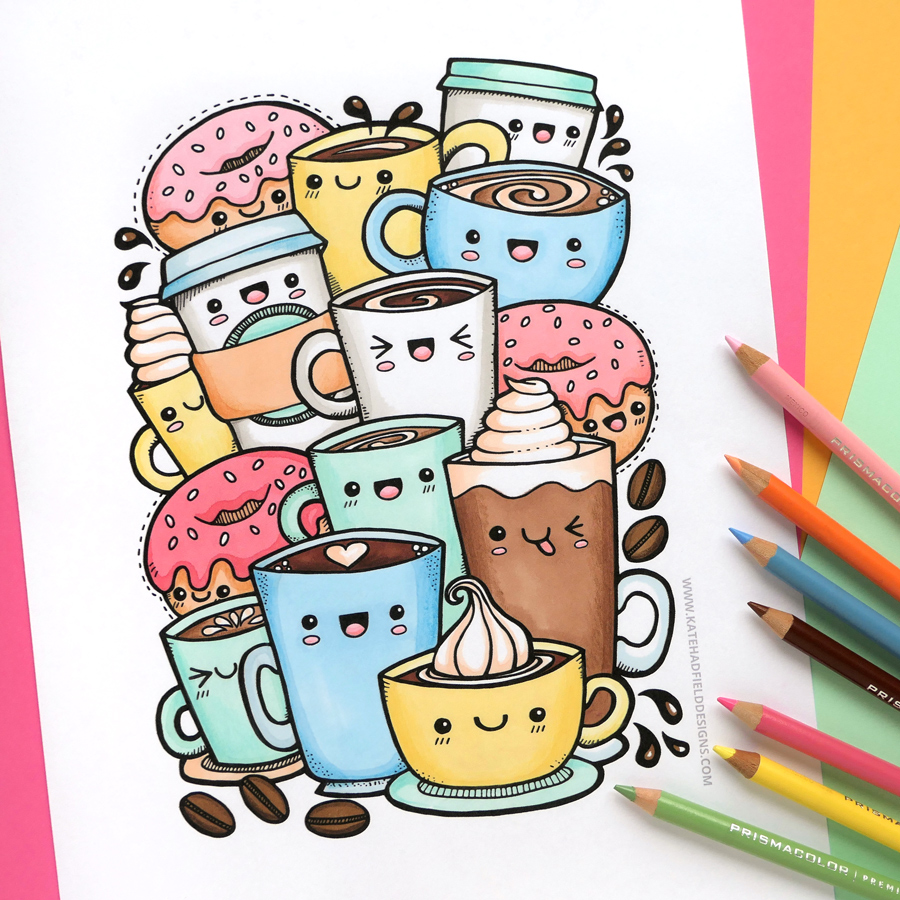
Hi there crafters, its Terri back on the blog today sharing a simple tutorial for how to make a shaped card using Kate’s Colouring pages.

Getting started
To begin, you will need to resize one of the colouring pages so that it fits into one quarter of an A4 size piece of card, either at the top or bottom right.
Once you have printed your image, you can trim the card in half horizontally, so that one size of your piece has the image on. If you then score this in half using a scored board, you will have an A2 sized card.

Next, you can set about colouring your image. I love all of the colouring pages, as they are so cute and fun and wonderful to colour up. You need to decide what colouring materials you are going to use. I used Copic alcohol markers, which I knew would bleed through to the back of the card, but that’s no problem if you’re using a lighter weight card stock, like I did, as we’ll fix that later on. For now, just focus on having fun colouring your image!

Turning your image into a card
In order to create a shaped card, you will need to simple trim around the edges of the image on all sides, but only the top and bottom of the side with the fold on. Whenever doing this technique, you must be careful that you trim the bottom of the card so it has some parts which are level with each other, to ensure it stands up. If it is a lightweight card, you can trim the folded card together as a good, sharp pair of scissors should handle this. If you chose a heavier weight card, you would need to trim the front first and then trim the back to match.


If you used alcohol markers like me, or a light weight card stock, you will need to make the card sturdier. I chose a bright yellow sheet of A4 light weight card stock and drew around the card, so that I knew it would cover the back of the front of the card. I used a ruler and pencil for this. Next you need to adhere this to the inside front of the card.


You next use the already trimmed white edge of the card as a guide and trim your coloured paper all the way around. You need to repeat this step with the other inside page of the card, to ensure your make is not front heavy and will stand up nicely. Your card base could be completed here. I ended up adding another piece of yellow card onto the back though, as I had a few ink marks I could not remove!

Final touches
Once my card was assembled, I used a white gel pen to add the white dots back into the eyes and I also coloured the cheeks white.
How you complete your card is up to you! You could add a sentiment, such as “Happy Birthday” or something relevant to the image. Or you could leave it sentiment free and keep it in your stash for when need a quick card. Cute cards like these are suitable for most people of any age. They would also be perfect for kids cards, so it might be handy to have a few on hand for if your child tells you they need a last minute birthday card for a friend. I like to add little gems or sequins to my cards usually, so as I had a person in mind for this card I added the sentiment and a few tiny plastic flat backed gems with a pick up tool and a fine tipped glue bottle.
I hope you have enjoyed this tutorial! It’s a simple idea but looks really great when pulled together. I’ll add a supplies list below along with some pictures of the finished Kawaii Coffee Bestie card!


Happy crafting and see you again soon,
Terri/Veegstez Creates xxx
Supplies list:
- Colouring page from Kawaii colouring pages collection
- White card stock
- Printer
- Coloured cardstock if using alcohol markers or card stock less than 300gsm
- Coloured pencils/alcohol markers/paint etc
- Wet adhesive in fine tipped bottle
- gems/sequins (optional)
- Gem pick up tool if adding gems/sequins
- Sentiment (optional at this point)
- Foam tape to raise up sentiment (optional)
- Good, sharp, fussy cutting scissors
- White gel pen

 Creative Team Gallery: Fancy Dressers
Leave a Reply