

Hello crafters! Are we all well? Well, not long to go now until Santa drops down your chimney. Are you excited?!
Aside from my usual card makes, today I’ve a project for you to see you into the new year. Come with me and I’ll talk you through it…
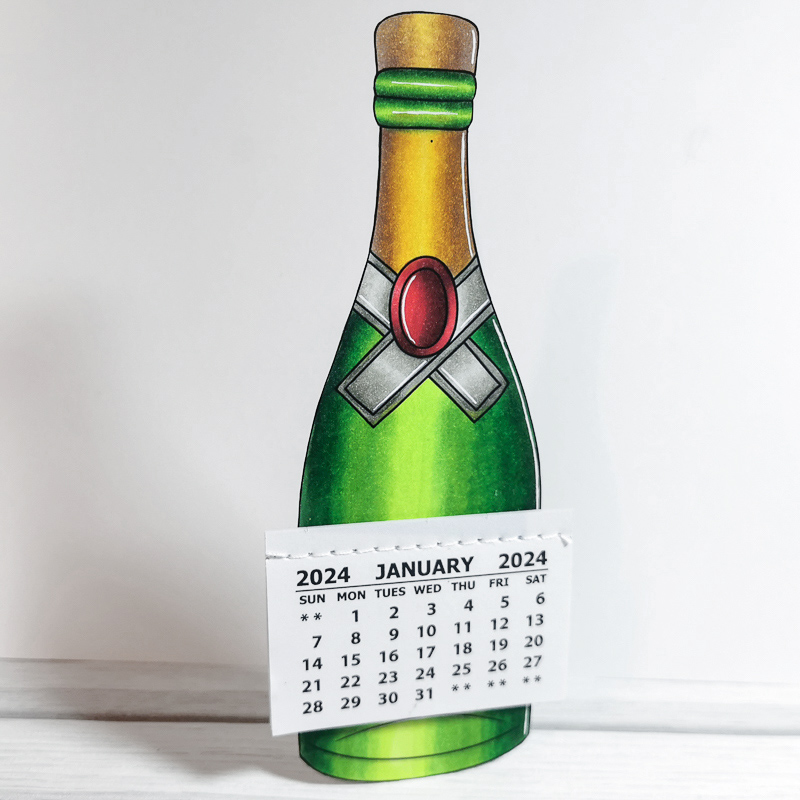
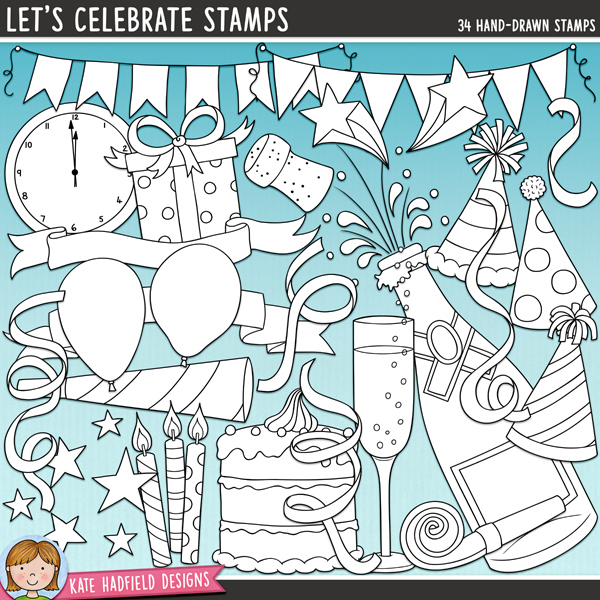
To form the main body of my calendar, I printed out the Champagne bottle from the ‘Let’s Celebrate‘ collection onto White Super Smooth 300gsm card. I printed it at about 20cm tall – a fair and decent size for a desktop calendar.

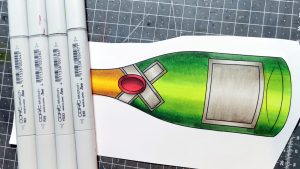
Next, I coloured the champagne bottle in the following Copic colours:
- Bottle: G7, G28, YG25, YG01, YG23
- Gold foil and cork: E37, E35, Y23, Y26
- Red label: R35, R27, R39, R59
- Grey label/ribbon: W1, W3, W5

I cut the bottle out with scissors. Initially, I gave the bottle a very small white border. However, it looked scruffy so I changed my mind and decided to cut against the black outline instead.

Now, I traced round the bottle onto some grey board. Then, I cut around 2mm INSIDE the line so it was several mm smaller all round than the coloured image. This was so that the card would offer support to my image but wouldn’t be visible from the front.
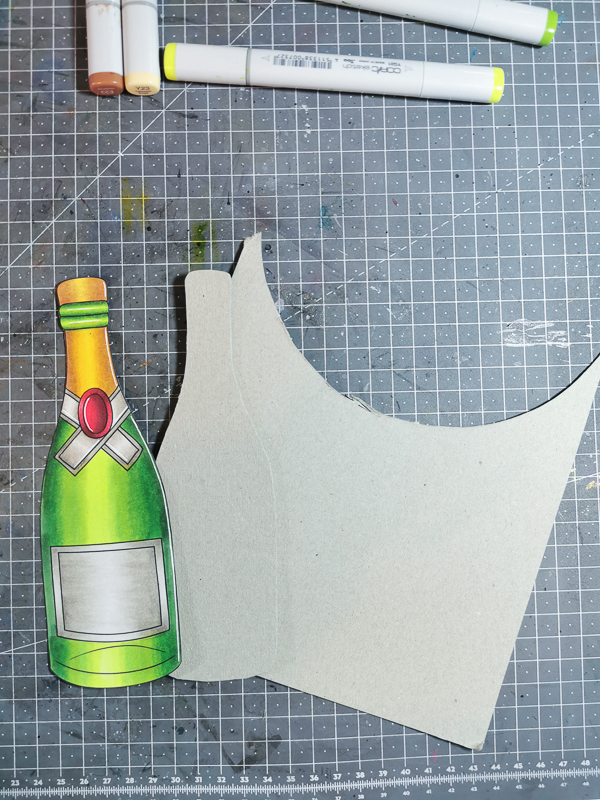
I applied a fine layer of Mod Podge to my grey board and adhered my coloured champagne bottle.

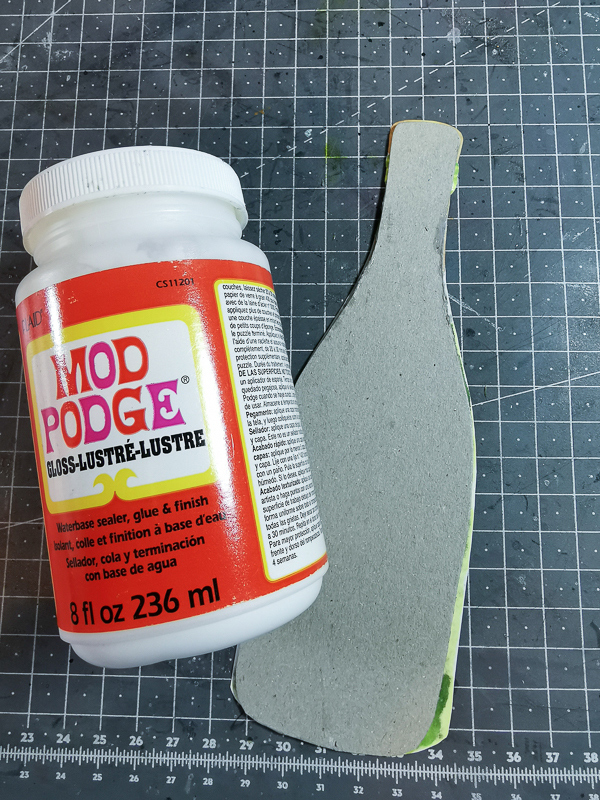
To create the stand I cut 2 rectangular pieces from the grey board also and scored both at around 4mm. I folded the scored parts and adhered the faces together so that both scored parts were parallel.

This structure didn’t allow the bottle to stand so I opened these support pieces up whilst the glue was still tacky to form a triangle. I then adhered these, again with Mod Podge, to the base of the bottle.
TOP TIP: It is important that the base of this support element is absolutely flush with the base of the bottle and no higher as any higher and the bottle wouldn’t stand.

Finally, apply wet adhesive to the reverse of your calendar and adhere to your wine bottle.
Mine overhung either side but I wasn’t too concerned. It also completely covered the wine label so perhaps check measurements prior to colouring as you don’t want to waste your time colouring areas that won’t be seen!
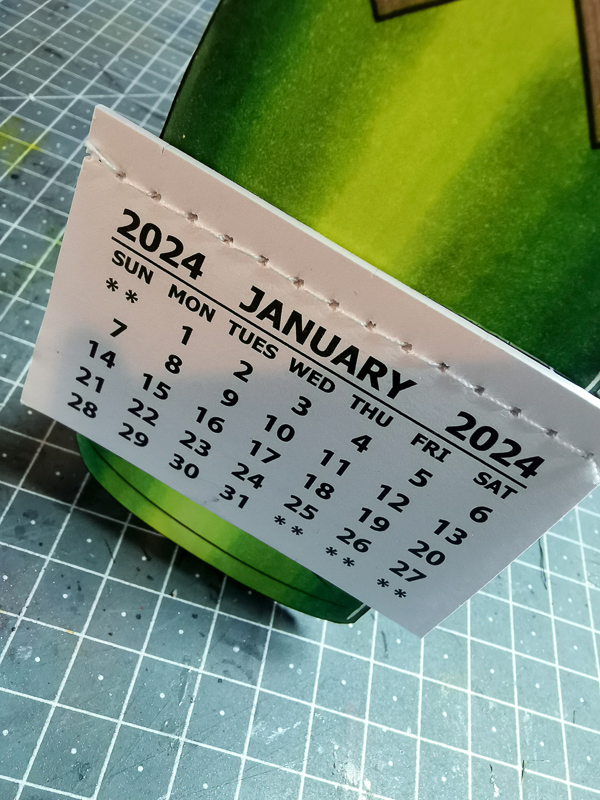
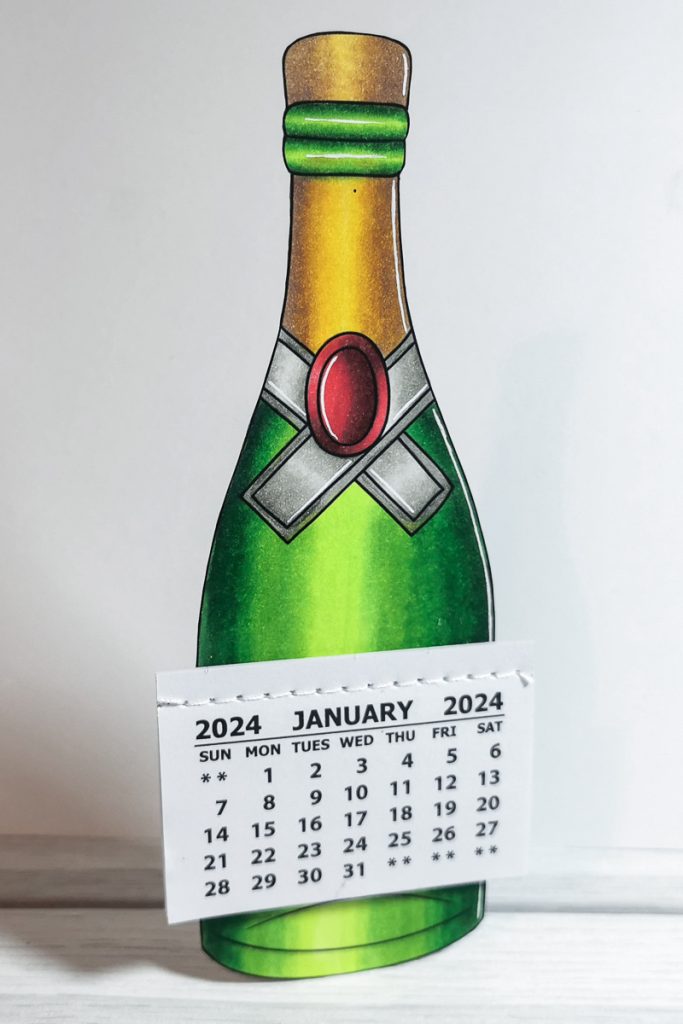
This is it! This is now proudly sitting on my desk ready to bring in 2024.

Wishing you all a wonderful Christmas and I shall see you all in the new year.
Lots of love, Dani xx
Materials Used:
- Let’s Celebrate digital stamp set
- 2024 mini calendar tab
- White Super Smooth 300gsm card
- Copic markers G7, G28, YG25, YG01, YG23, E37, E35, Y23, Y26, R35, R27, R39, R59, R35, R27, R39, R59
- Grey board
- Mod Podge

 Christmas Cards Creative Team Gallery
Leave a Reply