
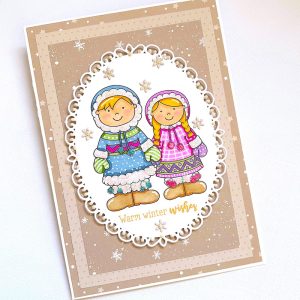

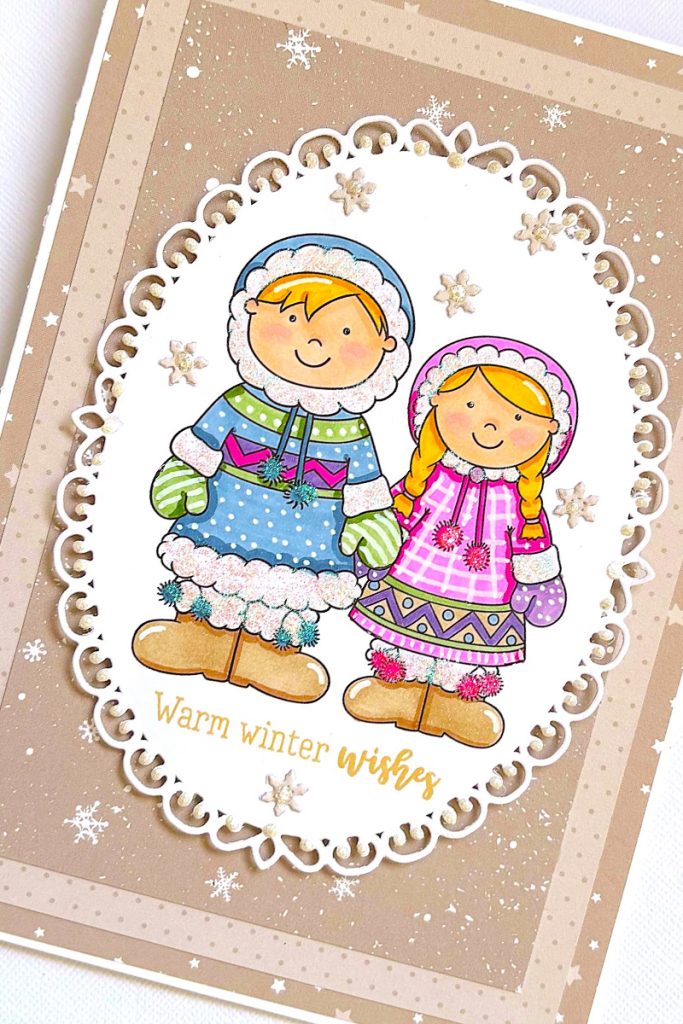
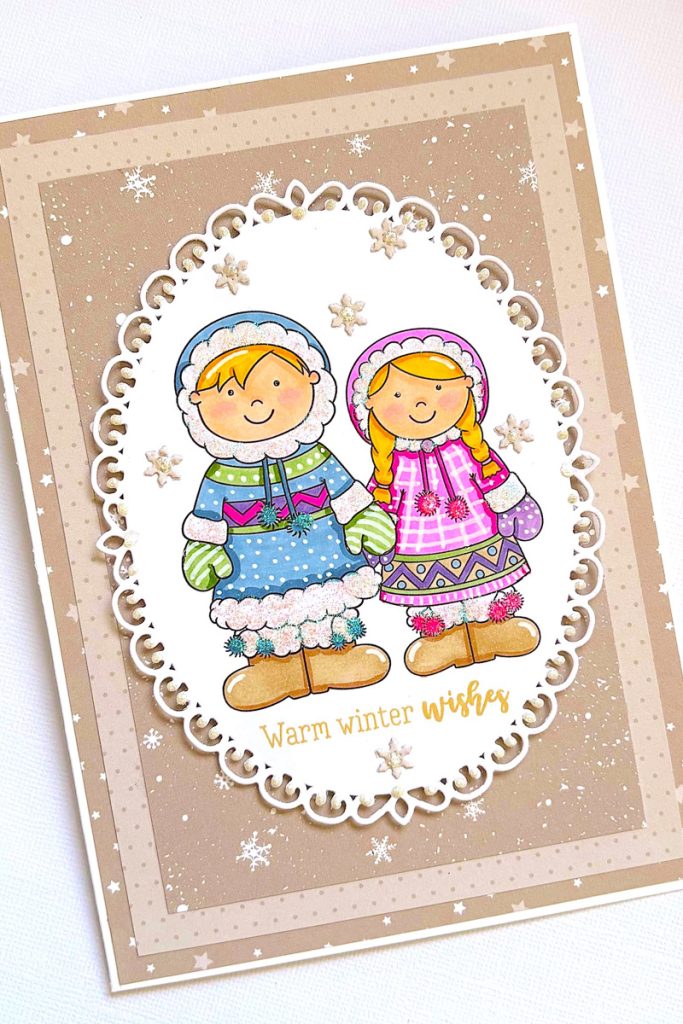
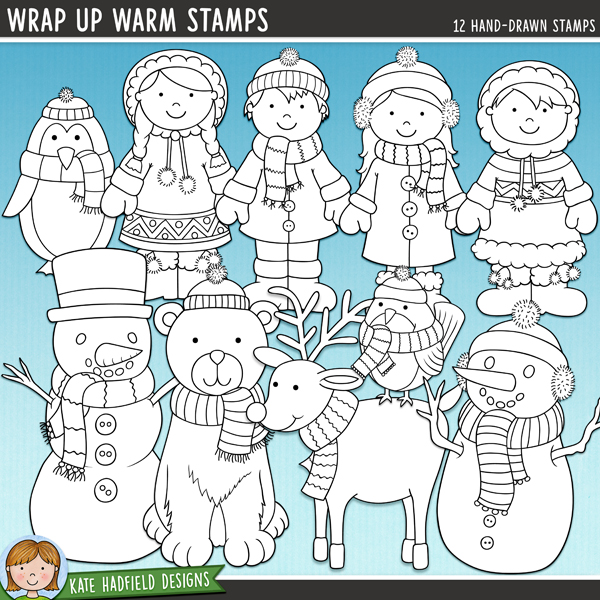
Hello everyone! Betsy here sharing with you a really cute card that would be great to send to friends or relatives that you and your kids don’t see very often! I’ve used the Wrap Up Warm Stamp Set for this card. To start, I chose my background papers. I wanted a neutral background – I’m kind of obsessed with neutral backgrounds lately!

For this project I used 3 layers of coordinating neutral patterned paper. I sized my images in the computer making the 2 kids overlap each other. Then I die cut it with a fancy oval die.
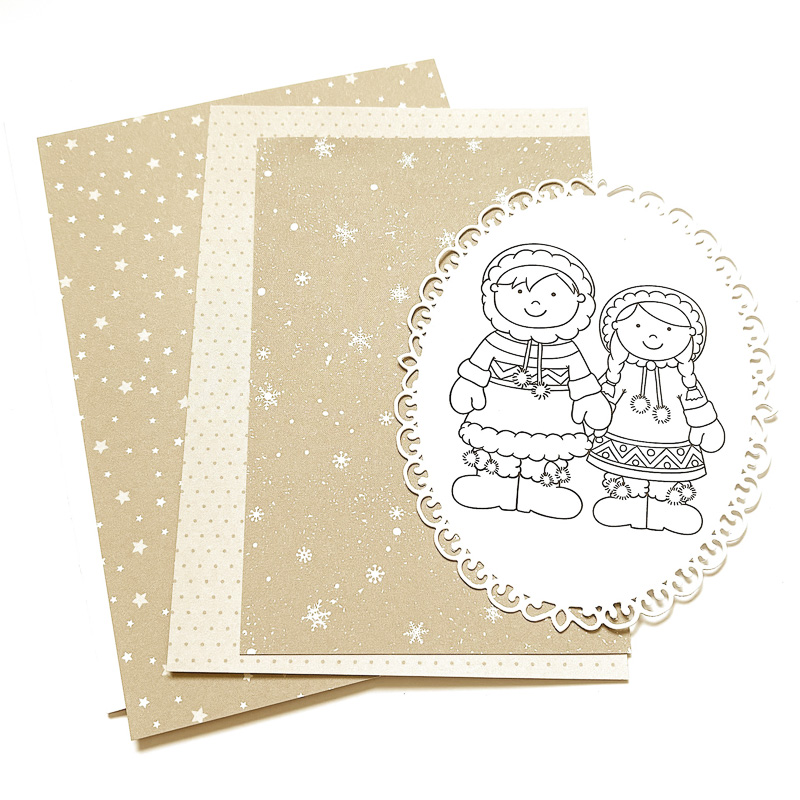
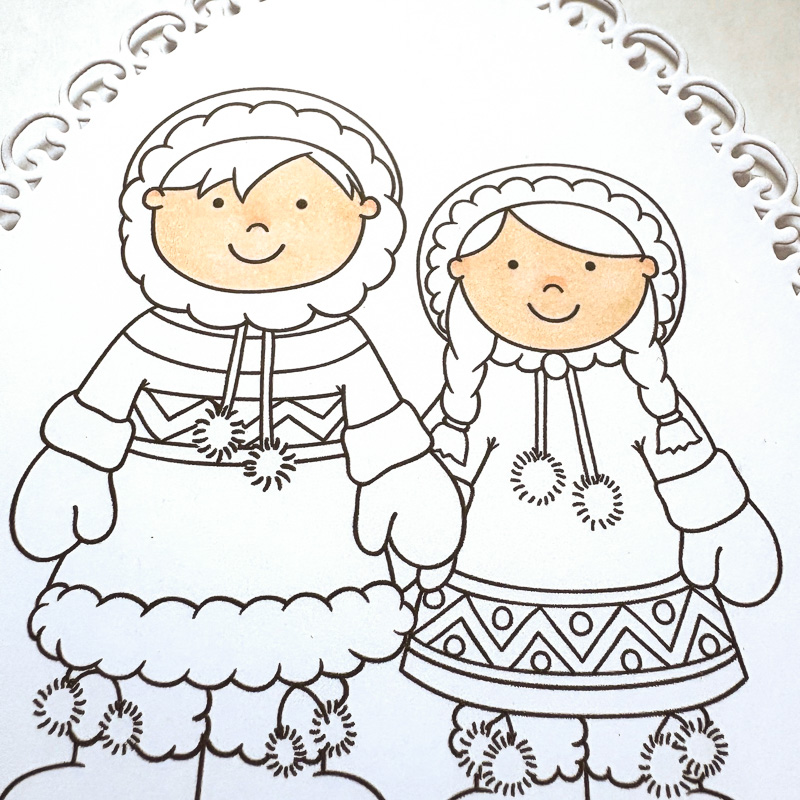
Next it was time to color up the kids. I started with their faces. I had just picked up a pack of Ohuhu markers in the Portrait colors. I wanted to give them a try, so I used 3 of the 6 colors in the box. I really like the base layer skintone…the shading tone was not very dark, but the blush color was really nice.
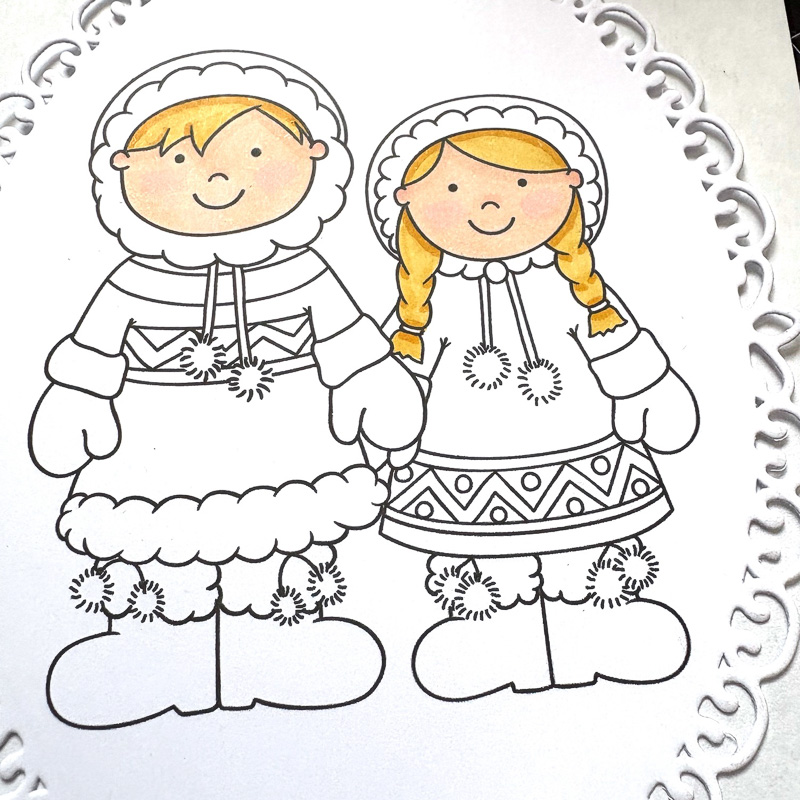
Next I colored their hair both the same…I was making them brother and sister! I was not fussy about blending my coloring and kept it quite simple by not really blending.
When the coloring was done, I stamped a greeting with a stamp from my stash in a light brown ink.

At this point I assembled everything together, popping up the focal panel on foam tape. I used a white 5” x 7” card base. I used a white acrylic marker for the designs on the kids’ clothing. I also used Twinkle Stickles for all the white parts on their clothing. I used a tiny snowflake die and made 6 snowflakes out of one of the background papers. I decorated the frame edging and the middle of the snowflakes using a contour liner in iridescent. And that finished this cute card!

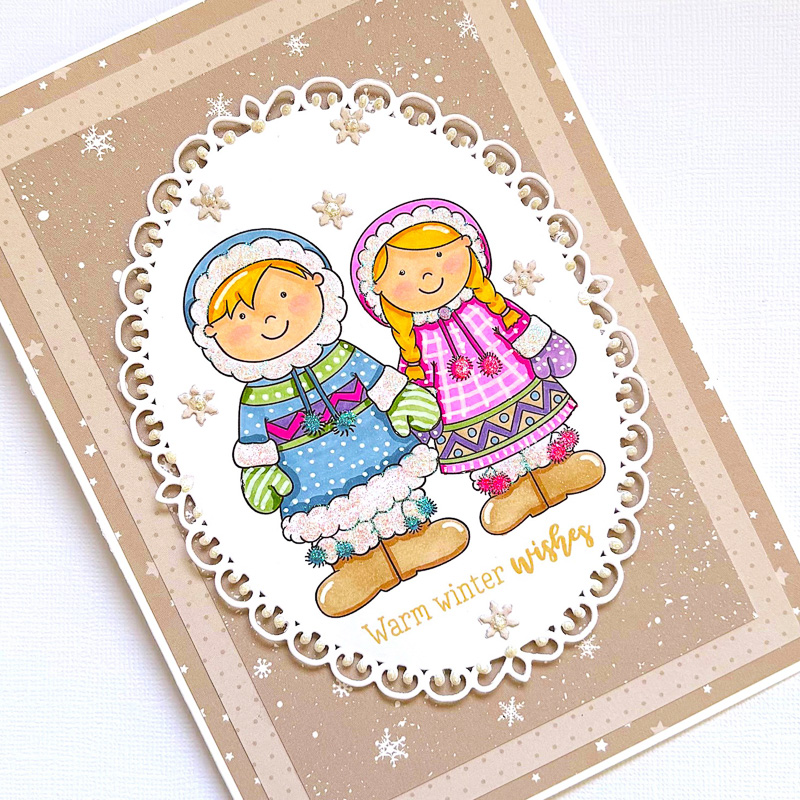
This card came out really sweet and I liked the bigger size of both the card and the kids. If you give this a try, please tag us on social media. We would love to see what you create!
Til next time…
Betsy
You can find me on Instagram: @betsybirgeart
Materials used:
- Wrap Up Warm Digital Stamp Set
- 5” x 7” White card base
- White card stock
- 3 Different coordinating patterned papers
- Stickles
- Contour Liner – Iridescent
- Foam tape
- White acrylic marker or white gel pen
- Fancy oval die
- Copic markers used: Y26, YR24, E43, E25,
- G24, YG67, V15, V17, B93, B97, V0000,
- Spectrum Noir marker: Bright Pink Blend
- Ohuhu markers: YR02, YR04, YR54

 Free Digital Scrapbook Template: Year in Review 2
Leave a Reply