
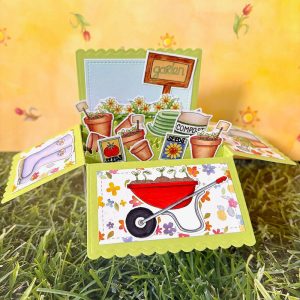

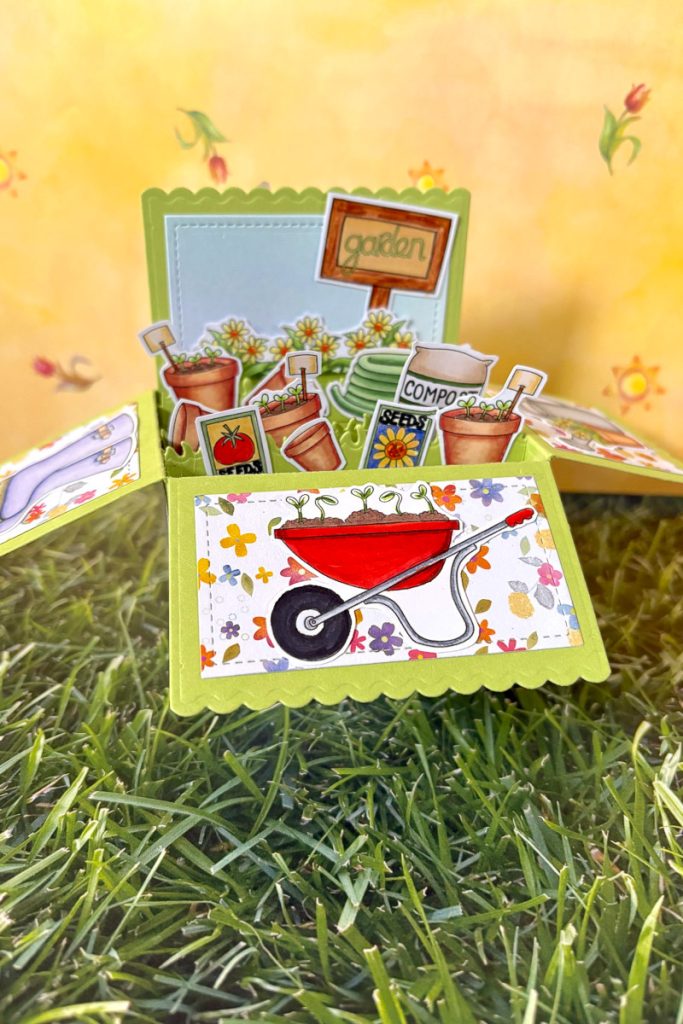
Hello everyone! Betsy here today showing you how to create this sweet little gardening box using the Garden Grown Digital Stamp Set. This is really cute and folds flat nicely for mailing. Let me show you how I made my little box scene.

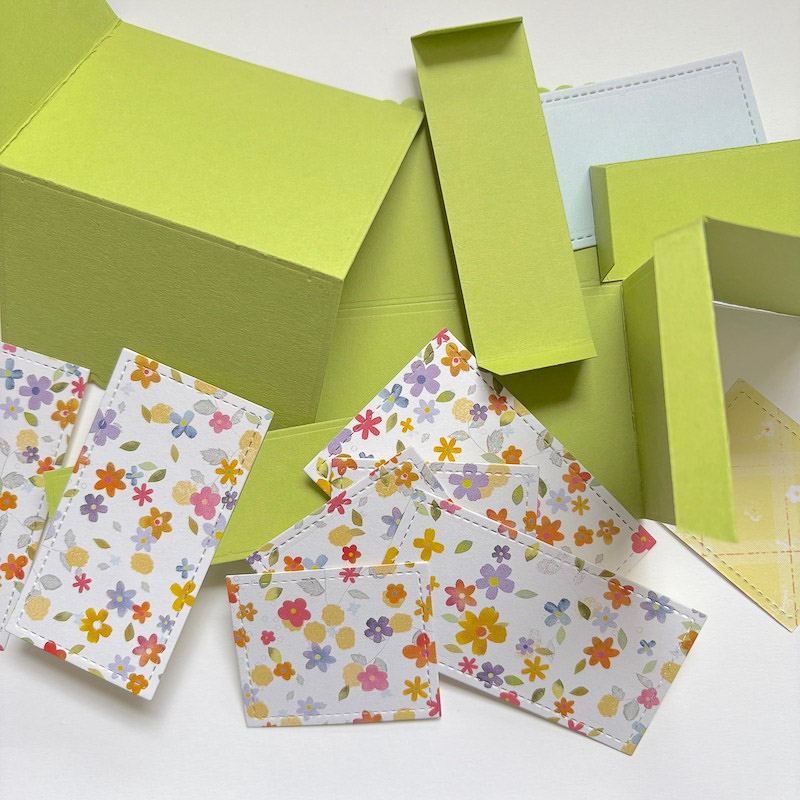
I used a folding pop up box die for my project today. These are all the parts I will need that are all die cut. Many companies sell their own version of these types of boxes. If you can’t find one, many companies in the US ship internationally. Let me show you how I made my card!
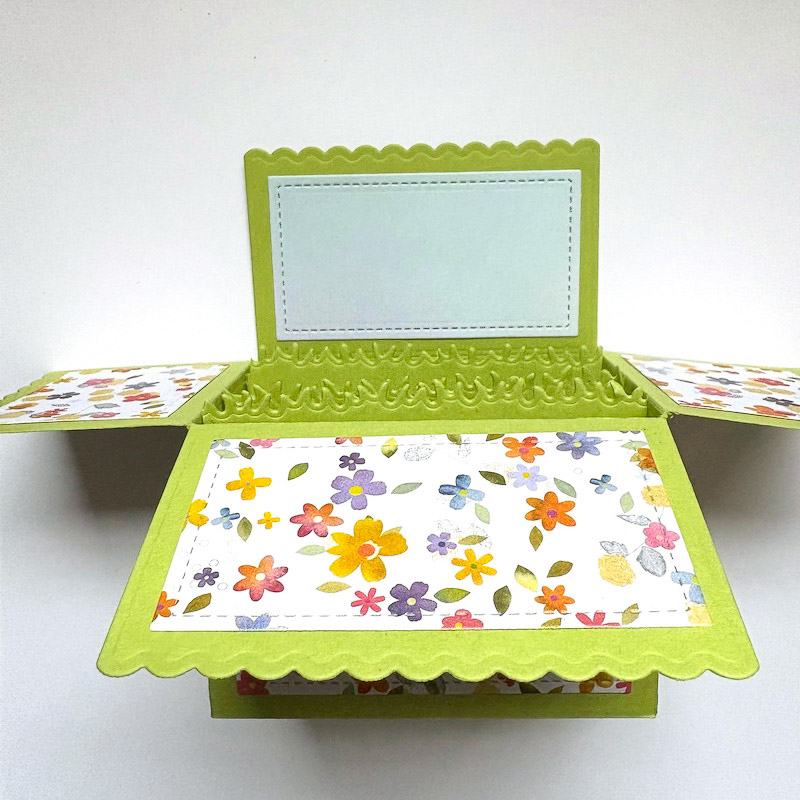
This is my box put together with the inner panels made with a coordinating floral paper.
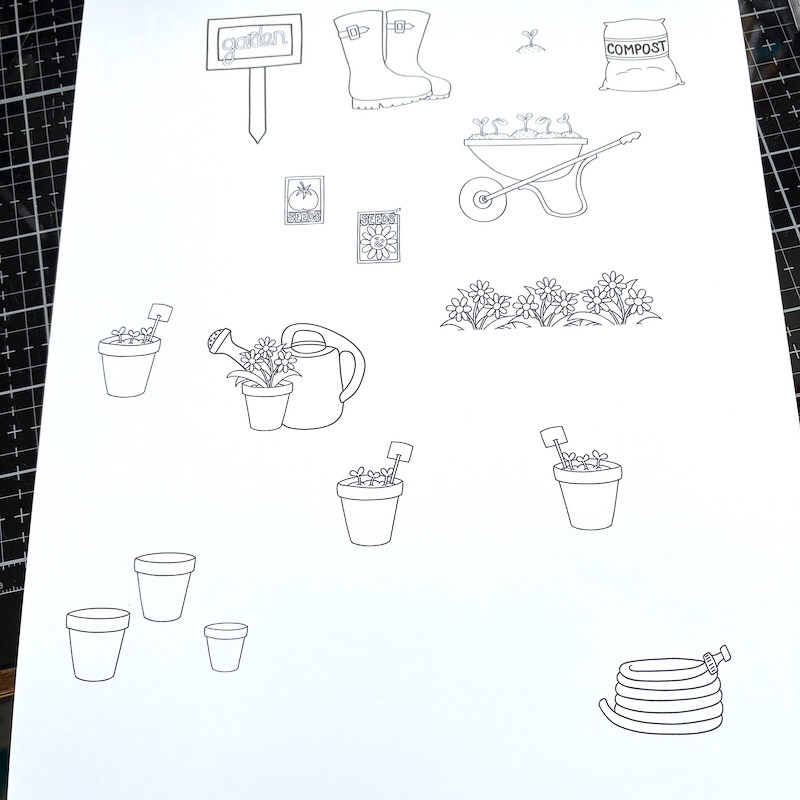
I chose what elements from the stamp set I wanted to use and printed them out onto white card stock after sizing them. This was a lot of coloring! But I wanted a good mix of elements. This is what took the longest in the making of the box.
These are half of the elements colored. I tried to go with the same color-way on various items.
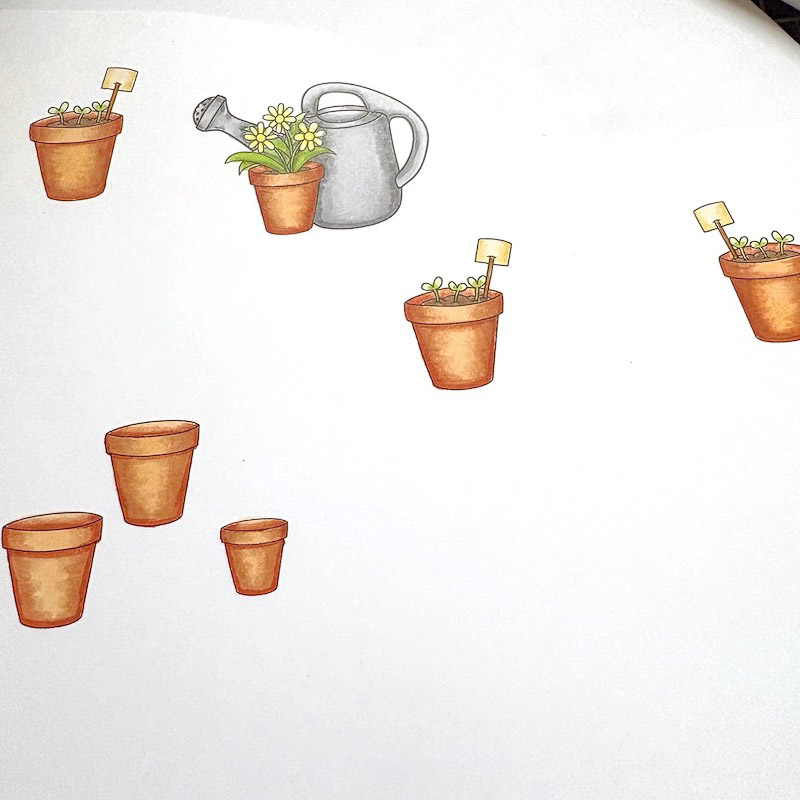
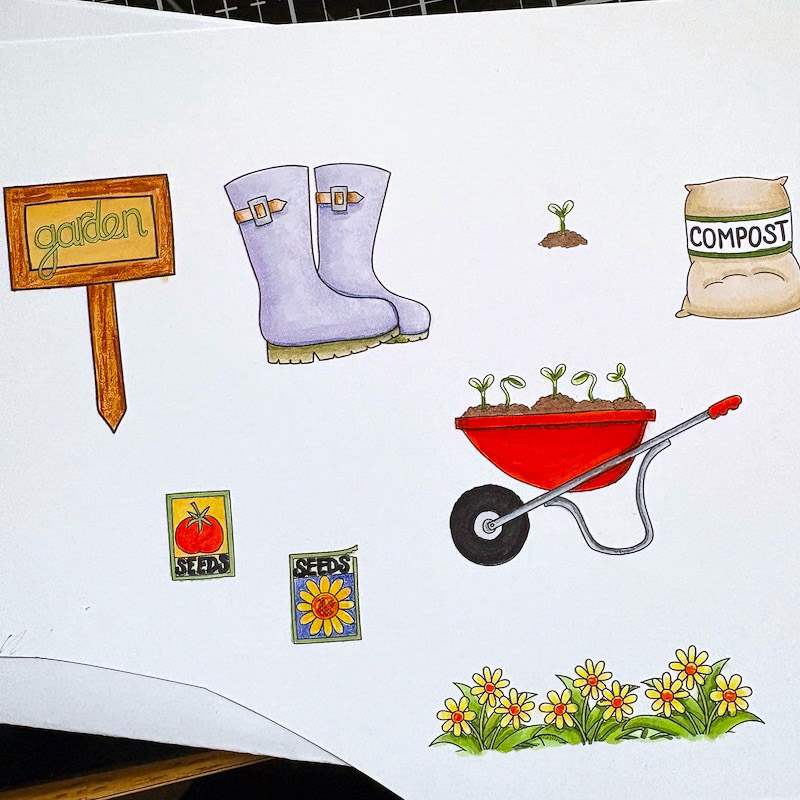
These are the other half of the elements colored. After the coloring was done, I fussy cut the images leaving a white border.

All that was left to do was place my images on the inside crossbars. I made sure to tilt them and was conscious of how far up they were showing, making sure they weren’t blocking any behind.
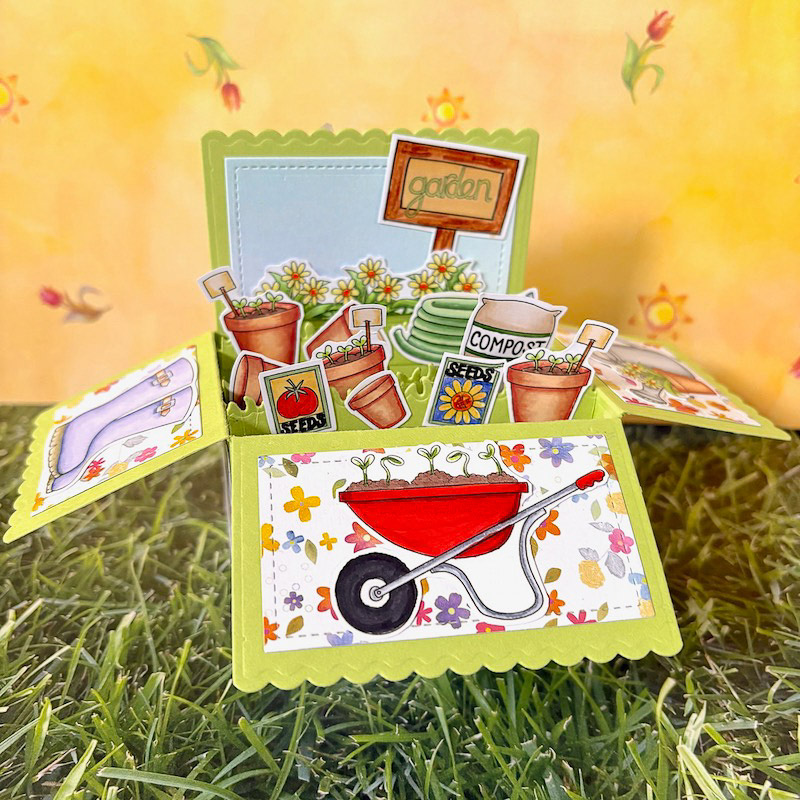
I hope you enjoyed my tutorial today…gardening season is right around the corner!
Til next time…
Betsy
You can find me on Instagram: @betsybirgeart
Materials Used:
- Garden Grown Digital Stamp Set
- Pop Up box die
- Green Card stock for box base
- Flowered card stock for panel insets
- Copic colors: YG11, YG03, YG25, YG67, E15, E47, G20, G12, G46, C1, C3, C5, Y02, Y04, Y00, E55, E40, E41, E43, E33, YG91, YG99, E31, BV000, BV00, BV11, BV13, R5, R17


 May Bullet Journal printable calendar
Leave a Reply