

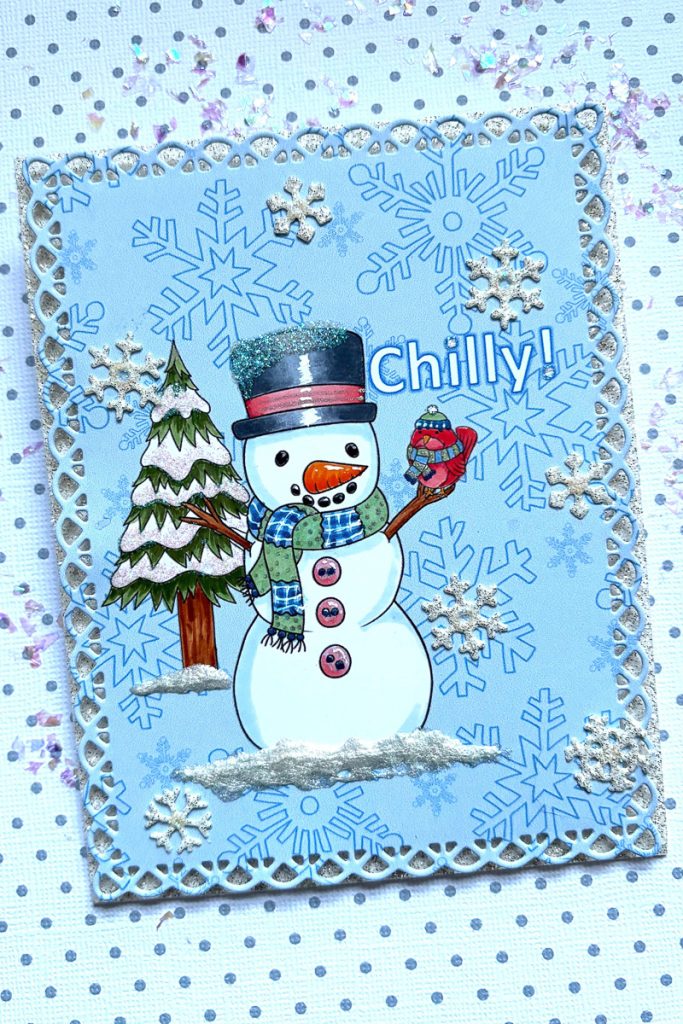
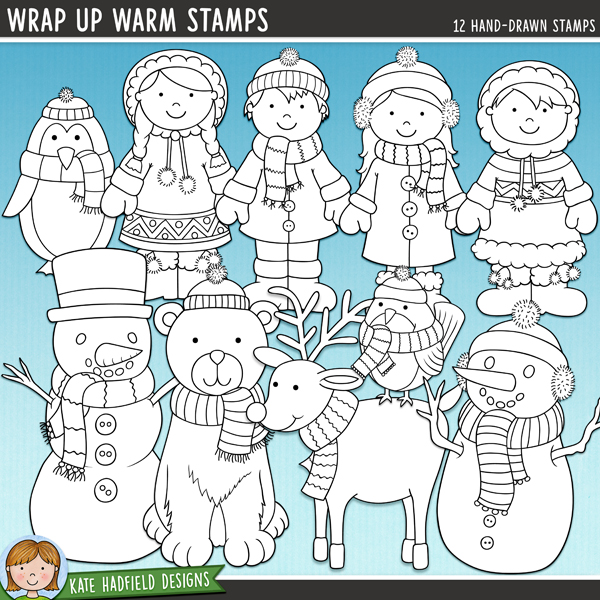
Hello everyone! We’ve just had our first snowfall where I live! Always exciting when it snows for the first time of the season! So today I’m sharing a card made with the Wrap Up Warm digital stamp set and the Chilly Overlays.

I composed my design. The Chilly Overlays serve as my background for this card. The entire file measures 12” x 12”, but one of the awesome things about digital stamping is the ability to size something to whatever you need. I sized mine to 6” x 6” knowing that I would be die cutting the panel down. I also was able to change the color…I only use WORD and this is a function that is quite simple to use…so of course I used blue!

I started coloring with my Copic markers – the tree first and then the carrot nose and bird nose.

Before I finished coloring I used a fancy rectangle die and die cut the panel…this gives me a better perspective when coloring.

Coloring is finished! Copic colors used: G82, G94, G99, YR15, YR07, YG67, C7, C5, B41, C2, C3, C5, C7, R17, R20, R22, R32, R27, B21, B34, E33, E35, E37, 100

I covered the front of an A2 size top folding white card base with some glitter silver paper. I also die cut some small snowflakes from this paper. Then I adhered my colored panel. For finishing touches I added some snow on the ground beneath and tree and snowman with some sparkly contour paste. I used Twinkle Stickles on the centers of the die cut snowflakes, the snow on the tree, the snowman’s hat and a little on the snowman’s buttons. I also used a white gel pen for highlights and a silver glitter gel pen to brighten up certain areas!

I had loads of fun making such a cute winter cards! And digital stamps are so easy to work with to get just the right composition!
Til next time…
Betsy
You can find me on Instagram: @betsybirgeart
Materials Used:
- Wrap Up Warm Stamps and Chilly Overlays
- white cardstock
- Copic markers
- rectangle die
- silver glitter paper
- glitter contour paste
- white gel pen and silver glitter pen

 Sasha’s quick and easy Christmas Gift Tags
Leave a Reply