
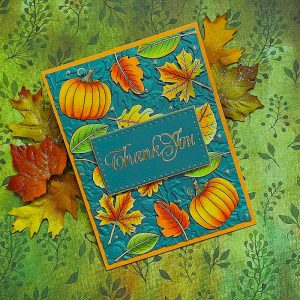

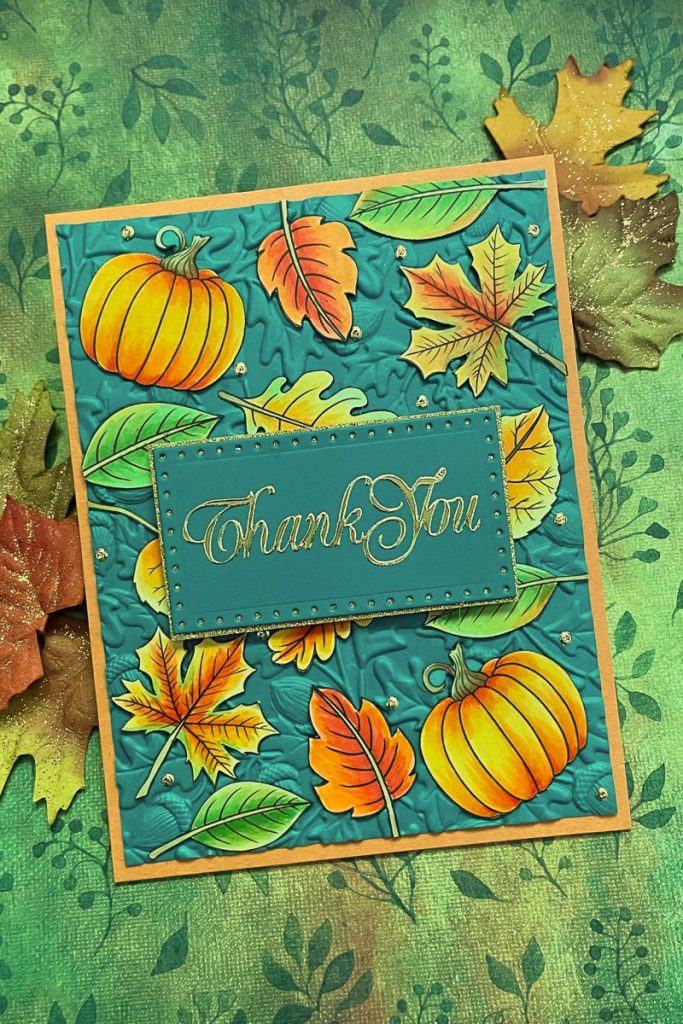
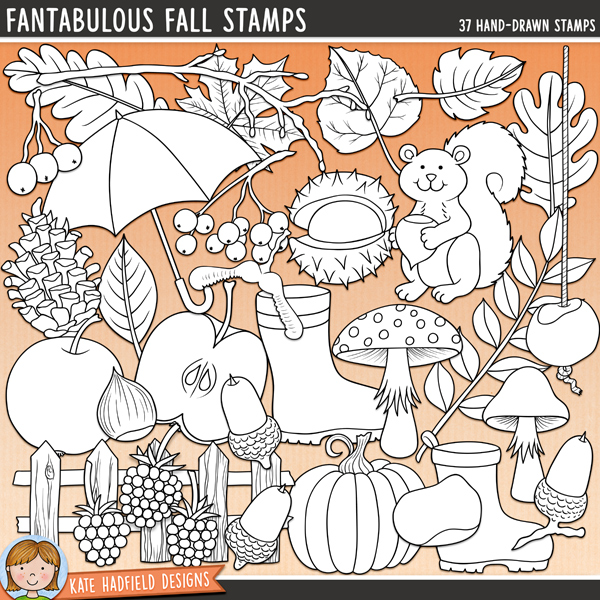
Fall is here with all of its glorious color! Fall is definitely my favorite season of the year and making fall cards is my favorite! For today’s card project I used Leaf stamps from the Fantabulous Fall Digital Stamps. So perfect for fall.

I printed out the leaves I wanted onto white card stock. Each of my elements were about 1.5”. I wanted to be able to see the background but needed the leaf elements to be the focal points.
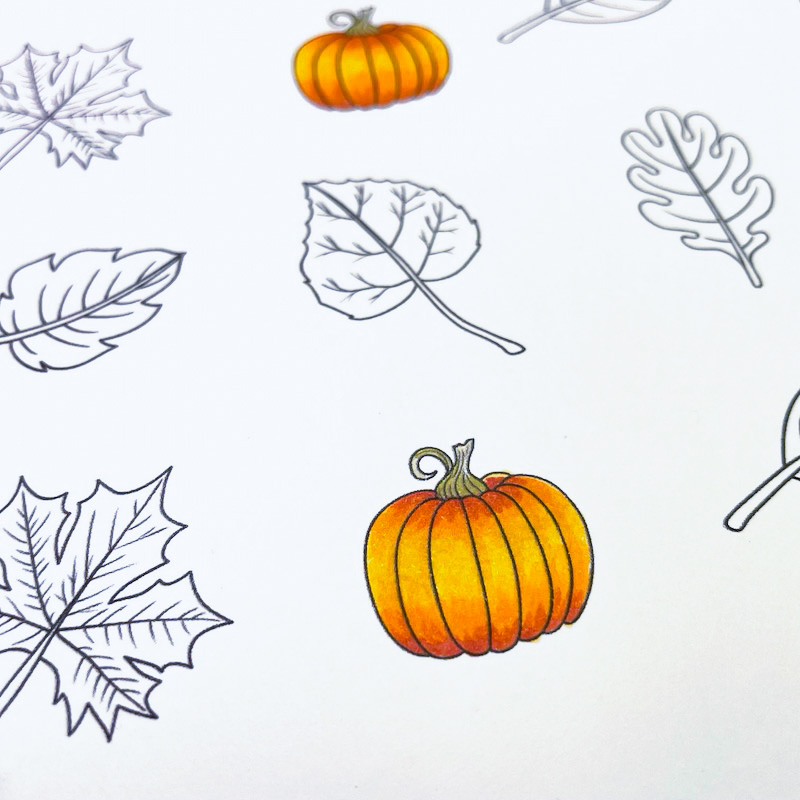
I did try to vary my colors and used more than one color on each leaf.
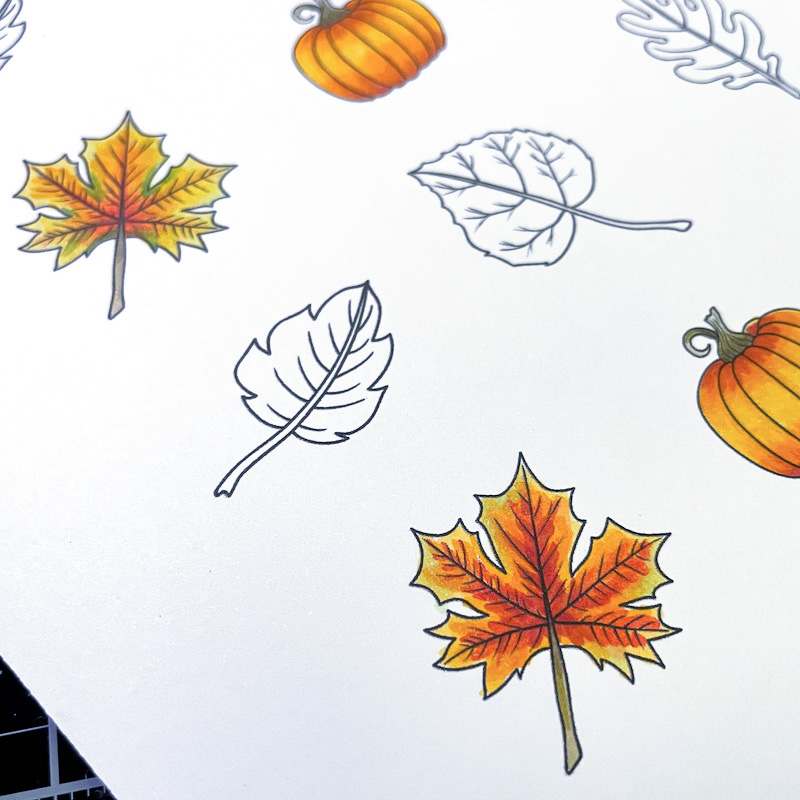
All of my leaves/pumpkins were colored. I chose 8 separate elements and colored 2 of each. Here are the Copic colors I used: YG91, YG95, YG23, YG11, YG17, Y11, Y21, Y15, Y38, Y28, Y35, R02, R05, R14, E08, YR04
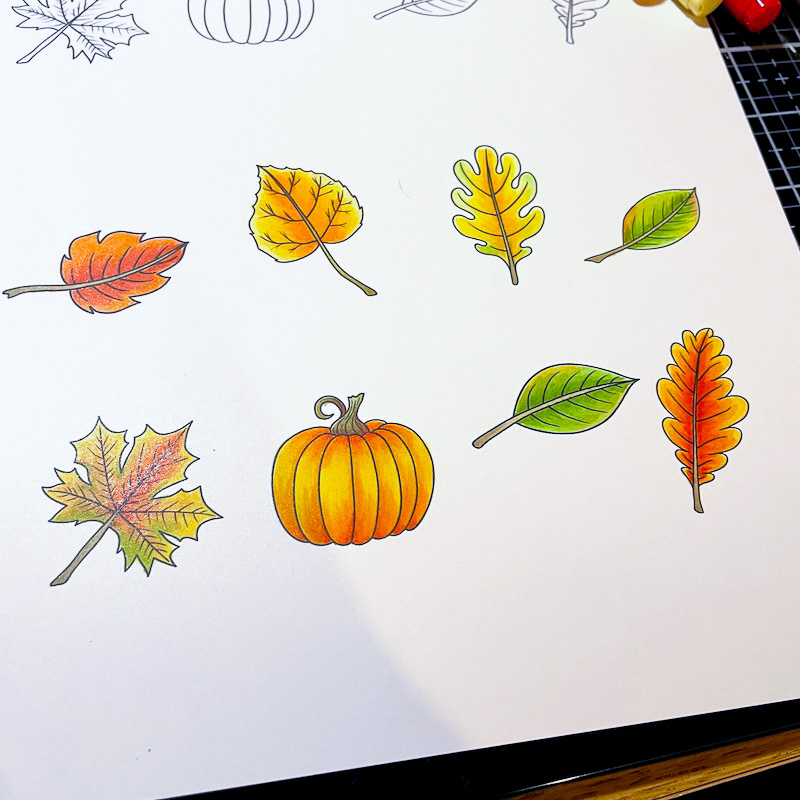
After the leaves were colored I fussy cut them on the outline and then went around the edges with a black water-based marker. Then I cut a panel to 4” x 5 ¼” and embossed it with a 3D embossing folder.
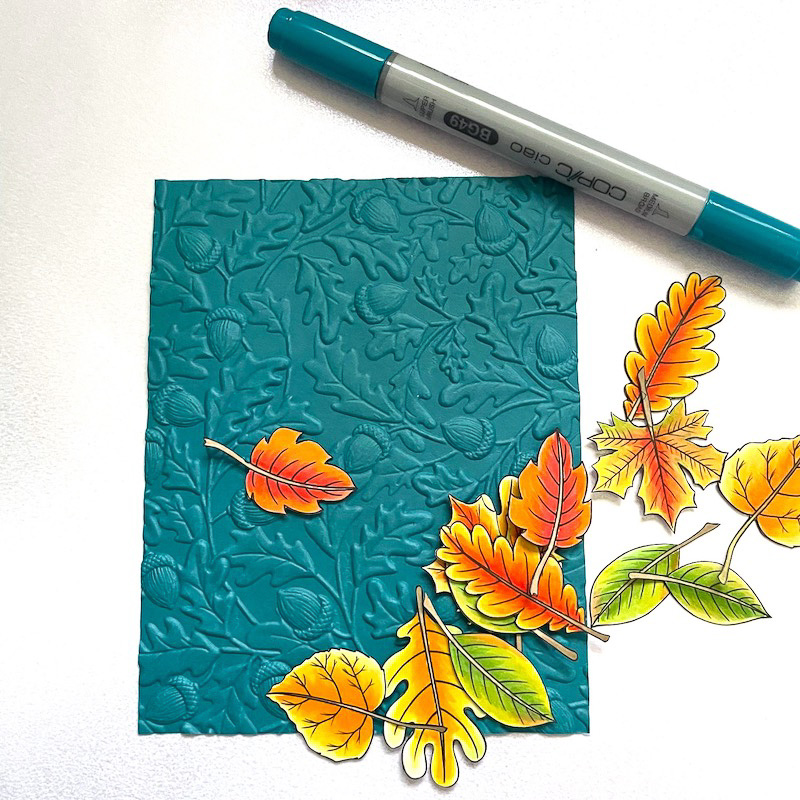
I made a white A2 size top folding card base and adhered the embossed panel to it. Then I adhered my colored elements to it with liquid glue…mindful of shape and color. I added little dots of sparkly gold peel-offs here and there. I added a sentiment peel-off in gold and adhered it to a leftover piece of the teal background card stock. I die cut it and then backed it with gold glitter paper leaving a very narrow margin. I adhered this with foam tape.

I hope I’ve inspired you to create a lovely fall card…so satisfying with the bright colors!
Til next time…
Betsy
You can find me on Instagram: @betsybirgeart
Materials Used:
- Fantabulous Fall Digital Stamps
- White card stock
- Copic markers
- Black marker pen
- Coloured card stock
- Embossing folder (optional)
- Liquid glue
- Gold peel-offs
- Gold glitter paper
- Foam tape

 Halloween ‘Spooky Witch’ treat bag toppers
Leave a Reply